
How to install UFW configuration on Ubuntu/Debian
Terms used in the article
- Port
- Rule
I. Overview
As a system administrator, setting up a firewall system is indispensable. A firewall is a software program that monitors network traffic and prevents unauthorized access to the system.
A firewall is a software program that monitors network traffic and prevents unauthorized access to the system. In addition, iptables is a firewall utility accessible from the command line and part of Netfilter. And Canonical (the creator of Ubuntu) has developed an iptables interface called Uncomplicated Firewall (UFW) and invites you to see the steps to install and use UFW on Ubuntu.
II. Install UFW on Ubuntu/Debian
To install UFW on Ubuntu/Debian, follow these 3 steps.
Step 1: SSH into the Linux system
To install UFW, you need to SSH into the system. If you don’t know how to SSH, please refer to the following documentation.
Step 2: Update system check settings
System update
sudo apt update
sudo apt upgrade
Check install ufw
To check if ufw is installed, you can use the which command:
which ufw
And if the result doesn’t show output, it means ufw is not installed and you should install it like below.
Step 3: Install ufw
sudo apt-get install ufw
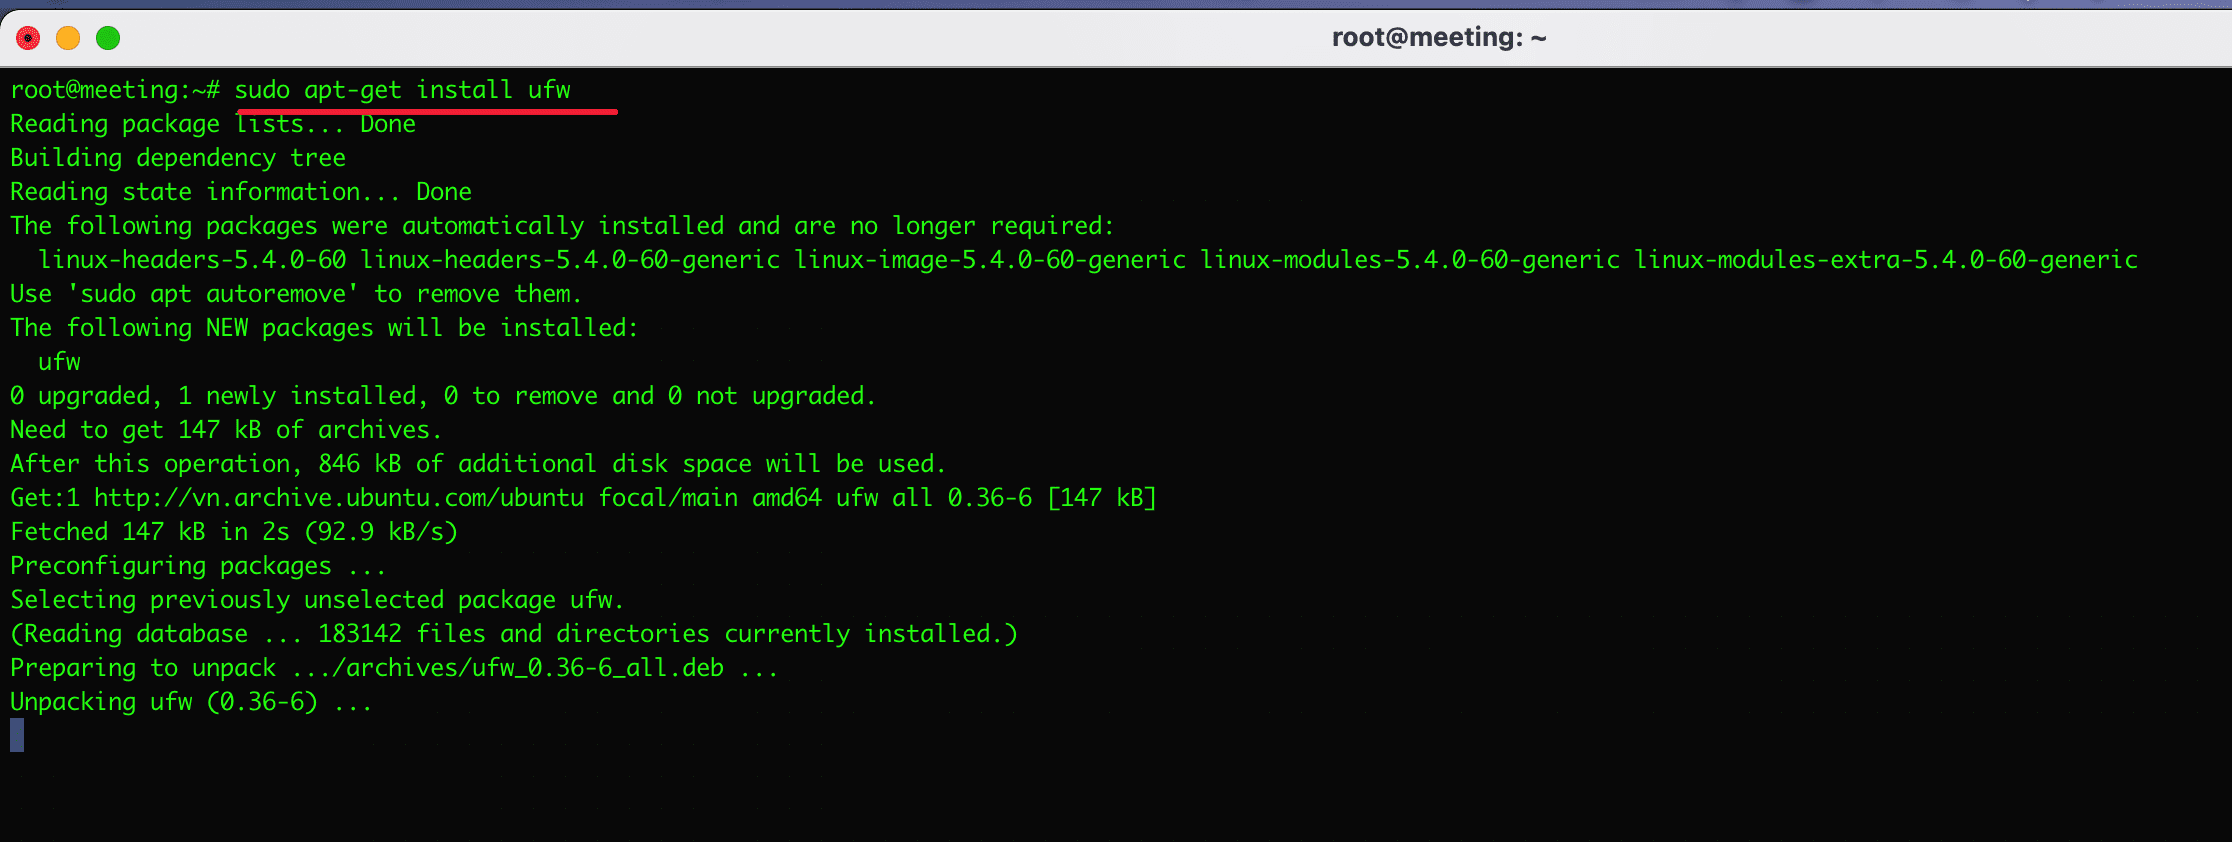
After your ufw installation is complete, use the command below to check. The initial default after installation, UFW will be disabled because it has not been activated and you have to enable it manually.
sudo ufw status verbose
-----------------------------
Output
Status: inactive
III. Guide to using ufw
1. Some commands to manage and activate ufw
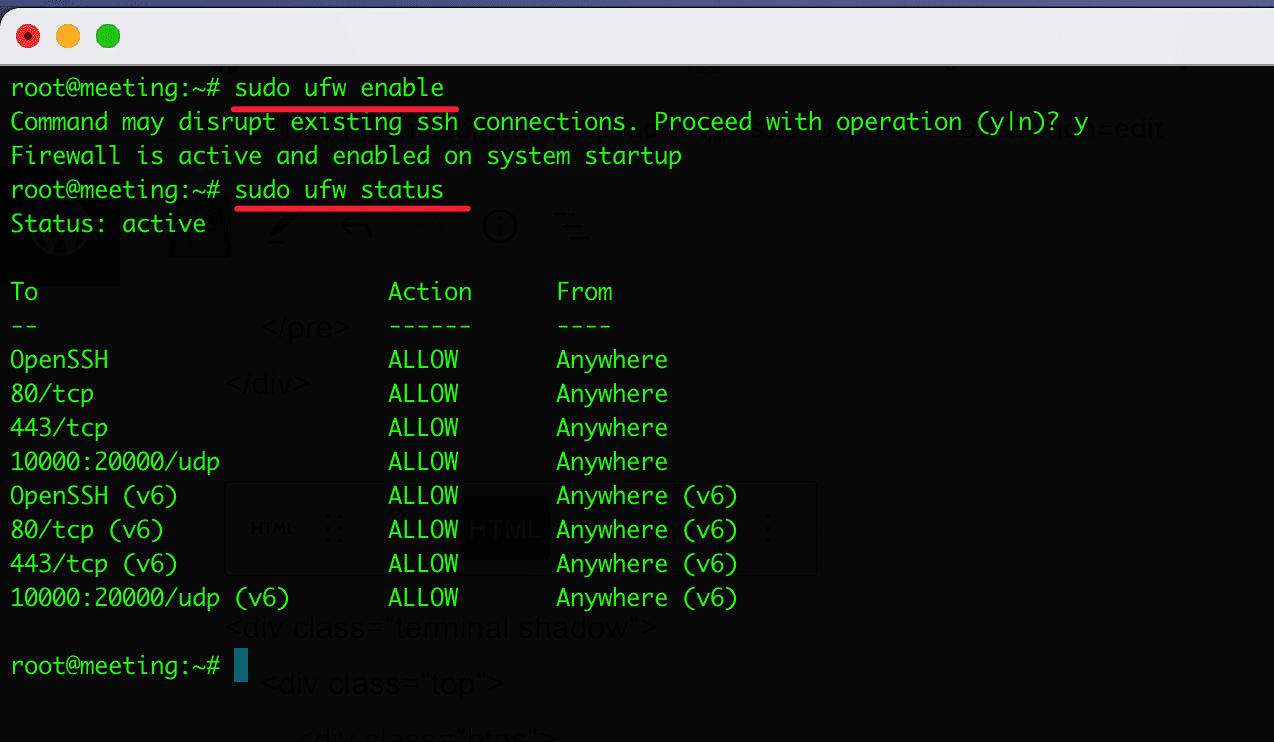
1.1 Enable ufw after installation
sudo ufw enable
1.2 Disable ufw
sudo ufw disable
Output
Firewall stopped and disabled on system startup
1.3 Start ufw with system
sudo ufw enable
Output
Firewall is active and enabled on system startup
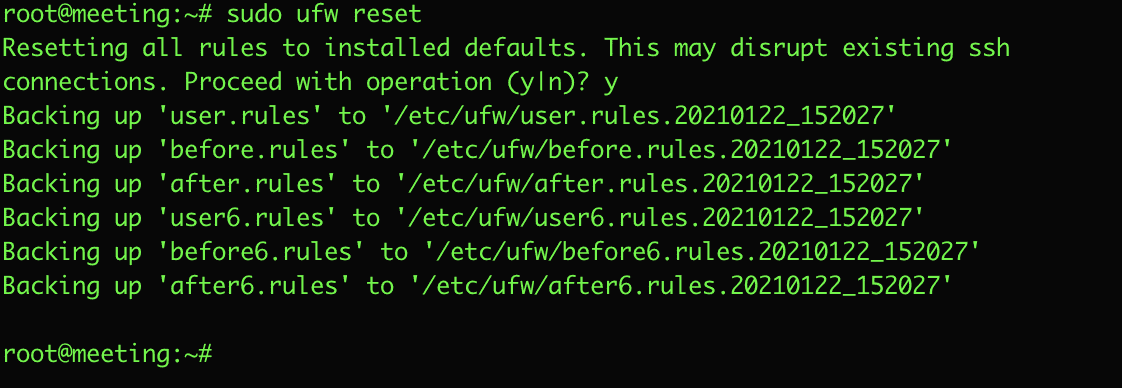
1.4 Restore ufw to default
For some reason, you need to restore/delete all existing rules to return to the original defaults, use the reset option to do the following:
sudo ufw reset
1.5 Reload the rules
sudo ufw reload
Output
Firewall reloaded
2. Use ufw to manage rules
2.1. Allow, open connection port
Syntax of execution
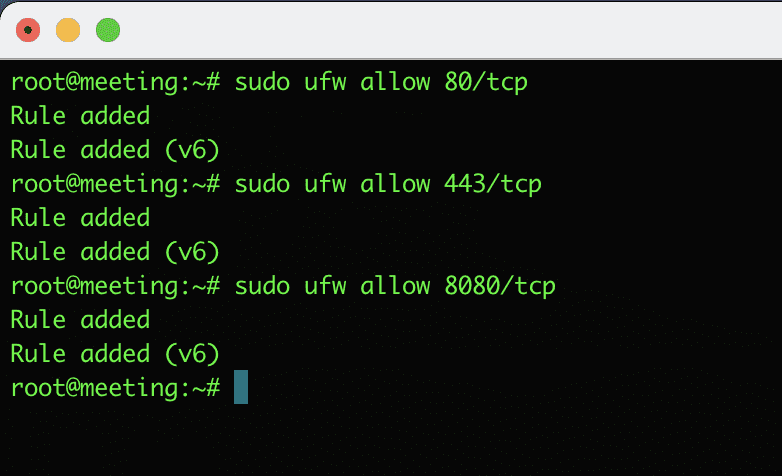
To open any port, you use the following syntax:
sudo ufw allow <port>/<optional: protocol> Practical example: I will use ufw to open ports 80, 443 and 8080.
sudo ufw allow 80/tcp Hoặc sudo ufw allow httpsudo ufw allow 443/tcp Hoặc sudo ufw allow https
sudo ufw allow 8080/tcp
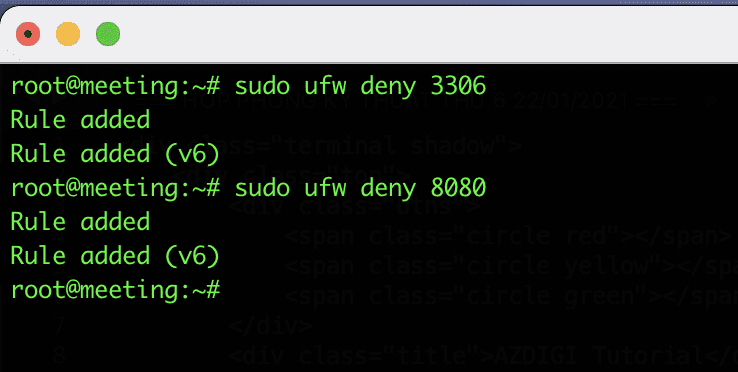
2.2 Reject, close connection port
To ban/deny, you use the deny command and follow the syntax structure as follows:
sudo ufw deny <port>/<optional: protocol> Practical example: I will close the connection port 3306 and 8080.
sudo ufw deny 3306
sudo ufw allow 8080
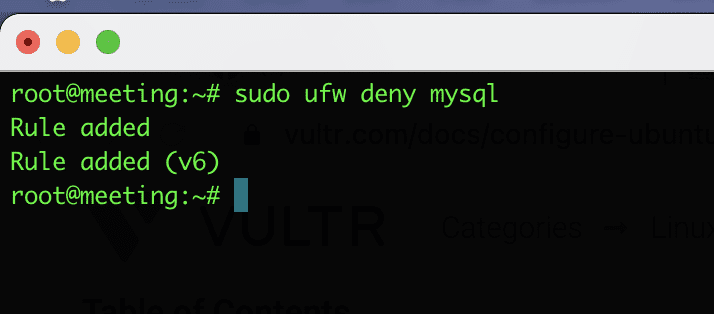
In addition, ufw also supports the following simple syntax. If you determine which port belongs to which service you can deny the service instead of the port belonging to that service.
For example: Port 3306 belongs to the mysql service and you can deny mysql with the following syntax:
sudo ufw deny mysql
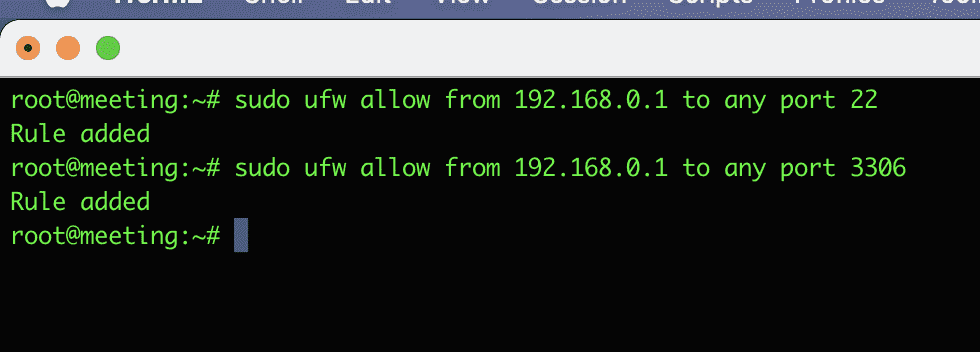
2.3 Allow IP access to a certain port
sudo ufw allow from 192.168.0.1 to any port 22
sudo ufw allow from 192.168.0.1 to any port 3306
This syntax will allow a specific IP to gain access to the specified port. As the example above, I allowed the IP address192.168.0.1 to be allowed to access port22, which is ssh and port 3306, which is mysql
2.4 Delete the rules
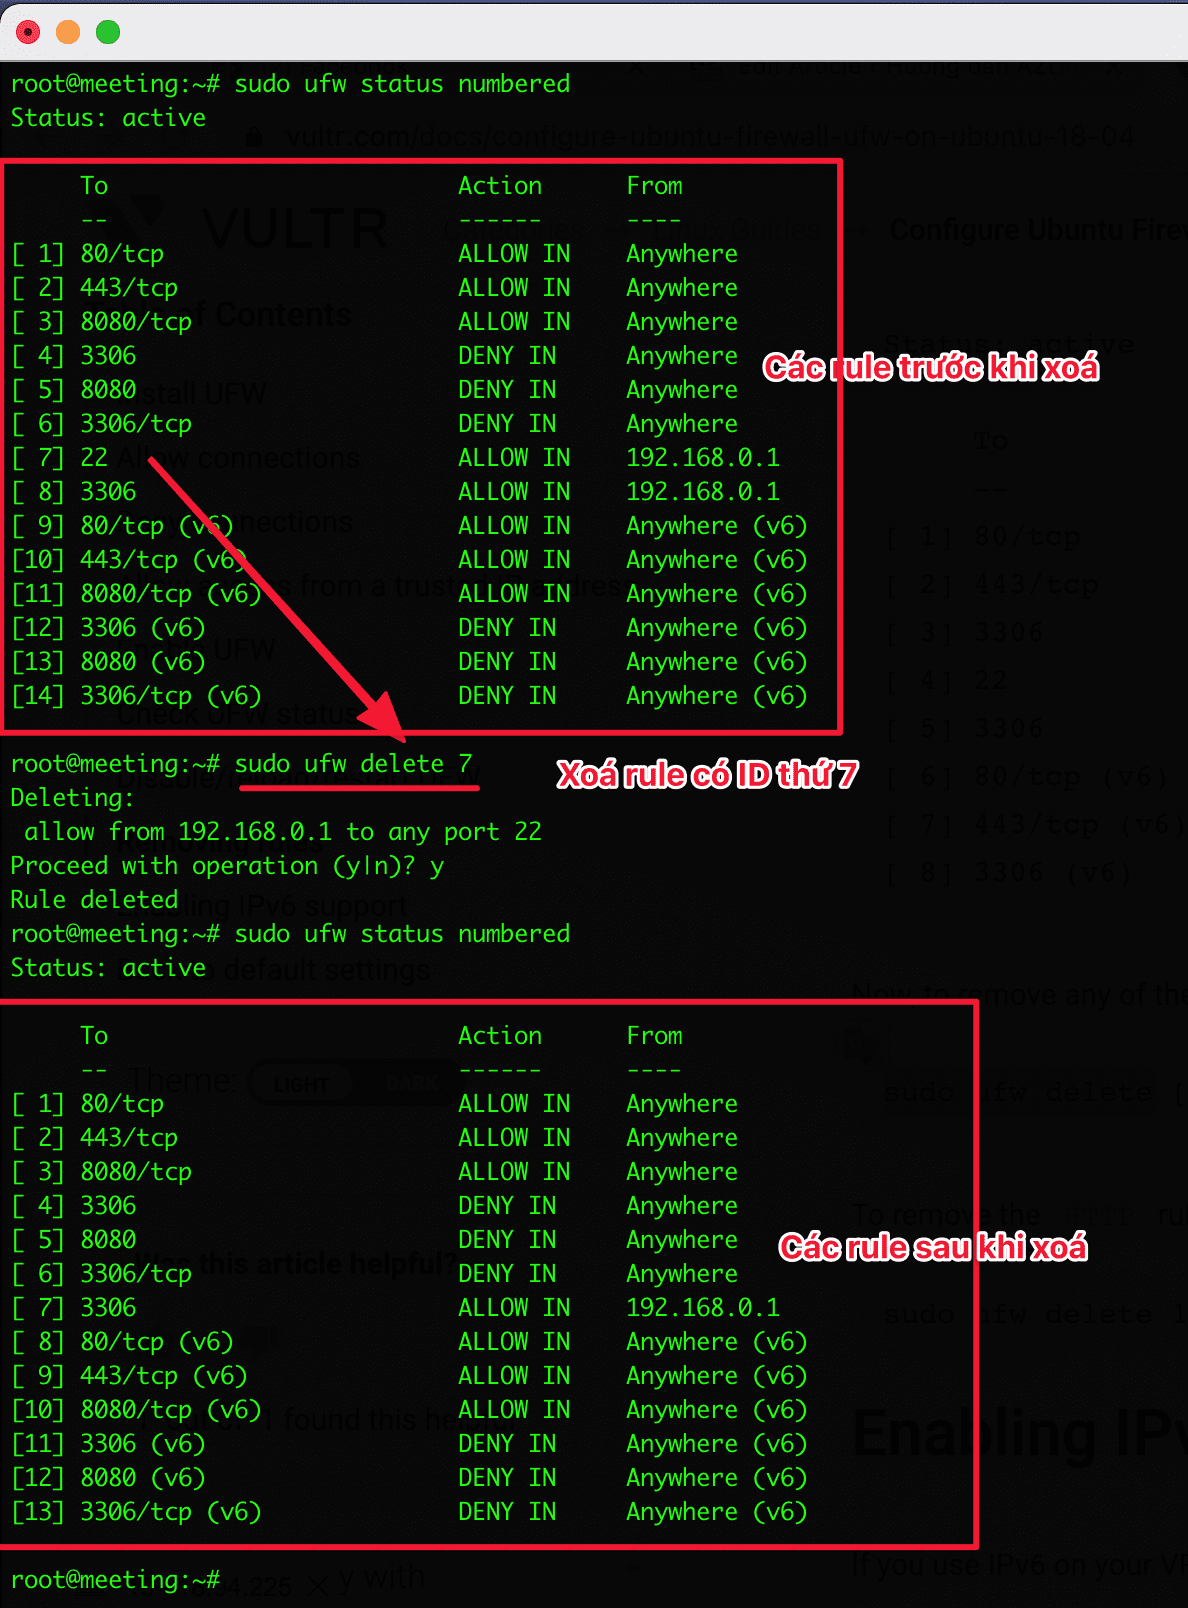
To manage the rules on your UFW, you can list them in the form of a list menu. To do this, you use the following command, the screen shows the rules with sequence numbers and you will choose the sequence numbers or rule names to delete.
sudo ufw status numbered
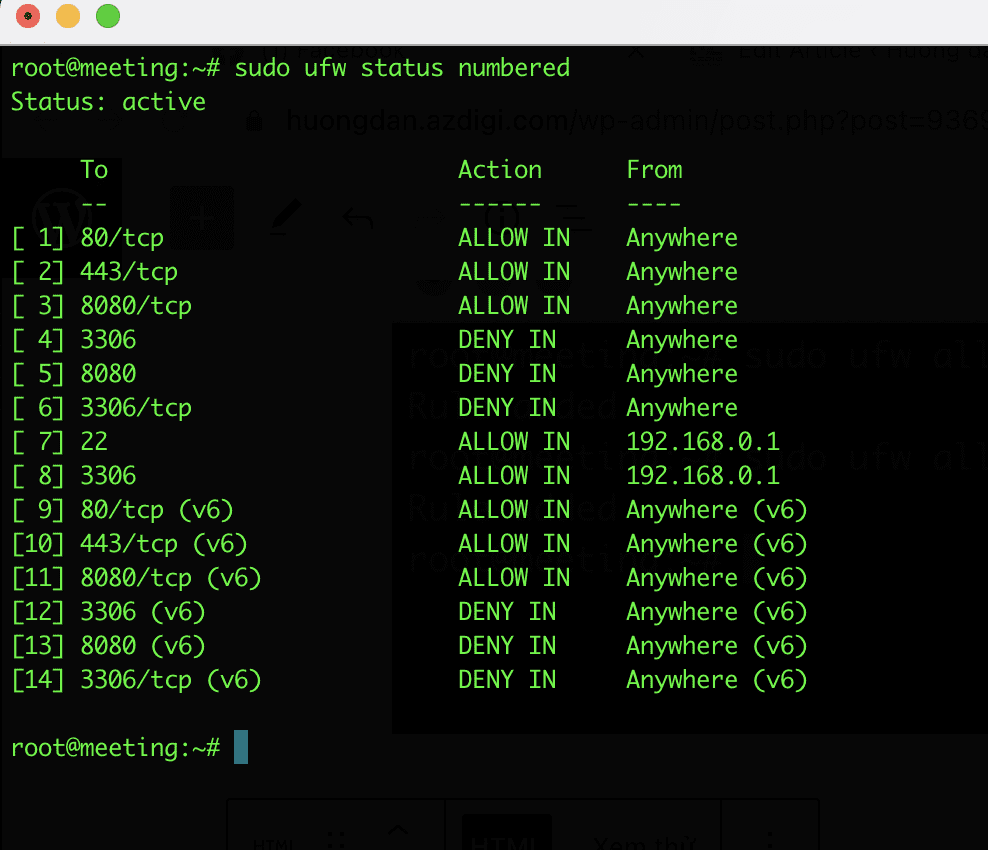
Practical example: As the image above is all the rules, I will remove rule number 7 to allow IP 192.168.0.1 to use port 22. I will use the following syntax to delete:
sudo ufw delete [number]sudo ufw delete 7
2.5. Enable the port range
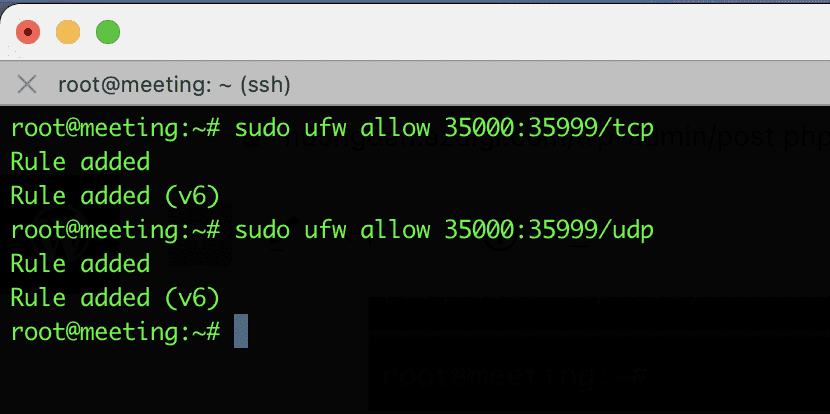
UFW allows you to access a range of ports instead of opening each port separately. And when you allow the port range, you need to specify the TCP or UDP port range to open.
Practical example: As below, I will open the range from 35000:35999 on TCP and 35000:35999 UDP.
    sudo ufw allow 35000:35999/tcp
sudo ufw allow 35000:35999udp
2.6 Close the port range
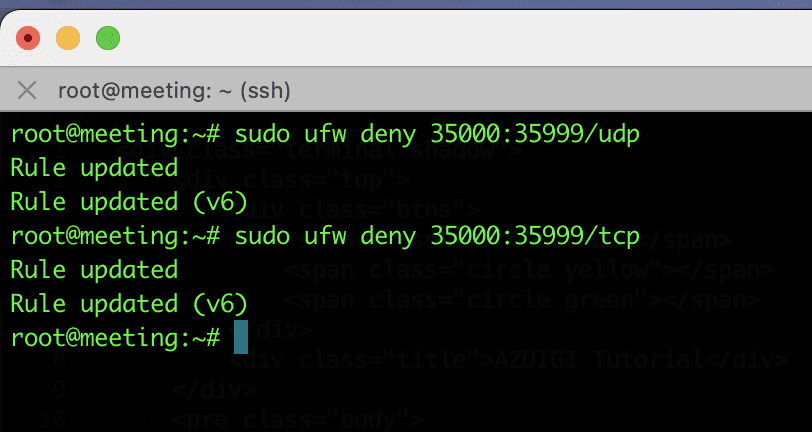
Similar to opening the port range in section 2.5 Enable the port range, you can also close the port range with the deny command. Please use the following syntax to close.
For example: Below, I close the port range 35000:35999 TCP and UDP
    sudo ufw deny 35000:35999/tcp
sudo ufw deny 35000:35999udp
2.7 Allow and deny IP
- Allow IP access
To allow IP access, you use the following syntax:
sudo ufw allow from $Your_IP
For example, I allowed to open IP 192.168.0.1 on ufw as follows:
sudo ufw allow from 192.168.0.1
Output:
Rule added
- Deny IP
To deny IP access, you use the following syntax:
sudo ufw deny from $Your_IP
sudo ufw deny from 192.168.0.1
Output:
Rule updated
2.8 Enable IPv6
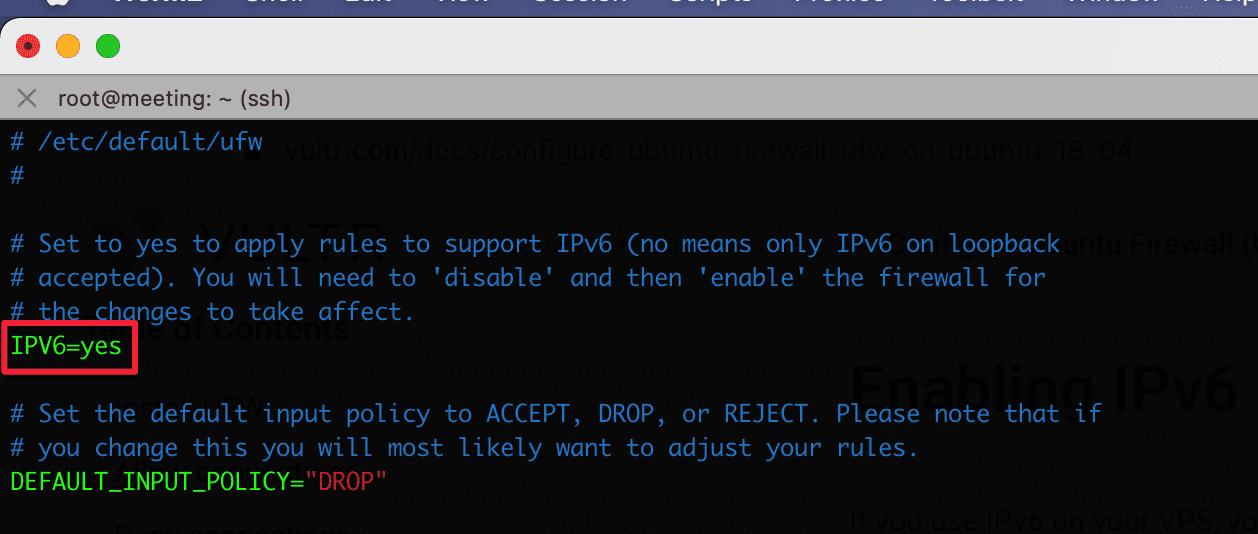
If you use IPv6 on your VPS, you need to make sure that IPv6 is enabled in UFW. To do this, you need to open the ufw configuration file /etc/default/ufw and adjust the following:
sudo vi /etc/default/ufw
If the system shows IPV6=no, please change to YES to activate.
IV. Summary
Thus, AZDIGI has completed the steps to install the UFW configuration on Ubuntu/Debian. Wishing you success! See more useful articles about Linux VPS at the following link:
If you need assistance, you can contact support in the ways below:
- Hotline 247: 028 888 24768 (Ext 0)
- Ticket/Email: You use the email to register for the service and send it directly to: support@azdigi.com .
You might also like
- How to install Elasticsearch on Ubuntu 22.04
- Securing Self-Hosted AI - SSL, Authentication and Firewall for Ollama
- Instructions to change SSH Port in Linux
- How to Rent a VPS: Choose a Configuration and Set It Up Safely
- How to install Zabbix 6.0 on Ubuntu 20.04
- How to install LOMP Stack on Ubuntu 20.04
About the author

Thạch Phạm
Đồng sáng lập và Giám đốc điều hành của AZDIGI. Có hơn 15 năm kinh nghiệm trong phổ biến kiến thức liên quan đến WordPress tại thachpham.com, phát triển website và phát triển hệ thống.