
Restore Full Backup cPanel to CyberPanel safely with just a few simple steps, making your website migration faster than ever. Let’s do it together with AZDIGI!
I. Overview
For a long time, transferring data between servers has been a difficult problem, if you are technically savvy, it also takes a lot of time to manually transfer back and forth and reconnect data for each website. However, for those who do not have much experience in this matter, plus if your VPS does not use common controls such as DirectAdmin, cPanel, Plesk … this is an even more complicated problem.
However, don’t worry, if you are using cPanel and need to transfer all your data to a new server using CyberPanel, you can solve this problem simply. Because at version v1.8.5 and above, CyberPanel has integrated the Restore utility directly into cPanel’s File Backup.
In this article, AZDIGI will show you how to move websites through Full Backup from cPanel to CyberPanel server, please follow along.
II. Implementation guide
Step 1: Prepare the Full Backup file from cPanel
To move websites to a new server using CyberPanel, you first need to perform a Full Backup of your data on the cPanel server. You can see the instructions below if you do not know how to backup.
The Full Backup file of cPanel will have the format filename.tar.gz similar to the following, please download this Backup file to your computer.

Step 2: Upload the backup file to the CyberPanel server
After successfully backing up the data in step 1, you proceed to upload the backup file to the new CyberPanel server under the path /home/backup . You can use software like Filezilla, Winscp… to upload files, if you don’t know how to use this software, you can refer to the tutorial below.
Step 3: SSH into the CyberPanel server and Restore
After you have completed steps 1 and 2, you need to SSH into your new CyberPanel server to start the Restore. If you don’t know how to SSH into VPS, you can check out the instructions below:
After successfully SSHing into the VPS, run the following commands in turn:
cd /home/backup
ll
/usr/local/CyberCP/bin/python3 /usr/local/CyberCP/plogical/cPanelImporter.py --path /home/backup/
Command annotation:
- Command 1: Move to the path containing the backup file.
- Command 2: Use the ll command to see if there is a backup file here.
- Command 3: Run the Restore command.
- Note: If there is only one Backup File at the /home/backup path, you just need to copy command 3 and run. Conversely, if you have multiple Backup Files, you need to enter the filename, for example: /usr/local/CyberCP/bin/python3 /usr/local/CyberCP/plogical/cPanelImporter.py –path /home/backup/tenfilebackup
The restore process is fast or slow, depending on your backup file data size. If the data is too large, go make a cup of coffee and wait for the results.
After the process is completed, you will see a log message line: Backup logs to be generated in /home/cyberpanel/5761 (this is the log path to notify whether your restore was successful or not). To view the contents of the Log file, use the following command:
tail /home/cyberpanel/5761
And like the Log file content that I received, the restore process was successful with the message successfully restored

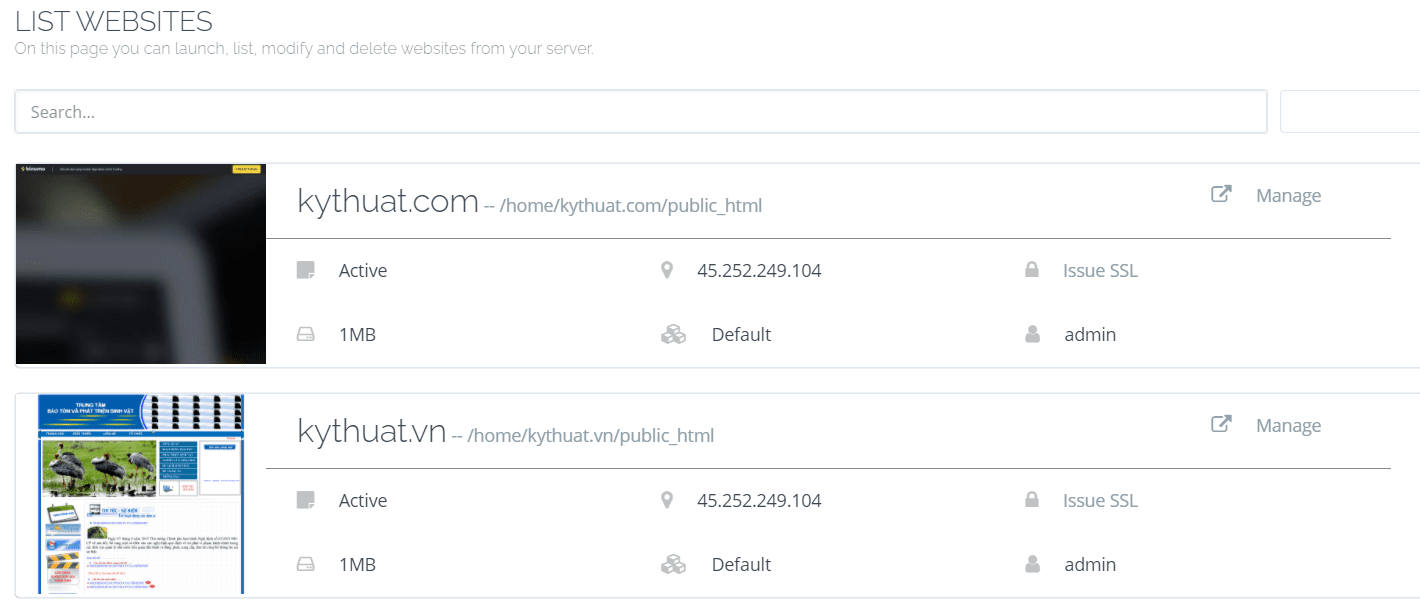
Step 4: Check the data
After successful restoration, the indispensable step is to recheck the website data. As shown, I check that my websites (including Source Code + Database) have been fully restored.
Note: This restore will bring all your old data from cPanel and your data will be connected to the database without you having to reconfigure.
However, there is a problem: if in cPanel you have many domains on it, then restoring to CyberPanel will only show one main domain. For other domains, it will be in the public_html folder of the main domain and you need to do the following:
- Step 1: At CyberPanel, you create more missing domains according to the guide here.
- Step 2: Move to the public_html folder of the main domain and move the data of the remaining domains out corresponding to the domains created in Step 1. You can use the interface to move data according to the instructions here. Or manipulate with a command similar to the following: (Remember to replace your main domain and your other domain)
mv /home/domainchinhcuaban.com/public_html/domainkhaccuaban.com/* /home/domainkhaccuaban.com/public_html/
III. Summary
Thus, in this article, AZDIGI showed you how to move your website from cPanel to a new server using Cyberpanel quickly and simply. In this way, you don’t need to manually transfer data, configuring the database connection again like the traditional way. This will save you a lot of time and reduce the risk of data loss.
If you find this helpful article, you can share it widely. In addition, you can refer to some more articles about CyberPanel at the link below:
If you need assistance, you can contact support in the ways below:
- Hotline 247: 028 888 24768 (Ext 0)
- Ticket/Email: You use the email to register for the service and send it directly to: support@azdigi.com
About the author

Thạch Phạm
Đồng sáng lập và Giám đốc điều hành của AZDIGI. Có hơn 15 năm kinh nghiệm trong phổ biến kiến thức liên quan đến WordPress tại thachpham.com, phát triển website và phát triển hệ thống.