Nội dung
In this article, AZDIGI will guide you to change the DirectAdmin logo, please follow along with AZDIGI.
I. Overview
By default, after installing DirectAdmin, the system will display the default logo of this panel. However, what should you do if you want to change it to your personal or company’s brand logo to create professionalism? In this article, AZDIGI will guide you to change the DirectAdmin Logo with just a few simple steps on the available support interface of the new DirectAdmin version.
Note: The old version of DirectAdmin doesn’t support changing the logo directly on the interface.
Below is the default logo of DirectAdmin. Now let’s change it together with AZDIGI.

II. Change the DirectAdmin logo
Step 1: Login to admin
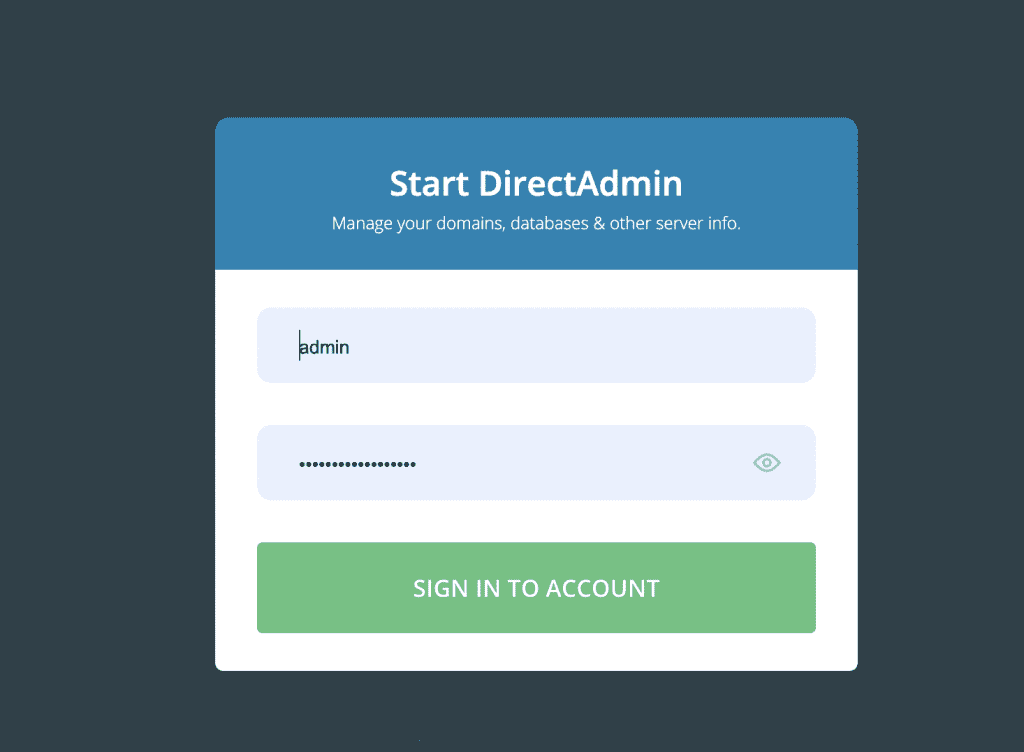
First, you need to log in to the DirectAdmin admin. By default, administrative information is accessed with IP and Port.
For example, 123.123.123.123:2222.
In there:
- 123.123.123.123: DirectAdmin installed server IP
- 2222: DirectAdmin default port

Step 2: Change the DirectAdmin logo
Click Admin Tools => Customize Evolution Skin

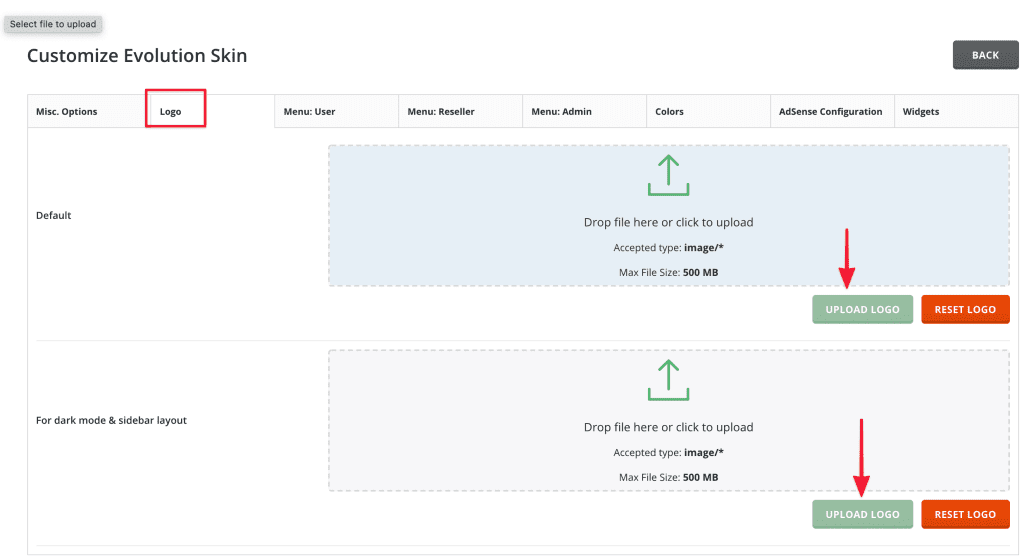
On the screen below, you click on the logo, then find the logo you need to put and upload. In there:
- Default
- For dark mode & sidebar layout

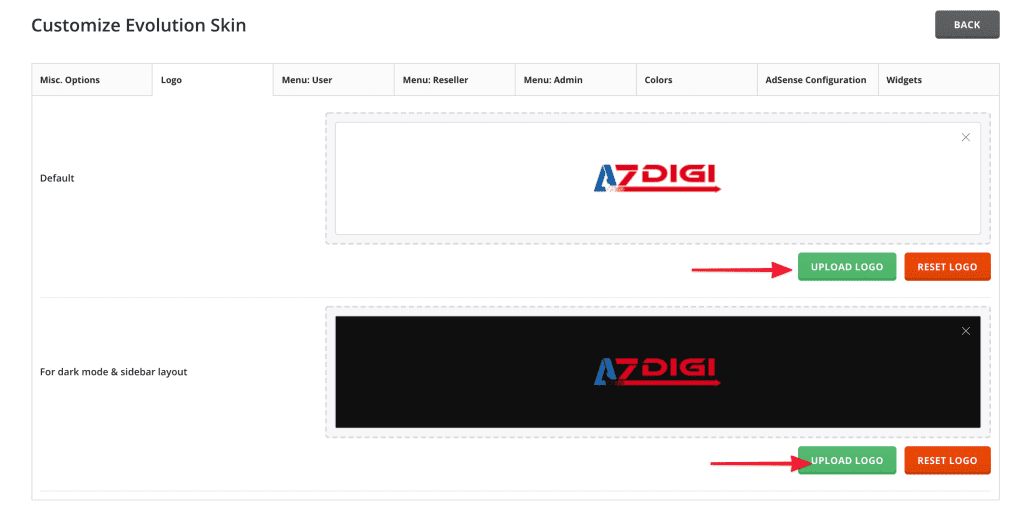
After selecting the logo to set, click UPLOAD LOGO to apply.

After the logo has been applied, please refresh the page to see the change.

III. Summary
Hopefully, this article will help you can change the developer’s default logo and change it with your logo, thereby creating a more professional look.
Wishing you success!
If you have questions or need support, please live chat with Technical Department. Or send the ticket to the Technical Department according to the information below.
- Hotline 247: 028 888 24768 (Ext 0)
- Ticket/Email: You can use your email to register for the service and send it directly to: support@azdigi.com

