
You access the following information to access the mail administration
- https://mail.tenmiencuarban:7071/
- https://you-ip-server:7071/
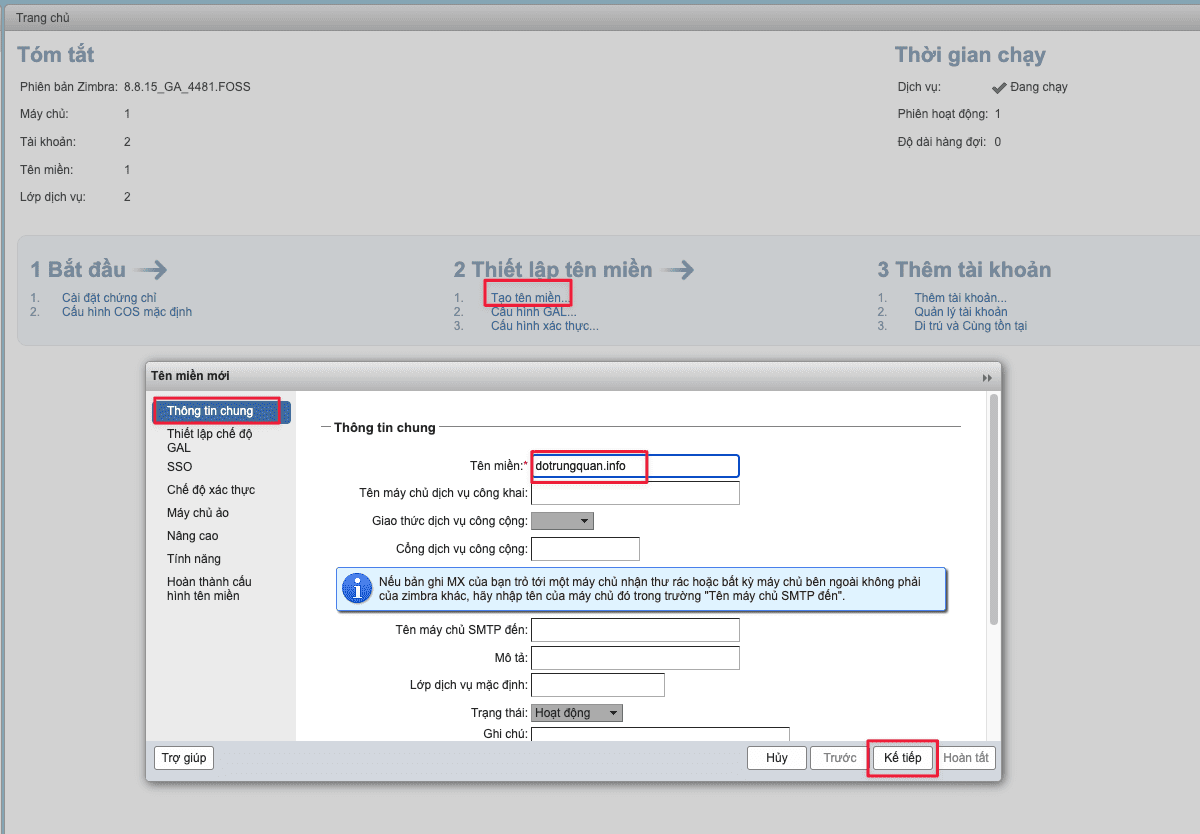
Step 2: Create a new domain name
At the admin interface, you choose to create a domain name (Create Domain).
1. General Information Tab
At this tab, enter the domain name you want to add and select Next
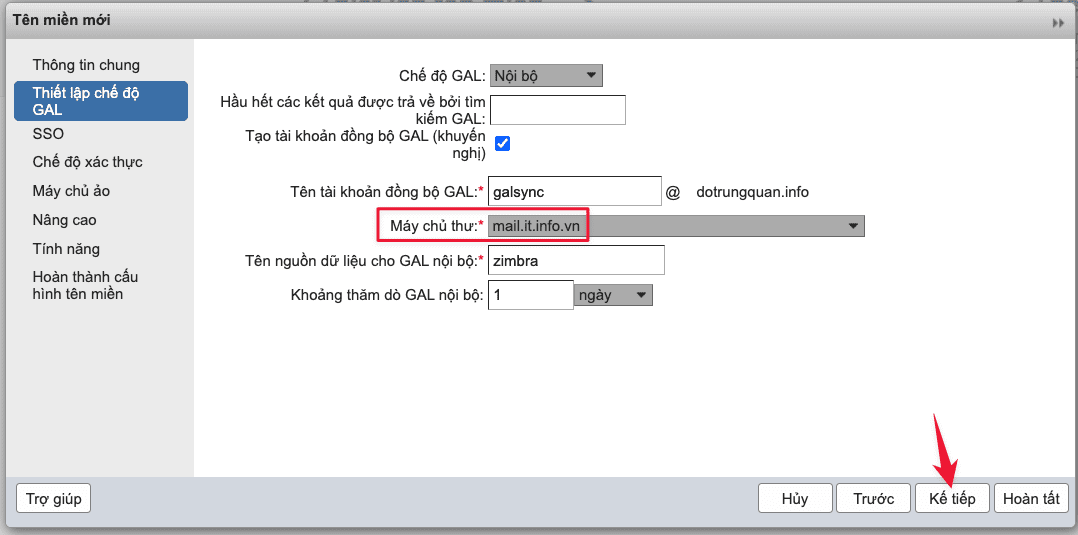
2. CAL Mode Setting Tab
At this tab, you just need to select the mail server in the Mail server section and select Next
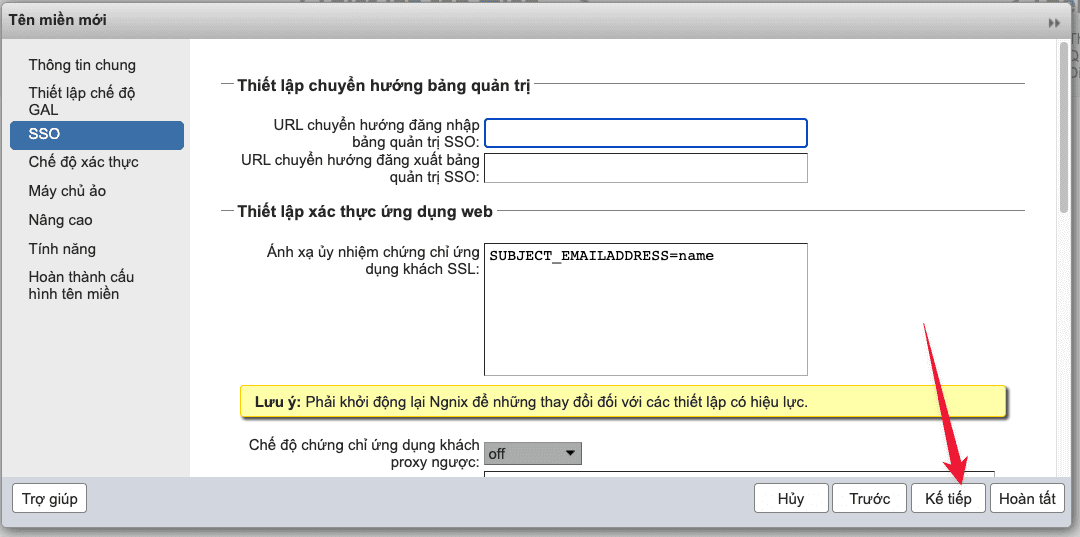
3. SSO . Tab
Select Next to leave the default.
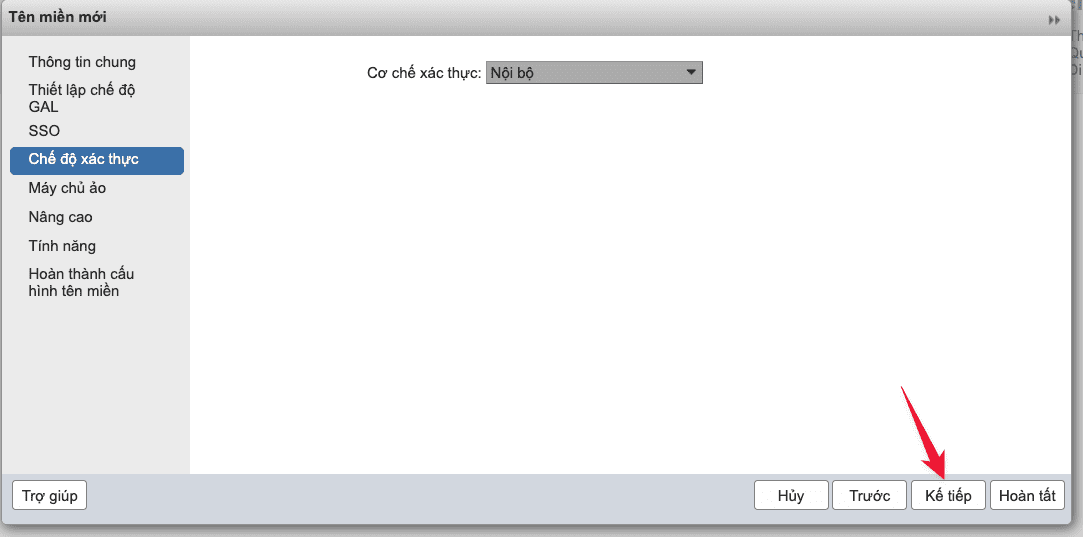
4. Authentication Modes Tab
Select Next to leave the default.
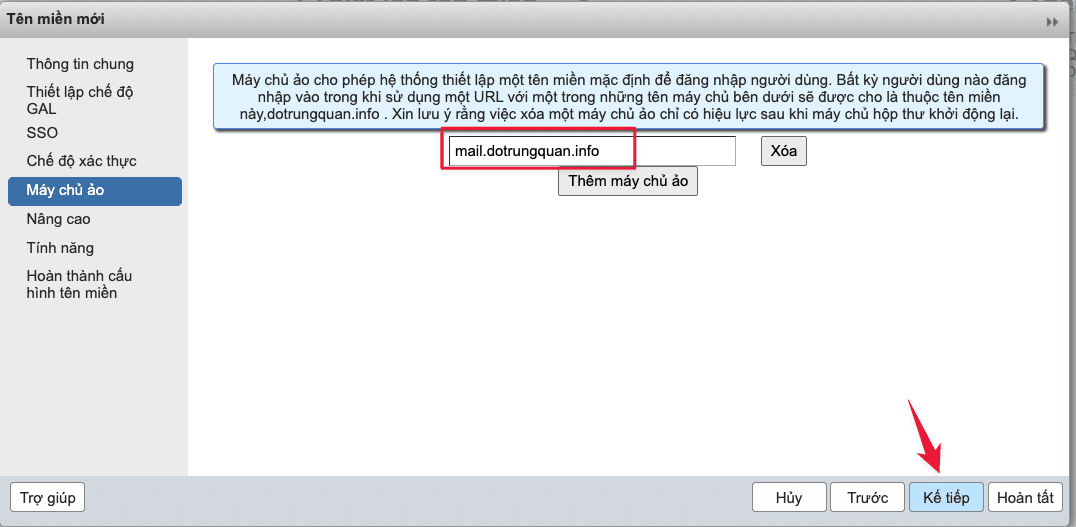
5. Virtual Servers Tab
Update Virtual Host (when the login email account does not need to enter enough @YourDomain) and select Next
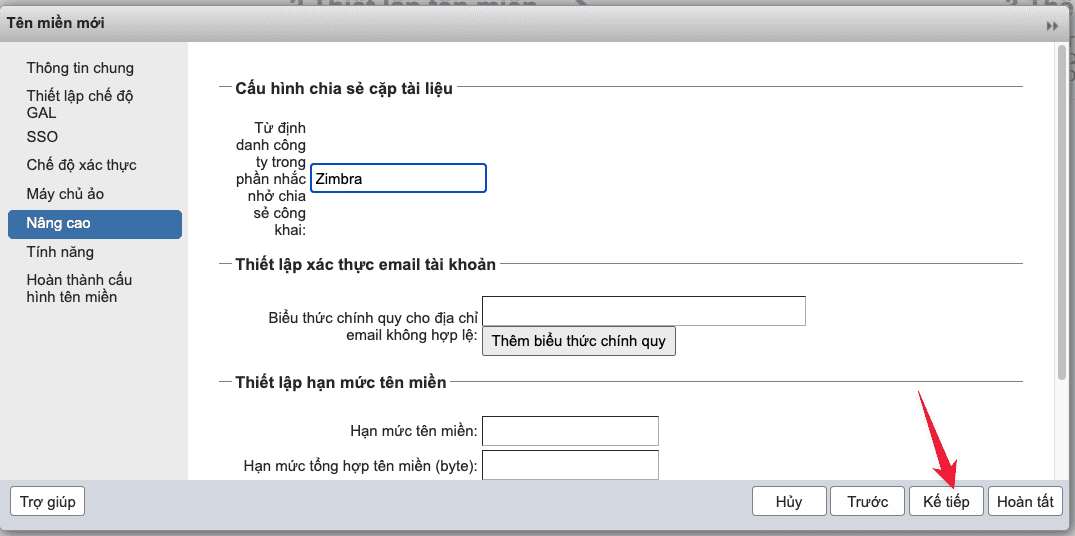
6. Advanced Tab
Select Next to leave the default.
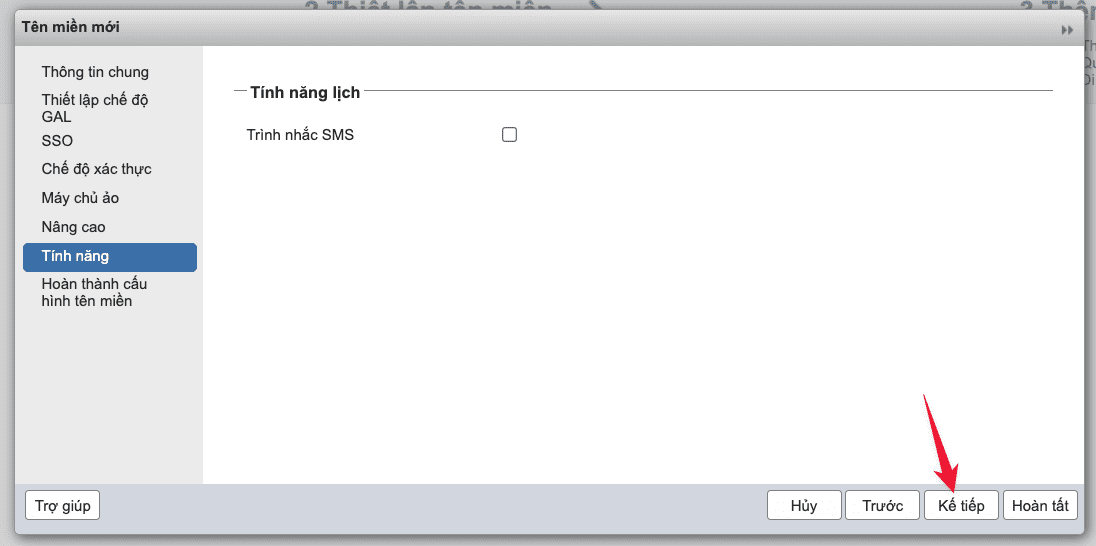
7. Features Tab
Select Next to leave the default.
Finally click Finish to complete.
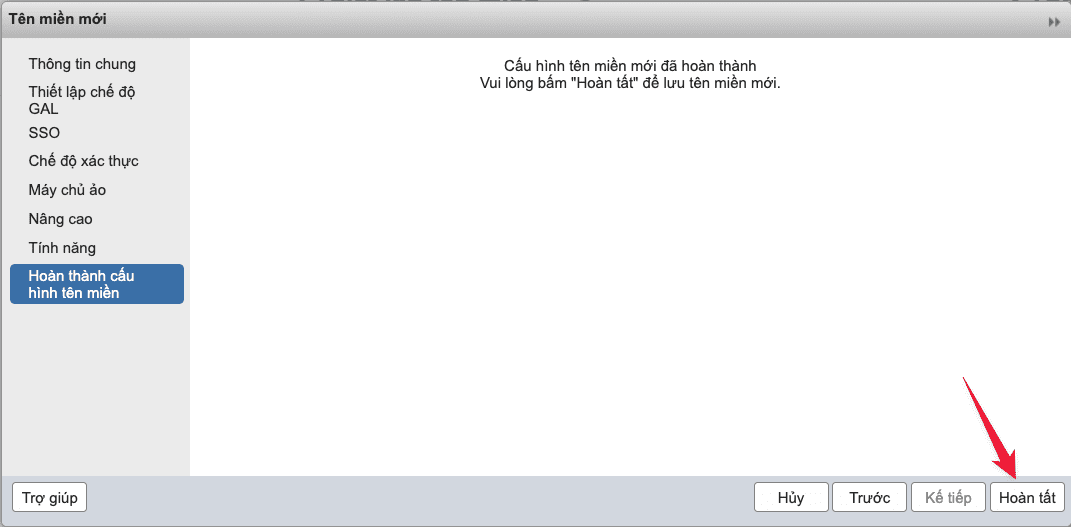
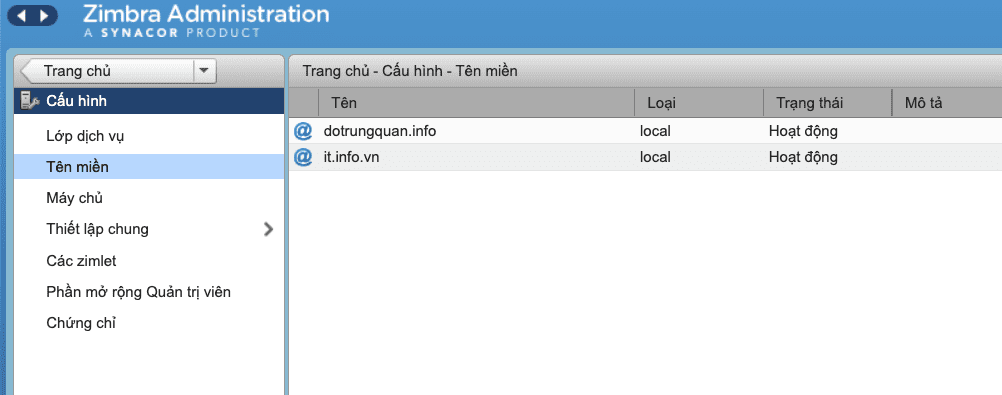
Back on the Domains page you will see the domain name has been added.
If you have questions or need technical support. Please contact the Technical Department using the information below.
You might also like
About the author

Thạch Phạm
Đồng sáng lập và Giám đốc điều hành của AZDIGI. Có hơn 15 năm kinh nghiệm trong phổ biến kiến thức liên quan đến WordPress tại thachpham.com, phát triển website và phát triển hệ thống.