
By default, after installing FASTPANEL, we only have the default PHP 5.4 version to use. But, if we want to use higher PHP versions like PHP 7.3, PHP 7.4… then we need to install more. And in this article, AZDIGI will show you how to install multiple PHP versions on FASTPANEL for ease of use.
I. What is FASTPANEL?
FASTPANEL is an outstanding free web control panel with a lot of features such as:
- Create a website with just a few clicks.
- Email management.
- Database management.
- Manage backup/restore to the cloud.
- Website traffic analysis.
- Create user.
- Two-factor authentication is supported.
- SSL support.
- Support Firewall.
- Support Cron.
- Supports multiple PHP versions.
- Integrated AI-BOLIT malware scanning.
- Integrated Spam Asasin.
- Supports command manipulation without SSH through the console.
- And many other features…
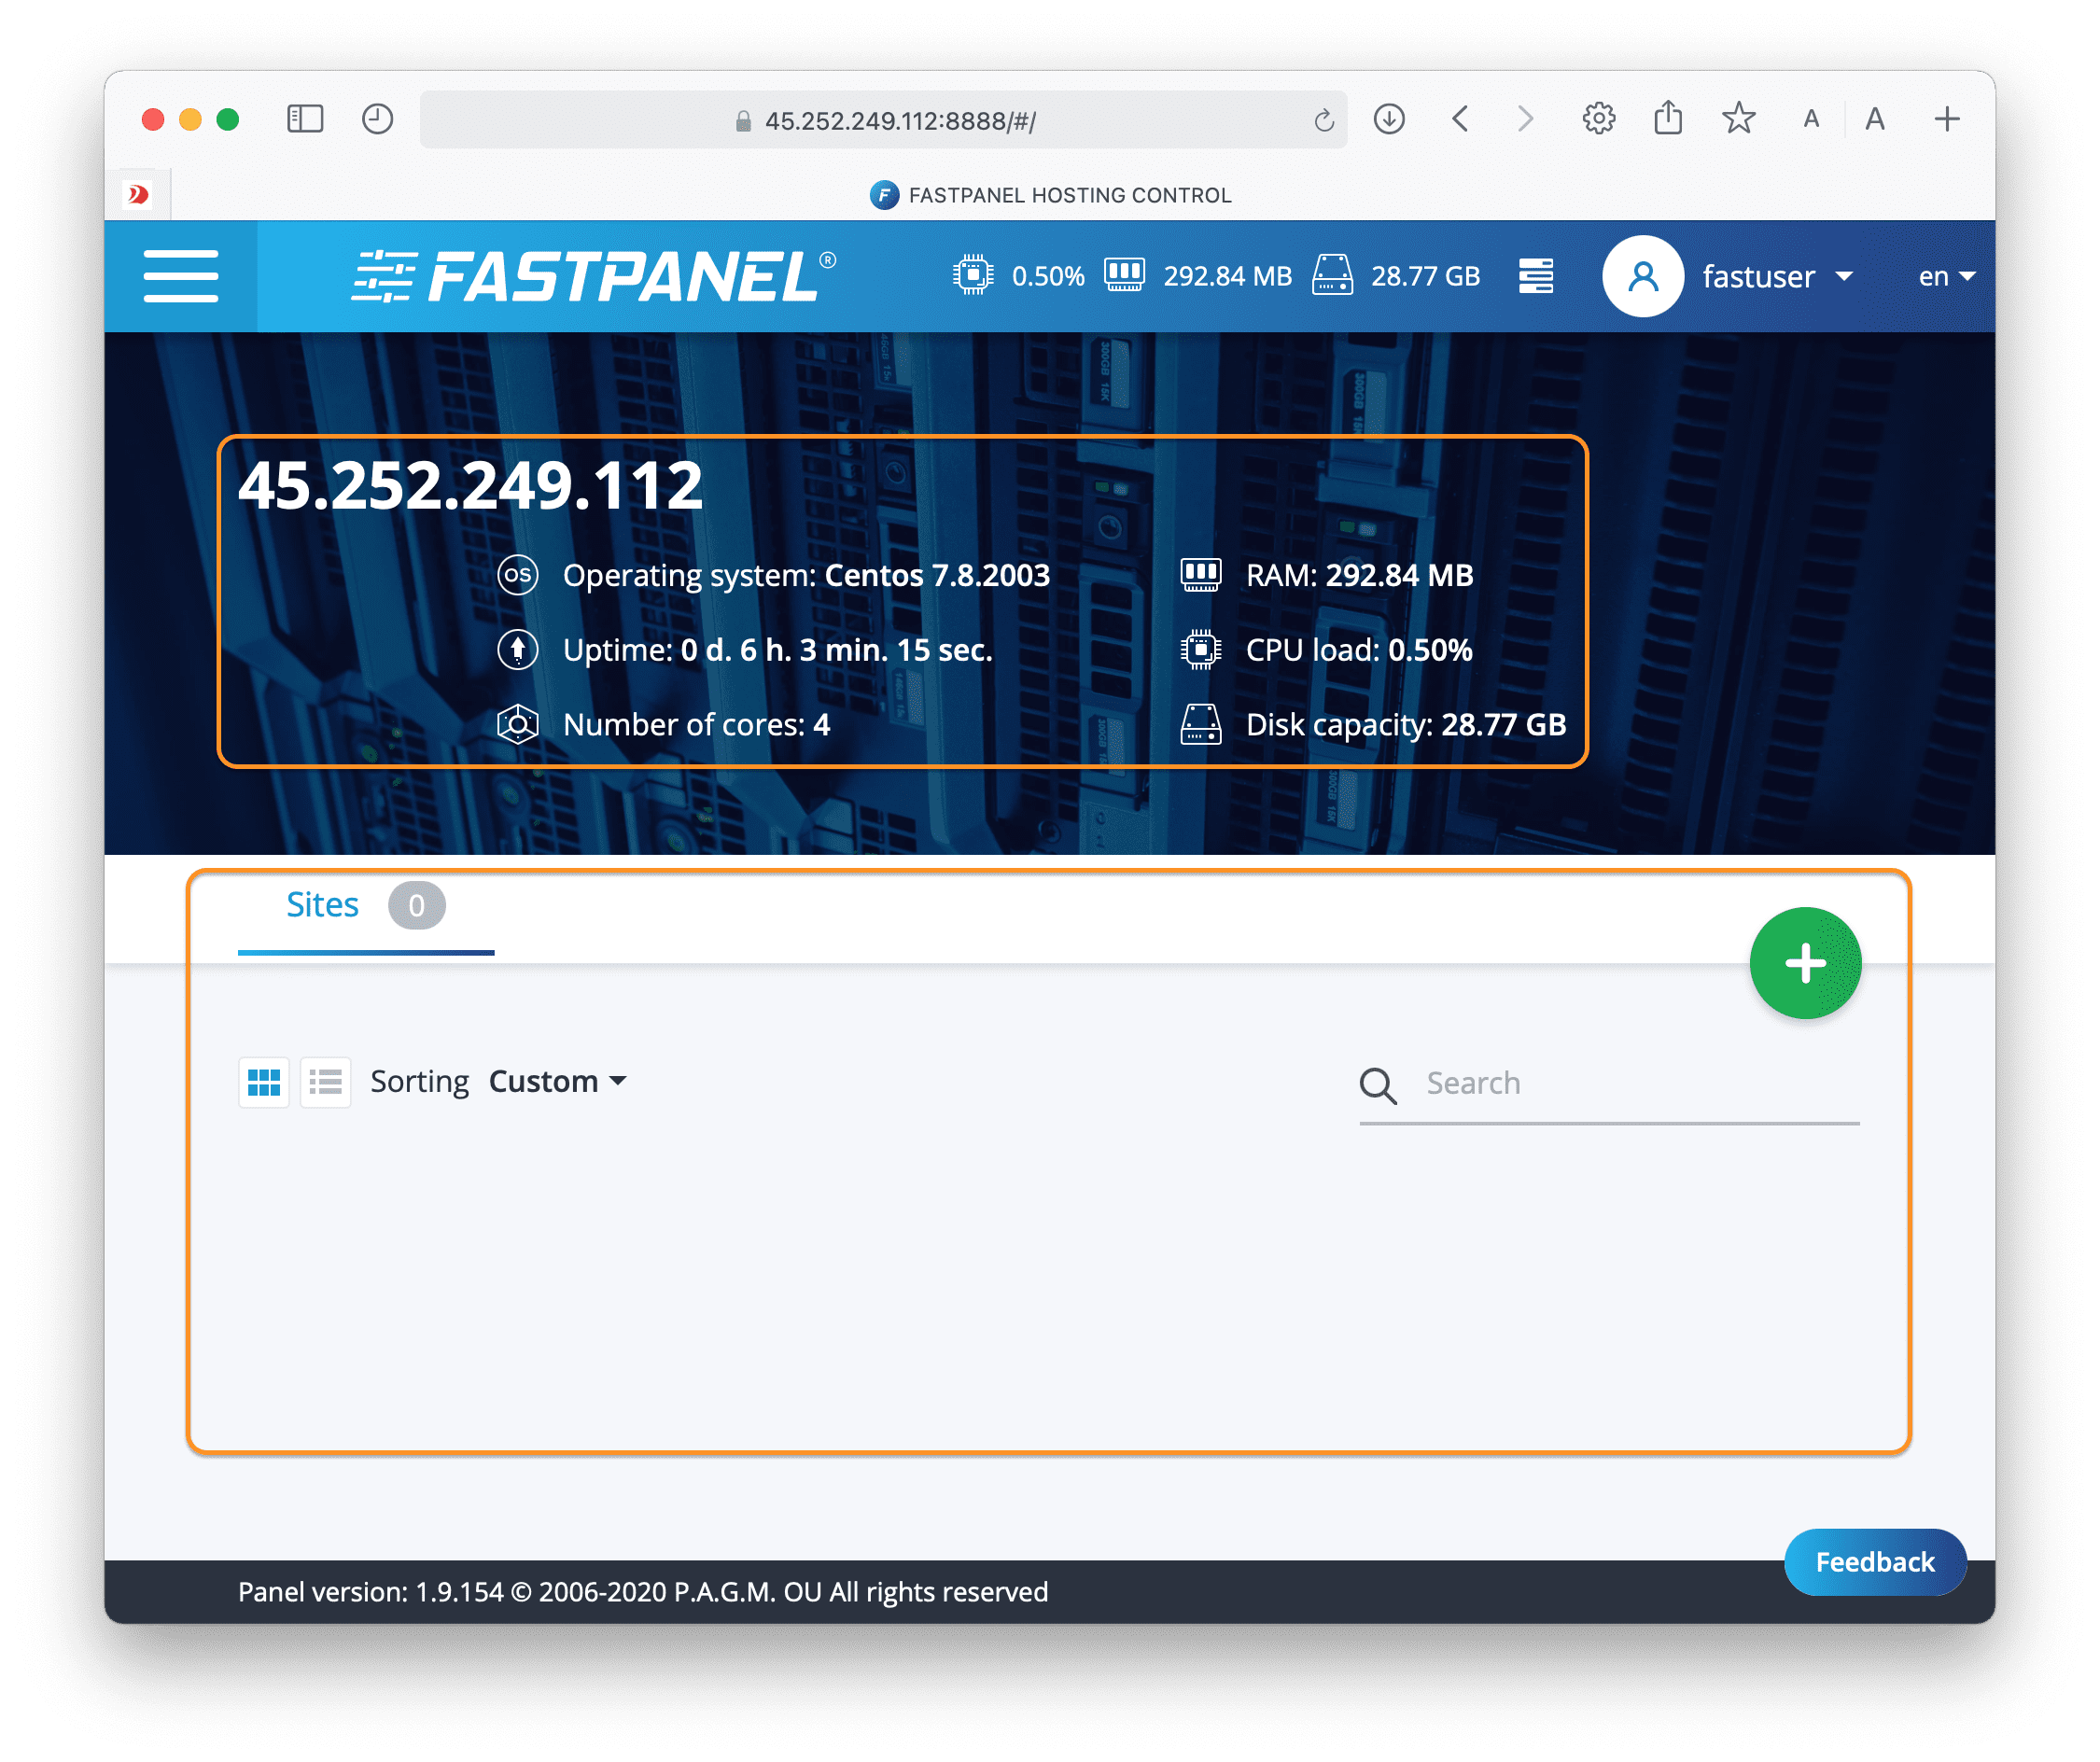
Below is the FASTPANEL interface:
II. How to install multiple versions of PHP on FASTPANEL
To install multiple PHP versions on FASTPANEL, follow these 3 steps.
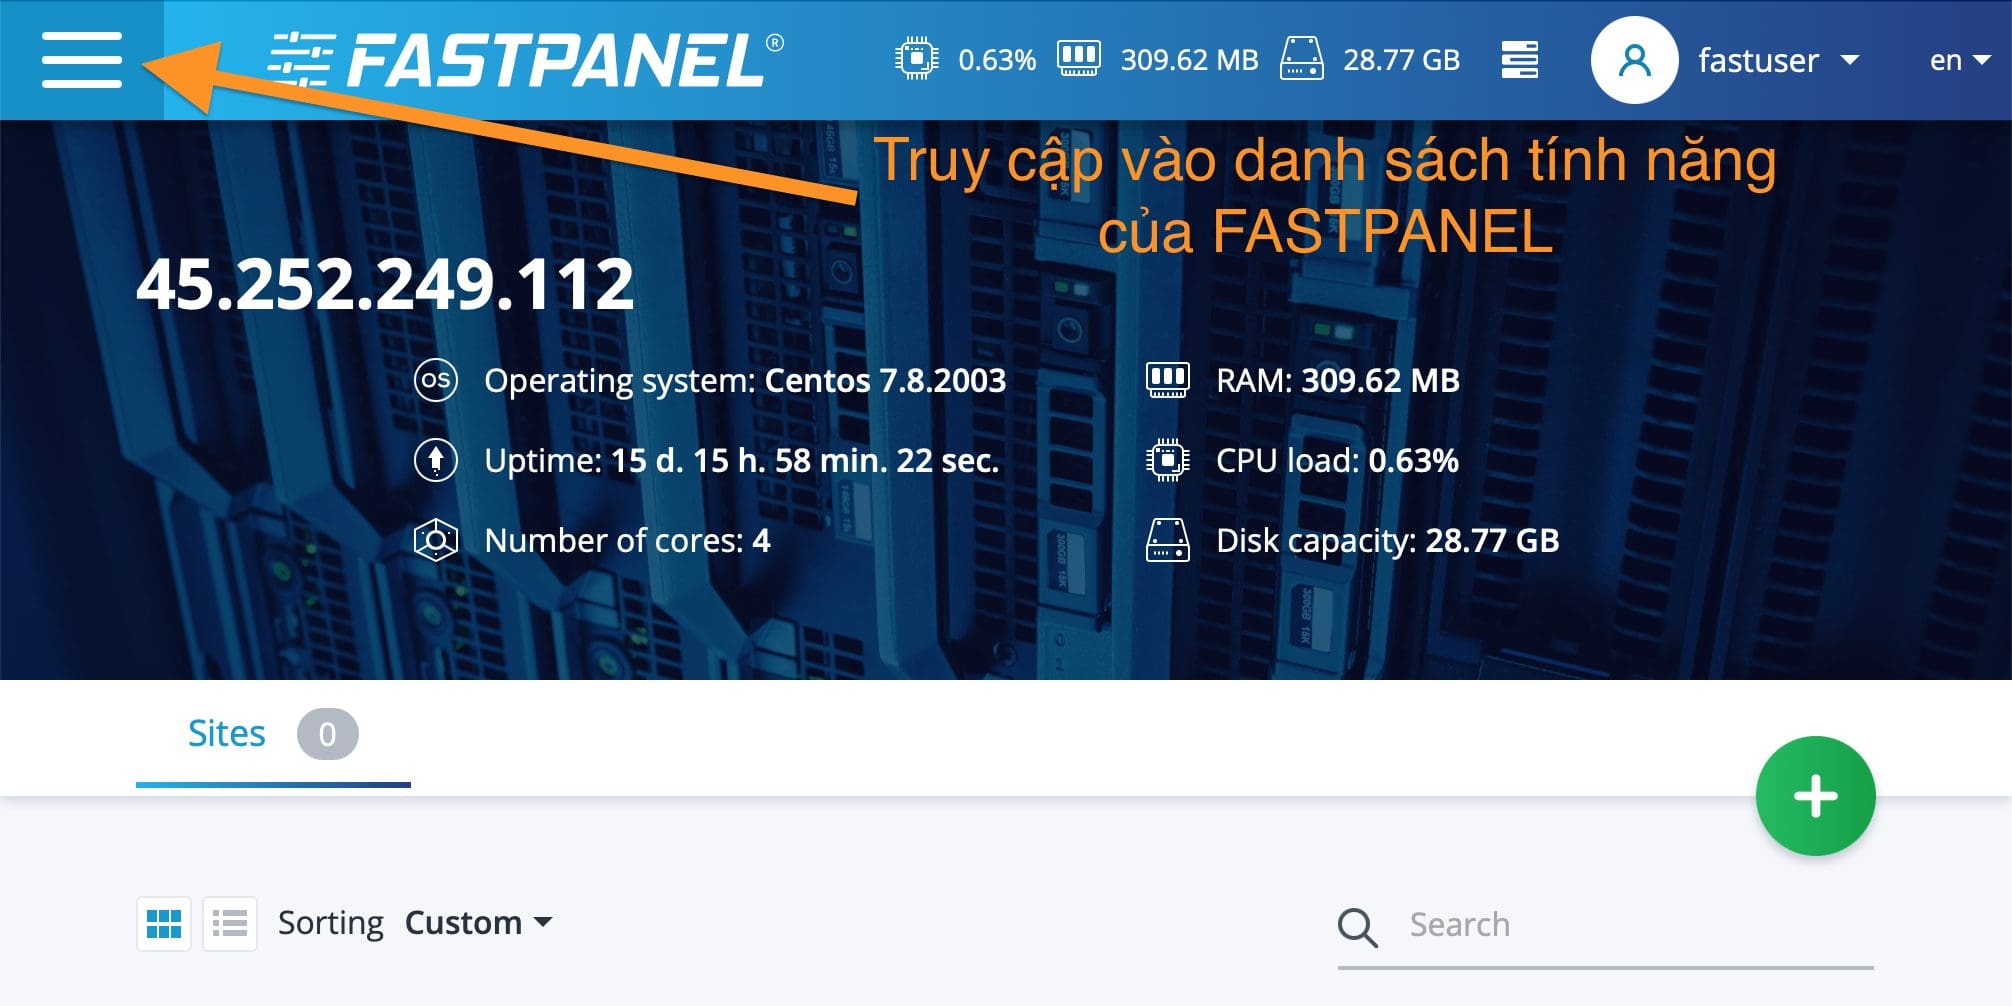
Step 1: Access the FASTPANEL admin page
To access the FASTPANEL interface, you access the link in the form https://IP:8888 on your browser (replace IP to your VPS or FASTPANEL server IP)
Below is my FASTPANEL interface:
Step 2: Install multiple versions of PHP on the FASTPANEL interface
After accessing the FASTPANEL interface, follow the order below:


In the image above, I have outlined 3 areas:
- Area 1: Application search area.
- Area 2: List of installable supported PHP versions.
- Area 3: Action area, you can install or uninstall applications.
I will choose to install PHP 7.4. and after clicking the install button, you will get the installation process message as shown below:
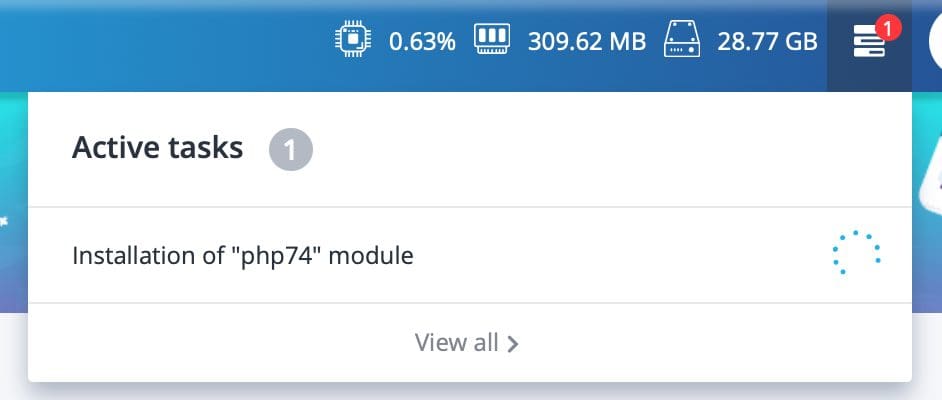
Please wait a few minutes for the installation process to take place, the installation time will be fast or slow depending on the strength of your VPS/Server and your bandwidth.
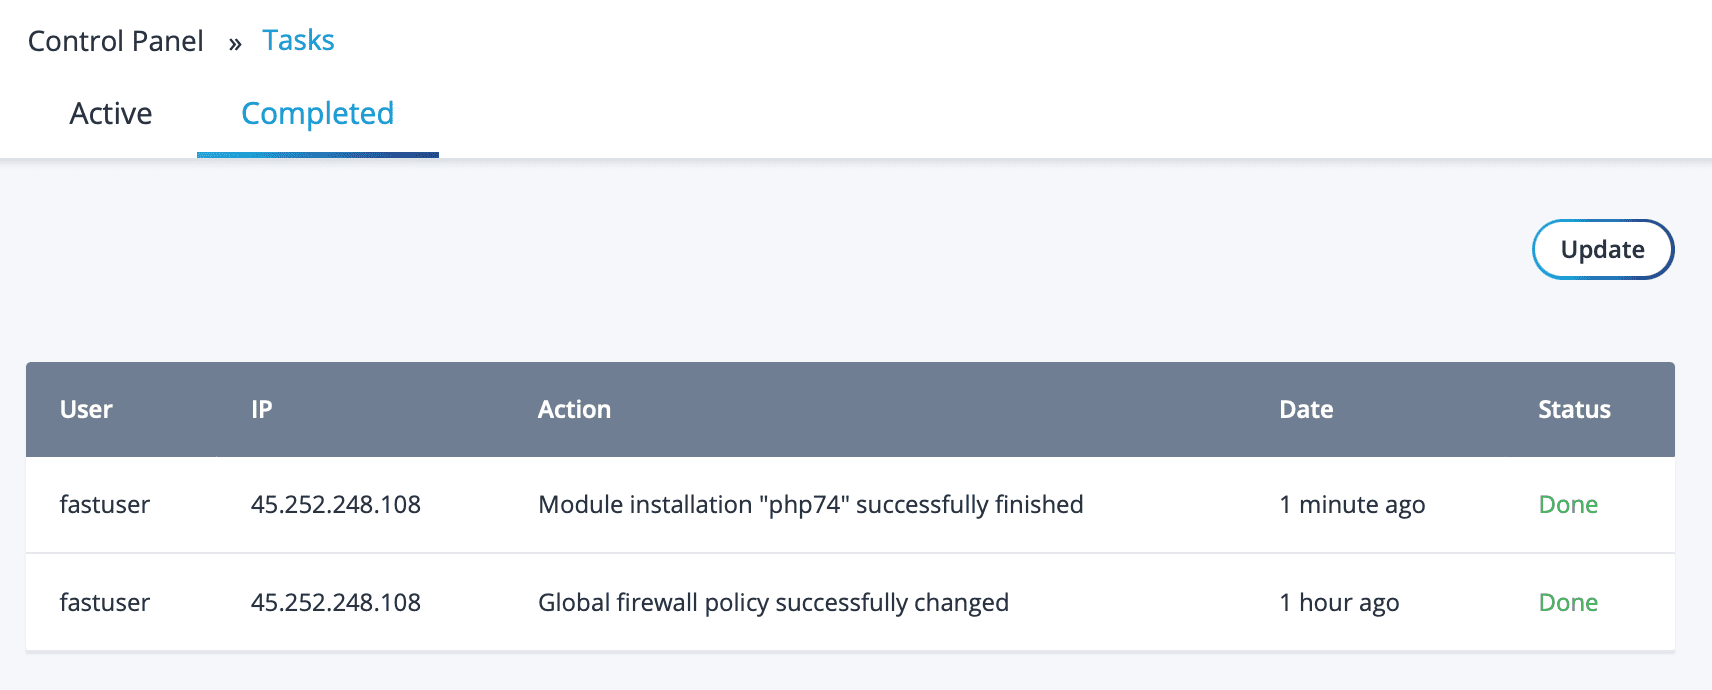
After the message is no longer displayed, the installation is complete. You can recheck the installation log at the following path:
https://IP:8888/#/tasks
Remember to change IP to the IP address of your VPS/server.
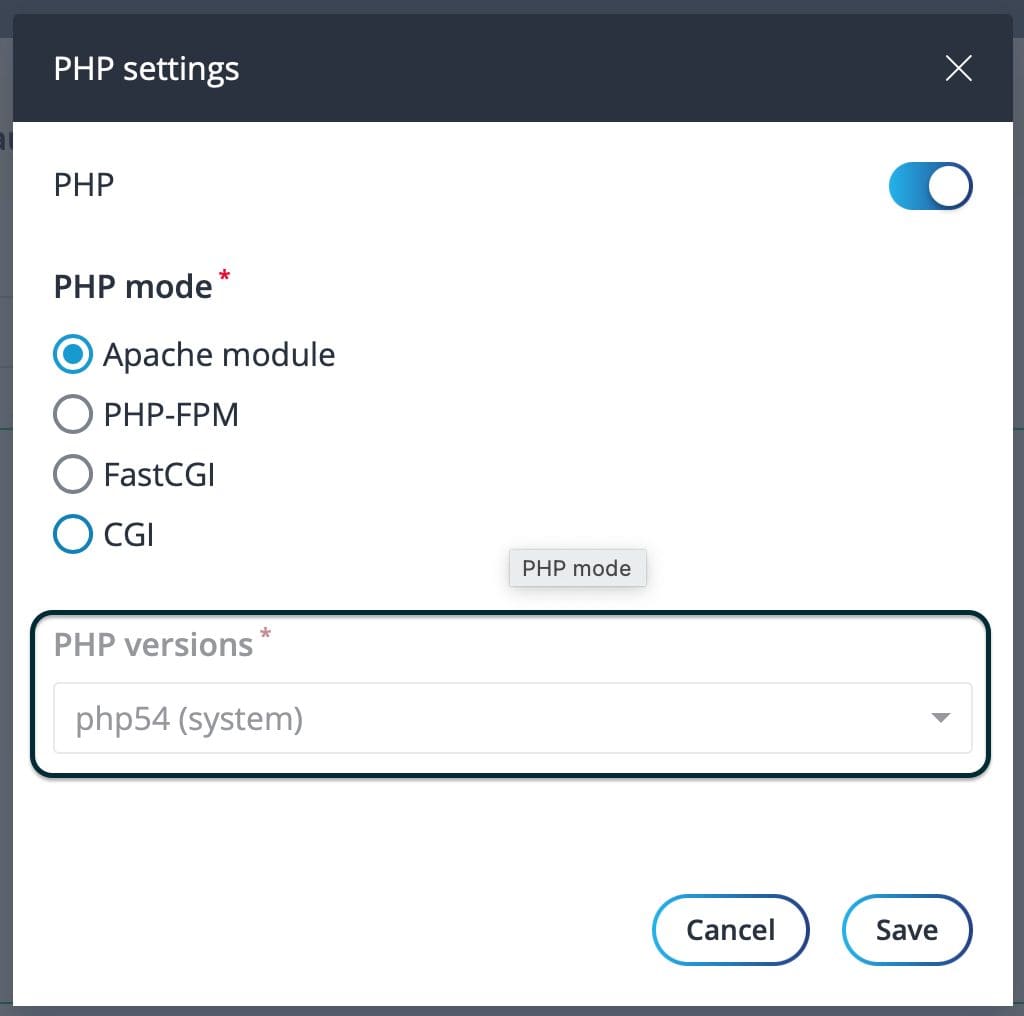
Step 3: Select the newly installed PHP version
Try adding a new website to the PHP selection step, you need to choose a different PHP mode than Apache module to be able to choose a new PHP version.

So you have completed the steps to install multiple PHP versions on FASTPANEL. Similarly, you can install other PHP versions if you want.
III. Summary
Hopefully, through this article, you have learned how to install multiple versions of PHP on FASTPANEL and how to choose the PHP version when creating a new website.
About the author

Thạch Phạm
Đồng sáng lập và Giám đốc điều hành của AZDIGI. Có hơn 15 năm kinh nghiệm trong phổ biến kiến thức liên quan đến WordPress tại thachpham.com, phát triển website và phát triển hệ thống.