In this article, AZDIGI will show you how to enable cURL on DirectAdmin simply.
I. What is cURL?
cURL is a computer software project that provides libraries and command-line tools for transferring data using a variety of protocols; it was first released in 1997. It stands for “Client URL”. The original author, as well as the lead developer, is Swedish developer Daniel Stenberg.
cURL uses many support protocols such as HTTP, HTTPS, FTPS,…
Currently, most websites using WordPress source code use this tool to communicate with WordPress.org and many other websites on the internet.
By default, when we install DirectAdmin, DirectAdmin will not install cURL. Therefore, it is imperative that we actively activate it to use it. However, the way to enable it is quite simple, you just need to have SSH permissions with root to be able to do it.
II. Enable cURL on DirectAdmin
To enable cURL on DirectAdmin, we follow these 2 steps.
Step 1: SSH into your DirectAdmin system
To enable cURL on DirectAdmin, we first need to SSH or access your VPS/server with root privileges. If you don’t know how to SSH into your VPS/Server, you can refer to the following tutorial:
After successfully SSH, we continue with step 2 to execute cURL activation commands on DirectAdmin.
Step 2: Command to enable cURL on DirectAdmin
To enable cURL to DirectAdmin, we execute the following 4 commands:
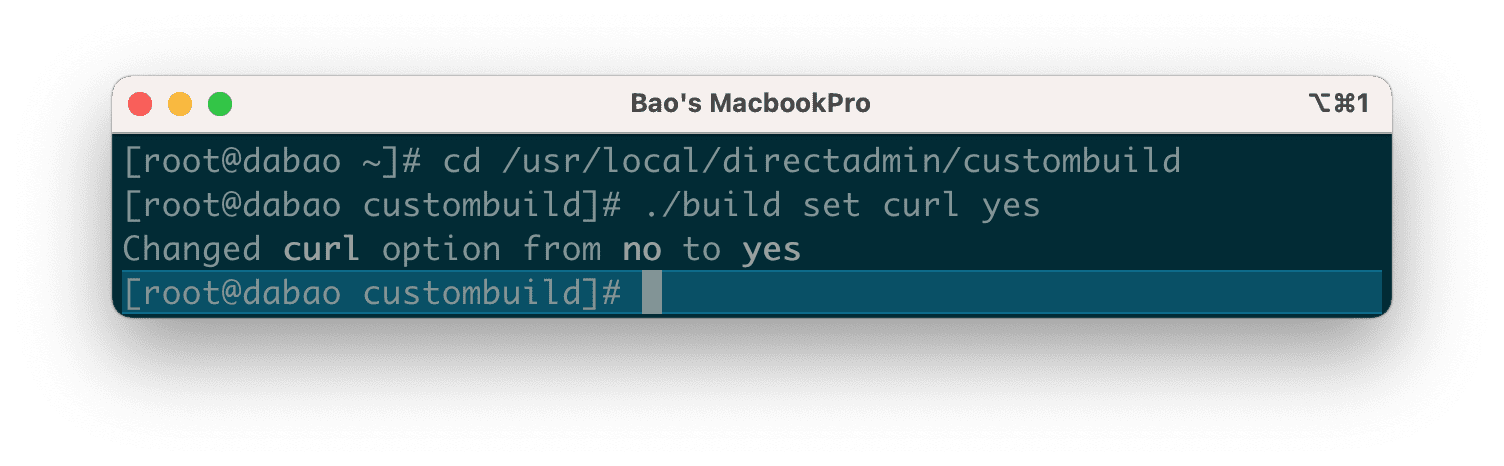
cd /usr/local/directadmin/custombuild
./build set curl yes
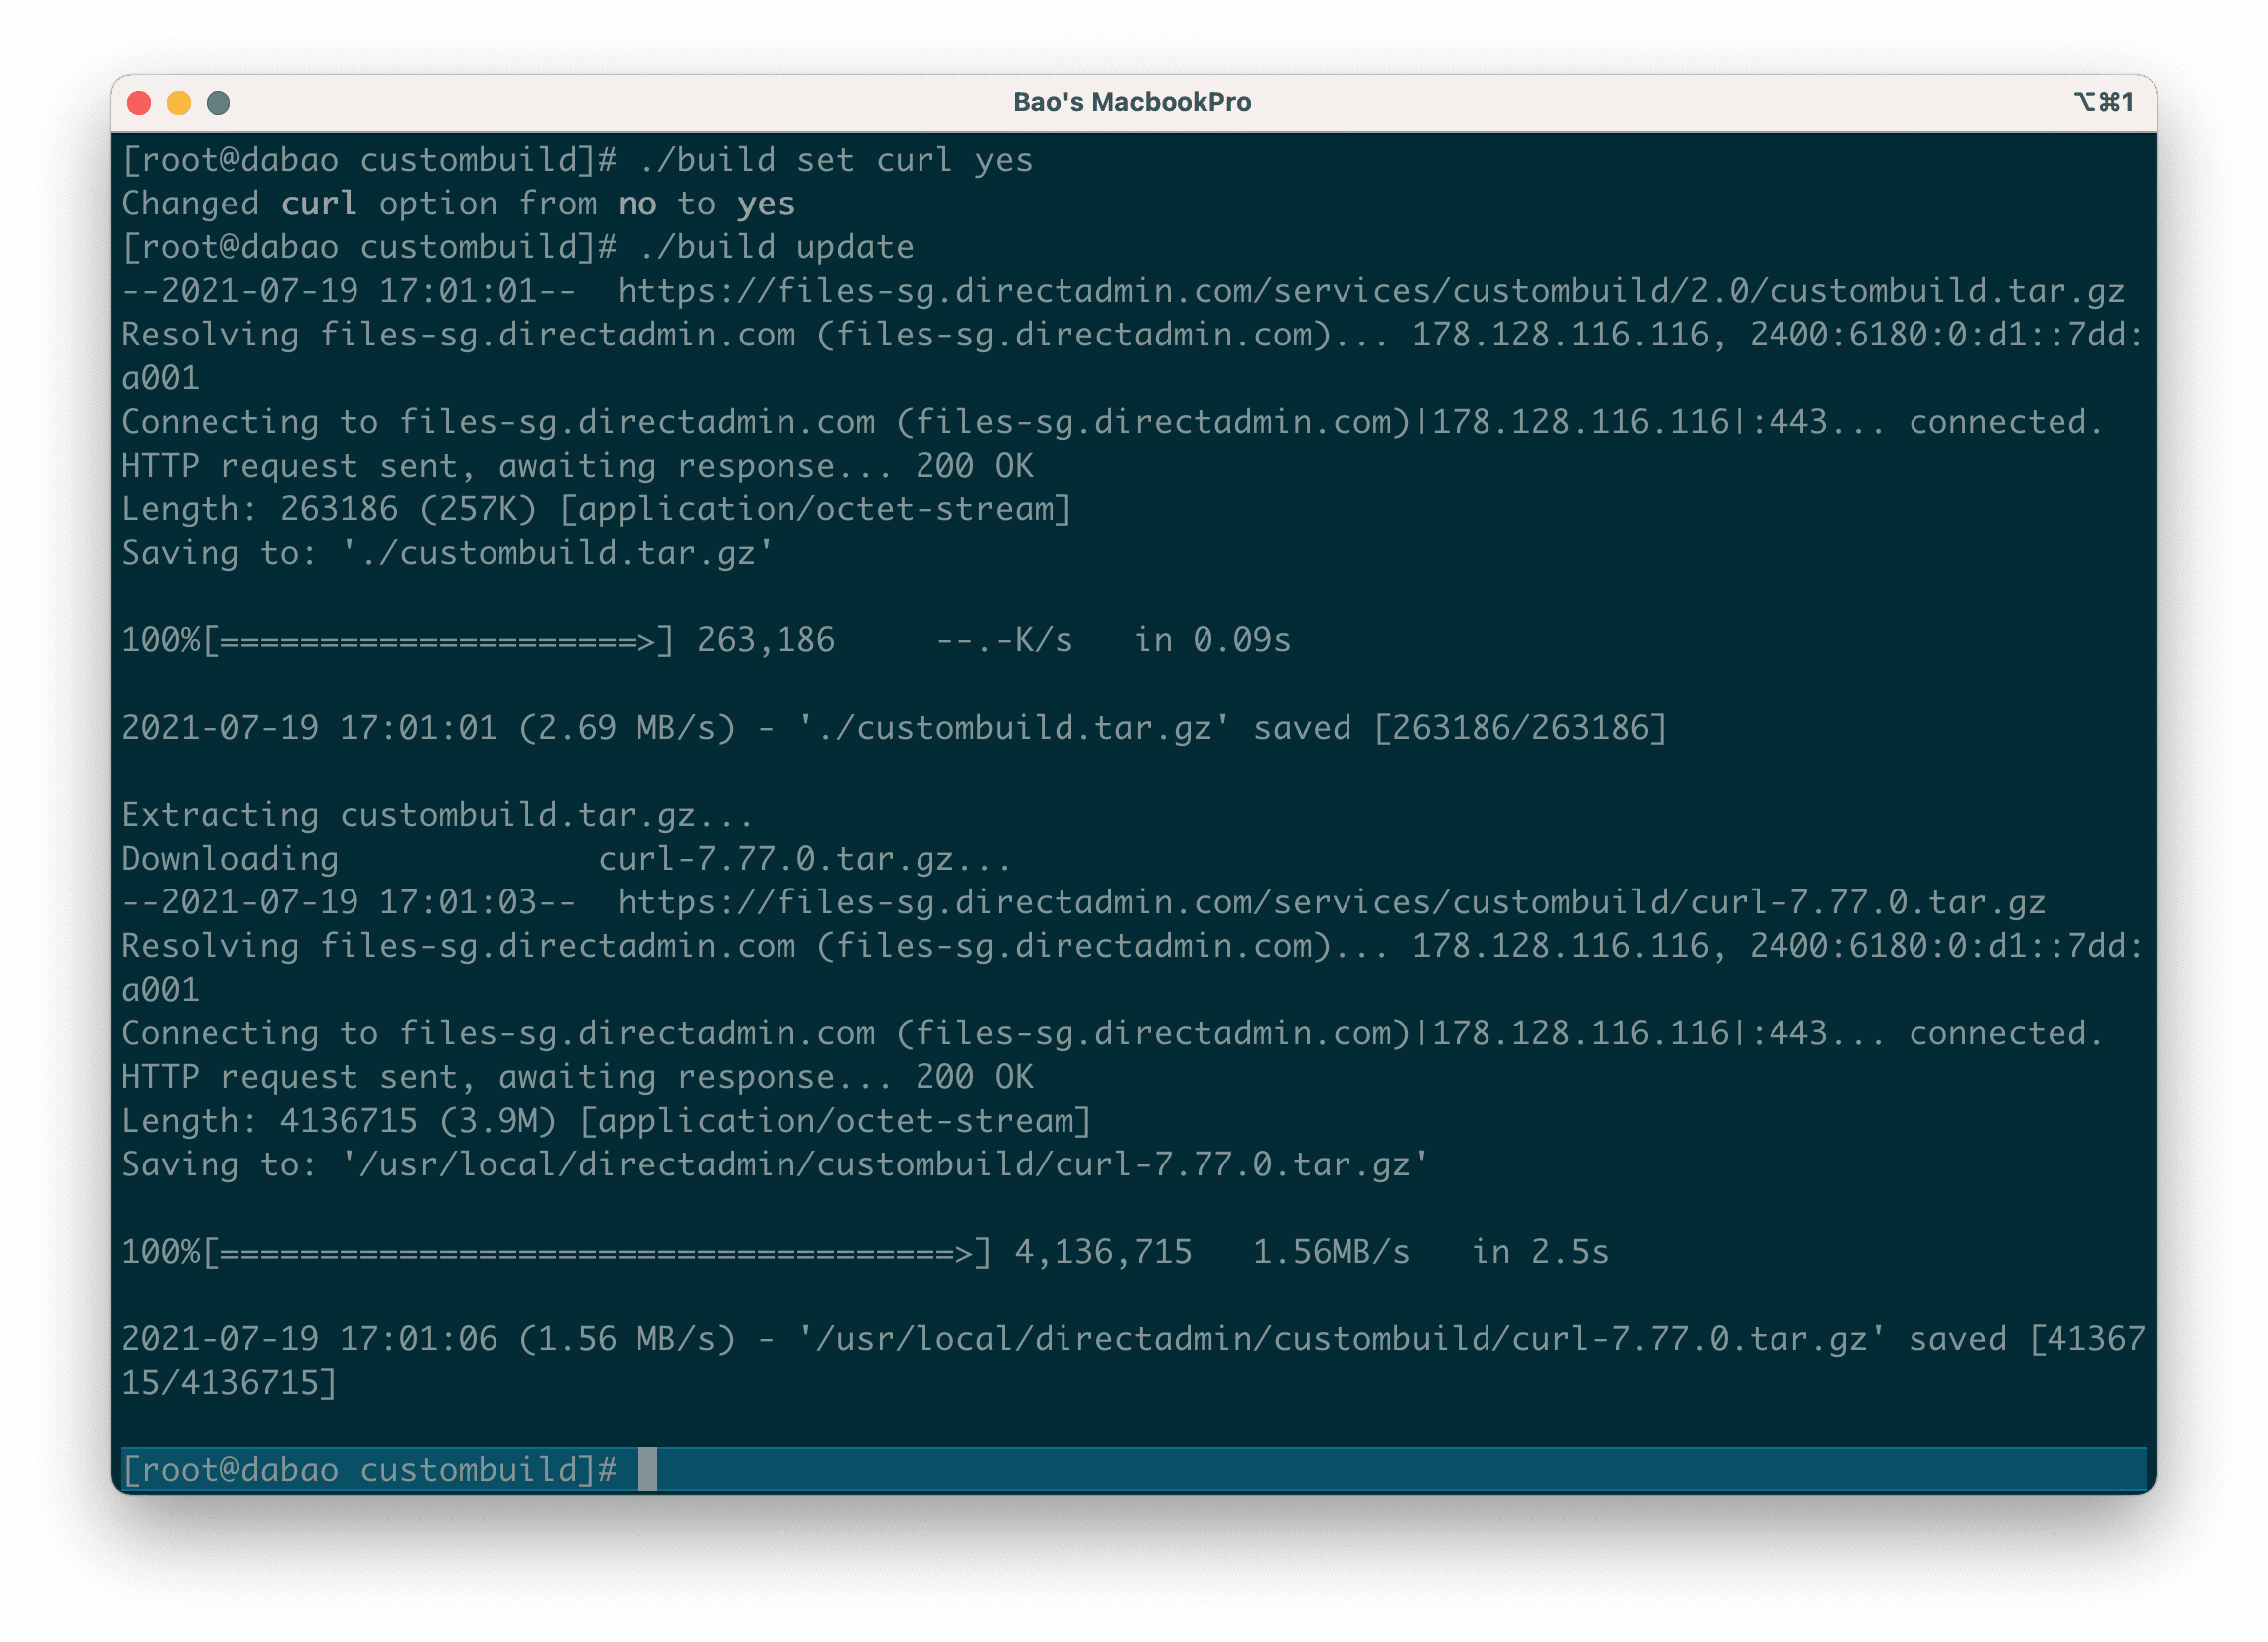
./build update
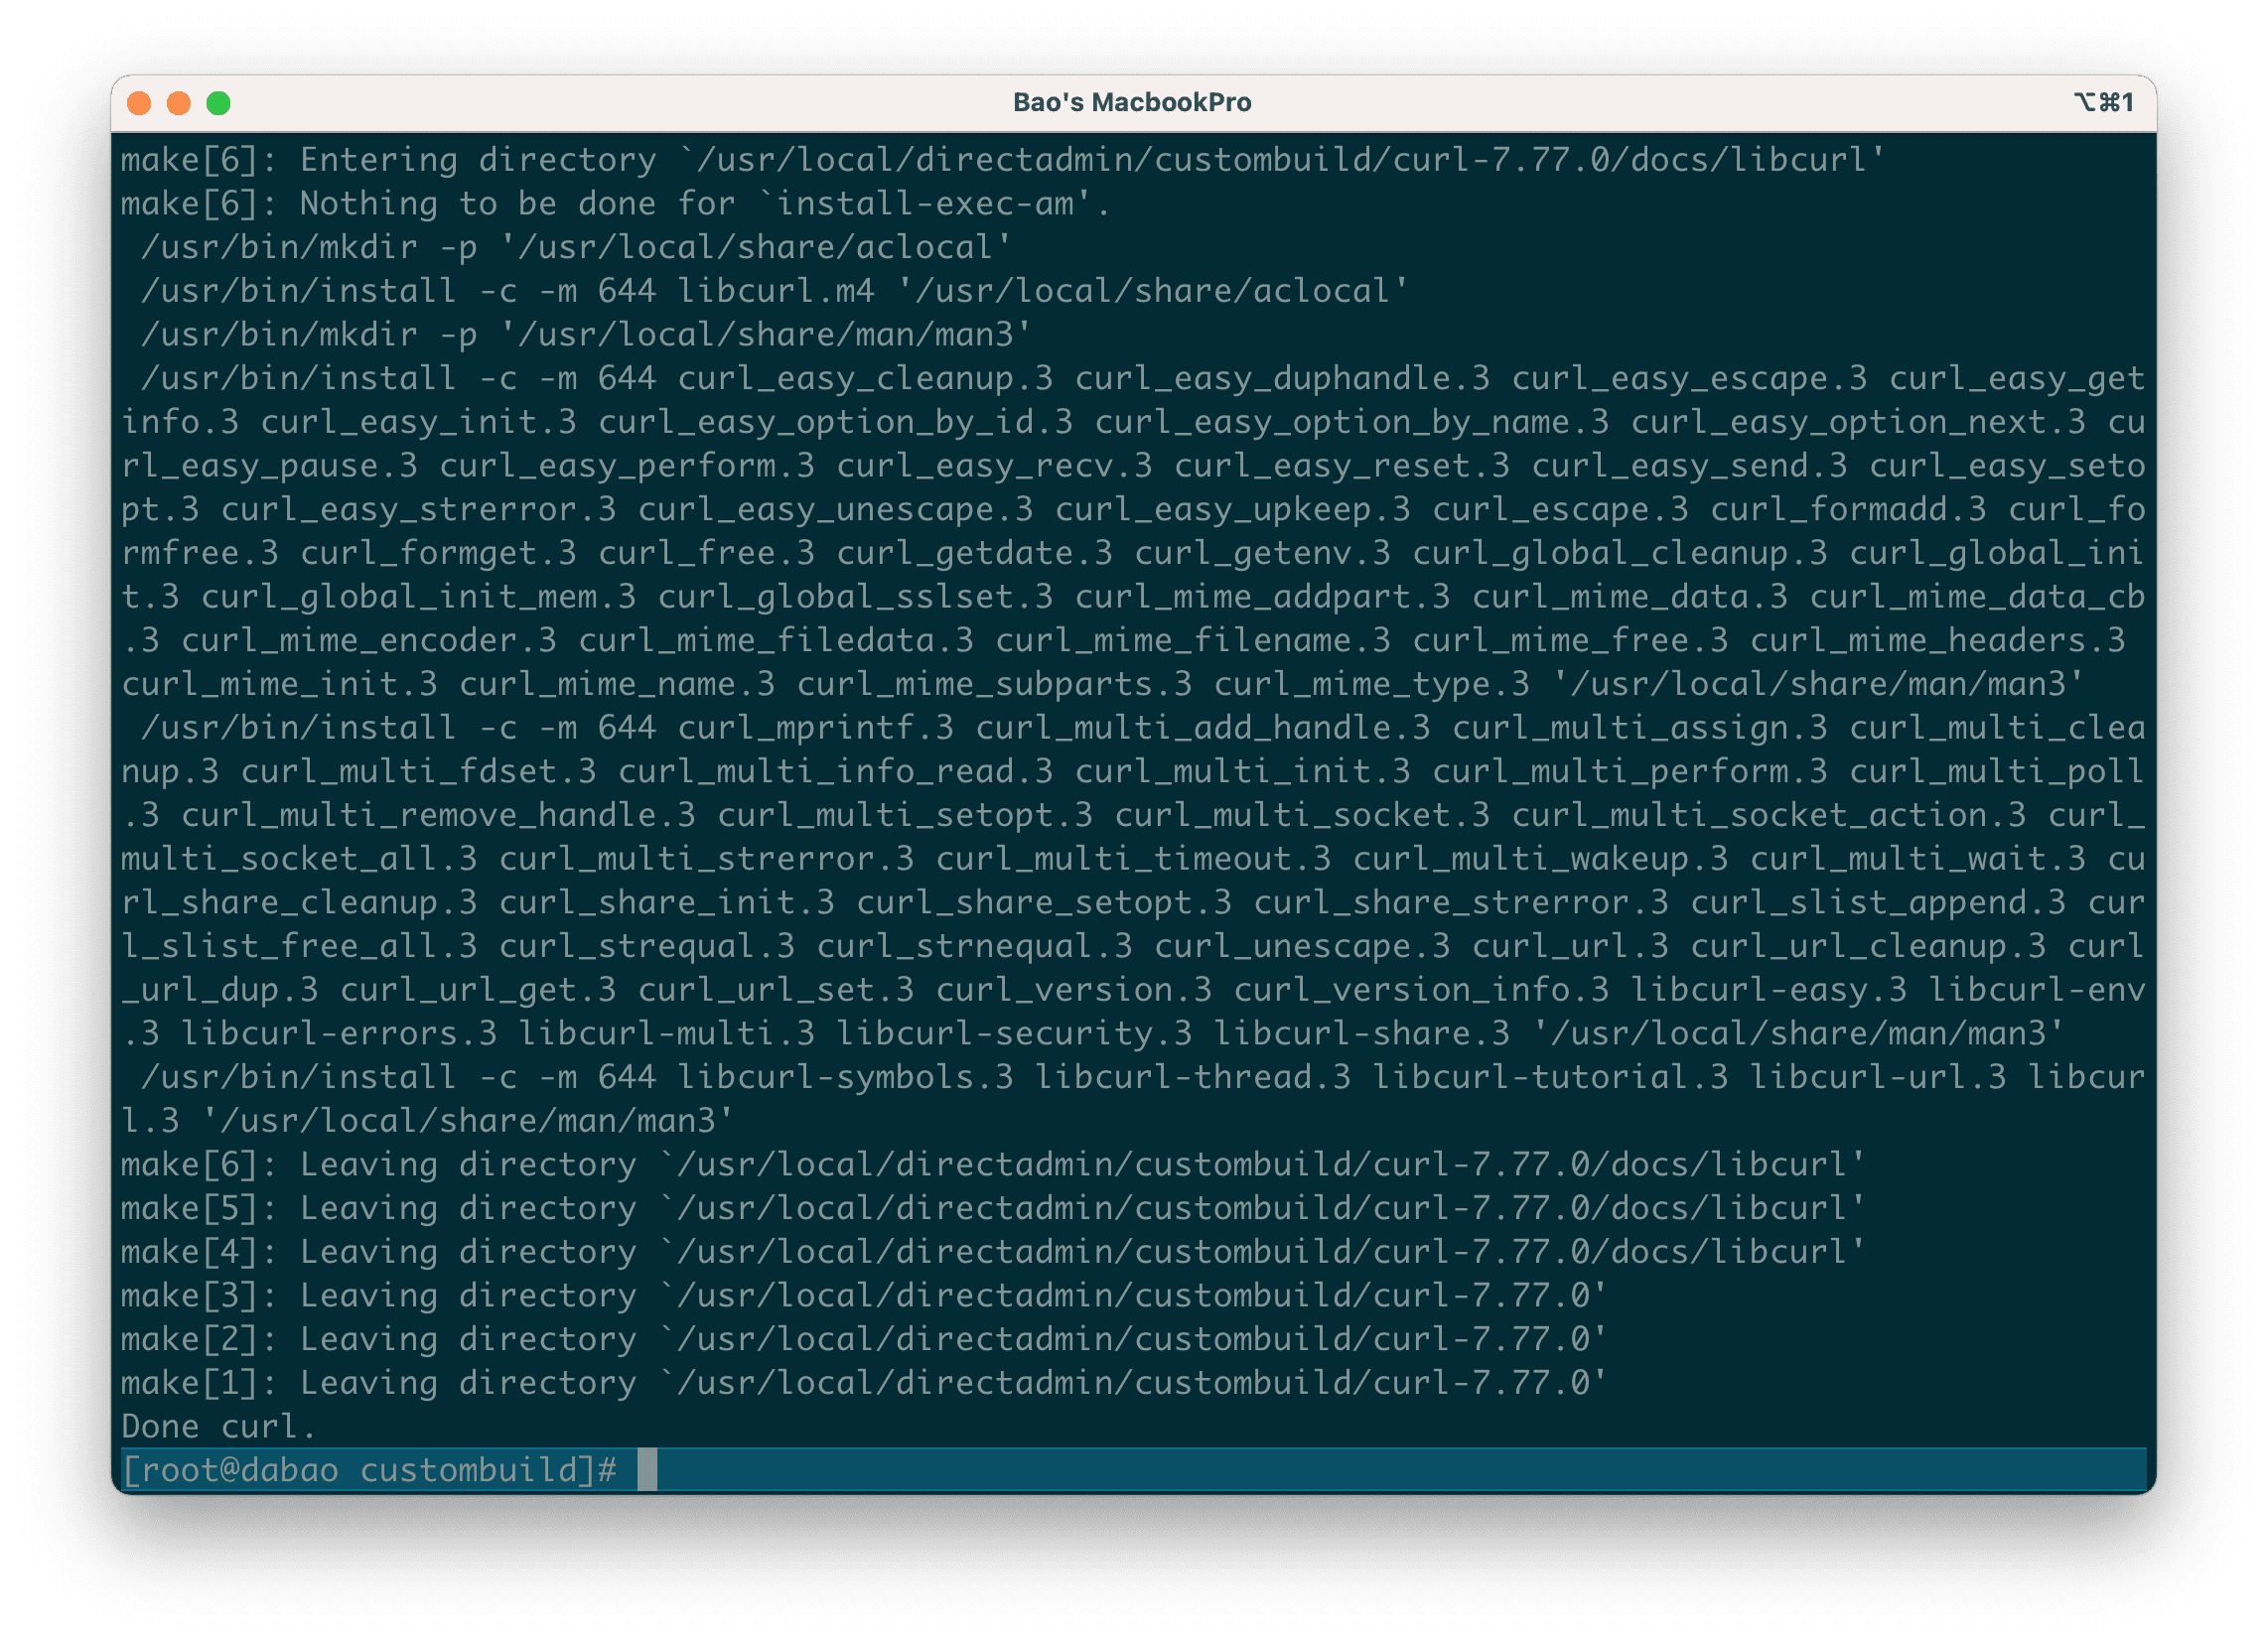
./build curl
Explanation of the above commands:
- Command 1: Move into custombuild folder.
- Command 2: Declare to custombuild that we will use cURL.
- Command 3: Update custombuild script.
- Command 4: Enable cURL.
Below are the images in my cURL activation process:

Then you can check what version of cURL you have just installed with the following command:
curl -V
At the time I wrote this article, the cURL’s latest version was 7.77.0.
Later, if you want to upgrade the cURL version, you can refer to the following tutorial:
III. Summary
Hopefully, this article will help you to enable cURL on DirectAdmin successfully. From there, the Websites/Services on your server can operate/communicate with each other more effectively.
See more useful articles about DirectAdmin at the following link:
If you need assistance, you can contact support in the ways below:
- Hotline 247: 028 888 24768 (Ext 0)
- Ticket/Email: You use the email to register for the service and send it directly to support@azdigi.com.
About the author

Thạch Phạm
Đồng sáng lập và Giám đốc điều hành của AZDIGI. Có hơn 15 năm kinh nghiệm trong phổ biến kiến thức liên quan đến WordPress tại thachpham.com, phát triển website và phát triển hệ thống.