ImageMagick is a set of software (which can be called a library) to process image files. Imagick is a PHP extension used to create and modify images using the ImageMagick API on Linux systems.
ImageMagick can read, write, and convert many image file formats such as JPEG, GIF, PNG, TIFF, PDF, PostScript, SVG … (more than 100 formats in total). ImageMagick can be used to perform simple operations with images such as: moving, rotating, flipping, zooming, dragging the image, as well as adjusting colors, adding effects, or drawing text and shapes into existing image files.
The most effective way to use ImageMagick is through commands executed in programming languages. ImageMagick supports API application programming interfaces for many different programming languages.
In this article, AZDIGI will show you to install ImageMagick on DirectAdmin the fastest.
Step 1: SSH into your system
First, we need to access your VPS/server via SSH protocol. If you don’t know how to SSH into your VPS/Server, you can refer to the following tutorial:
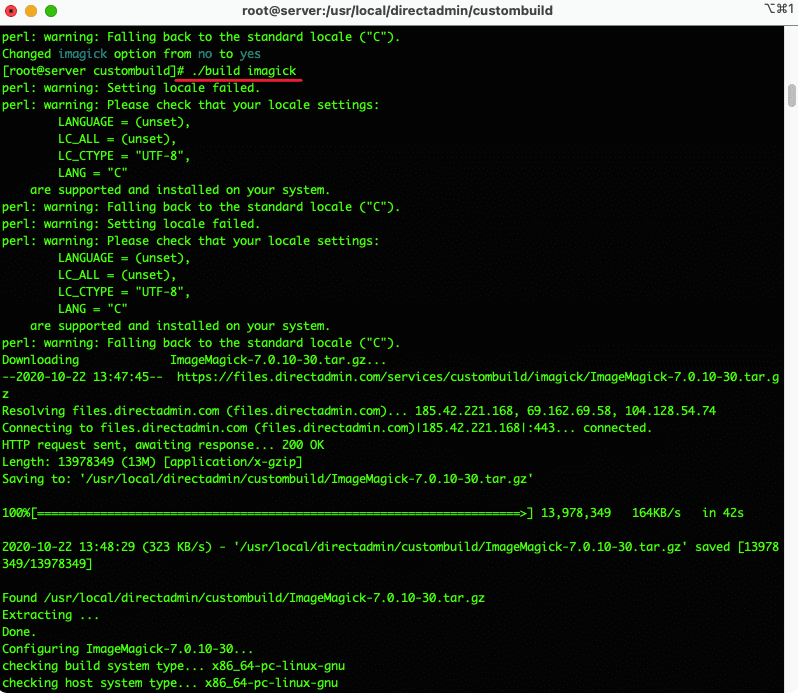
Step 2: Install ImageMagick on DirectAdmin
After successfully SSH into the server, you can install ImageMagick with the following commands:
cd /usr/local/directadmin/custombuild
./build update
./build set imagick yes
./build imagick
./build php n
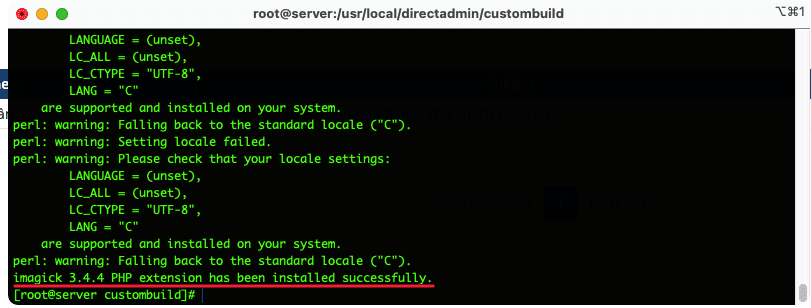
The installation will take 5 to 10 minutes. After the installation is complete, you will see the complete installation message as below:
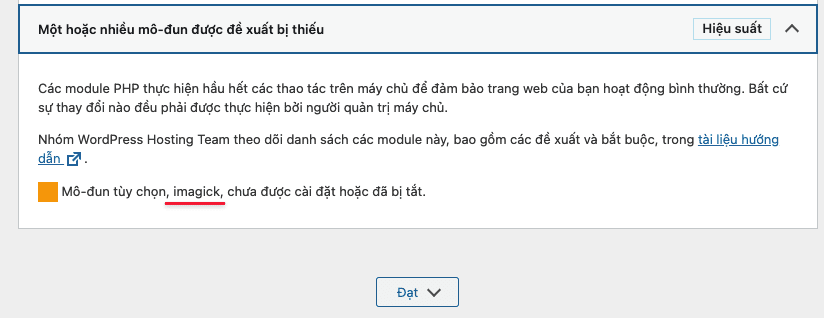
Step 3: Check the installation of imagick on DirectAdmin
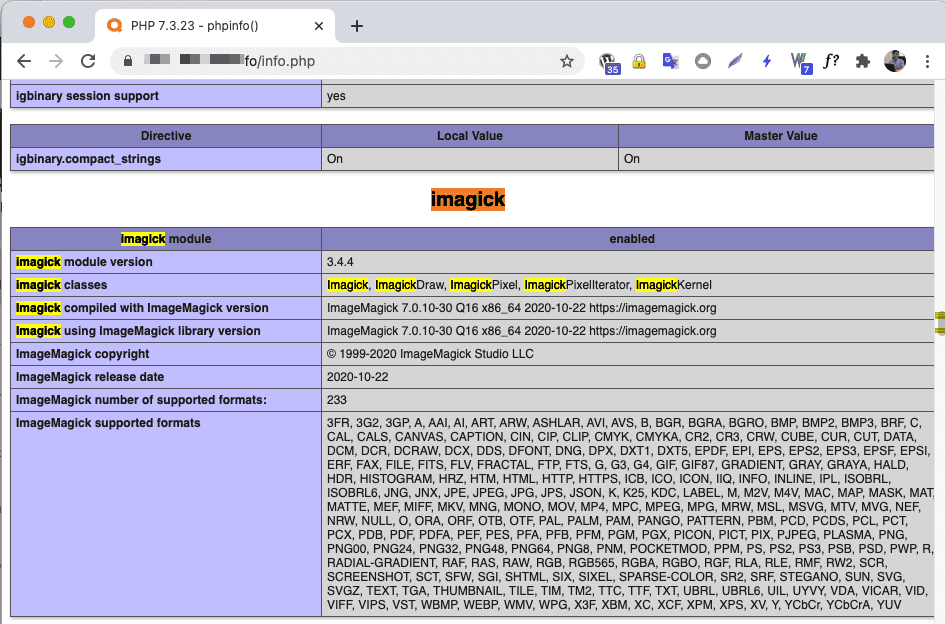
To be sure, check ImageMagick with the info php file: access the archive source code => create any php file. For example, I created a file named info.php with the following content:
Once created, go to http://my-domain/info.php and check ImageMagick. If the screen shows as below, it is successful.
Thus, AZDIGI has completed the installation steps of ImageMagick on DirectAdmin. Hope this article will help you. Wishing you success!
About the author

Thạch Phạm
Đồng sáng lập và Giám đốc điều hành của AZDIGI. Có hơn 15 năm kinh nghiệm trong phổ biến kiến thức liên quan đến WordPress tại thachpham.com, phát triển website và phát triển hệ thống.