I. What is Jetbackup?
Jetbackup is an extension software with many backup functions for source code, databases, logs, snapshots,… and many other great features. But the advantage of Jetbackup is to provide your customers with self-service capabilities.
So what is self-service here?
Self-service means customers can manage their backups and restore when they want instead of sending a request to the system administrator. You will not need to support customers too much when they need support, increasing customer satisfaction.

So how to install Jetbackup into DirectAdmin? Please follow along.
II. How to install Jetbackup into DirectAdmin
To install Jetbackup into DirectAdmin, we follow these 3 steps.
Step 1: Register for a Jetbackup license
First, you will need to register for a JetBackup license at the following link:
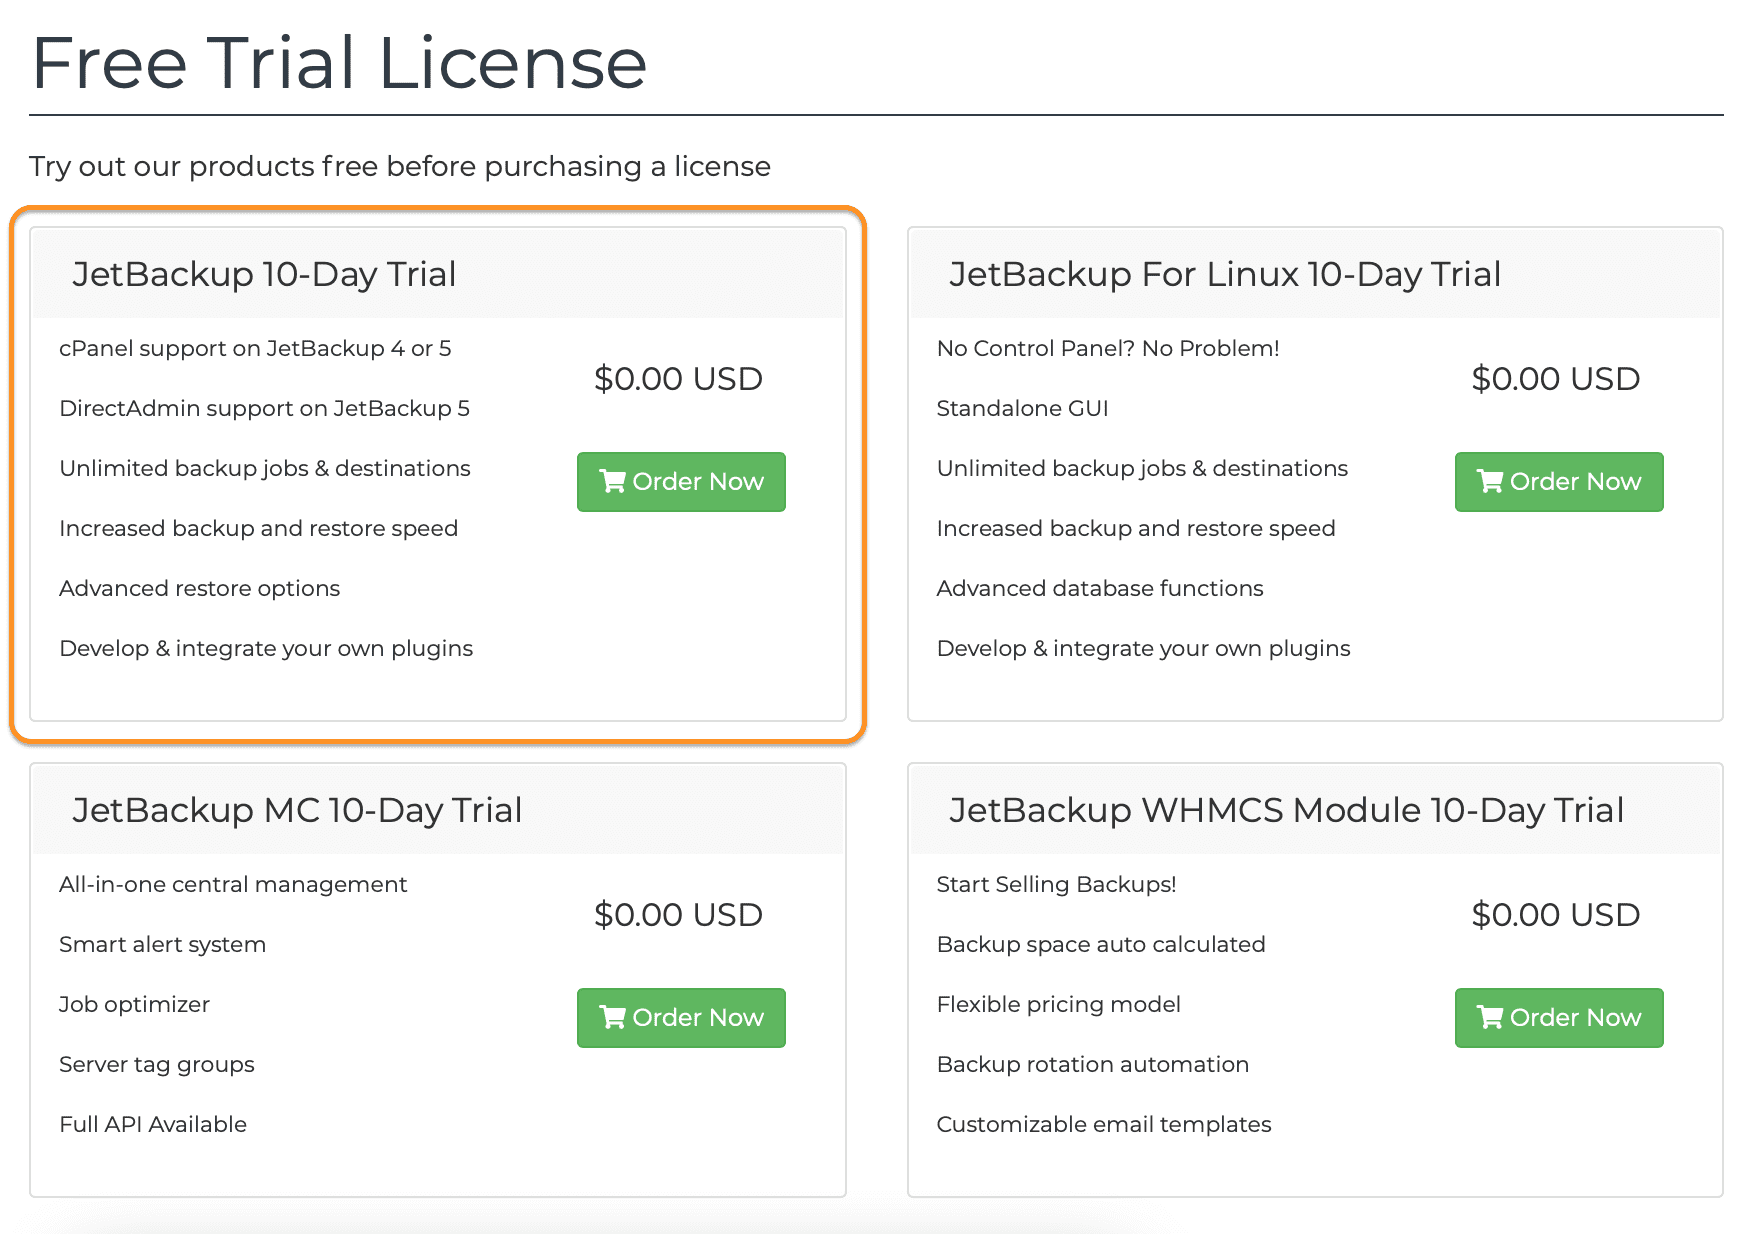
Because I want to try it first, I will choose Free Trial License. And I’m using DirectAdmin, so I’ll select Jetbackup 10-Day Trial.
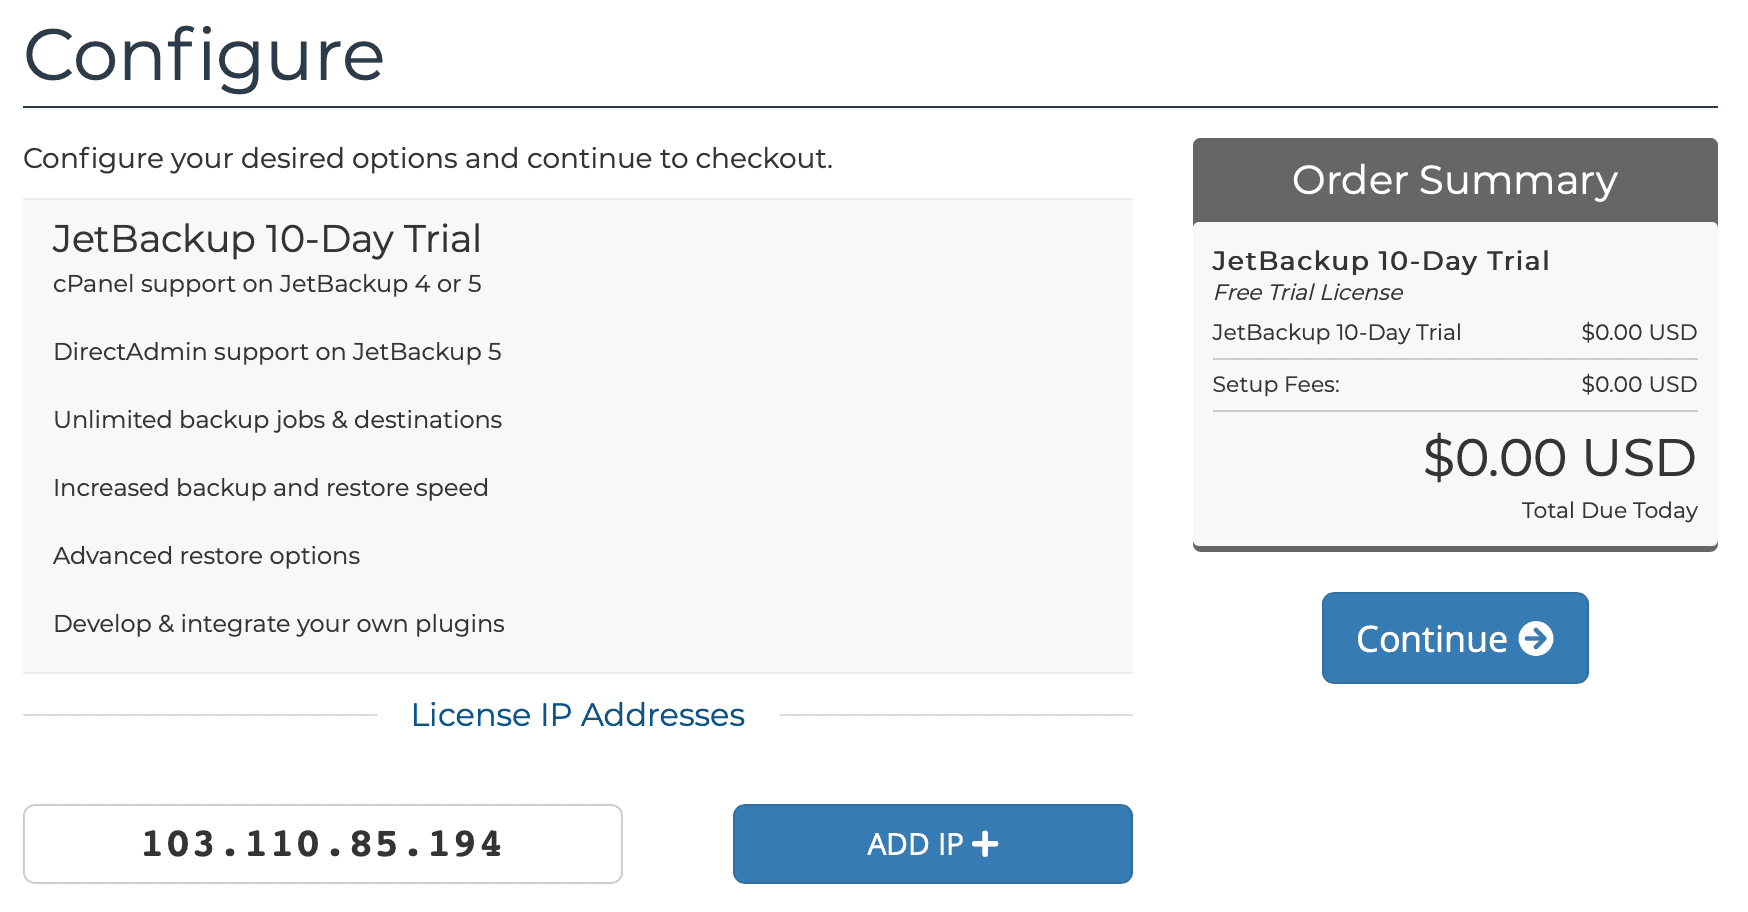
Next, enter your server IP address in the License IP Addresses box. My server only has one IP, so I only enter one IP, and if you have many IPs, choose ADDIP+ to add other IPs => click Continue.
Select Checkout to continue with the registration.
You need to enter your payment information at this step and receive the following email.

That’s it, the trial registration step is complete. If after 10 days you don’t want to try it anymore, please go to the following link to unlink the payment account.
We continue with step 2 to perform the commands to install Jetbackup into DirectAdmin.
Step 2: SSH into your DirectAdmin system
To install Jetbackup into DirectAdmin, we first need to SSH or access your VPS/server with root privileges. If you do not know how to SSH into your VPS/Server, you can refer to the following tutorial:
After successfully SSH, we continue with step 3 to perform the commands to install Jetbackup into DirectAdmin.
Step 3: Commands to install JetBackup into DirectAdmin
Conditions for you to install Jetbackup into DirectAdmin include:
- Operation System: CentOS 7/8 64bit.
- DirectAdmin version: 1.60.4 or later.
If your DirectAdmin version is older than you can refer to the following guide to upgrade DirectAdmin to the new version:
After satisfying the above conditions, we perform the following 4 commands to install Jetbackup:
yum install http://repo.jetlicense.com/centOS/jetapps-repo-latest.rpm -y
yum clean all --enablerepo=jetapps*
yum install jetapps --disablerepo=* --enablerepo=jetapps -y
jetapps --install jetbackup-directadmin edge -y
Below is my screen after I have finished running 4 installation commands.
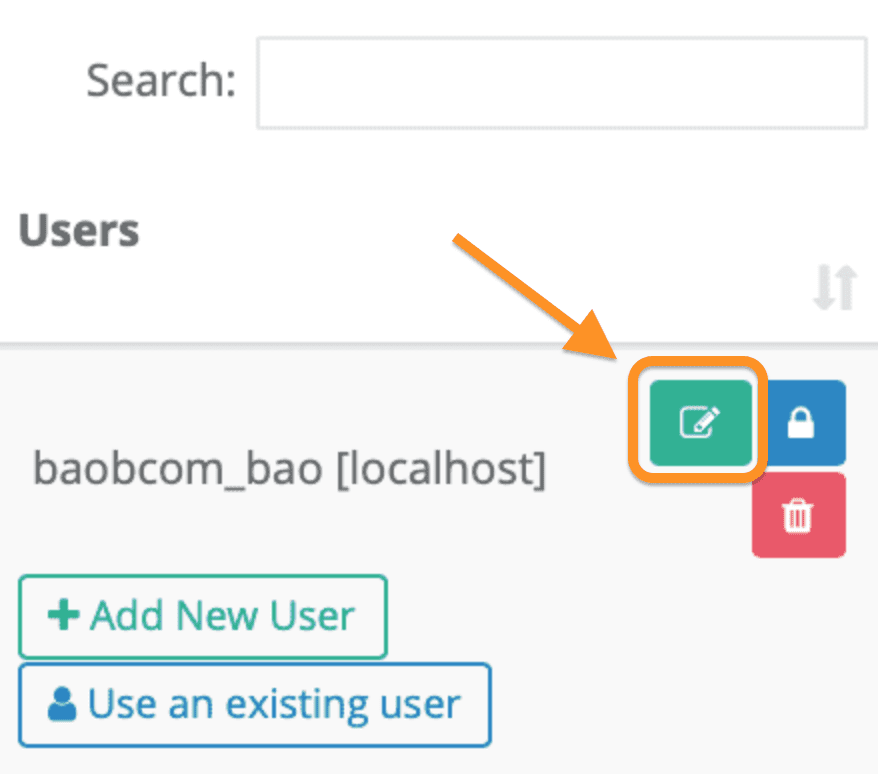
So we have successfully installed Jetbackup into DirectAdmin. To configure, you need to access DirectAdmin with admin rights and select JetBackup in the Extra Features section.
The first time you access it, you need to agree to the usage policy.

III. Update Jetbackup on DirectAdmin
To update Jetbackup manually on DirectAdmin, you execute the following command:
jetapps -u jetbackup-directadmin
Or you want everything to be updated automatically, then you can run the following command:
jetapps -p jetbackup-directadmin yes
IV. Uninstall Jetbackup on DirectAdmin
If you don’t want to use Jetbackup anymore and want to uninstall it, we use the following command:
yum remove jetbackup-directadmin
yum remove jetapps-repo
V. Summary
So AZDIGI has completed the steps to install Jetbackup into DirectAdmin, as well as how to update Jetbackup and uninstall Jetbackup when you no longer need it.
Hope this article will be of help to you.
Wishing you success!
About the author

Thạch Phạm
Đồng sáng lập và Giám đốc điều hành của AZDIGI. Có hơn 15 năm kinh nghiệm trong phổ biến kiến thức liên quan đến WordPress tại thachpham.com, phát triển website và phát triển hệ thống.