
After installing FASTPANEL, we will go to the first step to install the website on this control panel. And in this tutorial, AZDIGI will show you how to install WordPress on FASTPANEL.
I. What is FASTPANEL?
FASTPANEL is an outstanding free web control panel with a lot of features such as:
- Create a website with just a few clicks.
- Email management.
- Database management.
- Manage backup/restore to the cloud.
- Website traffic analysis.
- Create user.
- Two-factor authentication is supported.
- SSL support.
- Support Firewall.
- Support Cron.
- Supports multiple PHP versions.
- Integrated AI-BOLIT malware scanning.
- Integrated Spam Asasin.
- Supports command manipulation without SSH through the console.
- And many other features…
Below is the FASTPANEL interface:
II. Install WordPress on FASTPANEL
To install WordPress on FASTPANEL, we follow these 2 steps.
Step 1: Download the WordPress installation
Please visit the following link to download the latest WordPress installation: Here is the link to install Vietnamese WordPress
After downloading the WordPress installation, we continue to step 2 to enter the FASTPANEL interface.
Step 2: Access the FASTPANEL admin page and add a new website
To access the FASTPANEL interface, you access the link in the form https://IP:8888 on your browser (replace IP to your VPS or FASTPANEL server IP)
Below is my FASTPANEL interface: and how to add a new website.

+ sign in the right corner to add a new website.After selecting the add website button, we enter the domain name and click Next.

In the Configuration step, we will configure the PHP version, PHP mode and database information to create. If you do not have a new PHP version, you can refer to the following tutorial:
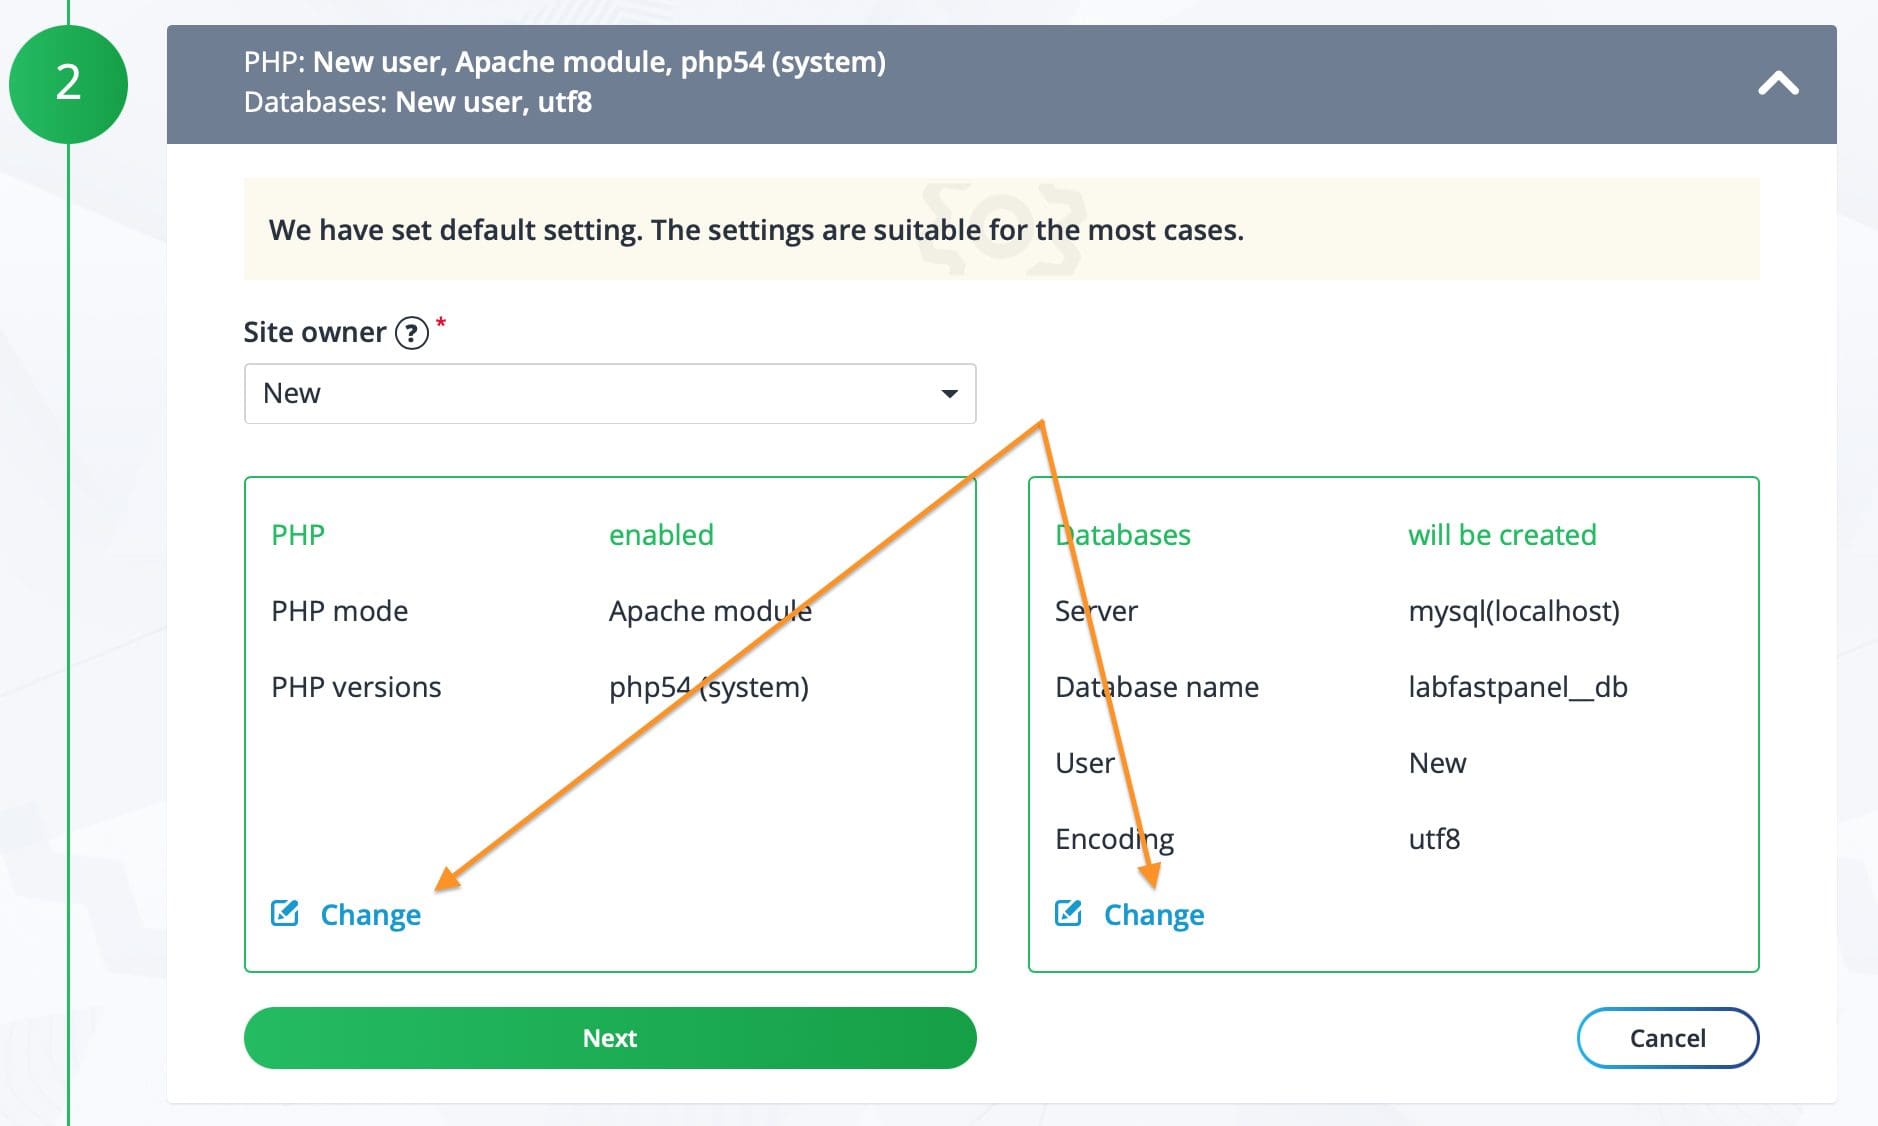
In the PHP section, we turn Change on as below for detailed configuration.
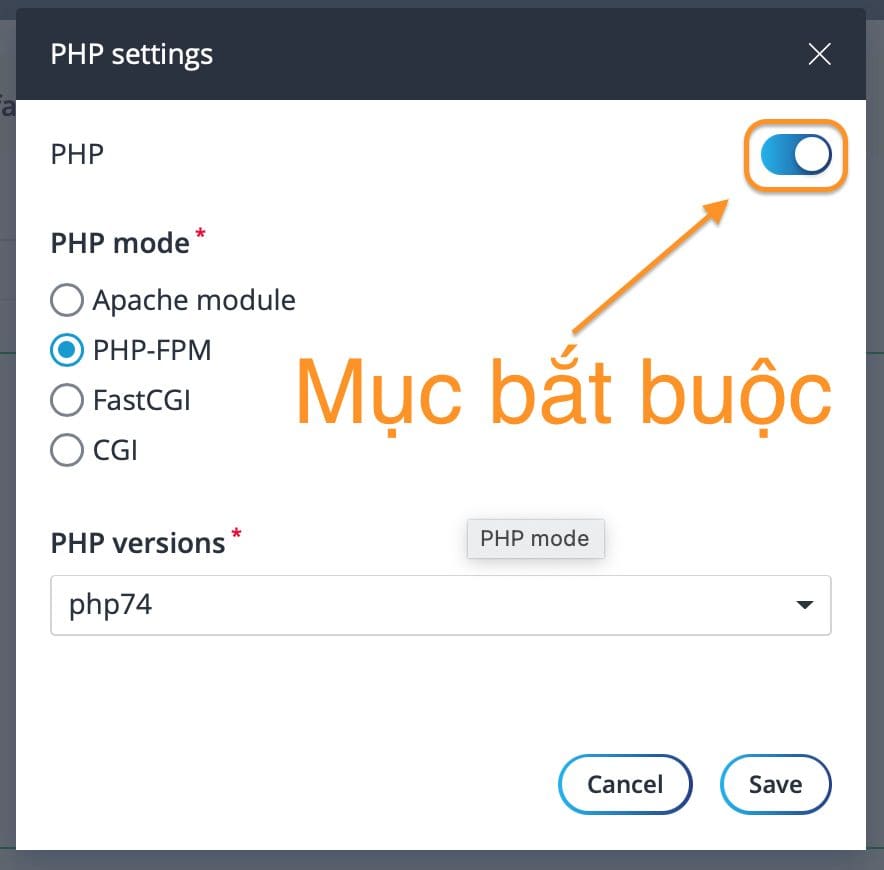
Remember that the PHP support button must always be on, if you don’t turn it on, when you put the source code on it, it won’t work.
When I choose PHP mode is PHP-FPM and I select PHP version php7.4 because I have installed this version of php before. Click the Save button to save and configure database information.

In the Database Settings section, you can see that the system automatically generates the following information:
- Database Name
- The user has access to that database
- The password of the user who has access to that database.
We need to save this information so that when installing WordPress will need them click Save.
My database connection information is:
- DBNAME: labfastpanel__db
- DBUSER: labfastpanel_usr
- PASS: RKUUoXXXXXXXXX
In the Backups step, I have not selected other options but will find out later click Next to skip step 3.

At this last step, all installation and configuration information will be displayed for you to save. In addition, you also have user information created to administer this website only.

At this step, we will have a lot of information such as created database information (1), FTP information (2), admin information of this website hosting package (3), install WordPress (4). So, click this button (4), select WordPress website admin information as shown below and select Install WordPress is complete.

Please wait for the installation to complete.

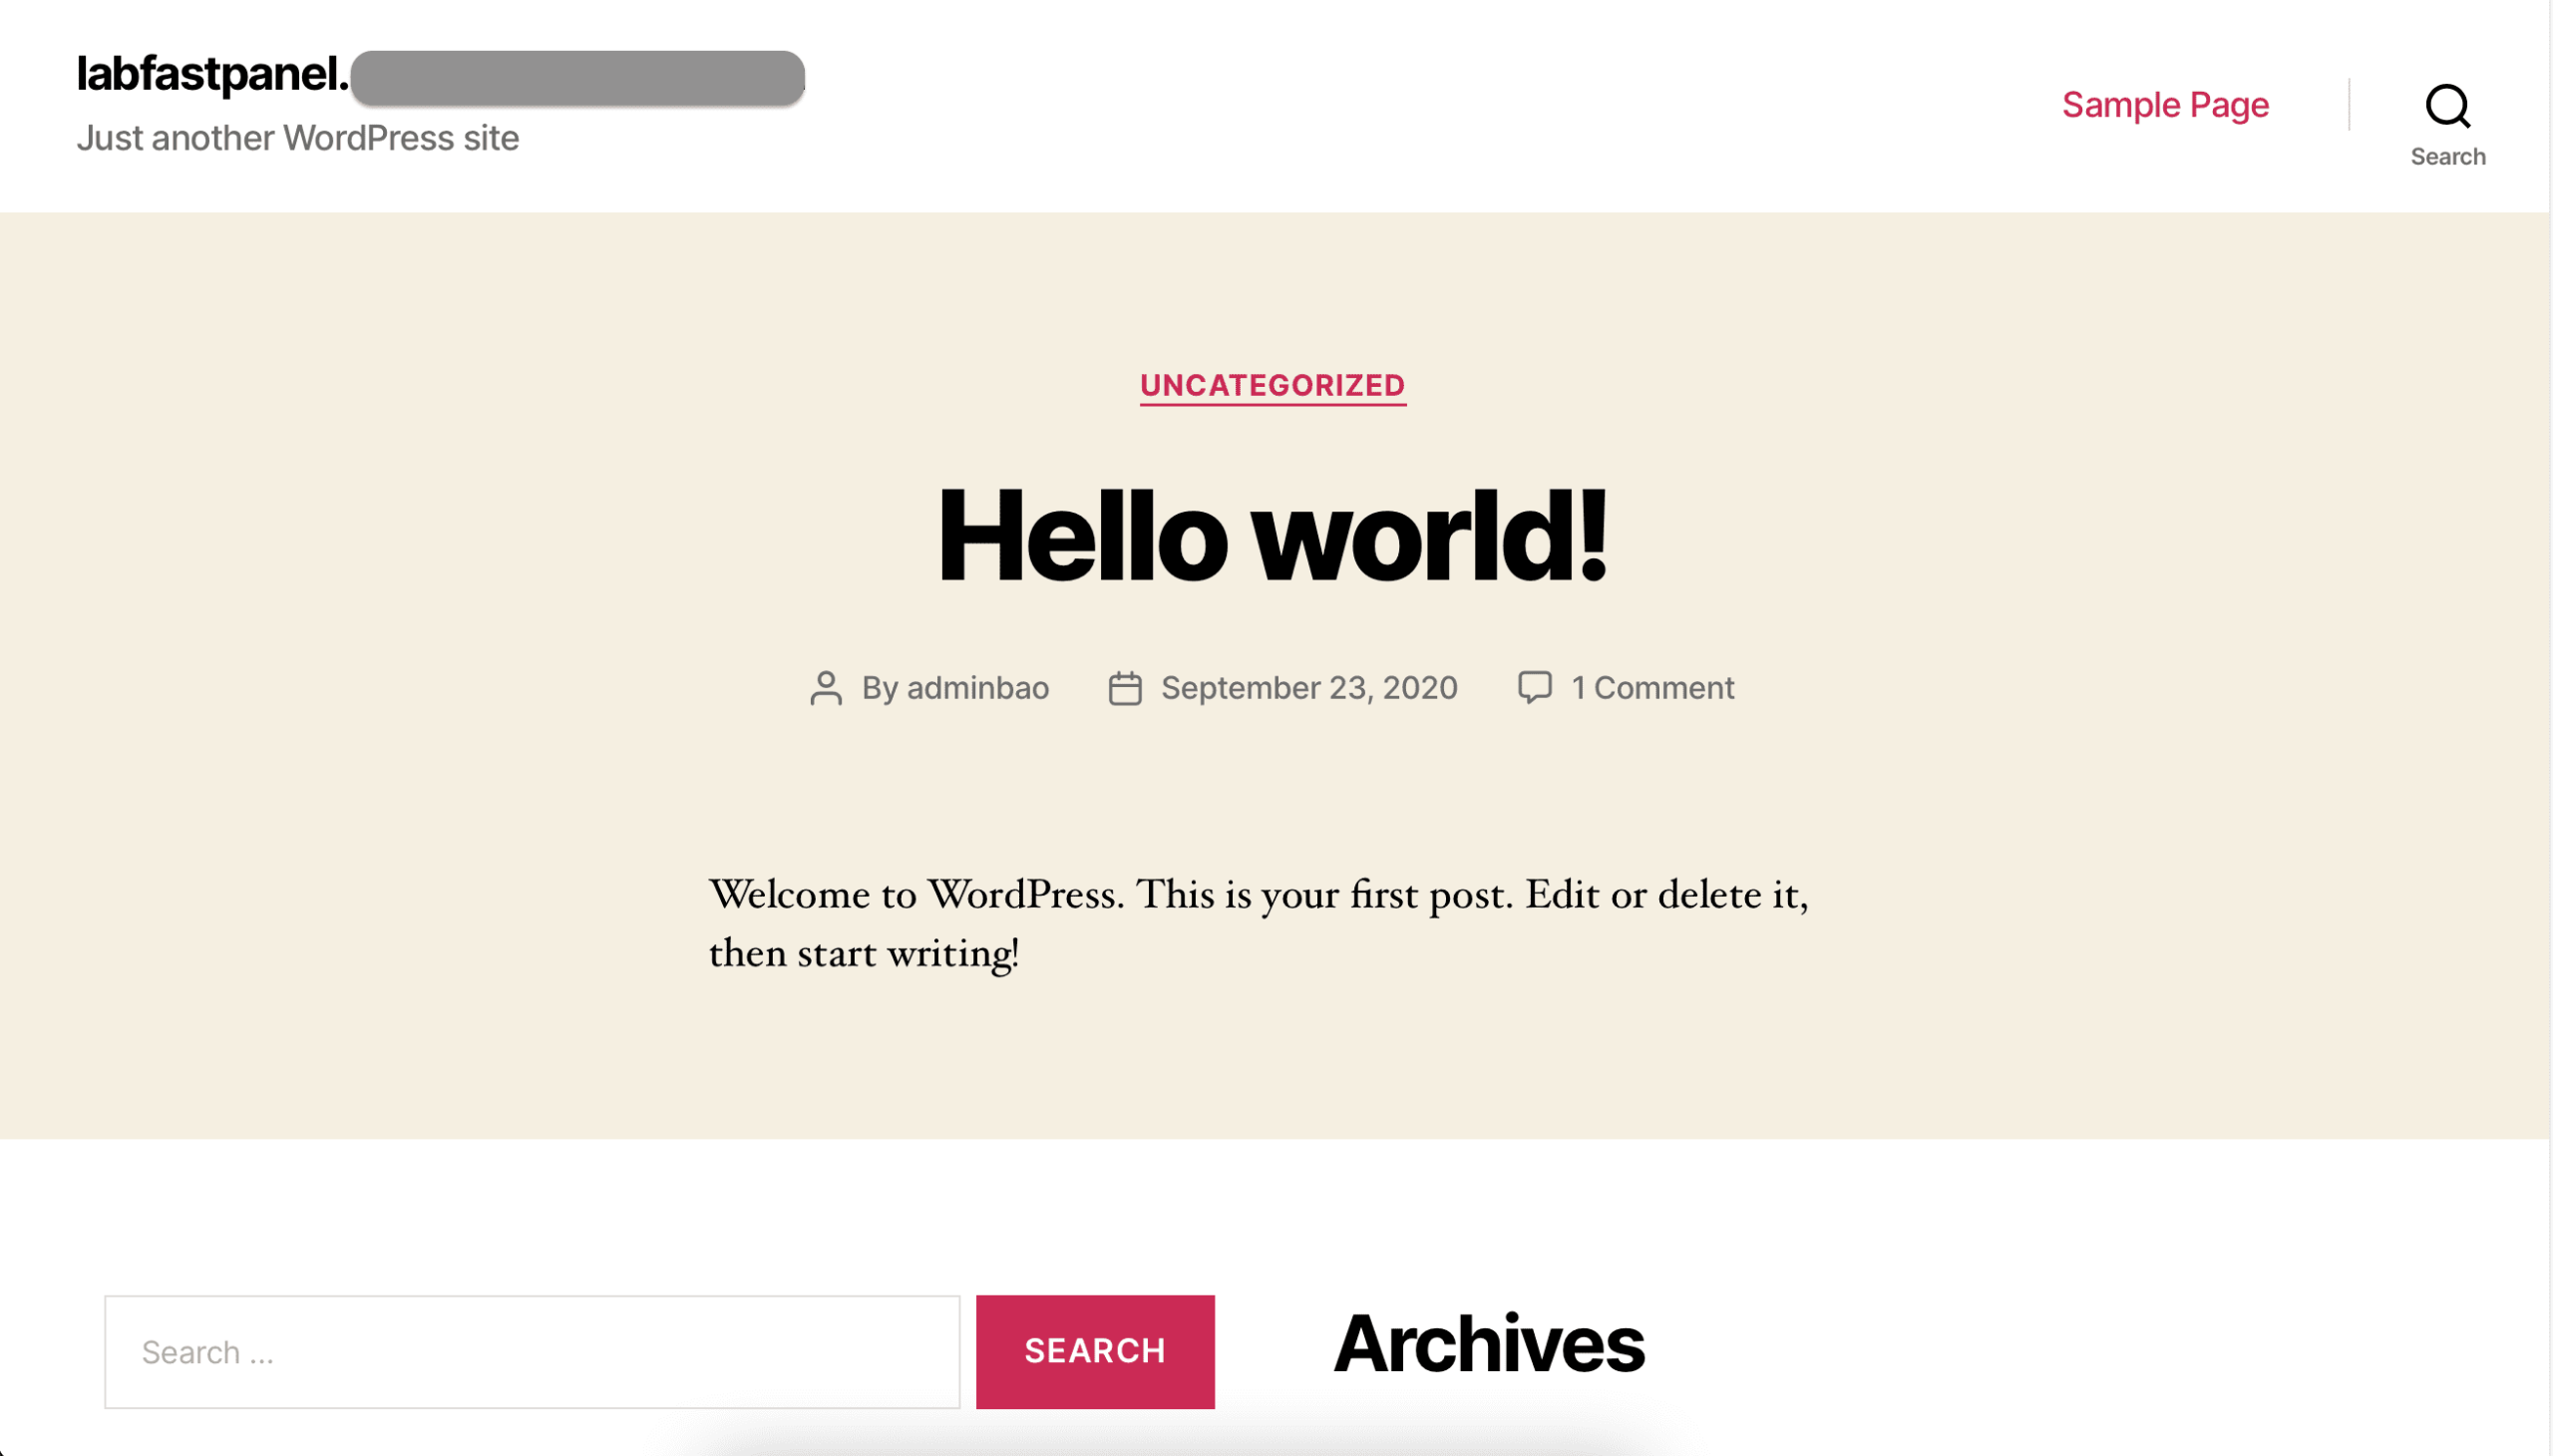
Finally, we can access our website.
III. Summary
Hopefully, through this article, you have learned how to install WordPress on FASTPANEL and the basic steps to create a website on the FASTPANEL interface.
If you find the article useful, don’t forget to rate 5 stars.
Wishing you success.
You might also like
About the author

Thạch Phạm
Đồng sáng lập và Giám đốc điều hành của AZDIGI. Có hơn 15 năm kinh nghiệm trong phổ biến kiến thức liên quan đến WordPress tại thachpham.com, phát triển website và phát triển hệ thống.