Nội dung
This tutorial will show you how to use apt command on Linux like Debian, Ubuntu or Linux Mint.
I. Introduction
If you are using Debian-based or Debian-based distribution operating systems like Ubuntu or Linux Mint, then the APT command line tool is something you can’t help but use.
APT, which stands for Advanced Package Tool, is a package management tool for Debian systems. The APT tool helps users perform various tasks, including installing, updating, upgrading and removing software packages on the operating system.
The APT tool will sometimes ask the user to enter ‘Y‘ (short for Yes) to perform an operation such as installing or removing a package.
On older Debian/Ubuntu-based distributions, apt-get was used. In newer versions like Ubuntu 18.04/20.04 and later and Debian 10/Mint 20 apt command will replace the old apt-get command on earlier versions and is fully backward compatible with apt-get.
In this tutorial, AZDIGI will show common use cases of apt commands on Linux.
II. How to use the apt command on Linux
Here are the common cases where we will use the apt command on Linux.
Case 1: Update index for APT
On systems using Debian/Ubuntu, the repository is specified in the file /etc/apt/sources.list. The APT package index is a database of all packages defined in this file. You should update the APT package index on the system to synchronize the changes made in the repository. This is especially important after installing a new system and before installing new packages.
To update the APT database, run the following command:
sudo apt update -y

This command is extremely safe, as it will not uninstall, update or reinstall any packages on your system.
Case 2: Upgrade package using APT command
The apt update -y command mentioned above will not install or upgrade any packages, so after running the above command, you will know which packages need updating.
If you want to update all installed packages to the latest version, you need to run the following command:
sudo apt upgrade
To upgrade an individual package, use the following command: (package-name is the name of the package you need to upgrade)
sudo apt upgrade package-name
In case your packages are on the latest version, you will receive information as shown below:

Case 3: Full upgrade and version upgrade
In case you want a full upgrade and remove some packages that are no longer needed to upgrade the system, use the following command:
sudo apt full-upgrade
In addition to the above command, we still have the following command to upgrade all less important packages:
sudo apt dist-upgrade
By the way, I also share with you one more command to upgrade the current reflash to a higher release, for example, from Ubuntu 19.04 to Ubuntu 20.04. However, to be safe, before running this command, make sure to run the two commands above first:
do-release-upgrade

So the process would be sudo apt upgrade, then sudo apt dist-upgrade and finally, sudo apt do-release-upgrade.
Case 4: Install a software package
To install a package on your system, use the apt command as follows:
sudo apt install package-name
For example, I will install the nload package, then I use the command sudo apt install nload.

Alternatively, you can install multiple packages on a single command by filling in the package names with spaces like the following command:
sudo apt install package-name1 package-name2 package-name3
Another frequently asked question is, what happens when we try to install an already installed package? Well, it won’t be bad if that happens, if the installed package is an old version, then this command will upgrade your package to the latest version.
Case 5: List installed packages
To see all installed packages on your system, execute the following command:
sudo apt list --installed

To search for a specific package, add grep like the command below:
sudo apt list --installed | grep package-name
In the following example, I need to find a set of packages with the keyword ssh.

Case 6: Search for a package using APT
This command will allow you to search and check the availability of a package in the Ubuntu/Debian repositories. In the example below, I’m looking for the availability of the net-tools package in the Ubuntu repositories:
sudo apt search net-tools

Case 7: Display information about a package using the APT command
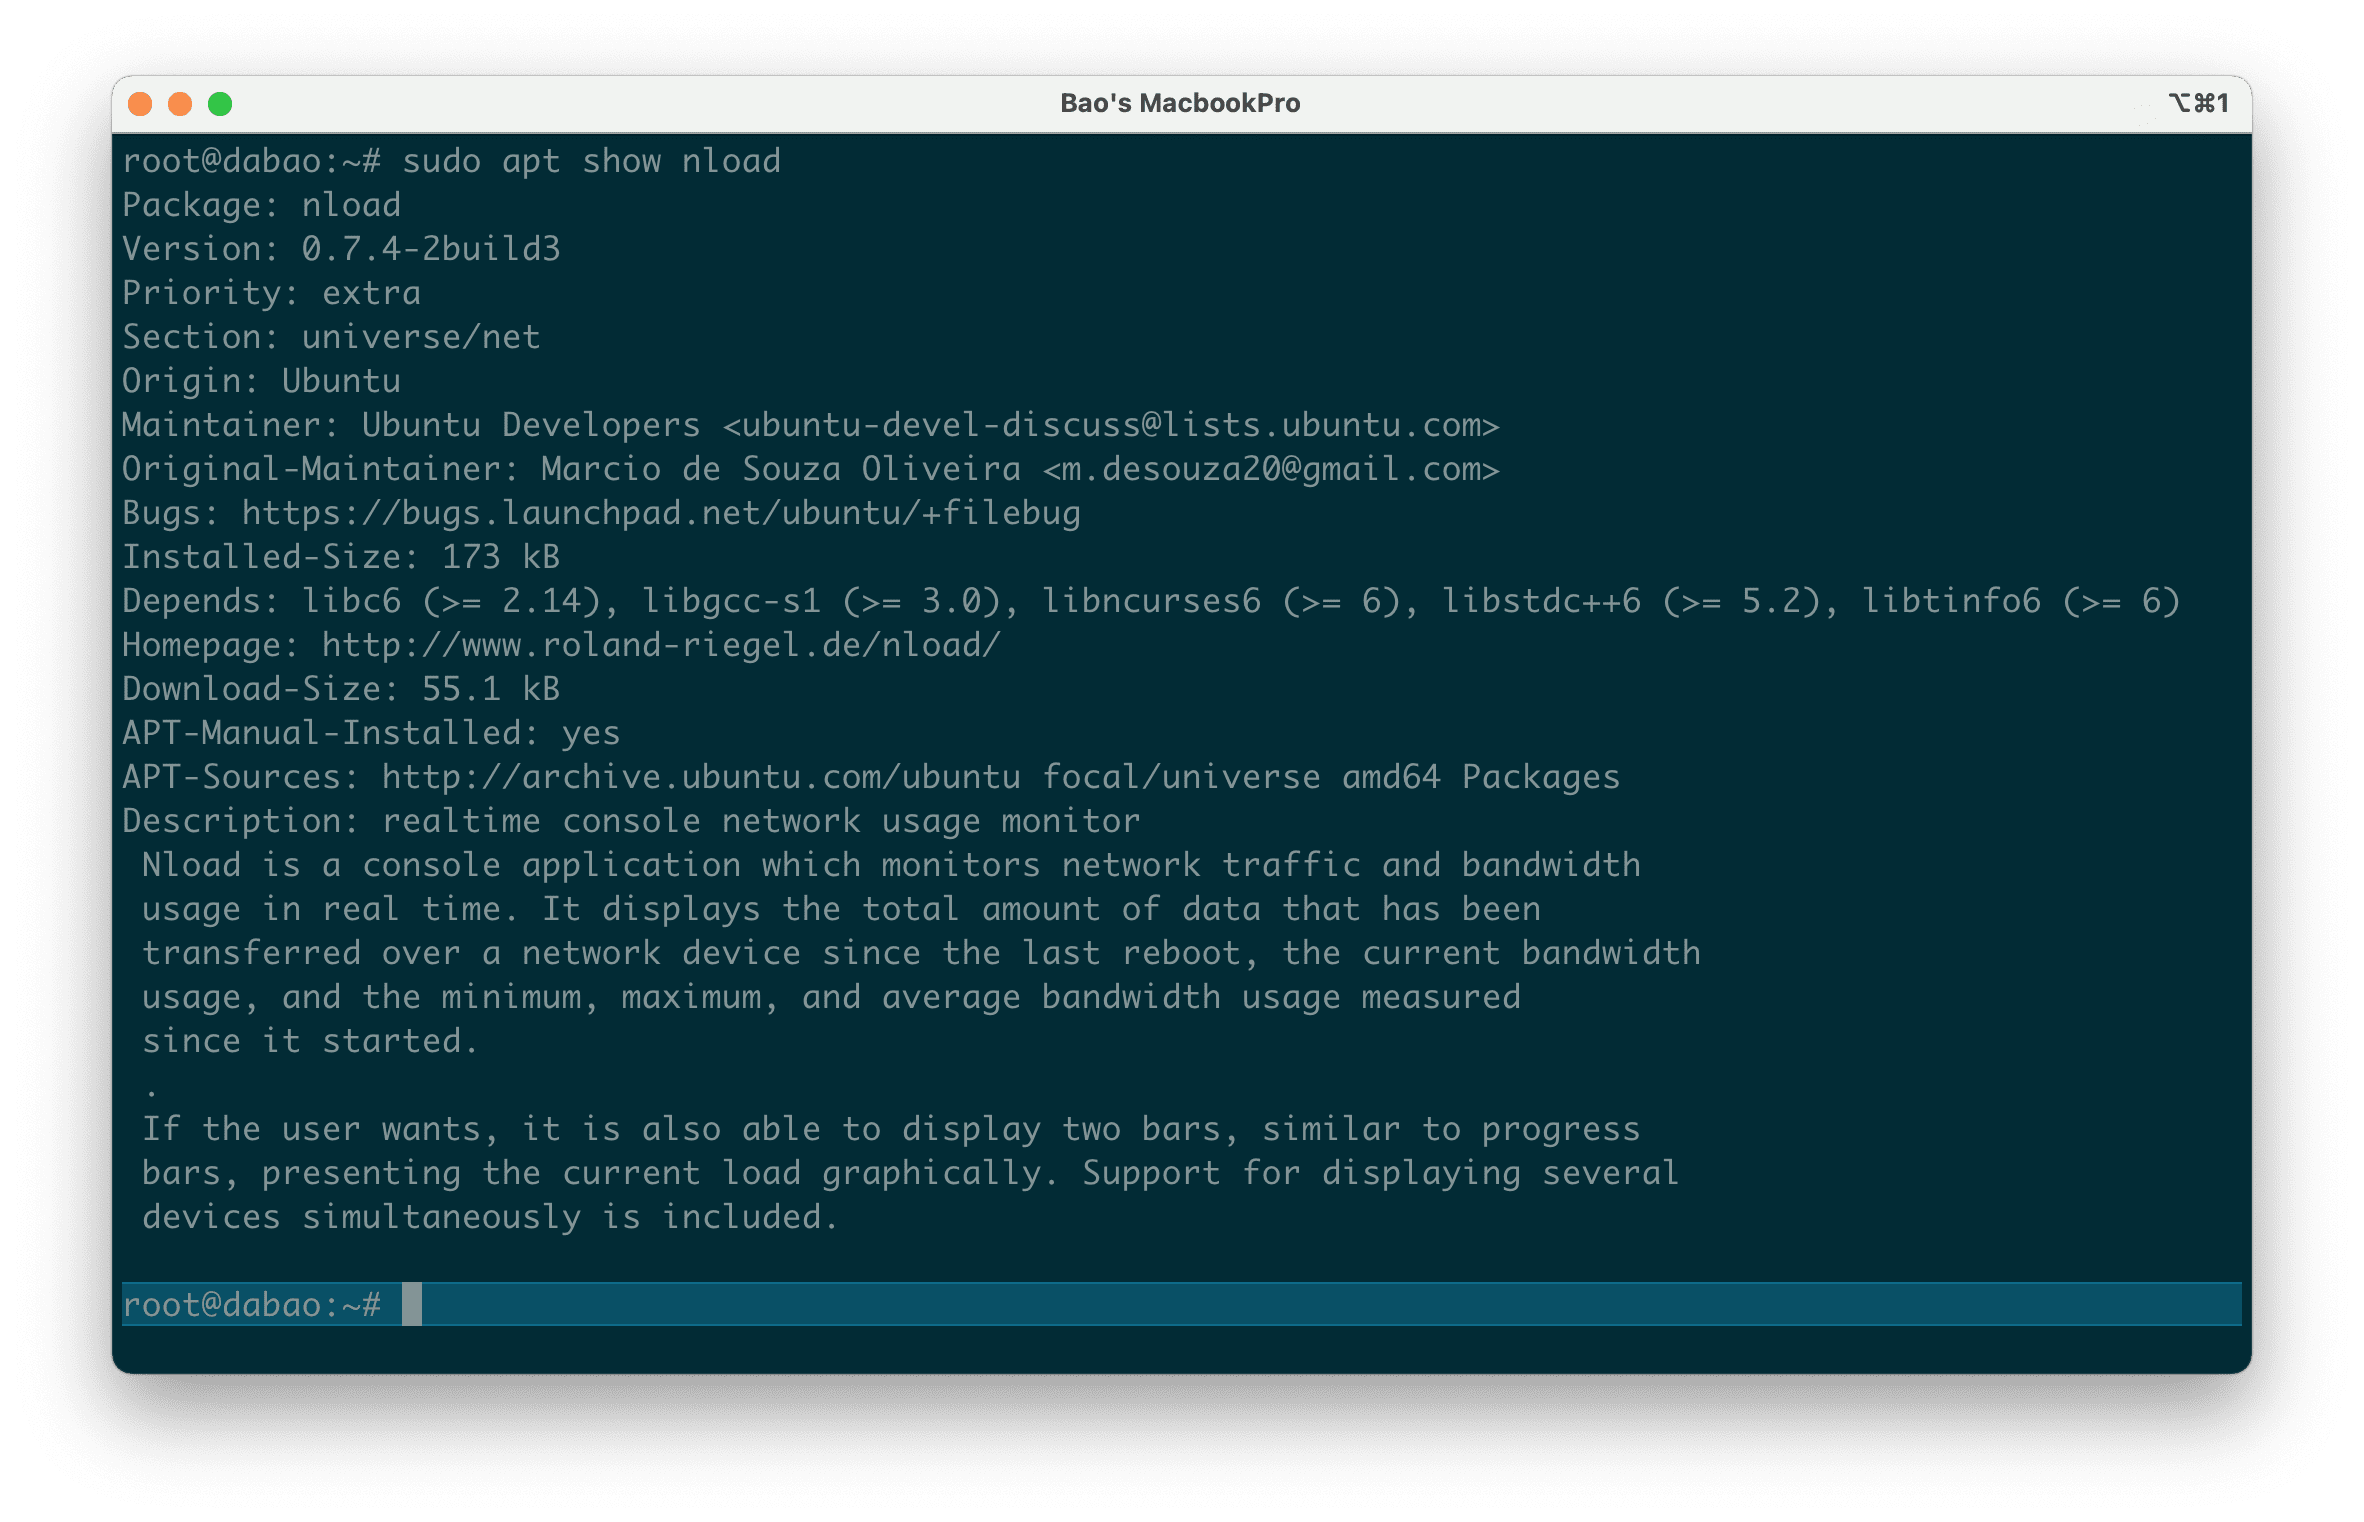
Before you install or remove a package, you can find additional information about a package with the apt show command. For example, to display more information about the nload package, we use the following command:
sudo apt show nload
The output information will include details such as package name, version, publisher, installation size, etc.

Case 8: Remove unused packages after installation
When we install a package, libraries and other packages that need dependencies will also be required to be installed. However, after installation, these libraries and dependencies are no longer needed and take up some of your space.
And to remove these files and dependencies to free up some disk space, execute the following APT command:
sudo apt autoremove
When asked, just press the ‘Y‘ key and ENTER.
Case 9: Remove installed packages
You can remove an installed package using the following APT command:
sudo apt remove package-name
Alternatively, you can also remove multiple packages simultaneously with the following command:
sudo apt remove package-name1 package-name2 package-name3
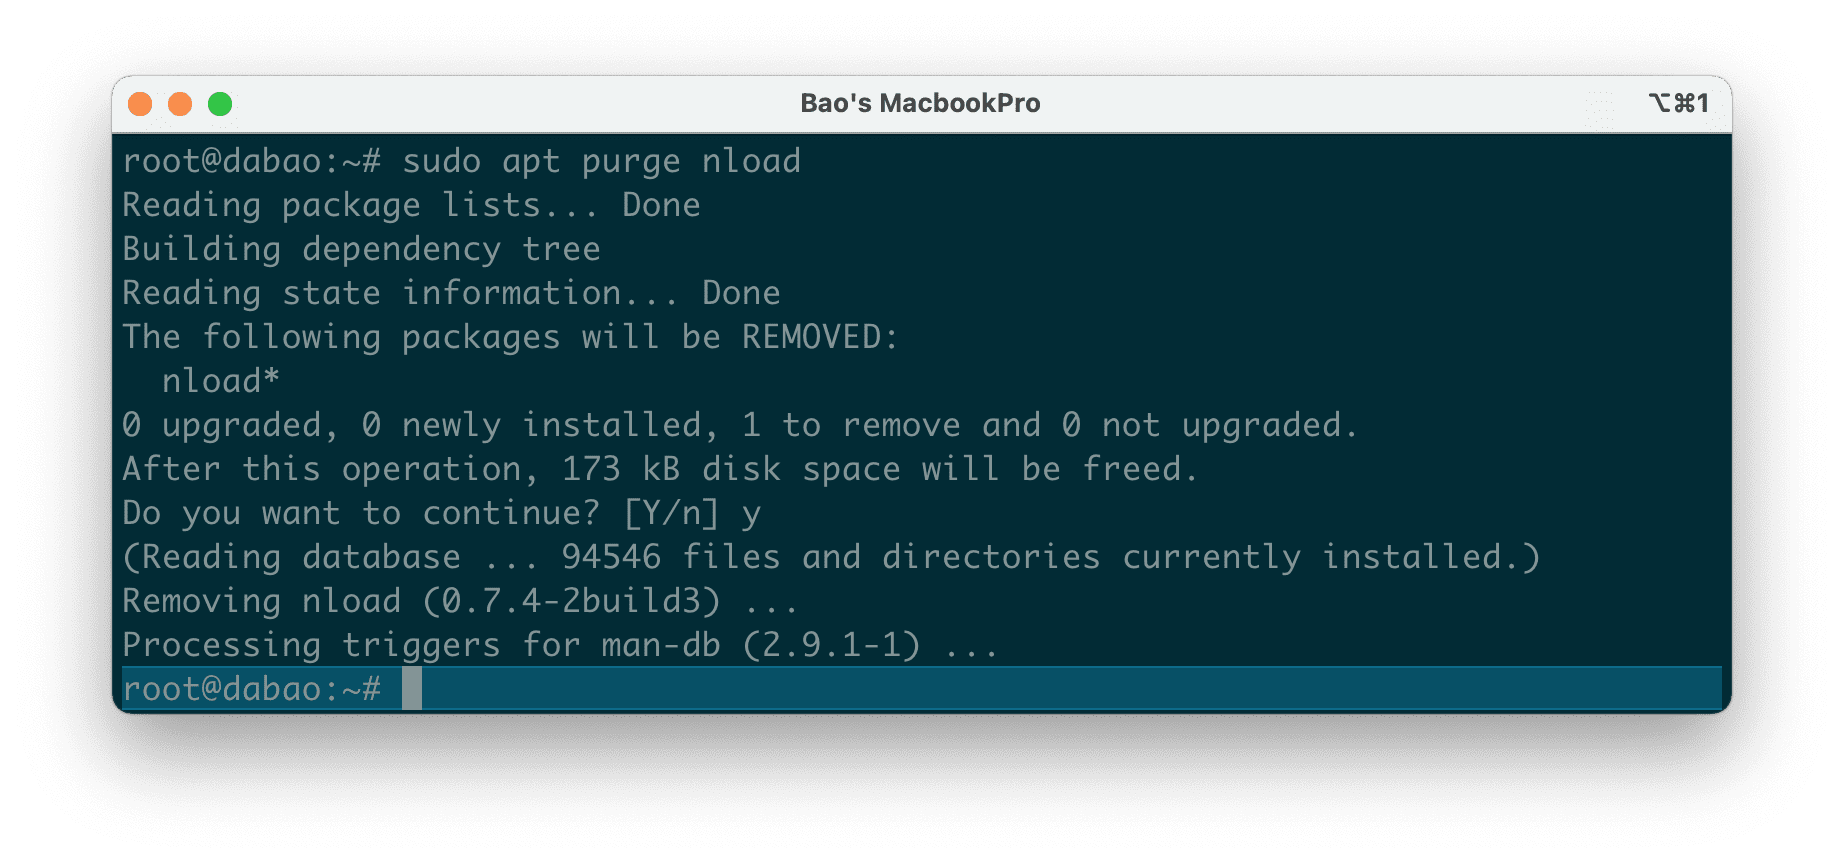
Removing a package with the apt remove command will leave behind that package’s configuration files so that when you reinstall the package later, all configurations will be preserved as before. To completely remove the package and its configuration files, you can use purge in the remove location like the following command:
sudo apt purge package-name

III. Summary
Hopefully, through the above 9 cases, you have become familiar with the APT command on Debian/Ubuntu. This command allows you to easily manage your packages in various ways as above.
See more useful articles about Ubuntu at the following link:
If you need assistance, you can contact support in the ways below:
- Hotline 247: 028 888 24768 (Ext 0)
- Ticket/Email: You use the email to register for the service and send it directly to support@azdigi.com.

