Nội dung
What is CloudLinux?
CloudLinux OS is an operating system designed specifically for hosting service providers, developed in 2009 by CloudLinux Inc. CloudLinux uses the OpenVZ core platform and is fully compatible with CentOS/RHEL software packages. In terms of features and specifications, CloudLinux is designed to increase the stability and security of the server while optimizing the server’s processing capacity by dividing the resource limit. CPU, RAM, I/O resources to each hosting account. The two most important components of CloudLinux are the Lightweight Virtualized Environment (LVE) and CageFS.
Lightweight Virtualized Environment (LVE) is a core technology responsible for dividing and limiting server resources for each hosting account to prevent an account from using too many resources, leading to overloading the hosting server system.
CageFS is CloudLinux’s outstanding technology that is responsible for creating virtual system partitions to avoid the hosting accounts being able to see each other, thereby completely preventing hijacking as well as interfering with account data other in the same system.
For CyberPanel, CloudLinux and CageFS have been integrated with CyberPanel since v.1.8.6, but before using any of its features, you need to convert the default operating system to CloudLinux OS. So how to do it, you can check out this article.
Implementation steps
Step 1: Prepare the CloudLinux License
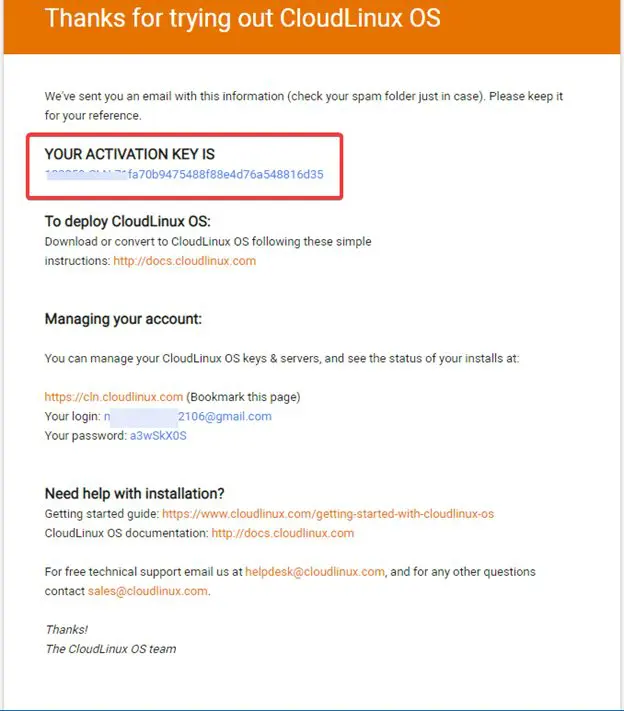
To be able to install CloudLinux, you need a License, if you want to try it out and before you buy it, you can register for a 30-day License Trial to use it, you can register at the link below:
As here, I tried to register for the License Trial and was fully licensed with the License and Account Manage CloudLinux as shown below:
Step 2: Convert the operating system to CloudLinux OS
First, you need to SSH into the VPS as root, if you don’t know how to SSH, you can refer to the instructions below:
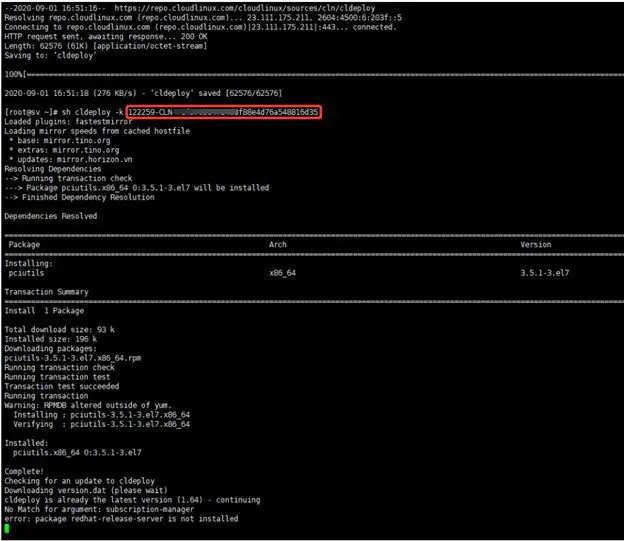
After SSH into the VPS, run the following commands:
wget https://repo.cloudlinux.com/cloudlinux/sources/cln/cldeploy
sh cldeploy -k
reboot
Command annotation:
- Download the cldeploy script from the CloudLinux homepage.
- Run the cldeploy script.
- Restart the VPS.
Note: Please note that run the commands in the correct order and only run the command after the previous command has finished.
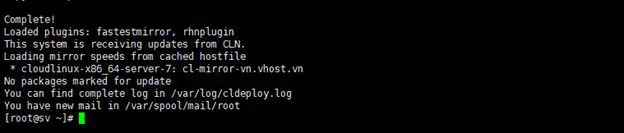
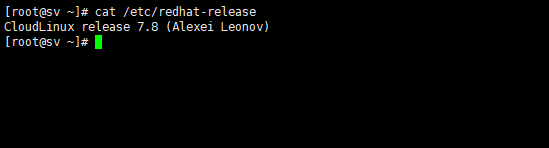
After restarting VPS, check if your OS version has been converted successfully by running the following command:
cat /etc/redhat-release
Thus, the operating system has been successfully converted with the version: CloudLinux release 7.8 (Alexei Leonov)
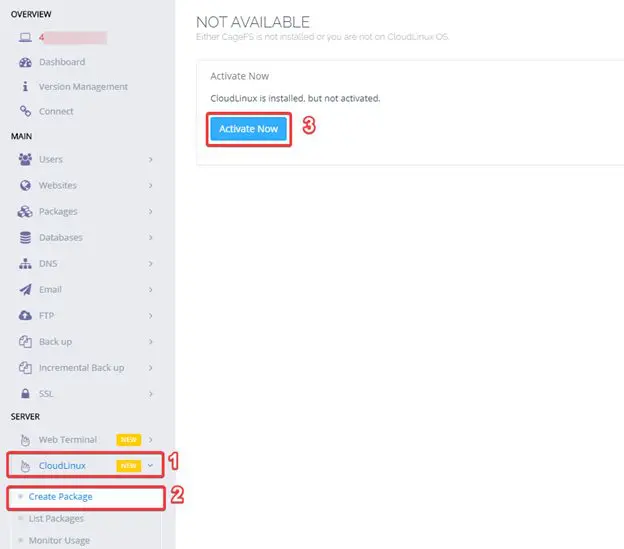
Step 3: Active CloudLinux on CyberPanel
You log in to CyberPanel administration, access CloudLinux => Create Package => Active Now.
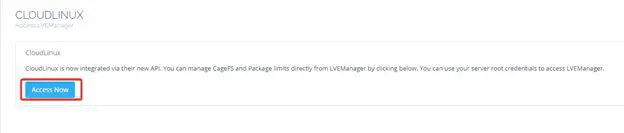
Step 4: Install CageFS
After activating CloudLinux successfully, you can access the LVE (Lightweight Virtualized Environment) admin page to install CageFS by clicking Access Now or accessing the browser with the link: http://IP:9000/
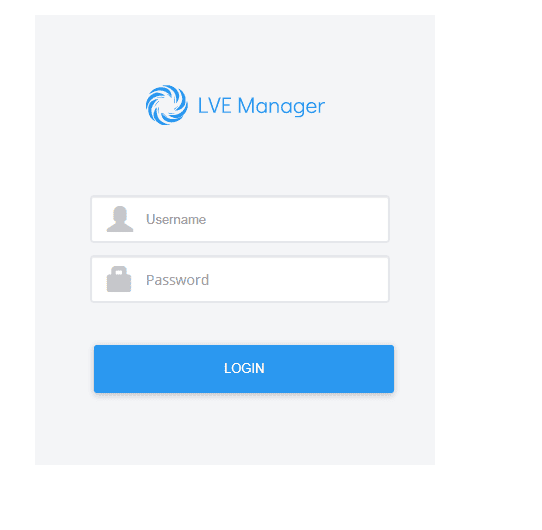
At the User/Pass input interface, you use VPS root information to log in.
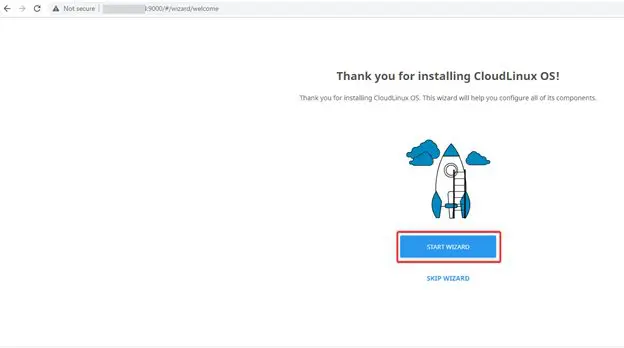
After successful login, select START WIZARD to continue.
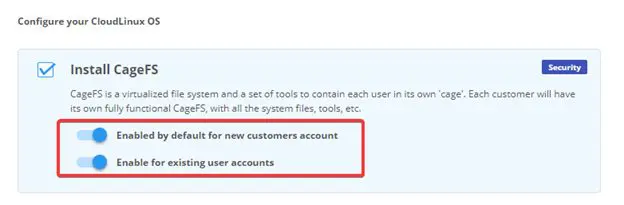
You install CageFS by ticking 2 options as shown below => select FINISH AND INSTALL so that the CageFS installation process is started.

The CageFS installation process will take 20-30 minutes, depending on each VPS. After successful installation, you will receive a message as shown below:
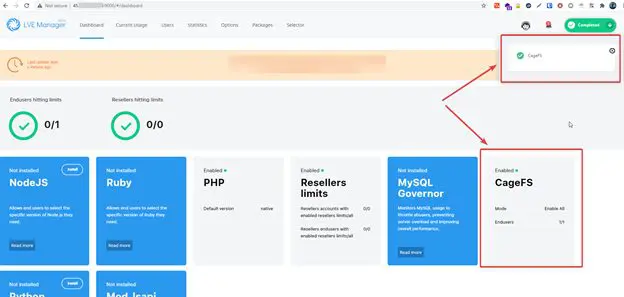
So the installation of CageFS is complete.
Summary
So in this article, AZDIGI has shown you how to quickly convert Cyber Panel’s default operating system to CloudLinux OS so you can use CloudLinux’s features. If you find the article helpful, please share it widely.
Wishing you success!
If you need assistance, you can contact support in the ways below:
- Hotline 247: 028 888 24768 (Ext 0)
- Ticket/Email: You use the email to register for the service and send it directly to: support@azdigi.com