Nội dung
1. Overview
In today’s article, AZDIGI will most simply and easily detail how to upgrade MySQL on DirectAdmin with CustomBuild 2.0.
When installing DirectAdmin, you only get DirectAdmin to automatically install the MySQL database management system version 5.7, an old version released on October 21, 2015.
The current latest version is 8.0. If you want to use a newer version like 8.0, you must upgrade it manually.
2. Upgrading MySQL on DirectAdmin with CustomBuild 2.0
To upgrade MySQL on DirectAdmin with CustomBuild 2.0, follow these 3 steps.
Step 1: SSH into your DirectAdmin system
First, you need SSH into your VPS/Server as root. You can refer to the following guide:
After successfully SSHing, we continue with step 2 to check the current MySQL version.
Step 2: Check the current version of MySQL in use
To check the current MySQL version, use the command:
mysqld -V
Here are my results, with the currently installed version of 5.7.30.

Now that you have checked the current version of MySQL in use, we continue with step 3 to upgrade to the latest version.
Step 3: Upgrade MySQL on DirectAdmin with CustomBuild 2.0
First, we need to check if the version of CustomBuild we are using is 2.0 or not. To check the version of CustomBuild you are using, please check out the following short tutorial:
In case your CustomBuild version is lower than 2.0 then you need to upgrade CustomBuild 1.x to 2.0 , you can check out the following tutorial:
After you have upgraded to CustomBuild 2.0, run the following commands to upgrade MySQL on DirectAdmin:
cd /usr/local/directadmin/custombuild
./build update
./build set mysql 8.0
./build set mysql_inst mysql
./build set mysql_backup yes
./build mysql
Explanation of the above commands:
- Command 1: Move to custombuild folder.
- Command 2: Update custombuild script.
- Command 3: Adjust the current MySQL instance configuration to 8.0.
- Command 4: Use the database management system MySQL (there are 2 options: 1 is MySQL, 2 is MariaDB).
- Command 5: Adjust the configuration to enable database backup before running the installation command.
- Command 6: Start reinstalling MySQL under the new configuration.
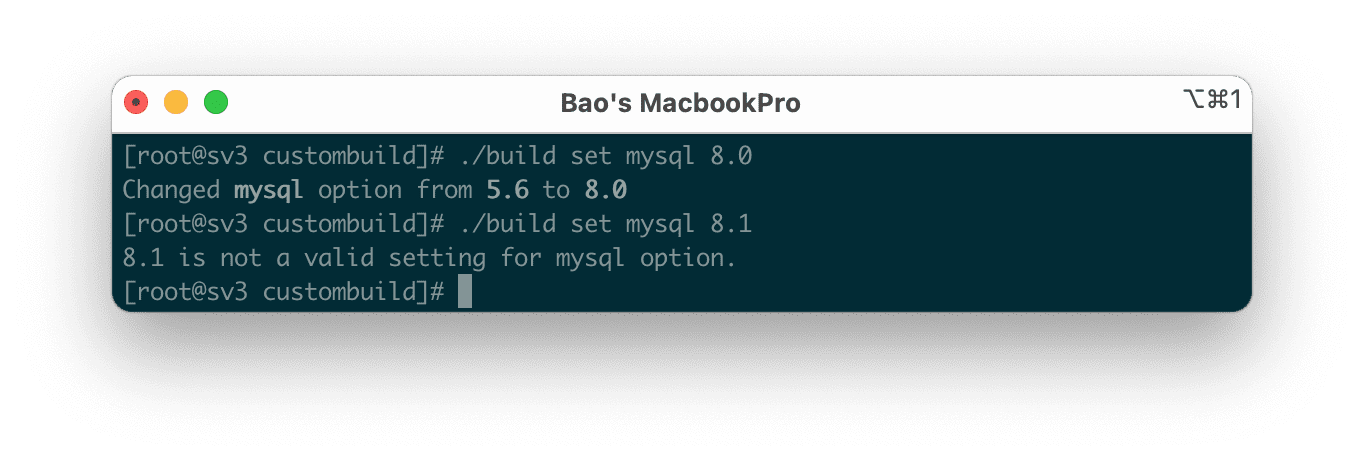
More information: when I write this article, there was only MySQL 8.0, so when you change it to 8.1, it will not be valid. In the future, it may be after MySQL releases this version. Below is a picture of when I adjusted the version to 8.1. Below is a picture of when I tried to adjust the version to 8.1.

The installation time will depend on the strength of your VPS/Server and the connection at that time because, in this process, it is necessary to download some quite heavy installation files. The installation process on my VPS 4 CPU Cores is 5 minutes.
Another small note that affects your installation time is that during the installation process, the system will automatically dump all existing databases into a directory to avoid data loss or errors. Therefore, if your VPS/Server has a lot of databases, the installation time will be longer.
To check where the directory containing the database is dumped, use the following 2 commands:
cd /usr/local/directadmin/custombuild
cat options.conf | grep mysql_backup_dir
Here my directory will be /usr/local/directadmin/custombuild/mysql_backups.

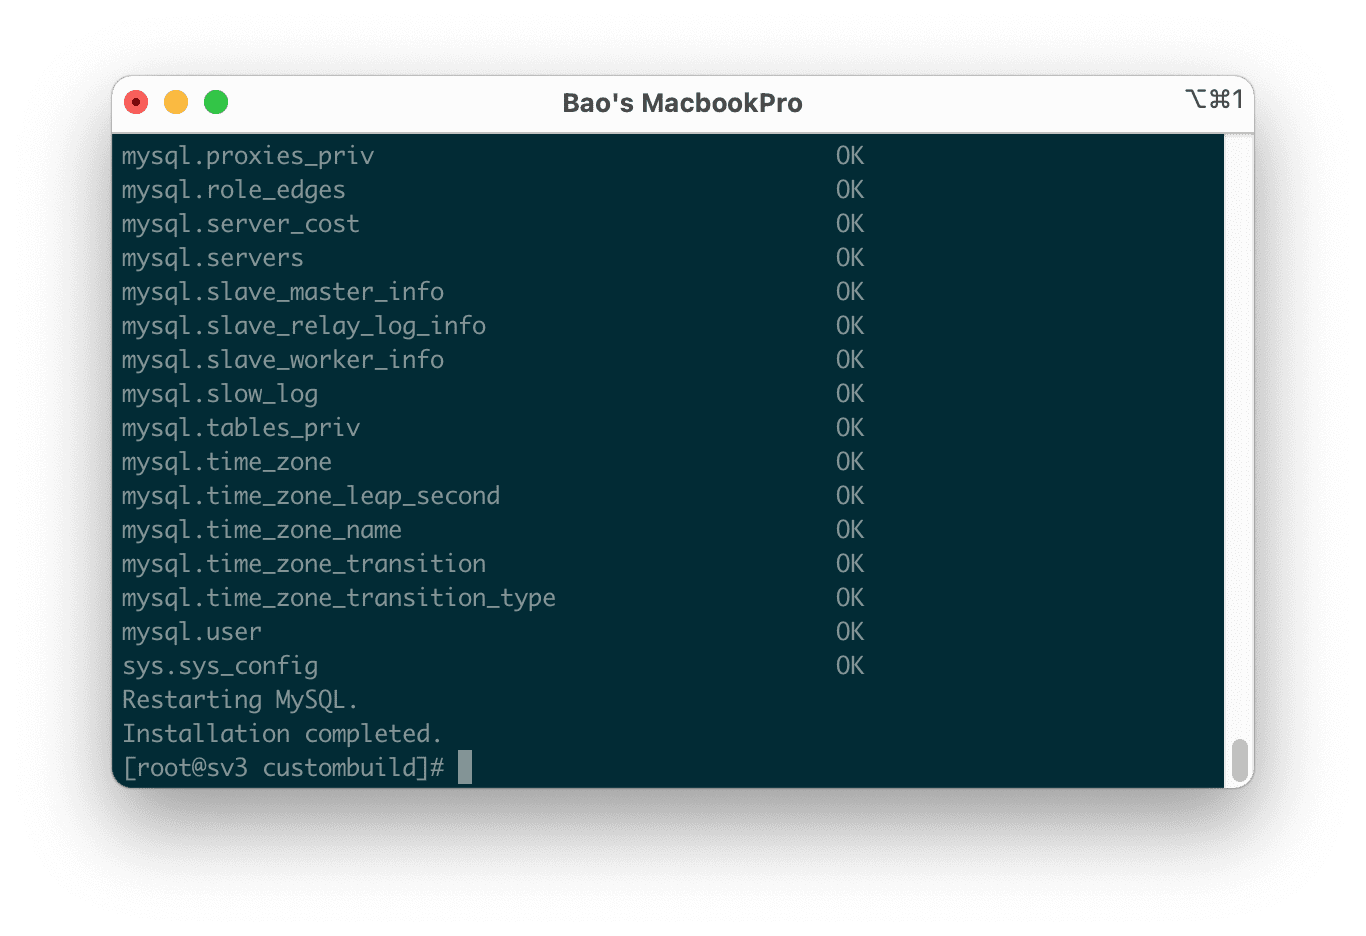
After the installation is complete, the screen will show as below:

We try to recheck with the mysqld -V to see if we have upgraded to the new version.

Thus, my VPS has been installed with the new MySQL version 8.0.20.
3. Summary
Through this article, you have learned how to quickly upgrade MySQL on DirectAdmin and the directory containing the databases that were dumped during the installation of the new MySQL version. Hope this article will be of help to you.
Wishing you success.
If you need assistance, you can contact support in the ways below:
- Hotline 247: 028 888 24768 (Ext 0)
- Ticket/Email: You use the email to register for the service and send it directly to: support@azdigi.com

