Nội dung
In this article, AZDIGI will guide you through the process of installing pre-release DirectAdmin, which allows you to experience upcoming versions of DirectAdmin.
I. What is pre-release DirectAdmin?
Pre-release DirectAdmin is a pre-release version that allows users or DirectAdmin administrators to use new features or simply test their system’s compatibility.
Sometimes, you may encounter an error on the current official version that you cannot fix, even if you have posted on the DirectAdmin forum and received no help. In this case, you can try installing the pre-release DirectAdmin to see if the error can be fixed.
II. How to install pre-release DirectAdmin
To install pre-release DirectAdmin, we need to follow the following 4 steps.
Step 1: SSH into your server
To install pre-release DirectAdmin, first, we need to SSH or access your VPS/server with root privileges. Or at least log in to the server with a user with sudo privileges. If you don’t know how to SSH into your VPS/Server, you can refer to the following tutorial:
After successfully SSH, we move on to step 2 to see the UID and LID information of our DirectAdmin license.
Step 2: Get UID and LID DirectAdmin information
There are many ways to get the UID and LID information of the DirectAdmin license we are using, but since we are in the SSH interface, I will only guide you on how to get this information using a command.
All you need to do is use the command below:
cat /usr/local/directadmin/scripts/setup.txt | grep id
Below is my results:

After having these two pieces of information, we proceed to step 3 to execute the commands to install pre-release DirectAdmin.
Step 3: Commands to install pre-release DirectAdmin
The commands to install pre-release DirectAdmin are also relatively straightforward, we only need to execute the following 7 commands, and I will also explain the meaning of each command below:
# cd /usr/local/directadmin
# wget --no-check-certificate -O new.tar.gz 'https://www.directadmin.com/cgi-bin/daupdate?redirect=ok&uid=XXXXX&lid=ZZZZZ&channel=beta'
# tar xvzf new.tar.gz
# ./directadmin p
# scripts/update.sh
# killall -9 directadmin
# ./directadmin d
# cd /usr/local/directadmin/custombuild
# ./build rewrite_confs
Explanation of the above commands:
- Command 1: Move to the
directadminfolder. - Command 2: Download the pre-release DirectAdmin installer. Remember to replace
XXXXXwith your UID andZZZZZwith your LID. - Command 3: Extract the downloaded file.
- Command 4: Reassign correct permissions to the DirectAdmin files.
- Command 5: Update DirectAdmin.
- Command 6: Stop all DirectAdmin processes.
- Command 7: Restart DirectAdmin in
daemonmode. - Command 8: Navigate to the
custombuildfolder. - Command 9: Restore the previously customized configuration.
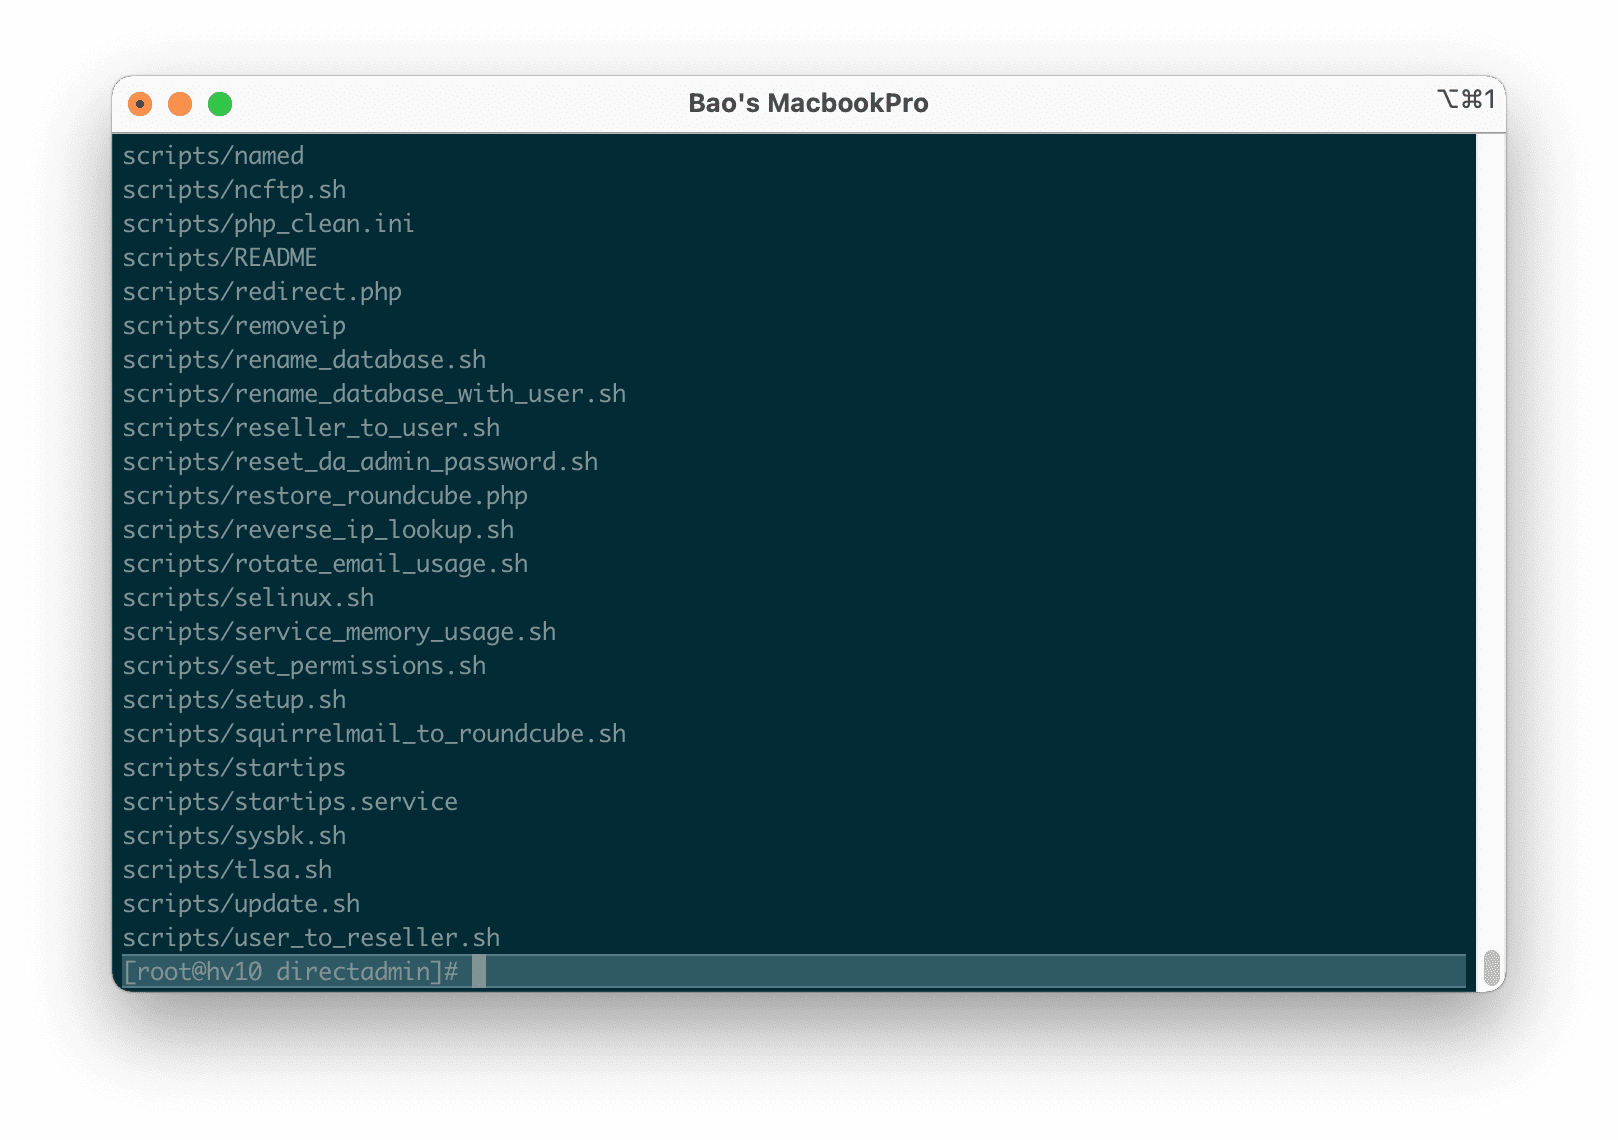
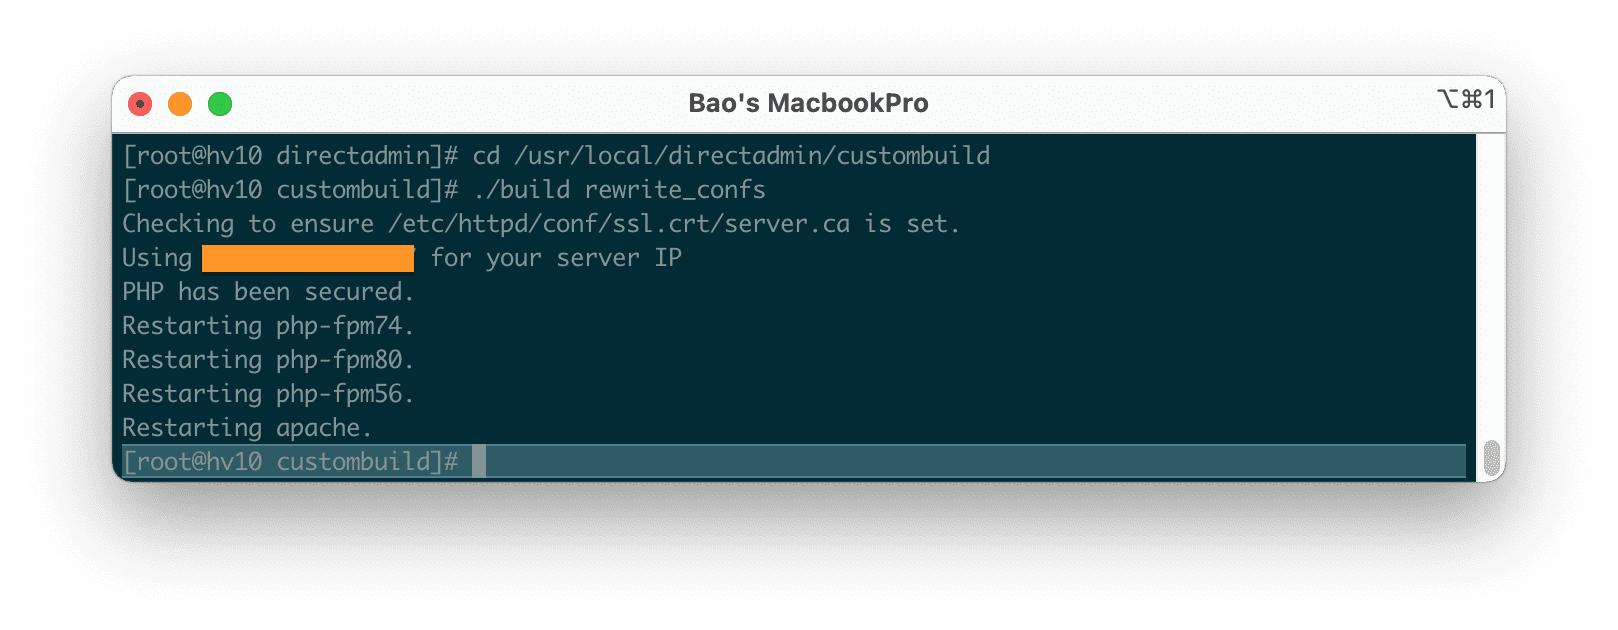
Some images of the process of executing the commands:


With just 9 commands, we have completed the installation of the pre-release DirectAdmin. If your DirectAdmin version has just been released, sometimes there may not be any pre-release DirectAdmin version available, and we have to wait for a while.
III. Summary
So with just 9 commands, we can install a pre-release version of DirectAdmin. We should only install this version when we want to test the upcoming features of DirectAdmin or when we want this release to fix the outstanding issues on the previous version. Since this is still an unofficial version, the stability may not be guaranteed.
Original article: Installing a pre-release version of DirectAdmin.
See more useful articles about DirectAdmin at the following link:
If you need assistance, you can contact support in the ways below:
- Hotline 247: 028 888 24768 (Ext 0)
- Ticket/Email: You use the email to register for the service and send it directly to: support@azdigi.com .
- Refer to the best Web Hosting service!

