Nội dung
What is Tawk.to?
Tawk.to is free supported live chat software that helps customers communicate with website owners quickly. With Tawk.to you can set up many other very useful things, in addition to supporting Live Chat, Tawk.to also supports setting up as a Knowledge Base, Ticketing helps users customize according to their needs in the most diverse way.
Why should you use Tawk.to?
Is free software, but Tawk.to supports many utilities only available on paid software. This is what makes Tawk.to the most used online chat software today. So let’s take a look at some outstanding features of Tawk.to:
- Support and compatible with multiple devices such as App on Desktop (Windows/MacOS), App on the phone (IOS/Android).
- Instant chat notifications, low latency.
- Multi-language integration.
- Block spam mail or block targeted email.
- Automated question/answer integration.
- Display customer information (IP, Access location, Email, Access device)
- Determine the amount of traffic, the paths that customers visit…
Install Tawk.to on your WordPress website
Step 1: Create a Tawk.to account
- Create account
You access the address https://dashboard.tawk.to/signup to register a free Tawk.to account, you need to fill in the necessary information such as Name, Email and Password.
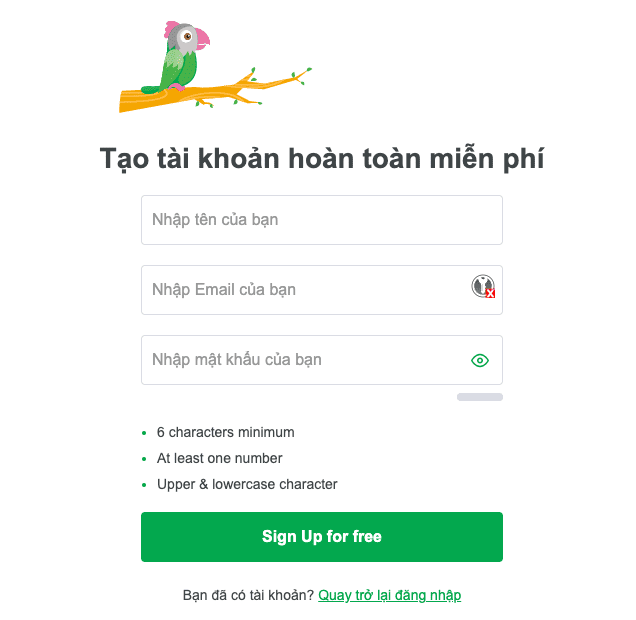
After filling in all the information, click Sign Up for free.
- Choose language
You can choose the language for Tawk.to.
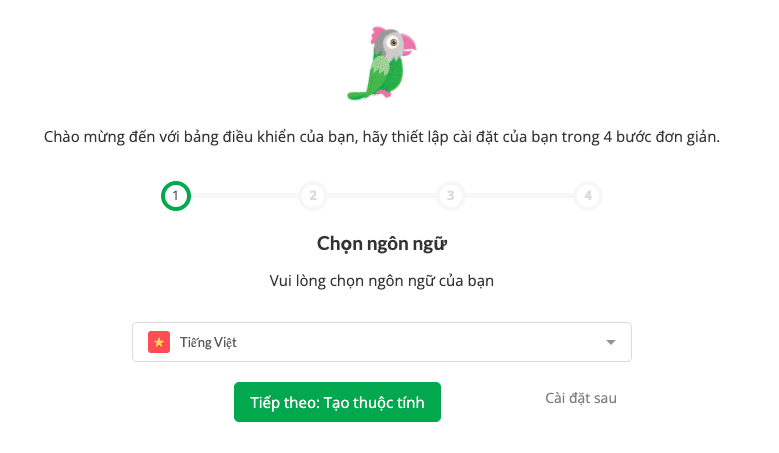
- Create properties
In this section, you enter the website name, website URL and name the utility.
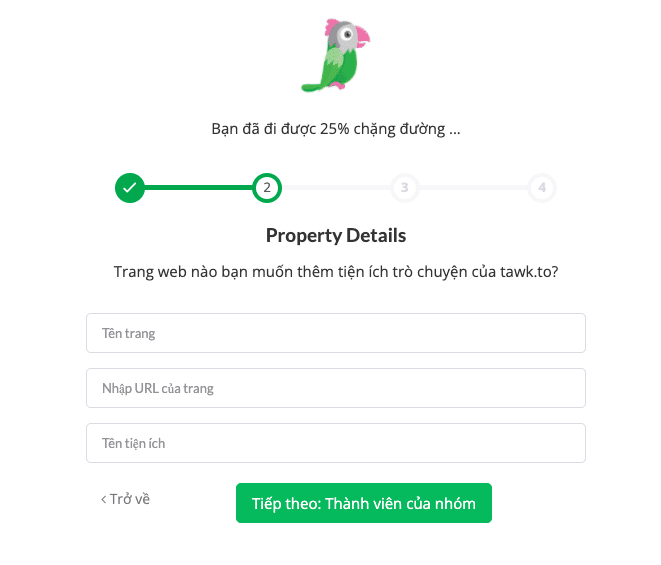
- Members of the group
If you want to add another email for Tawk.to administration, you can add a new one. If you don’t need it, click Skip.
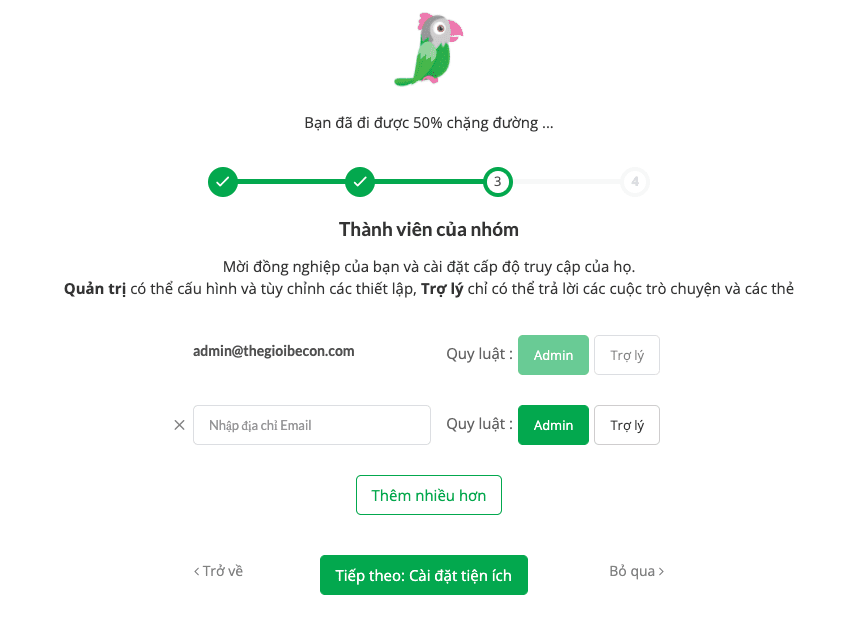
- Install Widget
In this section, you proceed to save the code and choose the correct WordPress platform.
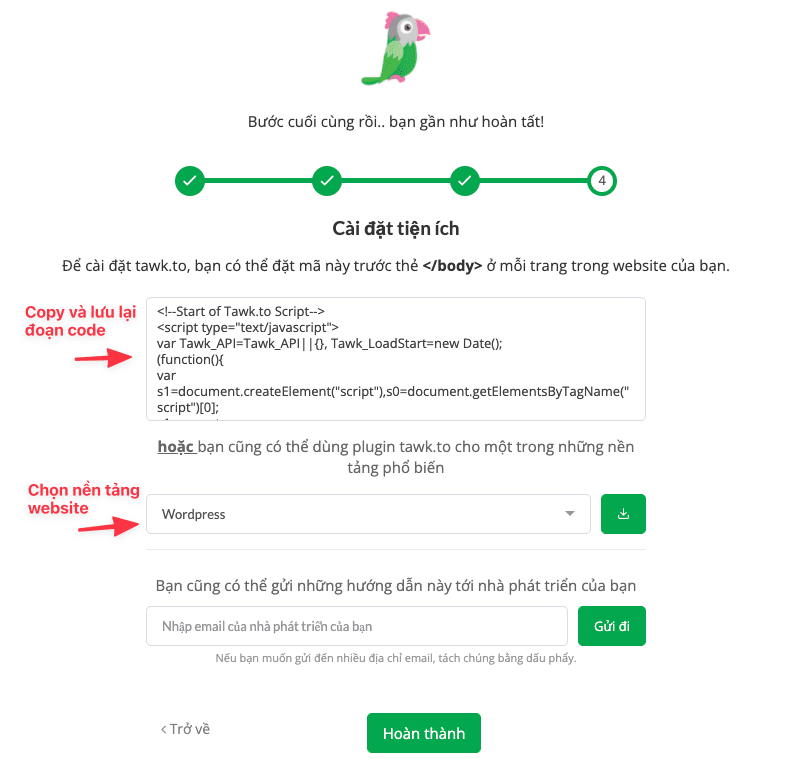
Once done, click Finish. Below is an image after successfully creating and setting up Tawk.to.
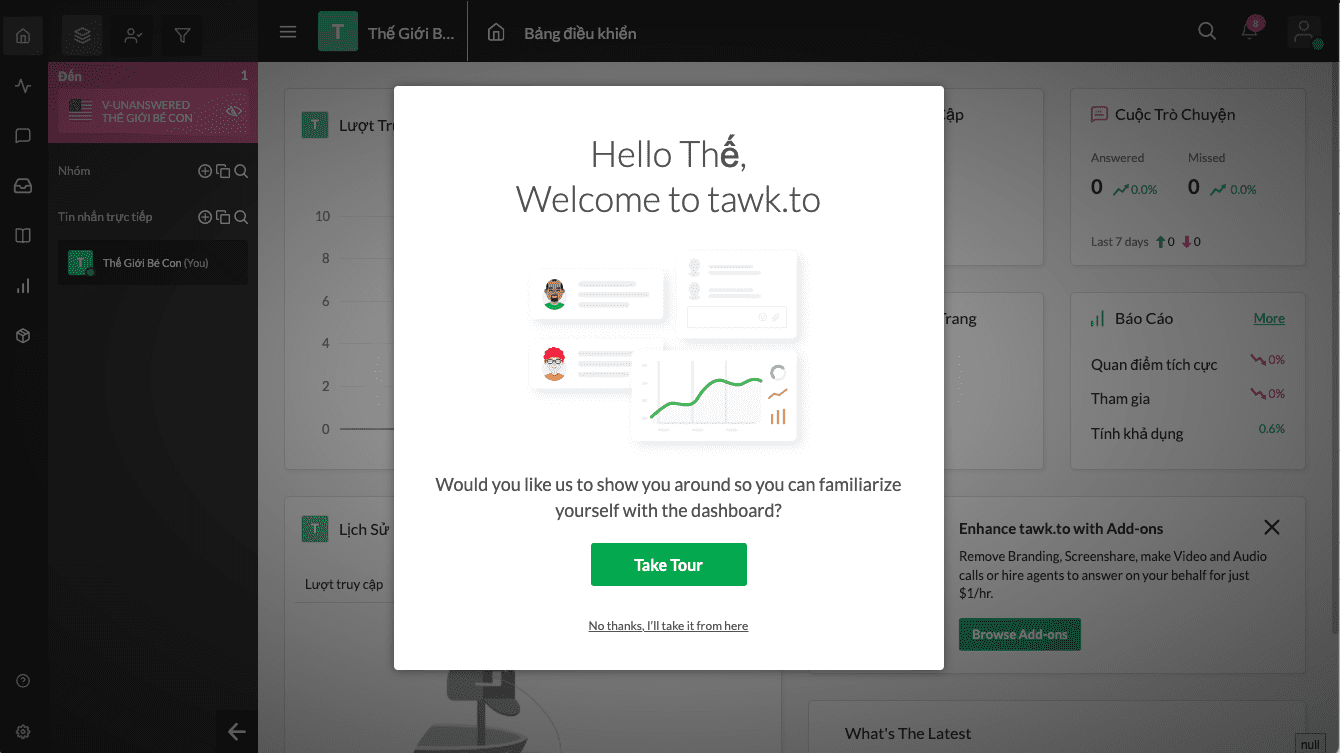
Step 2: Connect Tawk.to to your WordPress website
Method 1: Use the Tawk.To Live Chat Plugin
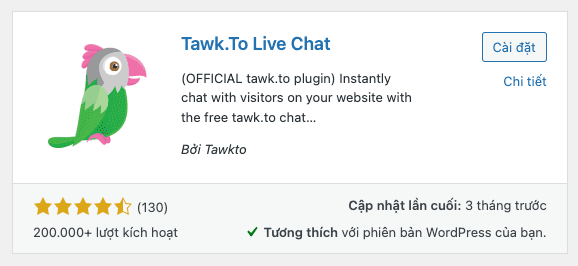
You access the WordPress admin, find and install the plugin called Tawk.To Live Chat.
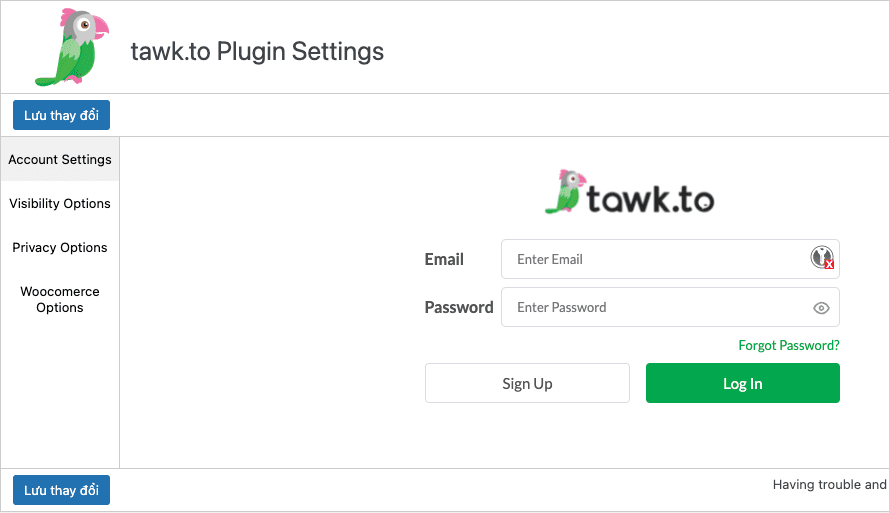
After installation is complete, you activate and access Tawk.To Live Chat => Setting => Account Settings. You log in to the account created in Step 1 to => Log In.
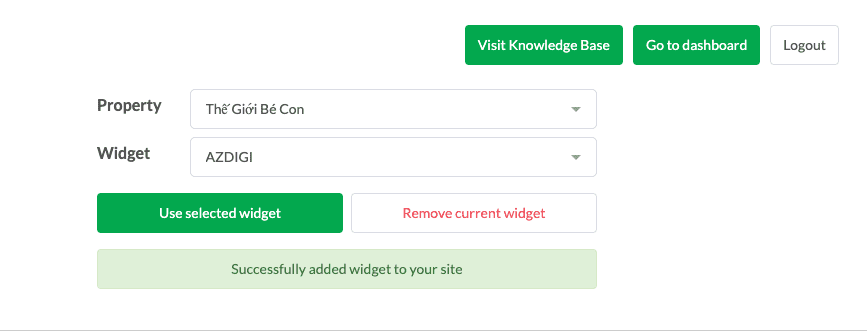
Next, in the Widget and Property section, you need to choose the correct name you set up in Step 1, and click Use selected widget
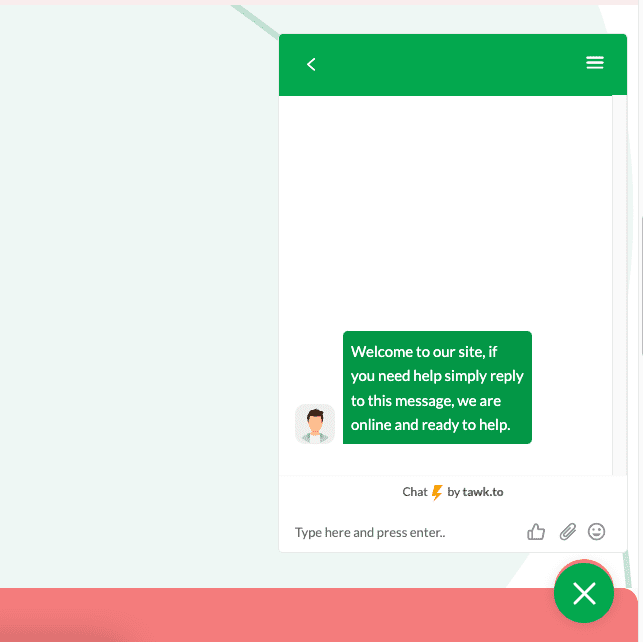
Now you can visit the website to check your results, if the screen shown below is that you have successfully configured Tawk.to.
Method 2: Use code Tawk.to
Different from method 1, you will not need to install the Plugin; instead, you can directly use the code that Tawk.to provides in Step 1 (Install Widget). However, this method is not recommended if you do not have experience managing and editing code on the website.
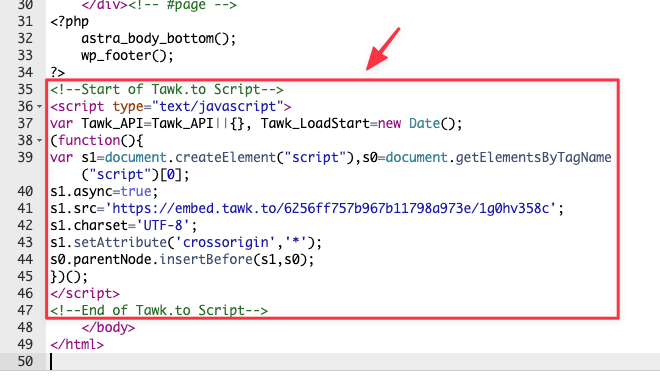
To use this method, you open the footer.php file of the website and add the code provided in Step 1 (Install Widget section) in front of the </body> tag and Save. The code will be similar to the one below, remember to replace it with your code.
<!--Start of Tawk.to Script-->
<script type="text/javascript">
var Tawk_API=Tawk_API||{}, Tawk_LoadStart=new Date();
(function(){
var s1=document.createElement("script"),s0=document.getElementsByTagName("script")[0];
s1.async=true;
s1.src='https://embed.tawk.to/6256ff757b967b11798a973e/1g0hv358c';
s1.charset='UTF-8';
s1.setAttribute('crossorigin','*');
s0.parentNode.insertBefore(s1,s0);
})();
</script>
<!--End of Tawk.to Script-->
The structure to insert the code will be similar to the image below:
So AZDIGI introduced you to what Tawk.to is and how to install Tawk.to on your WordPress website. To learn more about the settings of Tawk.to, you can refer to the Tawk.to the homepage. Hope this article will help you!
You can refer to other instructions at the link below:
If you need assistance, you can contact support in the ways below:
- Hotline 247: 028 888 24768 (Ext 0)
- Ticket/Email: You use the email to register for the service and send it directly to: support@azdigi.com .

