If you’re looking for a platform to build AI applications without much coding, Dify is the most noteworthy name right now. This is an open-source platform with over 80,000 stars on GitHub and has been officially included in the Linux Foundation’s project catalog. In other words, this isn’t just someone’s hobby project, but a serious platform with a community and organization behind it.
Dify allows you to create chatbots, AI agents, RAG pipelines, and automation workflows using a drag-and-drop interface. You connect models (OpenAI, Anthropic, Ollama local, etc.), design processing flows, then publish them as API endpoints or web apps. The entire process requires almost no coding.
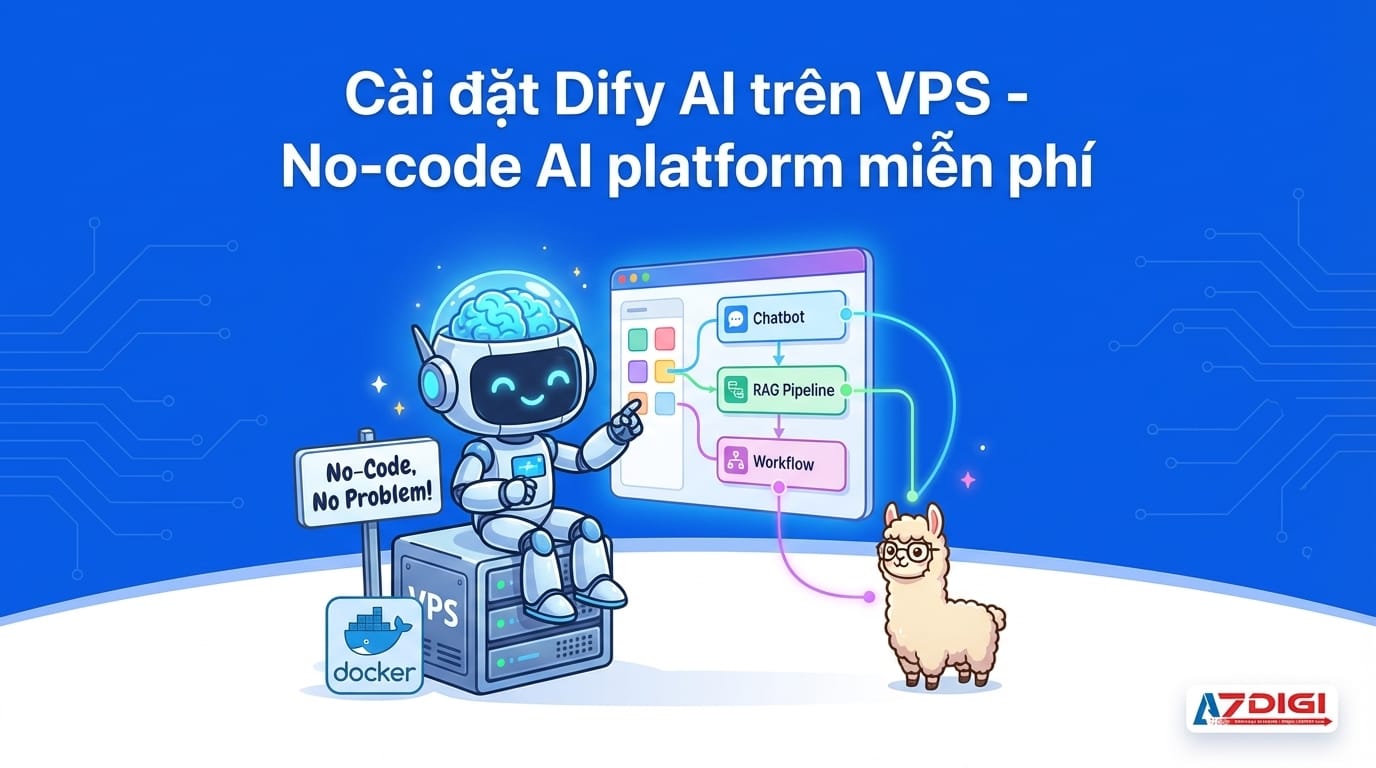
In this article, I’ll guide you through installing Dify on a private VPS using Docker Compose, connecting it to Ollama for running local models, and creating your first chatbot.
Dify vs Flowise vs Langflow
Before diving into installation, you might wonder why choose Dify over Flowise or Langflow. All three are no-code AI platforms, but their approaches differ quite clearly.
| Criteria | Dify | Flowise | Langflow |
|---|---|---|---|
| GitHub Stars | 80k+ | 35k+ | 50k+ |
| Backed by | Linux Foundation | Community | DataStax |
| Interface | Workflow builder + Chat UI | Flow builder | Flow builder |
| RAG integration | Yes (Knowledge base) | Yes | Yes |
| Agent support | Yes (multi-tool agents) | Yes | Yes |
| API endpoint | Auto-generated from workflow | Yes | Yes |
| Observability | Built-in (logs, traces) | Limited | Via LangSmith |
| Installation complexity | Docker Compose (easy) | npm/Docker (easy) | Docker/pip (medium) |
| Best suited for | Production apps, teams | Quick prototyping | LangChain users |
In summary: Flowise is lightweight and fast for prototyping. Langflow is powerful if you’re already familiar with LangChain. Dify is more comprehensive for production, with observability, user management, and ready-made API endpoints. If you want a platform that’s “ready to use after installation” for teams or real projects, Dify is a reasonable choice.
VPS Requirements
Dify runs multiple containers (web, API, worker, database, Redis, vector store), so it needs a VPS with at least the following configuration:
- CPU: 2 cores or more
- RAM: 4GB or more (8GB recommended if running Ollama)
- Disk: 40GB SSD or more
- OS: Ubuntu 22.04/24.04 or Debian 12
- Docker & Docker Compose: pre-installed
If Docker isn’t installed yet, run quickly: curl -fsSL https://get.docker.com | sh then add the user to the docker group: sudo usermod -aG docker $USER. Logout and login again to use.
Installing Dify with Docker Compose
The Dify installation process is quite simple, just a few commands and you’re done.
Step 1: Clone the repository
git clone https://github.com/langgenius/dify.gitStep 2: Create .env file and start
cd dify/docker
cp .env.example .env
docker compose up -d
The first run will take a few minutes to pull images. Dify will initialize containers: nginx, web, api, worker, db (PostgreSQL), redis, weaviate (vector store), and sandbox.
Check status:
docker compose psAll containers must be in Up or healthy status. If any container keeps restarting, check logs with docker compose logs [container-name].
First Access
Open your browser and access http://VPS-IP:80. You’ll see the initial setup page requiring admin account creation.
- Enter email, name, and password for the admin account
- Log in to the dashboard
The Dify interface is quite intuitive: on the left is the main menu with sections for Studio, Knowledge, Tools, and Explore. You’ll mainly work in Studio to create AI applications.
If you want to access via domain instead of IP, point the domain to your VPS and configure a reverse proxy (Nginx or Caddy) with SSL. The .env file has the APP_WEB_URL variable for you to update the URL.
Connecting Ollama for Local Models
One of Dify’s strengths is supporting many model providers. You can use OpenAI, Anthropic, Google Gemini, or run local models via Ollama.
If you’ve installed Ollama on the same VPS, connect as follows:
- Go to Settings (top right corner) → Model Provider
- Find Ollama in the provider list
- Enter URL:
http://host.docker.internal:11434 - Enter model name (e.g.,
llama3.2,qwen2.5,gemma3) - Select model type (LLM or Text Embedding) and save
host.docker.internal is a special address that allows Docker containers to access the host machine. On Linux, you need to add extra_hosts: ["host.docker.internal:host-gateway"] to docker-compose.yml if not present, or use the VPS’s internal IP directly.
After successful connection, you’ll see Ollama models appear in the list when creating new applications.
Creating Your First Chatbot
Now for the fun part. Go to Studio → Create from Blank → choose Chatflow or Workflow.
With Chatflow, you’ll see a canvas with drag-and-drop nodes:
- Start: receives input from user
- LLM: calls AI model (choose the model connected in previous step)
- Answer: returns result to user
The simplest flow: Start → LLM → Answer. You write the system prompt in the LLM node, select the model, then click Preview in the top right to test directly on the interface.
Want something more advanced? Add a Knowledge Retrieval node for the chatbot to query private documents (RAG), or add IF/ELSE, Code, HTTP Request to handle complex logic.
Key Features of Dify
After installation and creating your first chatbot, you’ll gradually discover more features that Dify provides:
RAG (Retrieval-Augmented Generation)
Go to Knowledge section, upload PDF, TXT, Markdown files, or crawl websites. Dify will automatically chunk, embed, and store in the vector store. When used in workflows, the chatbot will search through documents to provide more accurate answers instead of “hallucinating” responses.
Agents
Dify supports creating AI Agents capable of using tools: web search, code execution, external API calls, database queries. You configure tools in the Tools section, then attach them to Agent nodes in workflows.
Observability
Every user interaction is logged completely: input, output, token usage, latency, each step in the workflow. You can view this in the Logs section of each app. Very useful for debugging and prompt optimization.
Creating API Endpoints from Workflows
This is a feature I find very convenient. When you finish creating a workflow or chatbot, click Publish. Dify will automatically generate an API endpoint for that app.
In the app’s API Access section, you’ll see:
- API base URL
- API key for authentication
- API documentation with curl examples
Example API call with curl:
curl -X POST 'http://VPS-IP/v1/chat-messages' \
  -H 'Authorization: Bearer app-xxxxx' \
  -H 'Content-Type: application/json' \
  -d '{
    "inputs": {},
    "query": "Hello",
    "response_mode": "blocking",
    "user": "user-123"
  }'
With this feature, you can turn any workflow into an API service. Integrate into websites, mobile apps, Telegram bots, or any system that needs to call AI.
Updating Dify
Dify releases new versions quite frequently (about every 1-2 weeks). To update:
cd dify/docker
git pull origin main
docker compose pull
docker compose up -d
Before updating, consider backing up the database: docker compose exec db pg_dump -U postgres dify > backup.sql. In case new versions have breaking changes.
If there are changes in the .env.example file (new variables), you need to manually update your .env file. Dify usually clearly notes in release notes what changes need attention.
Conclusion
Dify is one of the best no-code AI platforms currently available for self-hosting. Simple installation with Docker Compose, intuitive interface, support for multiple model providers, and ready-made production features like RAG, Agents, API endpoints, and observability.
If you want to build AI applications for personal projects or teams without complete dependence on SaaS platforms, Dify on a private VPS is a very worthwhile option. You control the data, choose models as desired, and scale according to needs.
Good luck with your installation!
You might also like
- What is Flowise? When Should You Self-Host It on a VPS?
- n8n + Ollama - Automate Workflows with AI Running on Your Own VPS
- What is RAG? Building Internal Document Chatbots on VPS
- What is MCP? How AI agents connect to tools and external data
- What is vLLM? When should you use vLLM instead of Ollama
- OpenClaw hybrid: Gateway on VPS + Node on local Mac
About the author

Trần Thắng
Expert at AZDIGI with years of experience in web hosting and system administration.