WordPress Multisite is a feature within the WordPress content management system that allows you to create and manage multiple separate WordPress websites with a single installation.
This guide will help you quickly and effectively install WordPress Multisite on AZDIGI‘s hosting. With Softaculous, a paid tool integrated into the hosting, you’ll easily carry out the installation of both WordPress and WordPress Multisite.
Step 1: Log in to your cPanel.
First, log in to your cPanel account. If you’re unsure about how to log in to your cPanel account, you can refer to the following tutorial:
How to log in to Hosting’s cPanel.
Step 2: Install WordPress Multisite
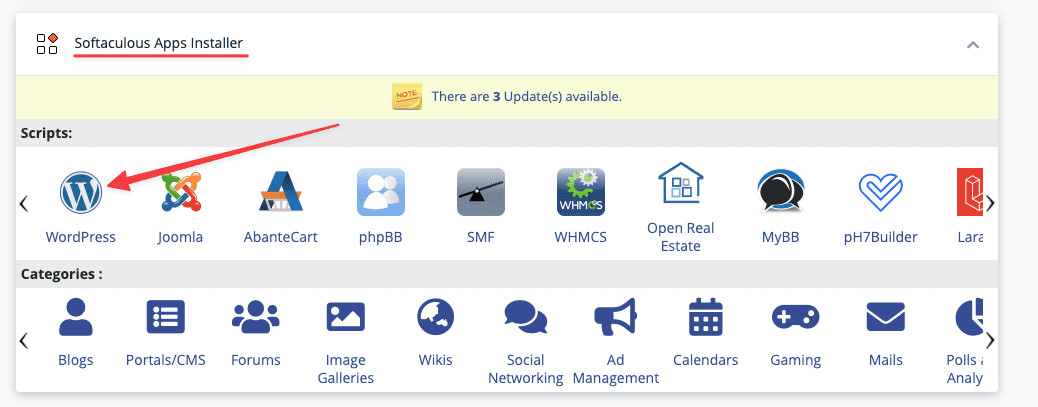
Go to “Softaculous Apps Installer” and select the “WordPress” icon to initiate the installation process.
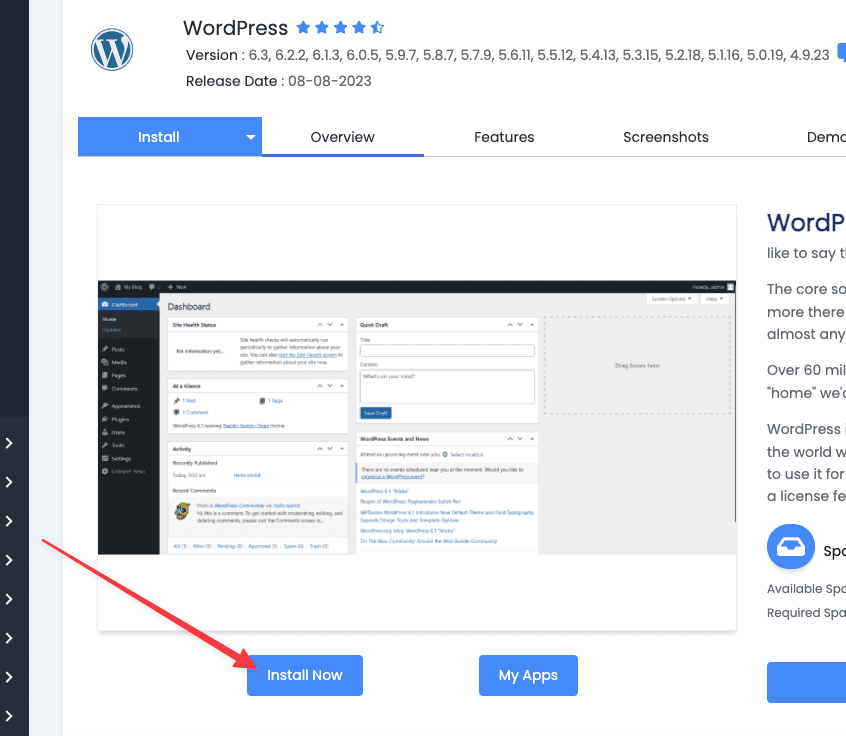
When you click on WordPress, it will automatically redirect you to the installation page => click the “Install Now” button.
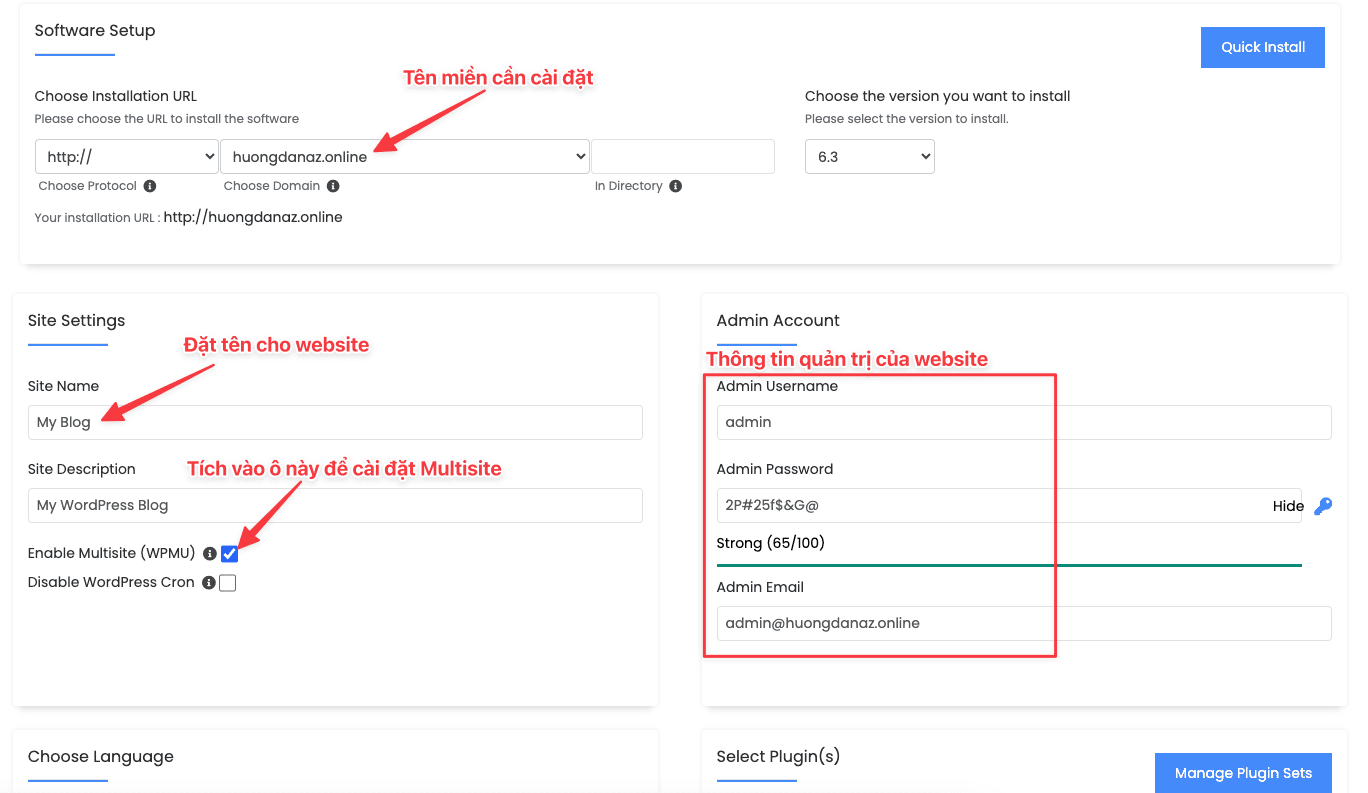
Next, you will enter the necessary information for your website or leave it as default => tick the “Enable Multisite (WPMU)” checkbox to install WordPress Multisite.
Note:
- Choose Installation URL: Select the HTTP:// or HTTPS:// protocol and choose the domain for installing WordPress Multisite.
- Site Settings: You can set a name for your website or leave it as default and modify it after installation.
- Admin Account: This is the administrative information used to log in to WordPress. You can modify this information according to your needs or leave it as default and save the details.
- Note: Do not set an overly simple password. You can click on the blue key icon to use a suggested password for better security. Never use passwords like 123456 12345678 123567a
- Choose Language: You can choose the language for your website.
In the Advanced Options section, you can customize or leave as default:
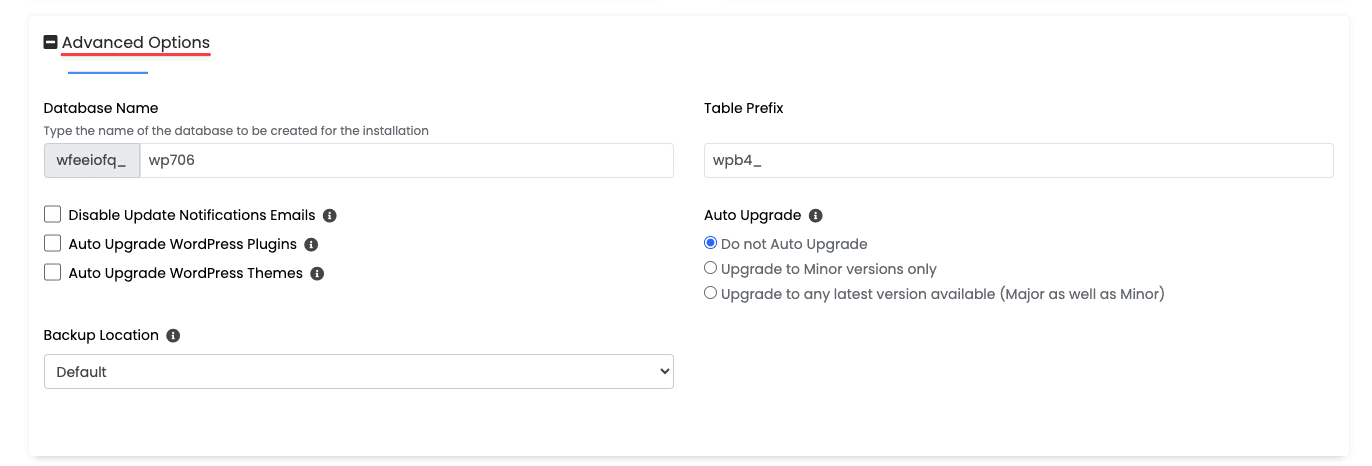
- Database Name: Set database name (maximum 7 characters, write immediately without accents)
- Table Prefix: Set the Prefix name in Database
Additionally, there are notifications like disabling email notifications on updates, or automatic updates for themes and plugins when new versions are available.
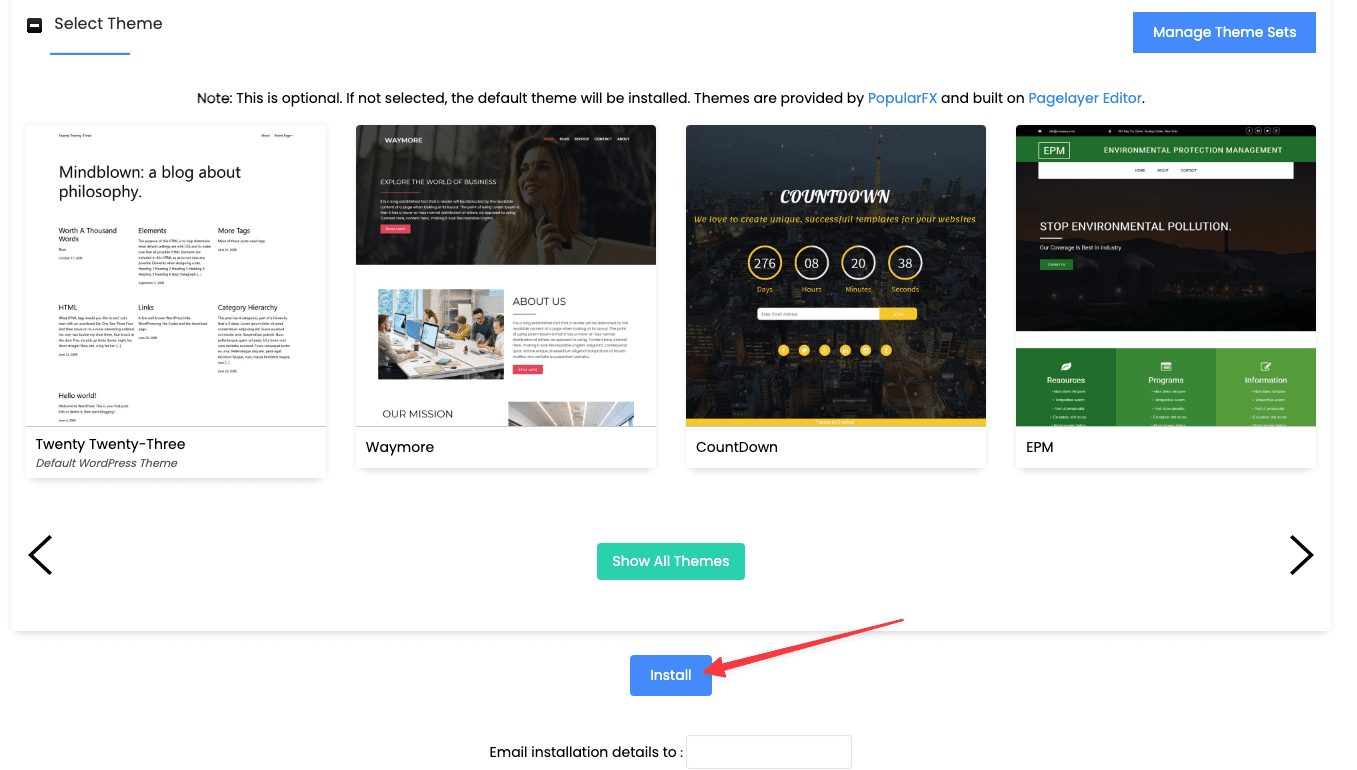
Next, in the Select Theme section, you can install a theme or leave it unchecked. After completing the WordPress Multisite installation, you can install themes and plugins later. To finalize, click Install to initiate the installation process.
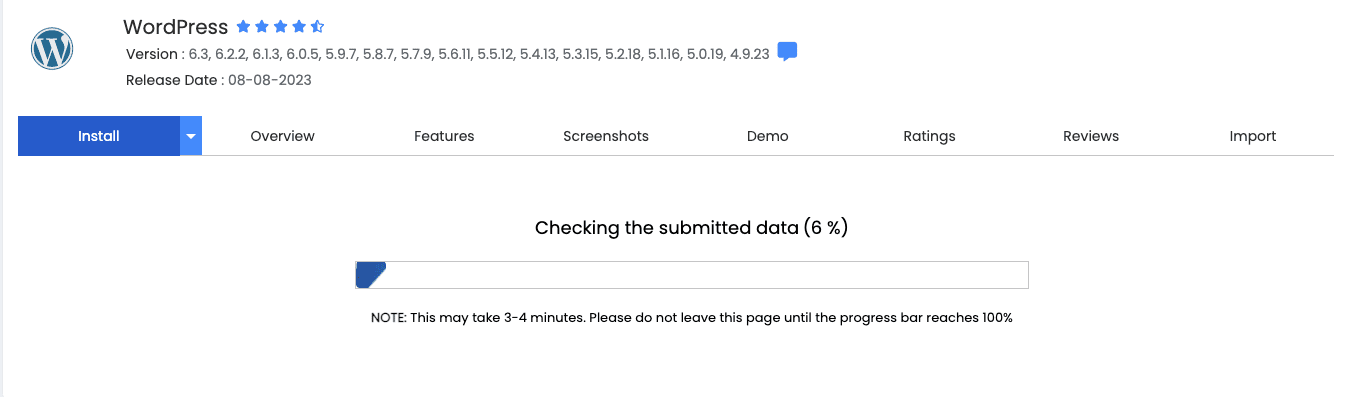
The installation process is in progress. Just wait for a few minutes for the process to complete.
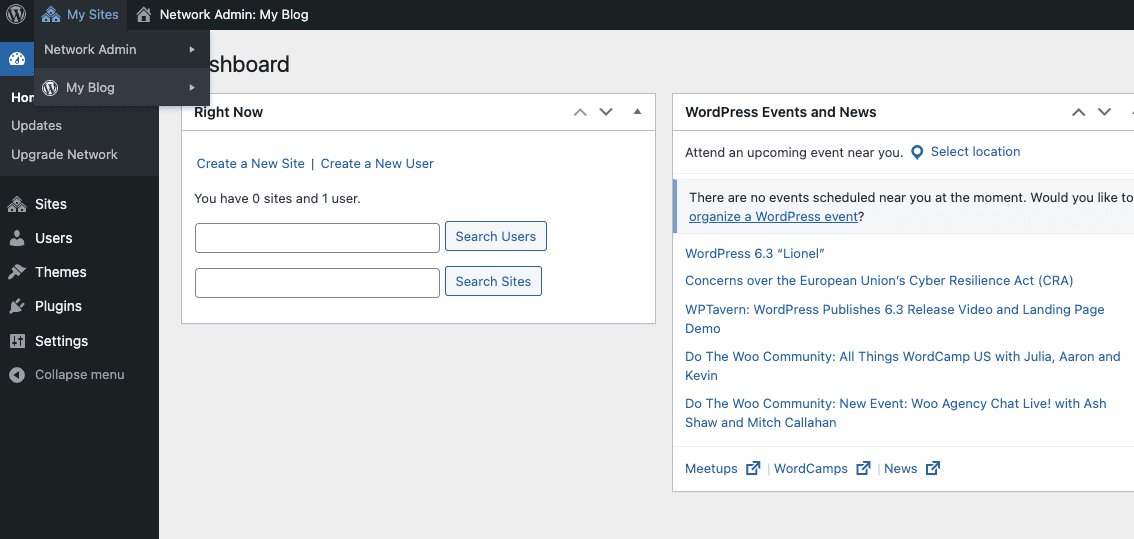
Once the installation process is complete, you will receive a successful installation notification along with the link to access the admin page.
Finally, you can start using your website and access the admin page to manage and create sub-sites with your WordPress Multisite.
In this way, with Softaculous, installing WordPress Multisite becomes easier and more time-efficient than ever. Make the most of this utility to quickly build a flexible and powerful Multisite environment according to your needs.
Wishing you a successful data restoration process.
You might also like
- Install WordPress automatically with Softaculous on cPanel
- [WordPress Manager] Using WordPress Manage to manage Website
- How to install Moodle on cPanel using Softaculous
- Remove a WordPress website installed with Softaculous in 2 steps
- Install WordPress with Softaculous on CentOS Web Panel (CWP)
- Install WordPress automatically with Softaculous on SEO Hosting
About the author

Đàm Trung Kiên
Chào mọi người, mình là Kiên - hiện đang công tác tại Phòng Kỹ thuật AZDIGI. Trong quá trình làm việc mình có cơ hội được tiếp xúc với khá nhiều các vấn đề liên quan đến Website/Hosting/VPS/Server, do đó mình viết lại các hướng dẫn này nhằm chia sẻ kiến thức, cũng như tạo một môi trường để chúng ta giao lưu và học hỏi lẫn nhau, trau dồi thêm nhiều kiến thức bổ ích hơn nữa.