Nội dung
Welcome back to the AZDIGI documentation channel. In today’s post, AZDIGI will show you to install Mail Server on aaPanel. In aaPanel, Mail Server is not set up, you need to set it up manually. So to install how, please follow the article below.
Step 1: Install PHP
Since the RoundCube source code requires PHP 5.6 – 7.3, you need to install a PHP version to work. Therefore, I will install PHP 7.3 for the RoundCube source code.
To install, go to App Store => Select PHP 7.3 => Install.
Step 2: Install RoundCube
RoundCube is one of the most popular mail management coders available today and is equipped with most of the Control Panels, including cPanel, DirectAdmin. To install RoundCube, I will install it through the one-click deployment application available on aaPanel.
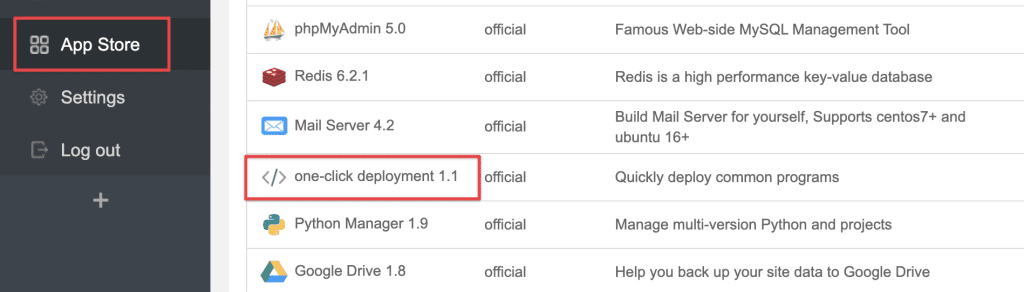
To install RoundCube, go to AppStore => one-click deployment.
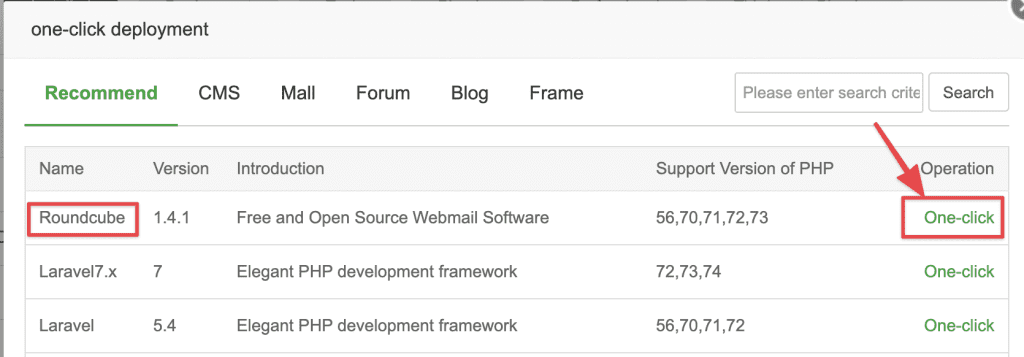
Next, select RoundCube => One-click to start the installation.
Then enter the following information:
- Domain: You enter
mail.tên-miền-của-bạn - Remark: Leave as default
- Document root: Leave as default
- Database: Leave as default
- Source code: roundcube
- PHP Version: Choose PHP below 7.4
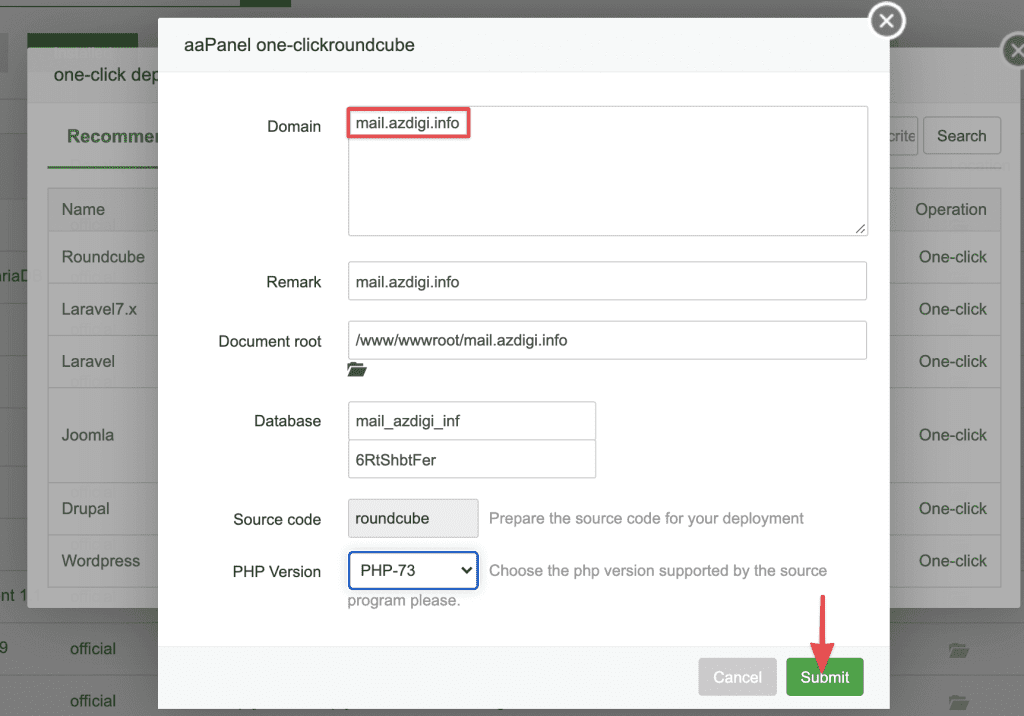
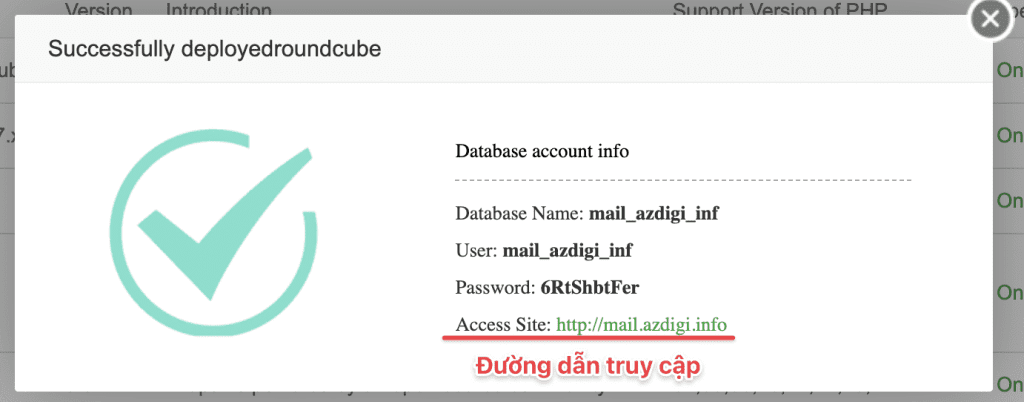
Then you click Submit and wait for 1 to 2 minutes for the system to install. When the installation is complete, you will receive the following message:
Step 3: Install Mail Server
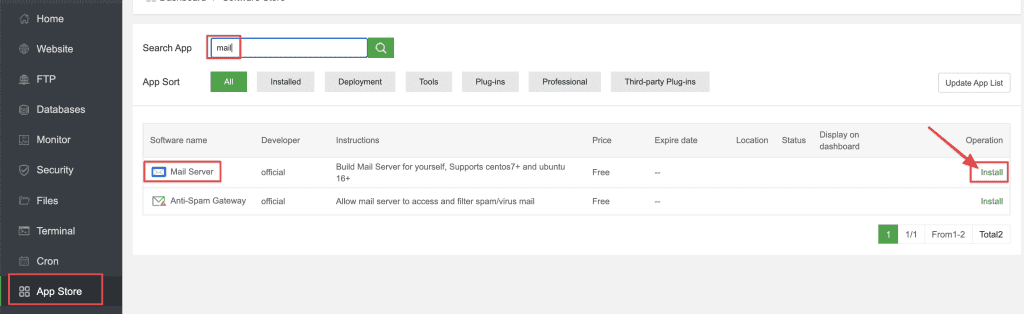
For email to work and create an account, you need to install a mail server. You click on the App Store, then find the App called mail server and click Install. The installation will take 1-2 minutes and after the installation is complete, a message will appear, and you should follow the dialog boxes.
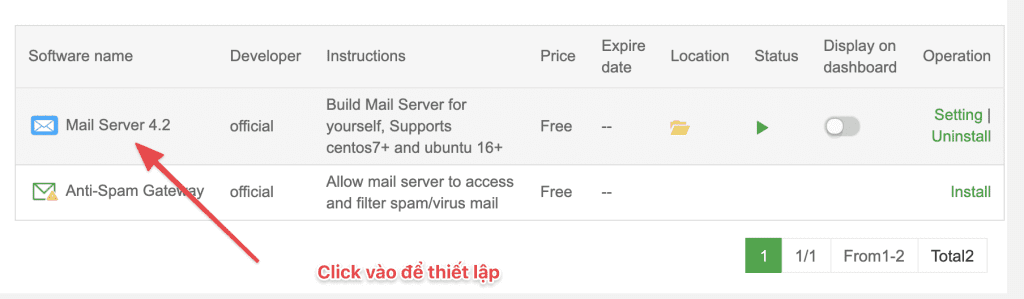
Now click to set up the mail domain and click Confirm if the dialog box appears.
Next, you click Add Domain to add the domain using mail.
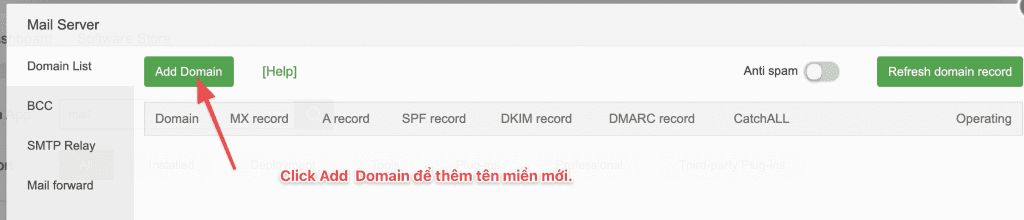
Then enter the corresponding information, including:
- Domain Name: Enter the domain name
- A record: Enter your
mail.tên-miền-của-bạn
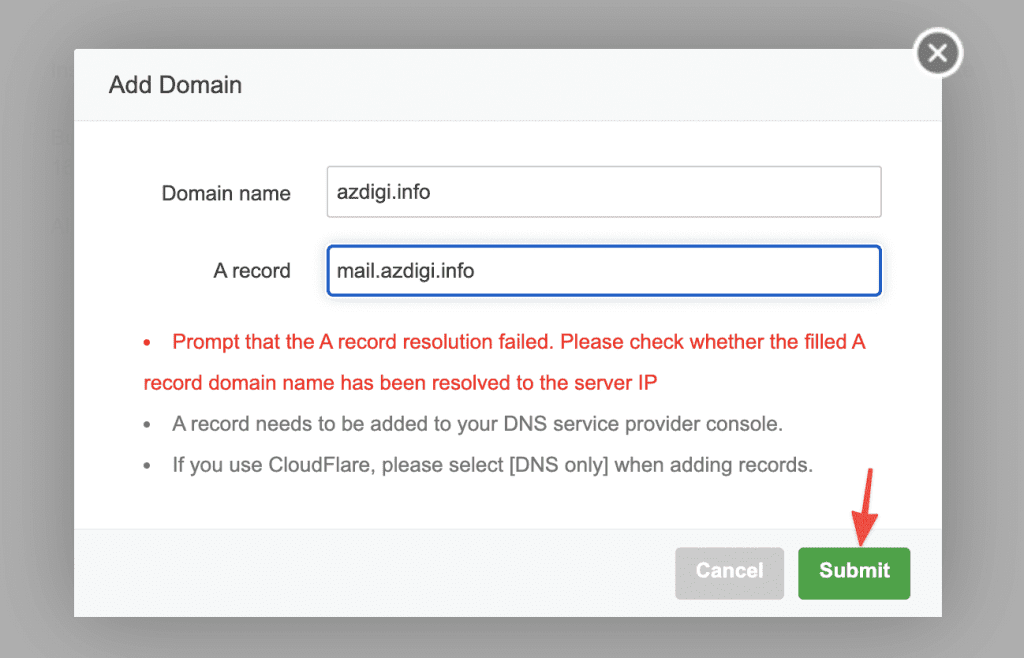
NOTE: If the message A record parsing failed appears, you need to point an A record with the email name to the IP of the VPS/server.
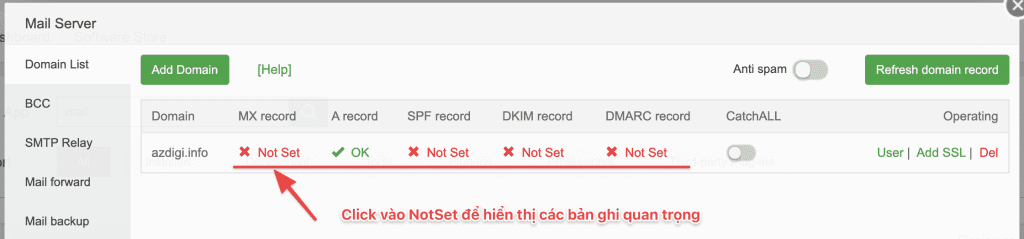
Once the domain has been added successfully, select Not Set to display important records for the next Mail configuration.
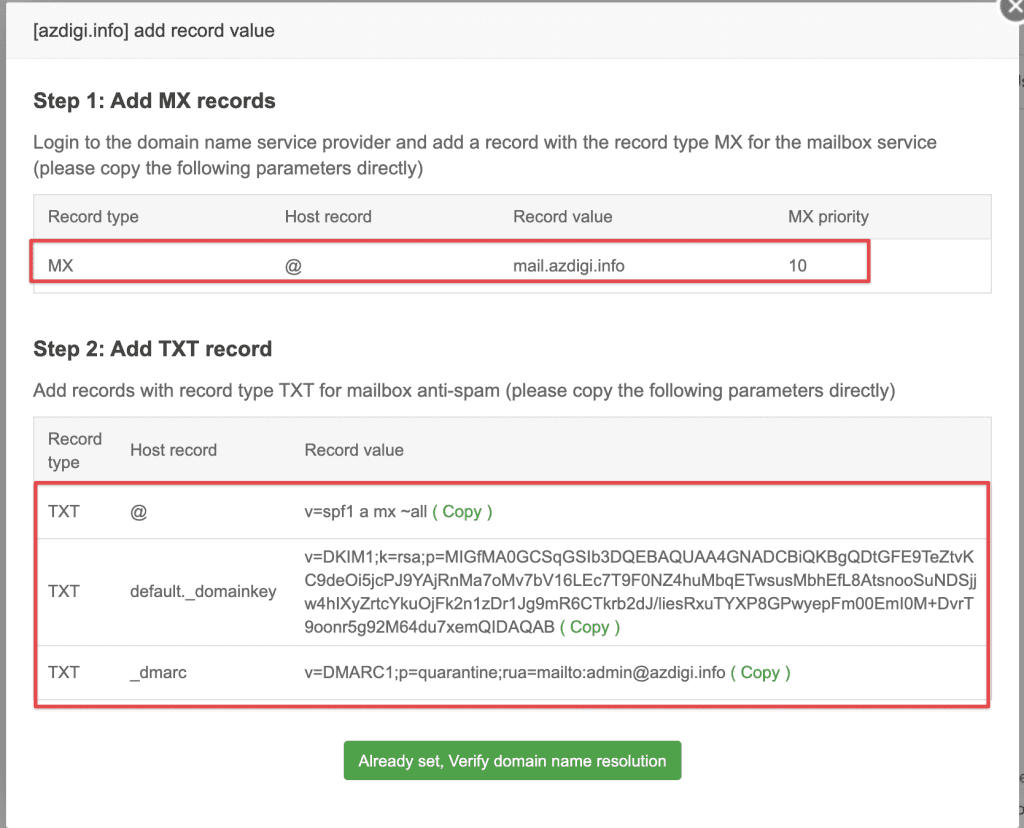
Step 4: Configure Mail records for the domain name
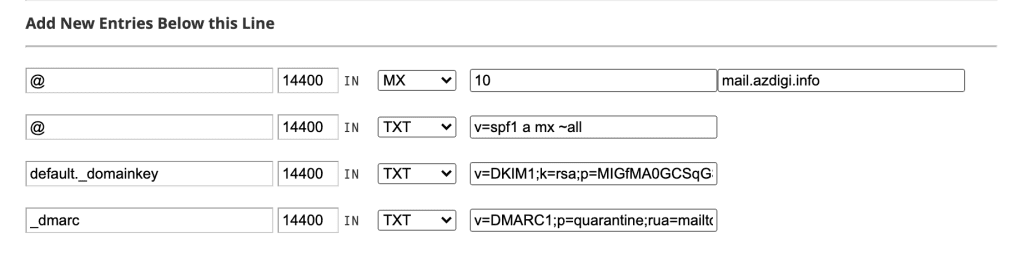
After you have obtained the DNS records, proceed to configure your DNS server corresponding to the following records:
- MX: (mail exchanger) record is a record in the DNS zone that identifies which mail server is responsible for receiving email
- SPF: (SPF Record – Sender Policy Framework) is a way to confirm whether an email server is allowed to send email under a certain domain name.
- DKIM: (Domain Keys Identified Mail) is a method to help authenticate emails through the digital signature of the mailing domain, which helps to avoid email spoofing
- DMARC: is a standard to block spammers from using the domain owner’s domain without their permission, which we often call spoofing
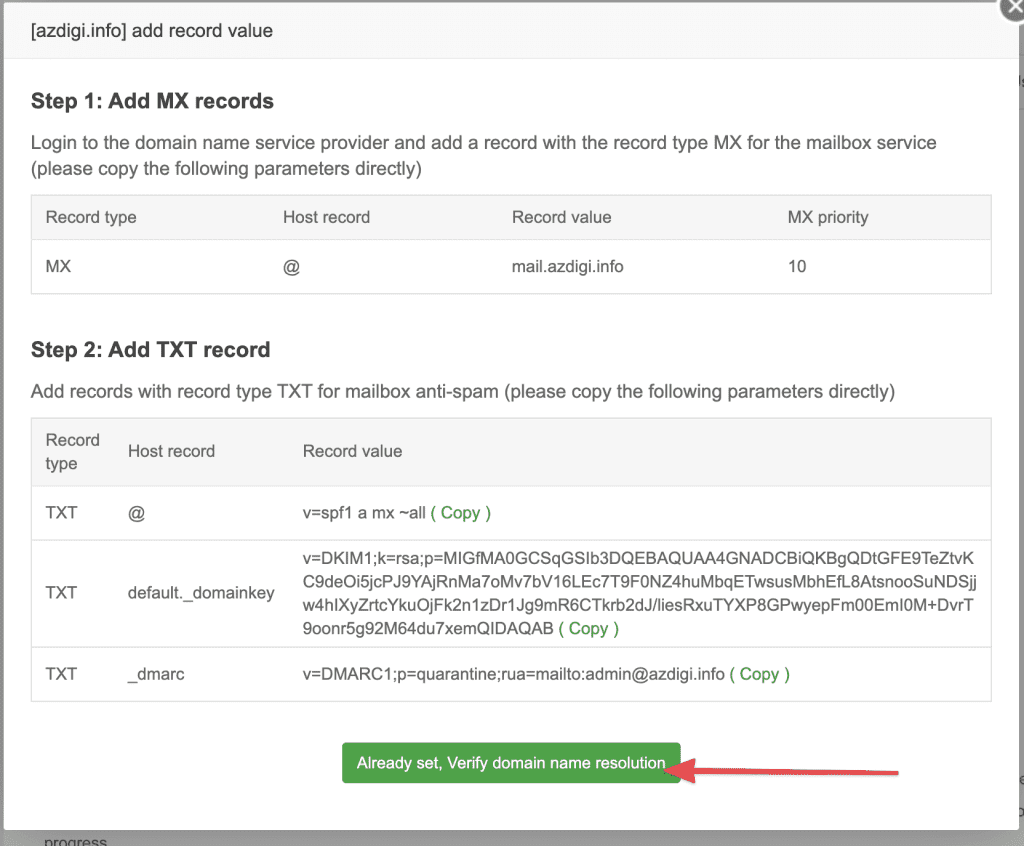
After fully updating the mail and verifying successfully, you will see the signs ✅ and the word OK

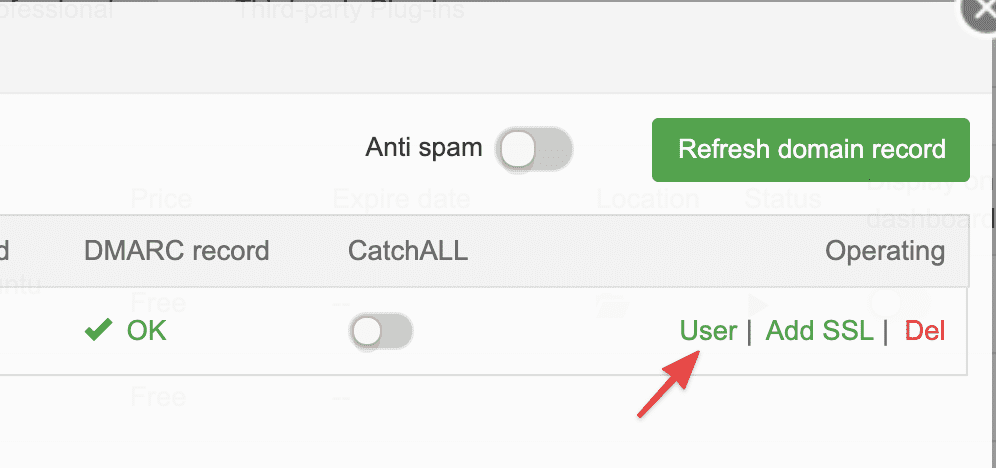
Step 5: Create an account and use
This is the final step to create an account and use mail, you click on User to create a new account.
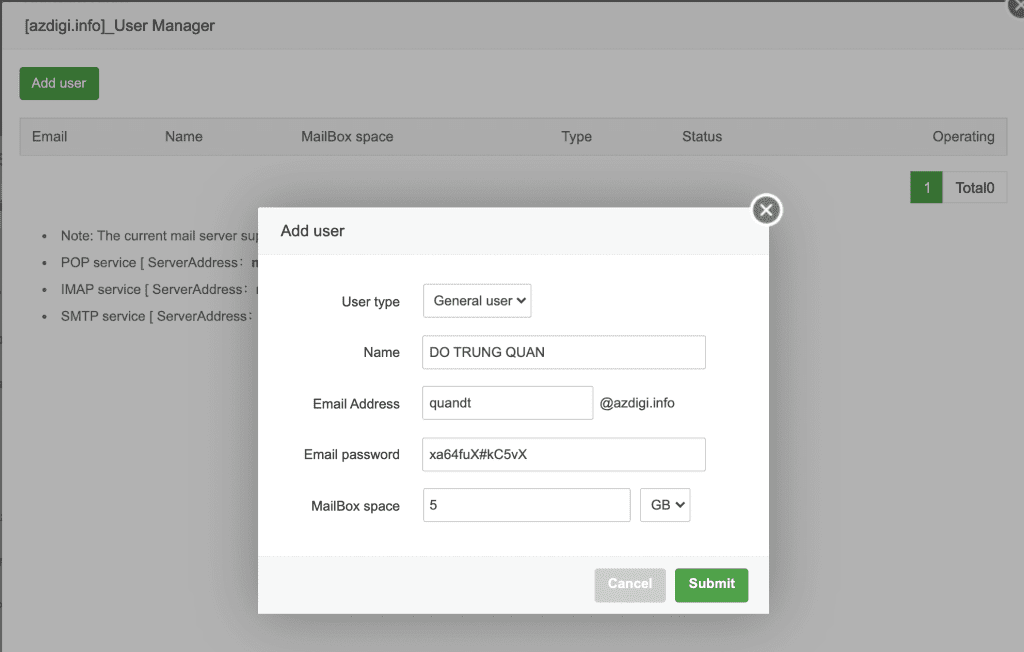
In the Add User section, enter the following:
- User type: General user
- Name: display name
- Email Address: mail account
- Email Password: mail password (Password format is: uppercase, lowercase, numbers, and special characters)
- MailBox space: mail account capacity
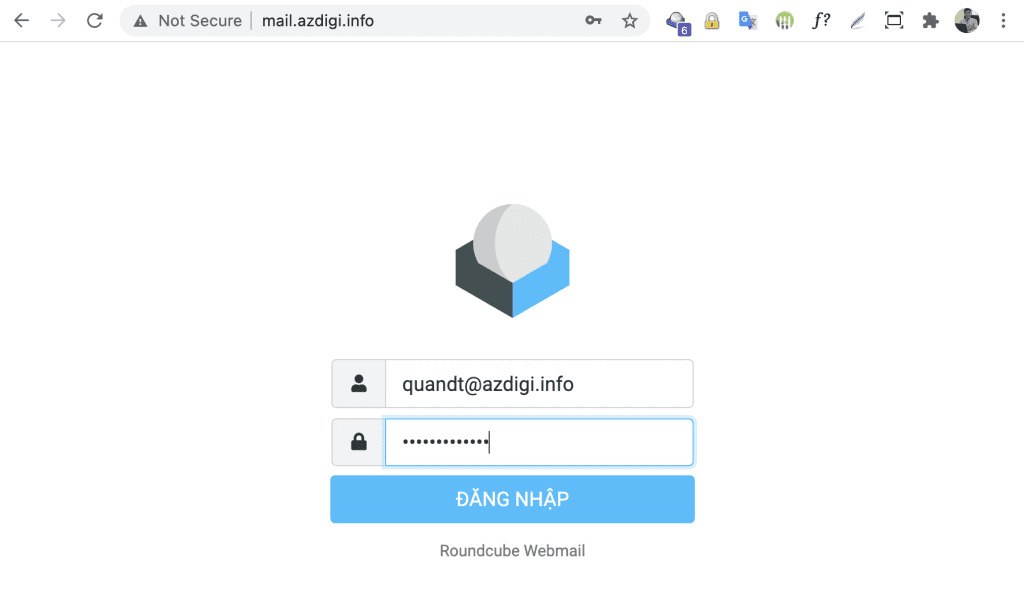
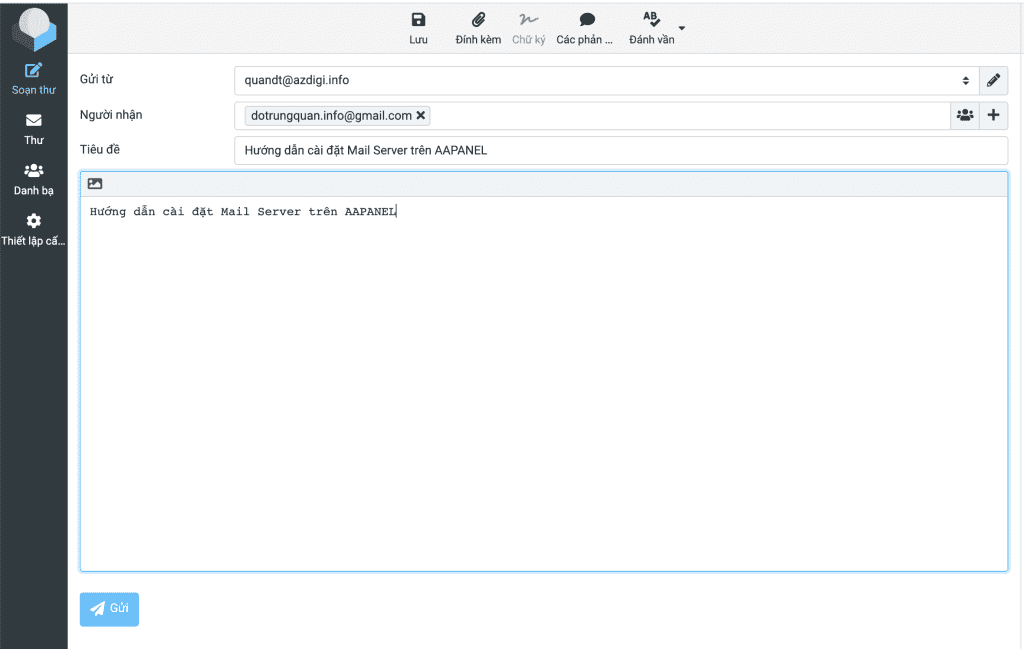
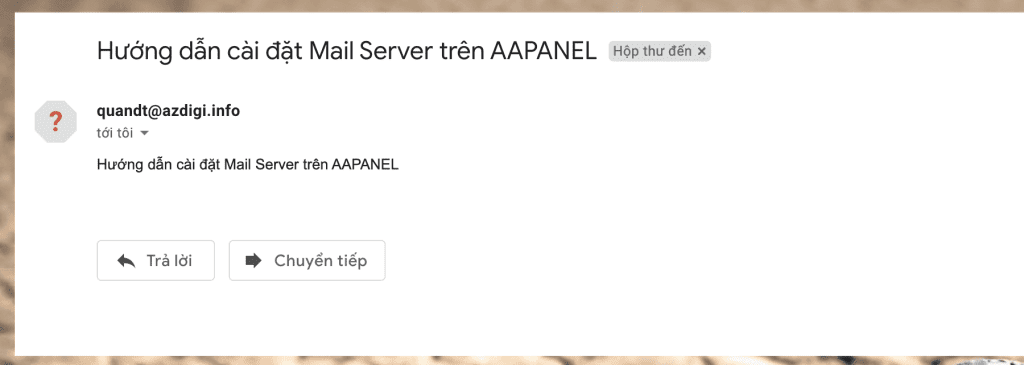
Once created, I will access the webmail via the link mail.tên-miền-của-bạn
Thus, AZDIGI has completed the steps to install Mail Server on aaPanel. Wishing you success.
See more useful articles about aaPanel at the following link:
If you need assistance, you can contact support in the ways below:
- Hotline 247: 028 888 24768 (Ext 0)
- Ticket/Email: You use the email to register for the service and send it directly to: support@azdigi.com .
- Refer to Hosting/VPS service at AZDIGI website!