Nội dung
In today’s article, AZDIGI will show you how to install Node.js 12 on CentOS 7 simply and easily.
Install Node.js 12 on CentOS 7
To install Node.js 12 on CentOS 7, we follow these 3 steps.
Step 1: SSH into your CentOS 7 server
To install Node.js 12 on CentOS 7, we need to SSH or access your VPS/server as root. If you don’t know how to SSH into your VPS/Server, you can refer to the following tutorial:
After successfully SSH, we continue with step 2 to perform the update of the CentOS operating system.
Step 2: Update CentOS
To update CentOS, we execute the following command:
yum update -y
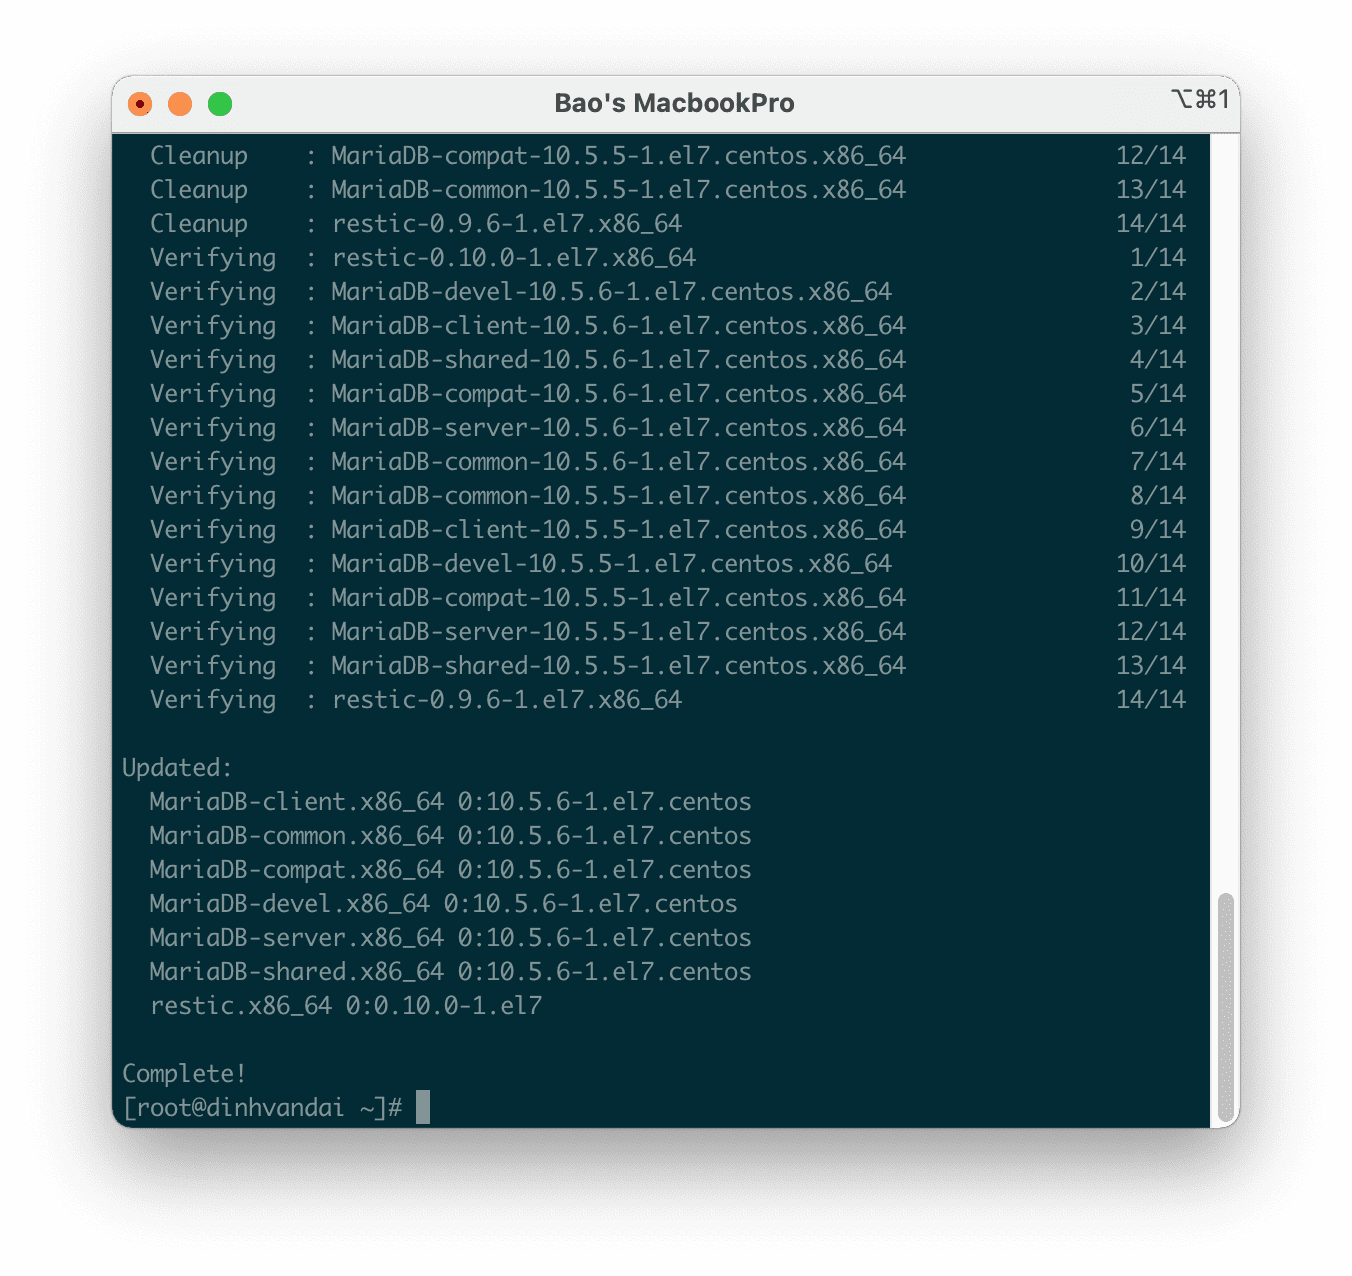
Below is my interface after I finished updating CentOS. Depending on the internal software you use, the interface will be different.

After the update is successful, we continue with step 3 to execute the commands to install Node.js 12 on CentOS 7.
Step 3: Commands to install Node.js 12 on CentOS 7
To install Node.js 12 on CentOS 7, we use the following commands: I will explain the commands below so that you can understand the function of each command.
curl -sL https://rpm.nodesource.com/setup_12.x | sudo bash -
yum clean all && sudo yum makecache fast
yum install -y gcc-c++ make
yum install -y nodejs
Explanation of the above commands:
- Command 1: This command will install the NodeSource Node.js 12.x repo.
- Command 2: Clear all cache of yum command.
- Command 3: Install the gcc-c++ make the library.
- Command 4: Install nodejs.
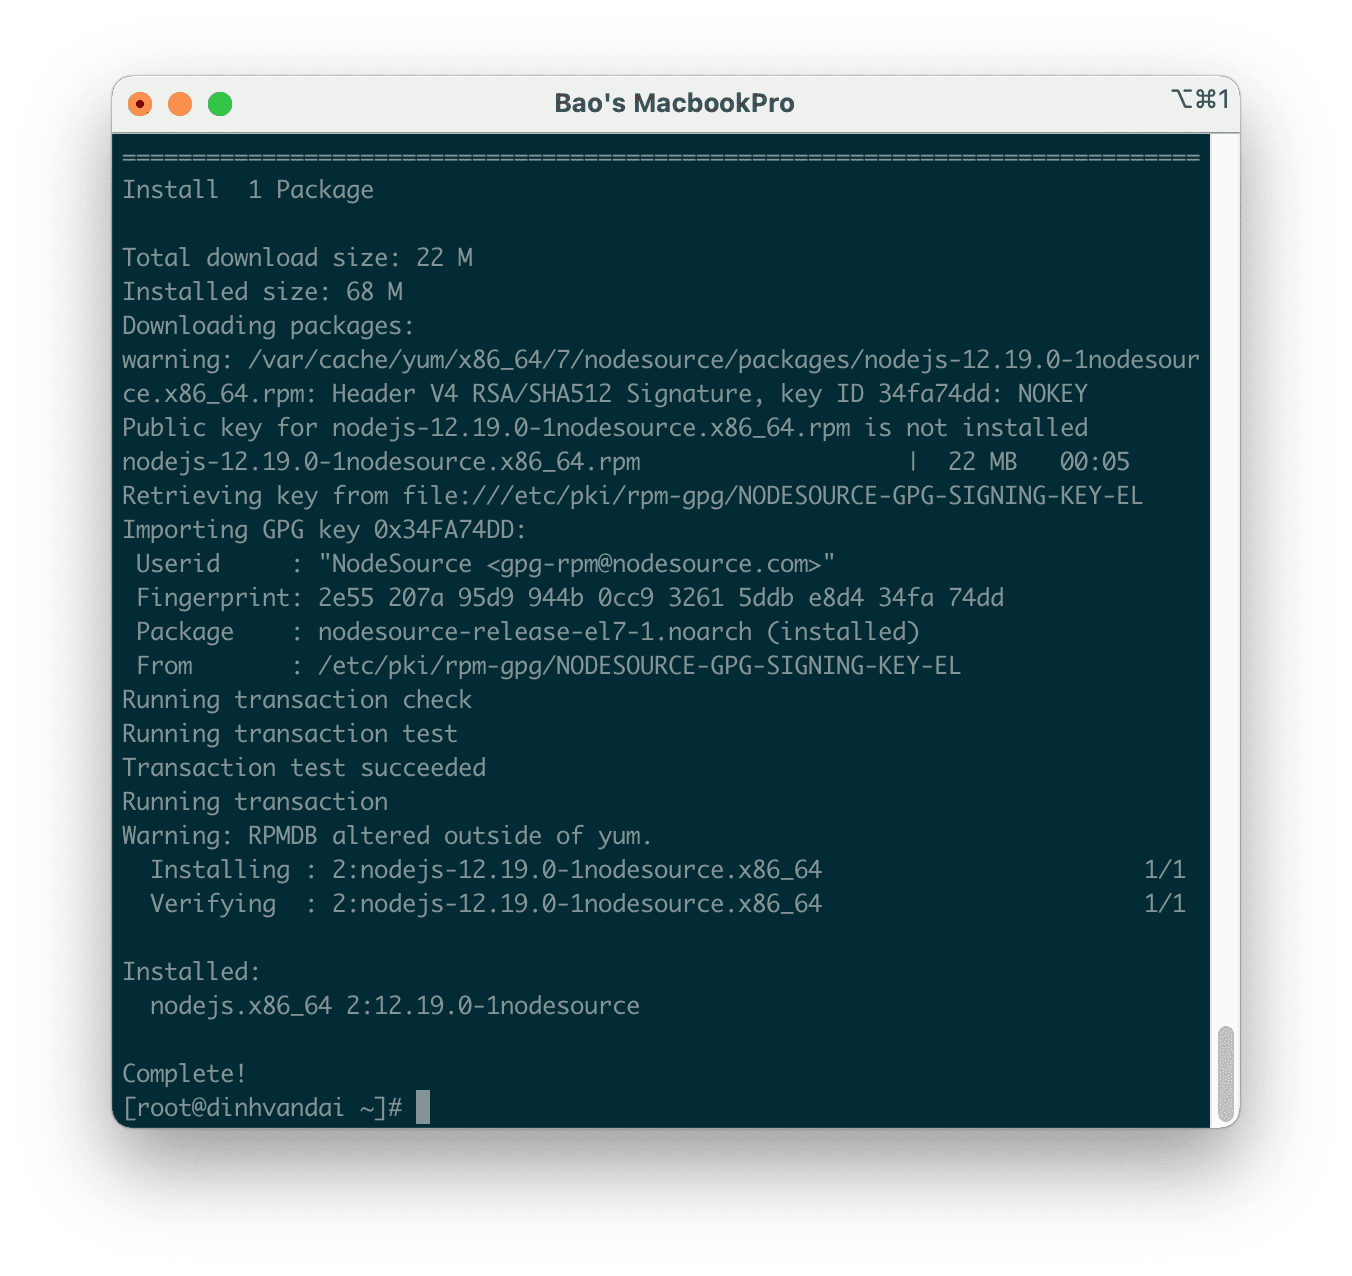
Below is my screen after I have run the above 4 commands:

So we have completed the installation of Node.js 12 on CentOS 7.
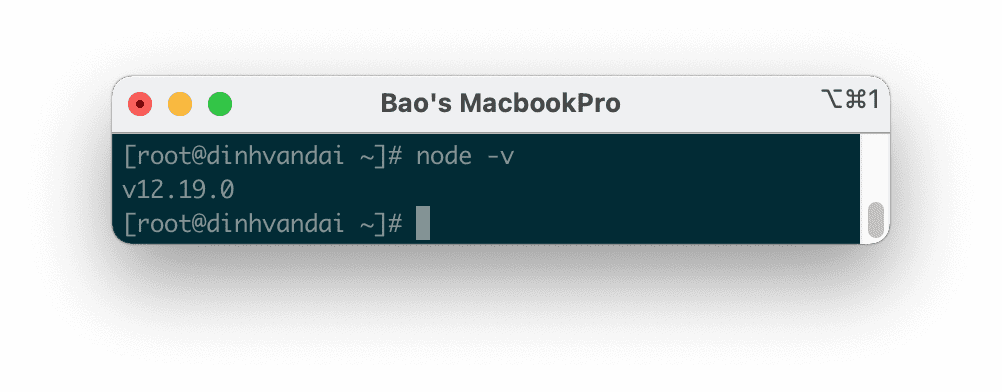
Now we use the following command to check the installed Node.js version.
node -v
And this is the result.

Summary
Hopefully, through this article, you know how to install Node.js 12 on CentOS 7 as well as check the version after the installation is complete.

