Installing LOMP Stack on Ubuntu 20.04 with 5 steps.
Introduction
What is LOMP Stack?
LOMP is an abbreviation commonly used to refer to the use of Linux software, OpenLiteSpeed, MariaDB and the command language PHP or Perl or Python to create a web server environment capable of hosting and delivering dynamic websites.
The specific functions you can understand are that LOMP works from Linux software with OpenLiteSpeed web server, MariaDB or MySQL database server and dynamic file content handled by PHP.
Requirements
- Ubuntu Server 20.04
- Minimum VPS configuration: 1GB RAM
Implementation Guide
Step 1: SSH into the server and update the system
To upgrade the ProFTPD version on DirectAdmin, we first need to SSH or access your VPS/server with root privileges. If you don’t know how to SSH into your VPS/Server, you can refer to the following tutorial:
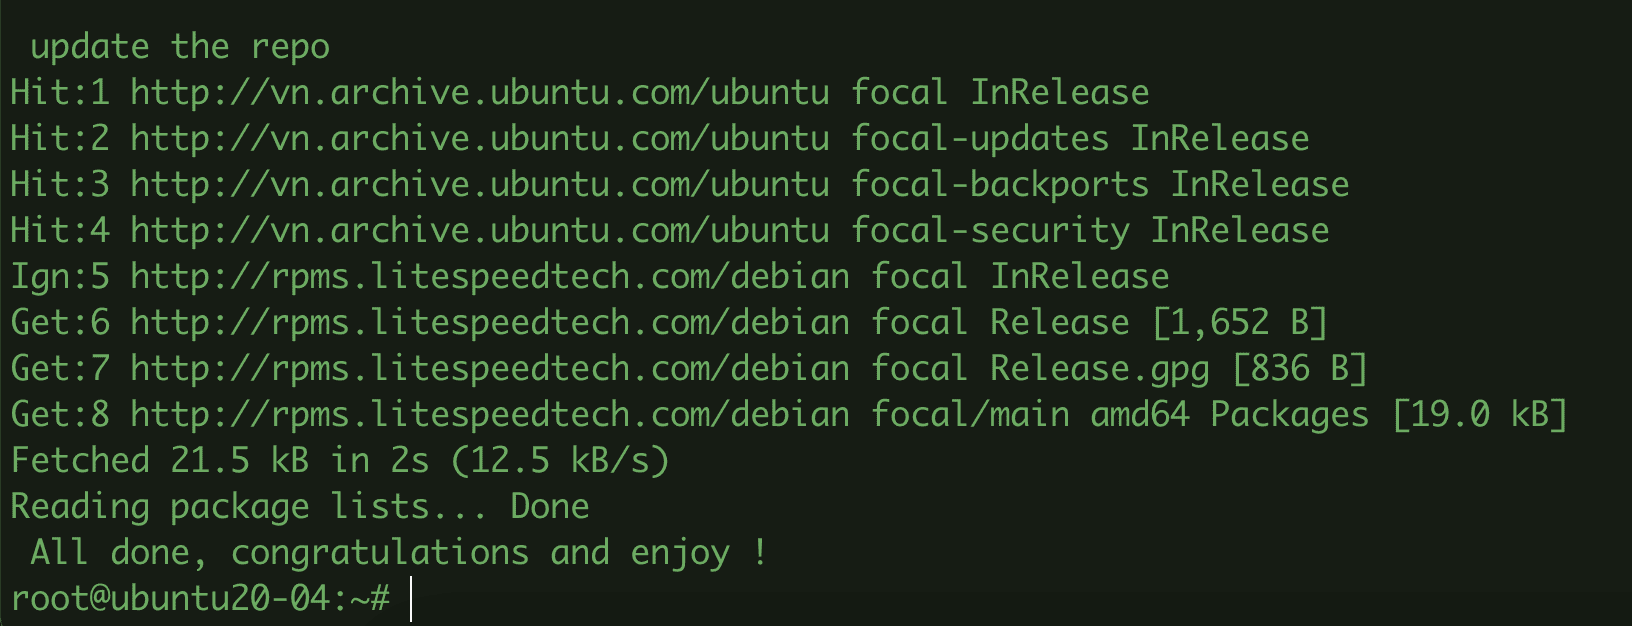
After successfully SSHing into the server, you proceed to update the packages installed on the Ubuntu system with the command:
sudo apt update -y && apt upgrade -y
Step 2: Install OpenLiteSpeed Web Server
Unlike Apache and Nginx, OpenLiteSpeed is hosted separately in its own repository. So to install, you need to follow the steps below:
- Add OpenLiteSpeed’s repository to apt package to use apt install OpenLiteSpeed.
sudo wget -O - http://rpms.litespeedtech.com/debian/enable_lst_debian_repo.sh | sudo bash

- Install OpenLiteSpeed
sudo apt -y install openlitespeed
- Some commands to manage Openlitespeed
systemctl start apache2      (Khởi động dịch vụ Apache)
systemctl stop lshttpd       (Dừng dịch vụ Apache)
systemctl reload lshttpd     (Tải lại dịch vụ Apache)
systemctl restart lshttpd   (Khởi động lại  dịch vụ Apache:)
systemctl enable lshttpd     (Thiết lập Apache khởi động cùng hệ thống)
systemctl disable lshttpd    (Vô hiệu hoá Apache khởi động cùng hệ thống )
systemctl status lshttpd     (Xem trạng thái dịch vụ Apache)

- Check the version of Openlitespeed
/usr/local/lsws/bin/lshttpd -v
root@ubuntu20-04:~# /usr/local/lsws/bin/lshttpd -v
LiteSpeed/1.7.16 Open (BUILD built: Fri May 13 19:00:23 UTC 2022)
	module versions:
	lsquic 3.0.4
	modgzip 1.1
	cache 1.64
mod_security 1.4- Open Port with Firewall
Openlitespeed uses port 8088, so please open it and some other necessary ports on UFW to access it. You use the command below to open ports at the same time as the command:
sudo ufw allow 7080,80,443,8088/tcp
sudo ufw status
- Check the operation of Openlitespeed
Now go to your browser and access the address http://IP_Server:8088/. If the browser displays the Openlitespeed Congratulations page as below, it is successful.
- Admin access with GUI interface
To access the admin admin page with GUI interface, you access the address http://IP_Server:7080/. At the login interface, the default user will be admin, and the password, please refer to the article below to reset.

After you have the user/password information, you proceed to log in that information, if successful, the GUI interface will display as shown below:


Step 3: Install MariaDB Database Server
MariaDB is an alternative to MySQL. It was developed by former members of the MySQL team. You use the commands below to install MariaDB on Ubuntu 22.04.
- Install MariaDB Database Server
sudo apt install -y mariadb-server mariadb-client
- Some MariaDB management commands
systemctl start mariadb      (Khởi động dịch vụ mariadb)
systemctl stop mariadb       (Dừng dịch vụ mariadb)
systemctl restart mariadb   (Khởi động lại  dịch vụ mariadb)
systemctl enable mariadb     (Thiết lập mariadb khởi động cùng hệ thống)
systemctl disable mariadb    (Vô hiệu hoá mariadb khởi động cùng hệ thống )
systemctl status mariadb     (Xem trạng thái dịch vụ mariadb)

- Advanced Setup for Mariadb
sudo mysql_secure_installation
root@ubuntu20-04:~# sudo mysql_secure_installation
NOTE: RUNNING ALL PARTS OF THIS SCRIPT IS RECOMMENDED FOR ALL MariaDB
      SERVERS IN PRODUCTION USE!  PLEASE READ EACH STEP CAREFULLY!
In order to log into MariaDB to secure it, we'll need the current
password for the root user.  If you've just installed MariaDB, and
you haven't set the root password yet, the password will be blank,
so you should just press enter here.
Enter current password for root (enter for none):
OK, successfully used password, moving on...
Setting the root password ensures that nobody can log into the MariaDB
root user without the proper authorisation.
Set root password? [Y/n] y                               (Nhấn Y để tạo pass root mới)
New password:  Nhập passwd root
Re-enter new password: Nhập lại passwd root
Password updated successfully!
Reloading privilege tables..
 ... Success!
By default, a MariaDB installation has an anonymous user, allowing anyone
to log into MariaDB without having to have a user account created for
them.  This is intended only for testing, and to make the installation
go a bit smoother.  You should remove them before moving into a
production environment.
Remove anonymous users? [Y/n] y
 ... Success!
Normally, root should only be allowed to connect from 'localhost'.  This
ensures that someone cannot guess at the root password from the network.
Disallow root login remotely? [Y/n] y
 ... Success!
By default, MariaDB comes with a database named 'test' that anyone can
access.  This is also intended only for testing, and should be removed
before moving into a production environment.
Remove test database and access to it? [Y/n] y
 - Dropping test database...
 ... Success!
 - Removing privileges on test database...
 ... Success!
Reloading the privilege tables will ensure that all changes made so far
will take effect immediately.
Reload privilege tables now? [Y/n] y
 ... Success!
Cleaning up...
All done!  If you've completed all of the above steps, your MariaDB
installation should now be secure.
Thanks for using MariaDB!- Check the version of Mariadb
mariadb --version
root@ubuntu20-04:~# mariadb --version
mariadb  Ver 15.1 Distrib 10.3.34-MariaDB, for debian-linux-gnu (x86_64) using readline 5.2
Step 4: Install PHP
At the time of writing this article, PHP 8.1 is the latest version of PHP, it has superior performance over its predecessors. Therefore, I will install PHP 8.1 and some necessary PHP modules.
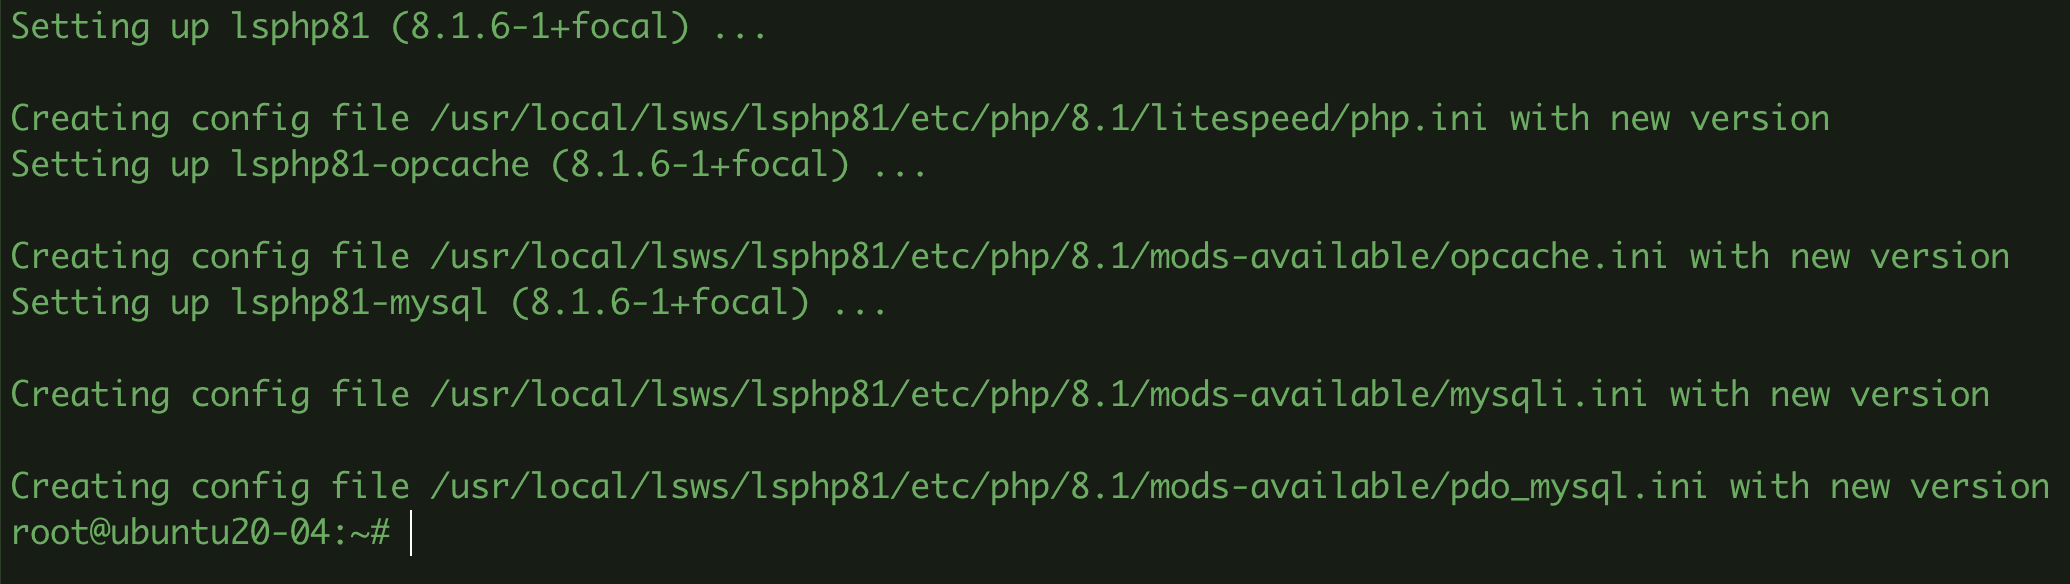
- Install lsphp81
sudo apt install -y lsphp81 lsphp81-{common,mysql}
Step 5: Configure OpenLiteSpeed
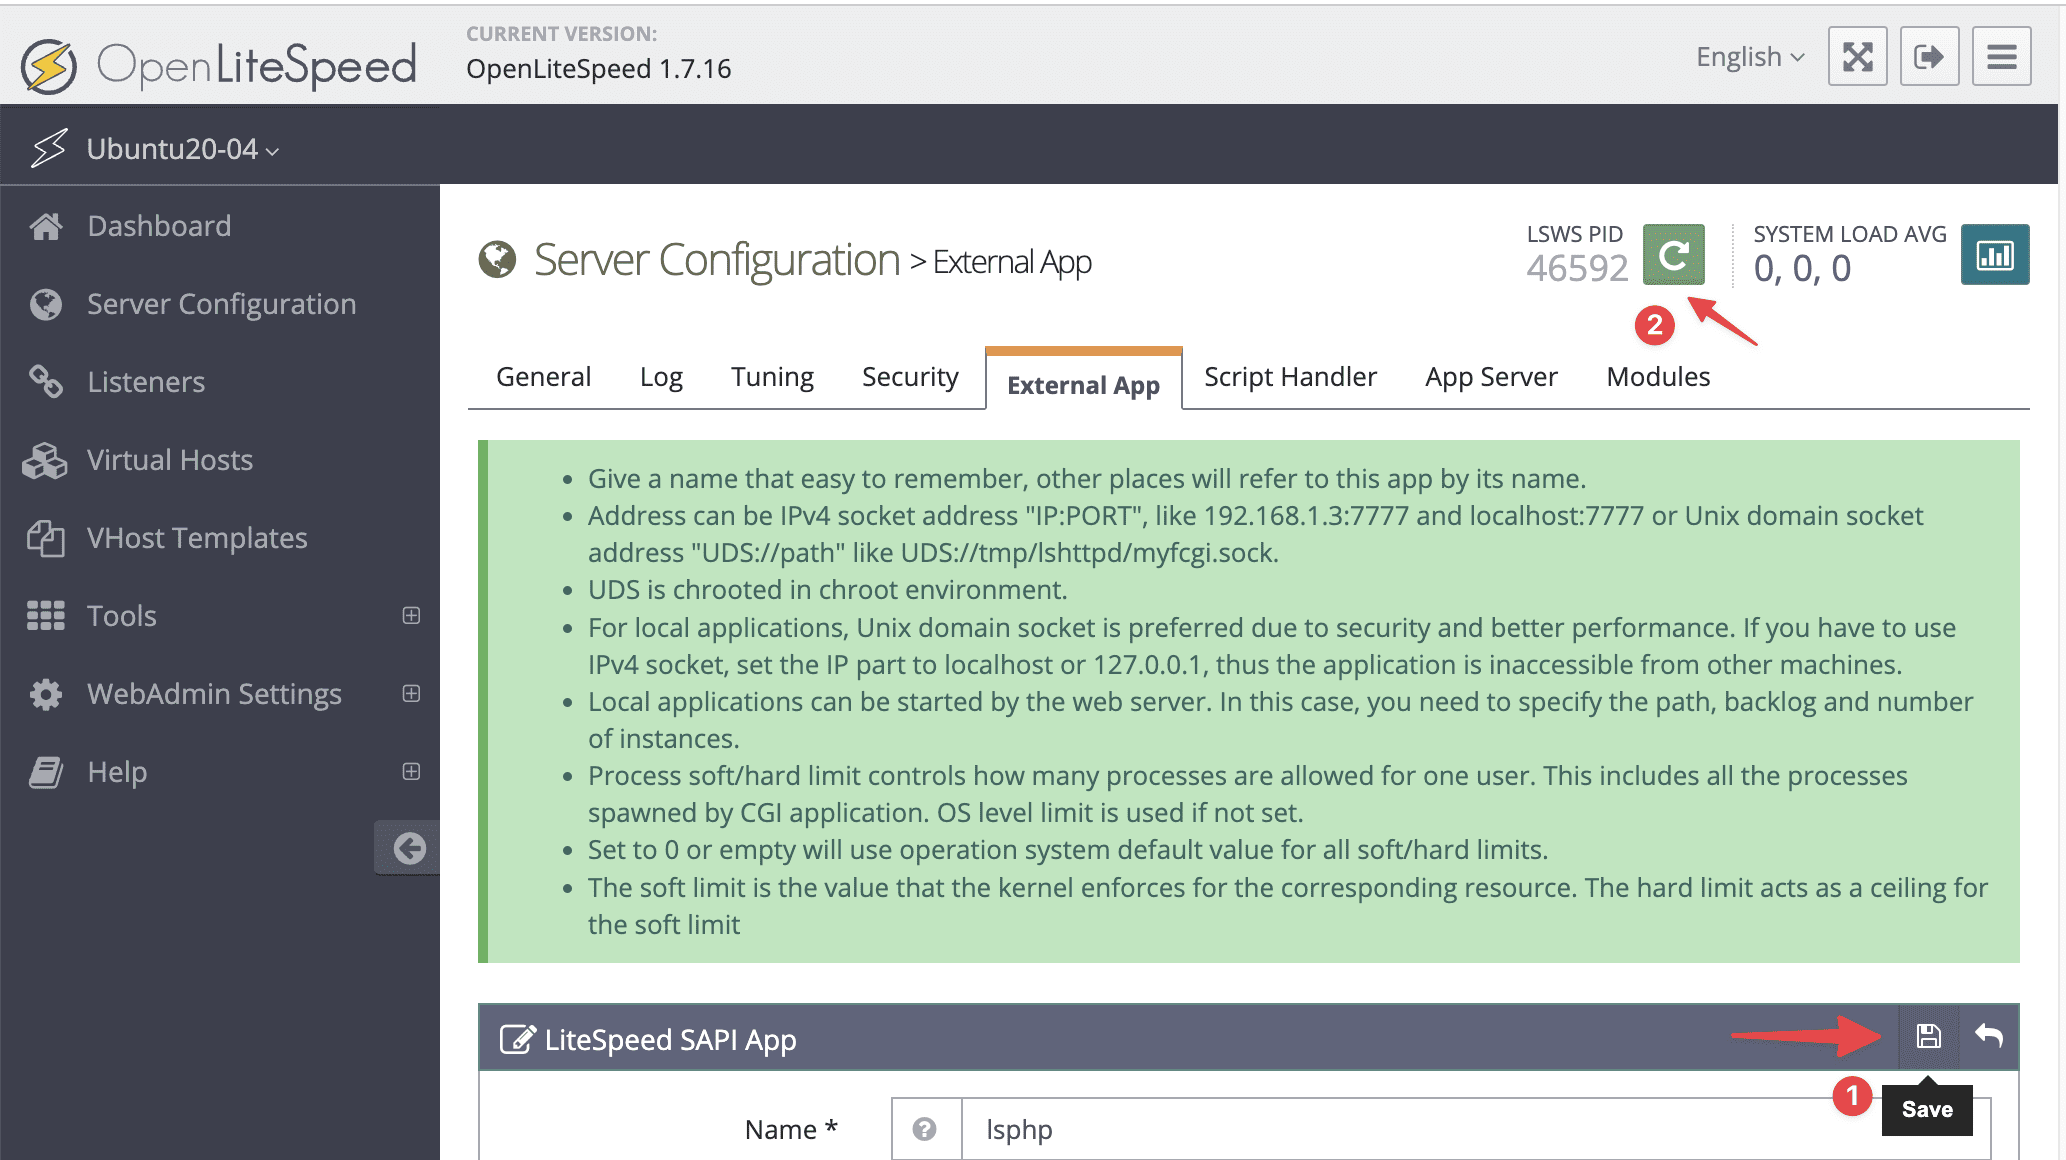
At the GUI interface, go to Server Configuration >> External App >> select edit icon
Next, scroll down to the Command section and fill in the content lsphp81/bin/lsphp. If you previously installed a different version of PHP, just replace 81 with your version of PHP.

Next, save the configuration and restart the Openlitespeed service.
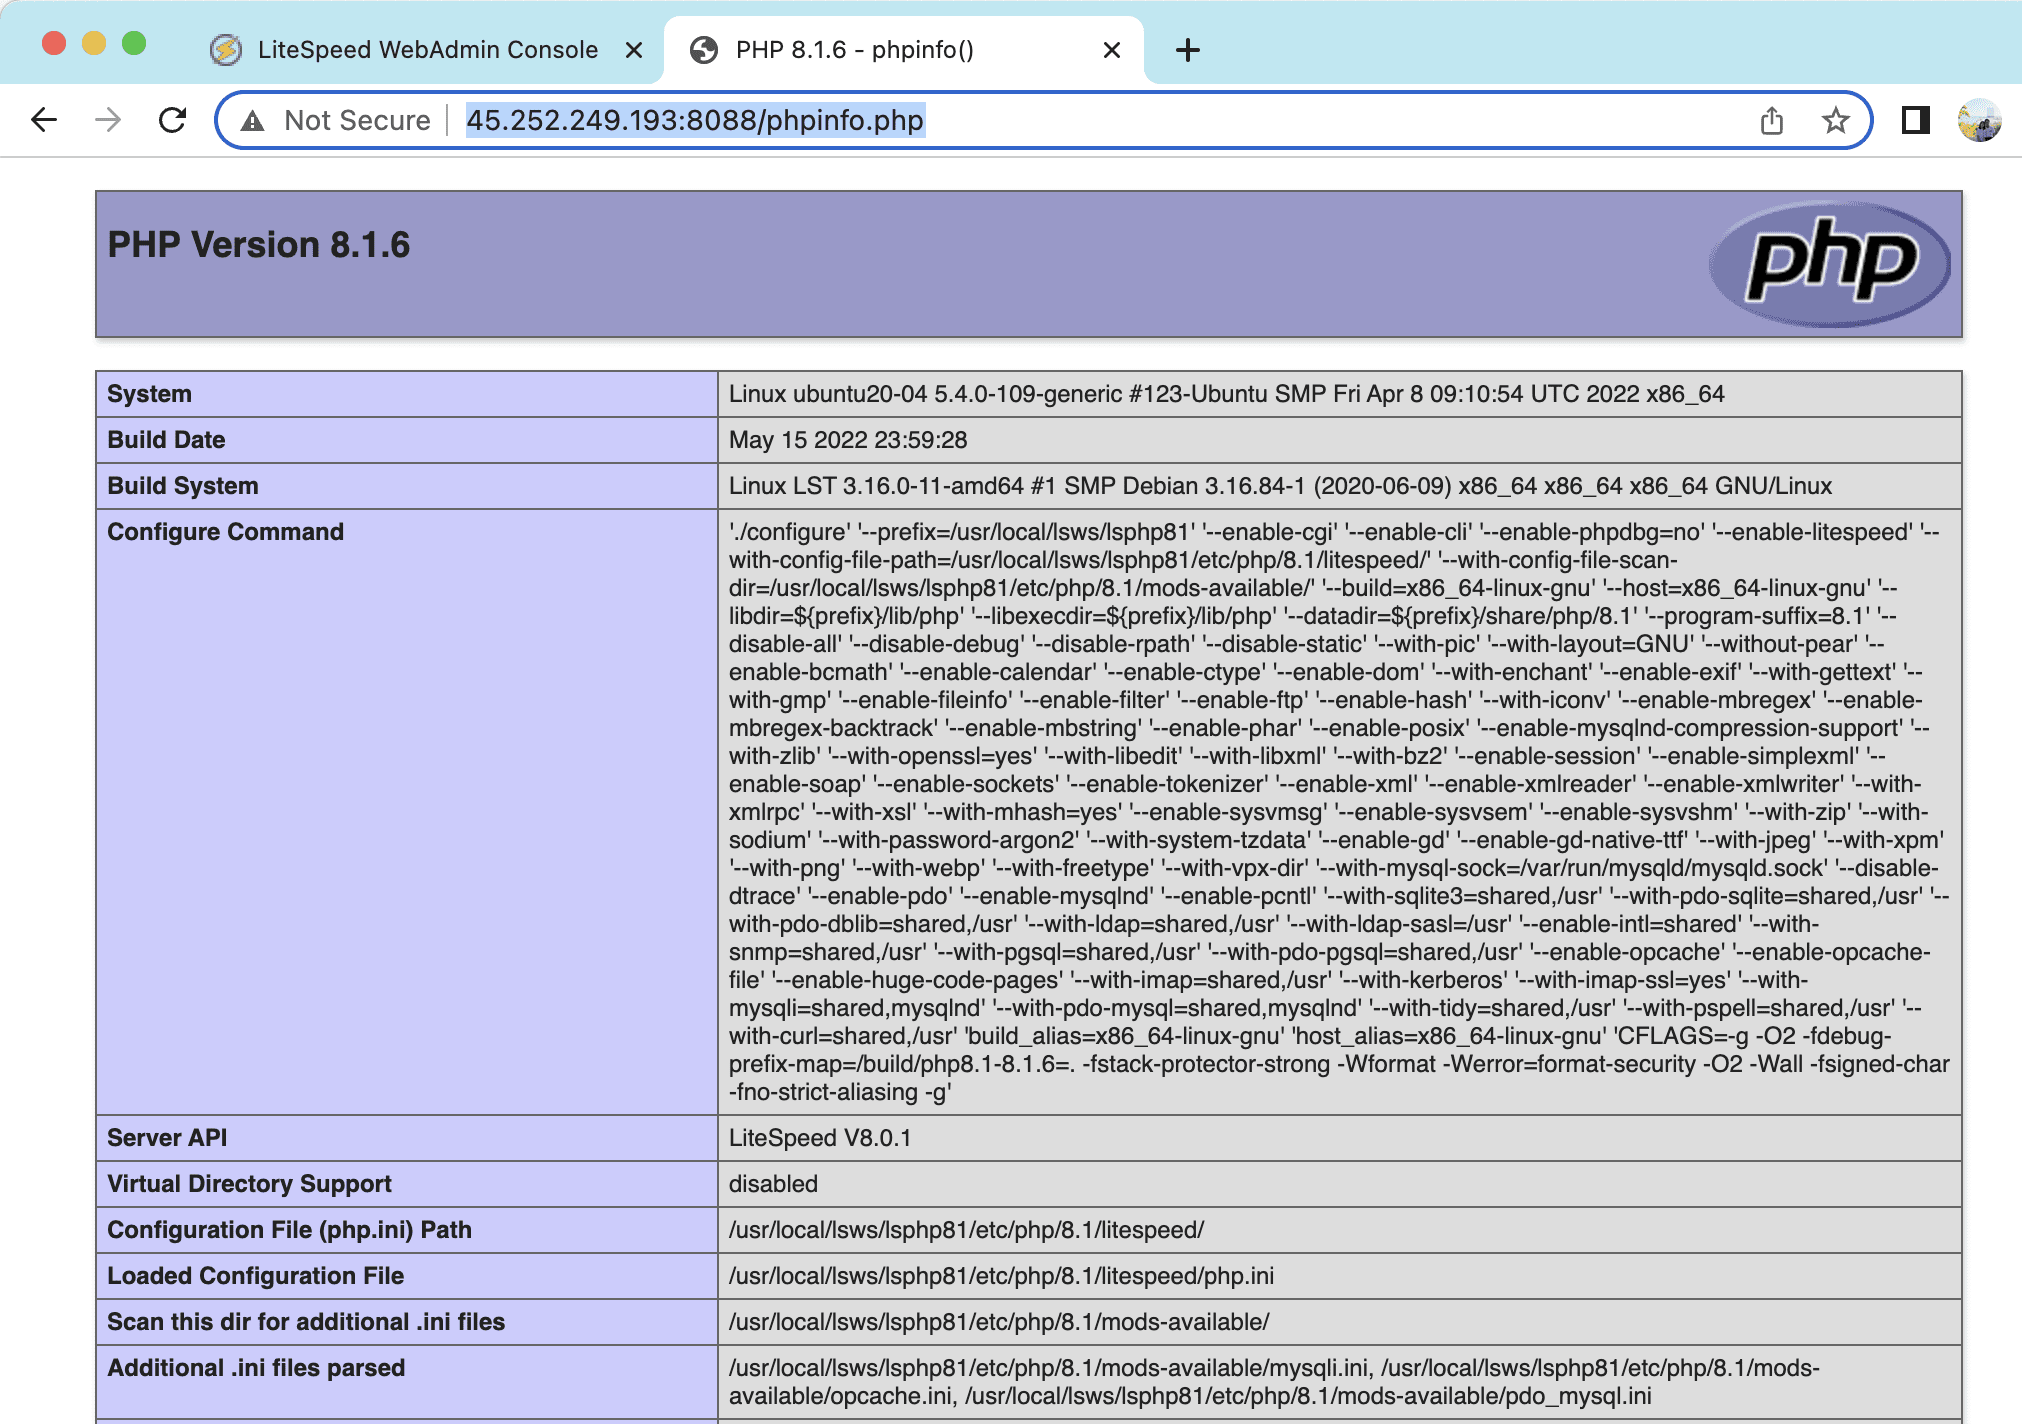
Now go to your browser and follow the link http://IP_Server:8088/info.php to check if the PHP version has been specified correctly. If the browser displays as below, it is successful.
So AZDIGI has shown how to complete the installation of LOMP Stack on Ubuntu 20.04. LOMP Stack will help your server operate smoothly and have better load capacity when your website data uses open source codes such as WordPress, Joomla, Opencart…
Wishing you success!
About the author

Thạch Phạm
Đồng sáng lập và Giám đốc điều hành của AZDIGI. Có hơn 15 năm kinh nghiệm trong phổ biến kiến thức liên quan đến WordPress tại thachpham.com, phát triển website và phát triển hệ thống.