Nội dung
In this article, AZDIGI will show you how to change the PHP version on CentOS Web Panel (CWP).
I. Overview of CWP (CentOS Web Panel)
By default, when we install CentOS Web Panel (CWP), CWP only installs the default PHP version of 5.6.
And the free version of CentOS Web Panel (CWP) also won’t support installing multiple versions of PHP simultaneously. So to use the feature of using multiple PHP versions and change PHP versions between different sites, you need to upgrade to the CWP PRO version, you can refer to the price at the following link:
And I will use the free version of CentOS Web Panel, so I will show you how to change the PHP version on free CentOS Web Panel.
II. Change the PHP version on CentOS Web Panel
To change the PHP version on CentOS Web Panel, we follow these 3 steps:
Step 1: SSH into your CentOS Web Panel system
To change the PHP version on the CentOS Web Panel, you need to SSH into the server to be able to see the new PHP installation progress. If you don’t know how to SSH into your VPS/Server, you can refer to the following tutorial:
After successfully SSH, we continue with step 2 to log in to CentOS Web Panel.
Step 2: Login to CentOS Web Panel
To log in to CentOS Web Panel, you need to access the following link on the browser.
https://IP:2031/
Remember to change the IP to the IP address of your CentOS Web Panel server.
Below is my CentOS Web Panel interface:
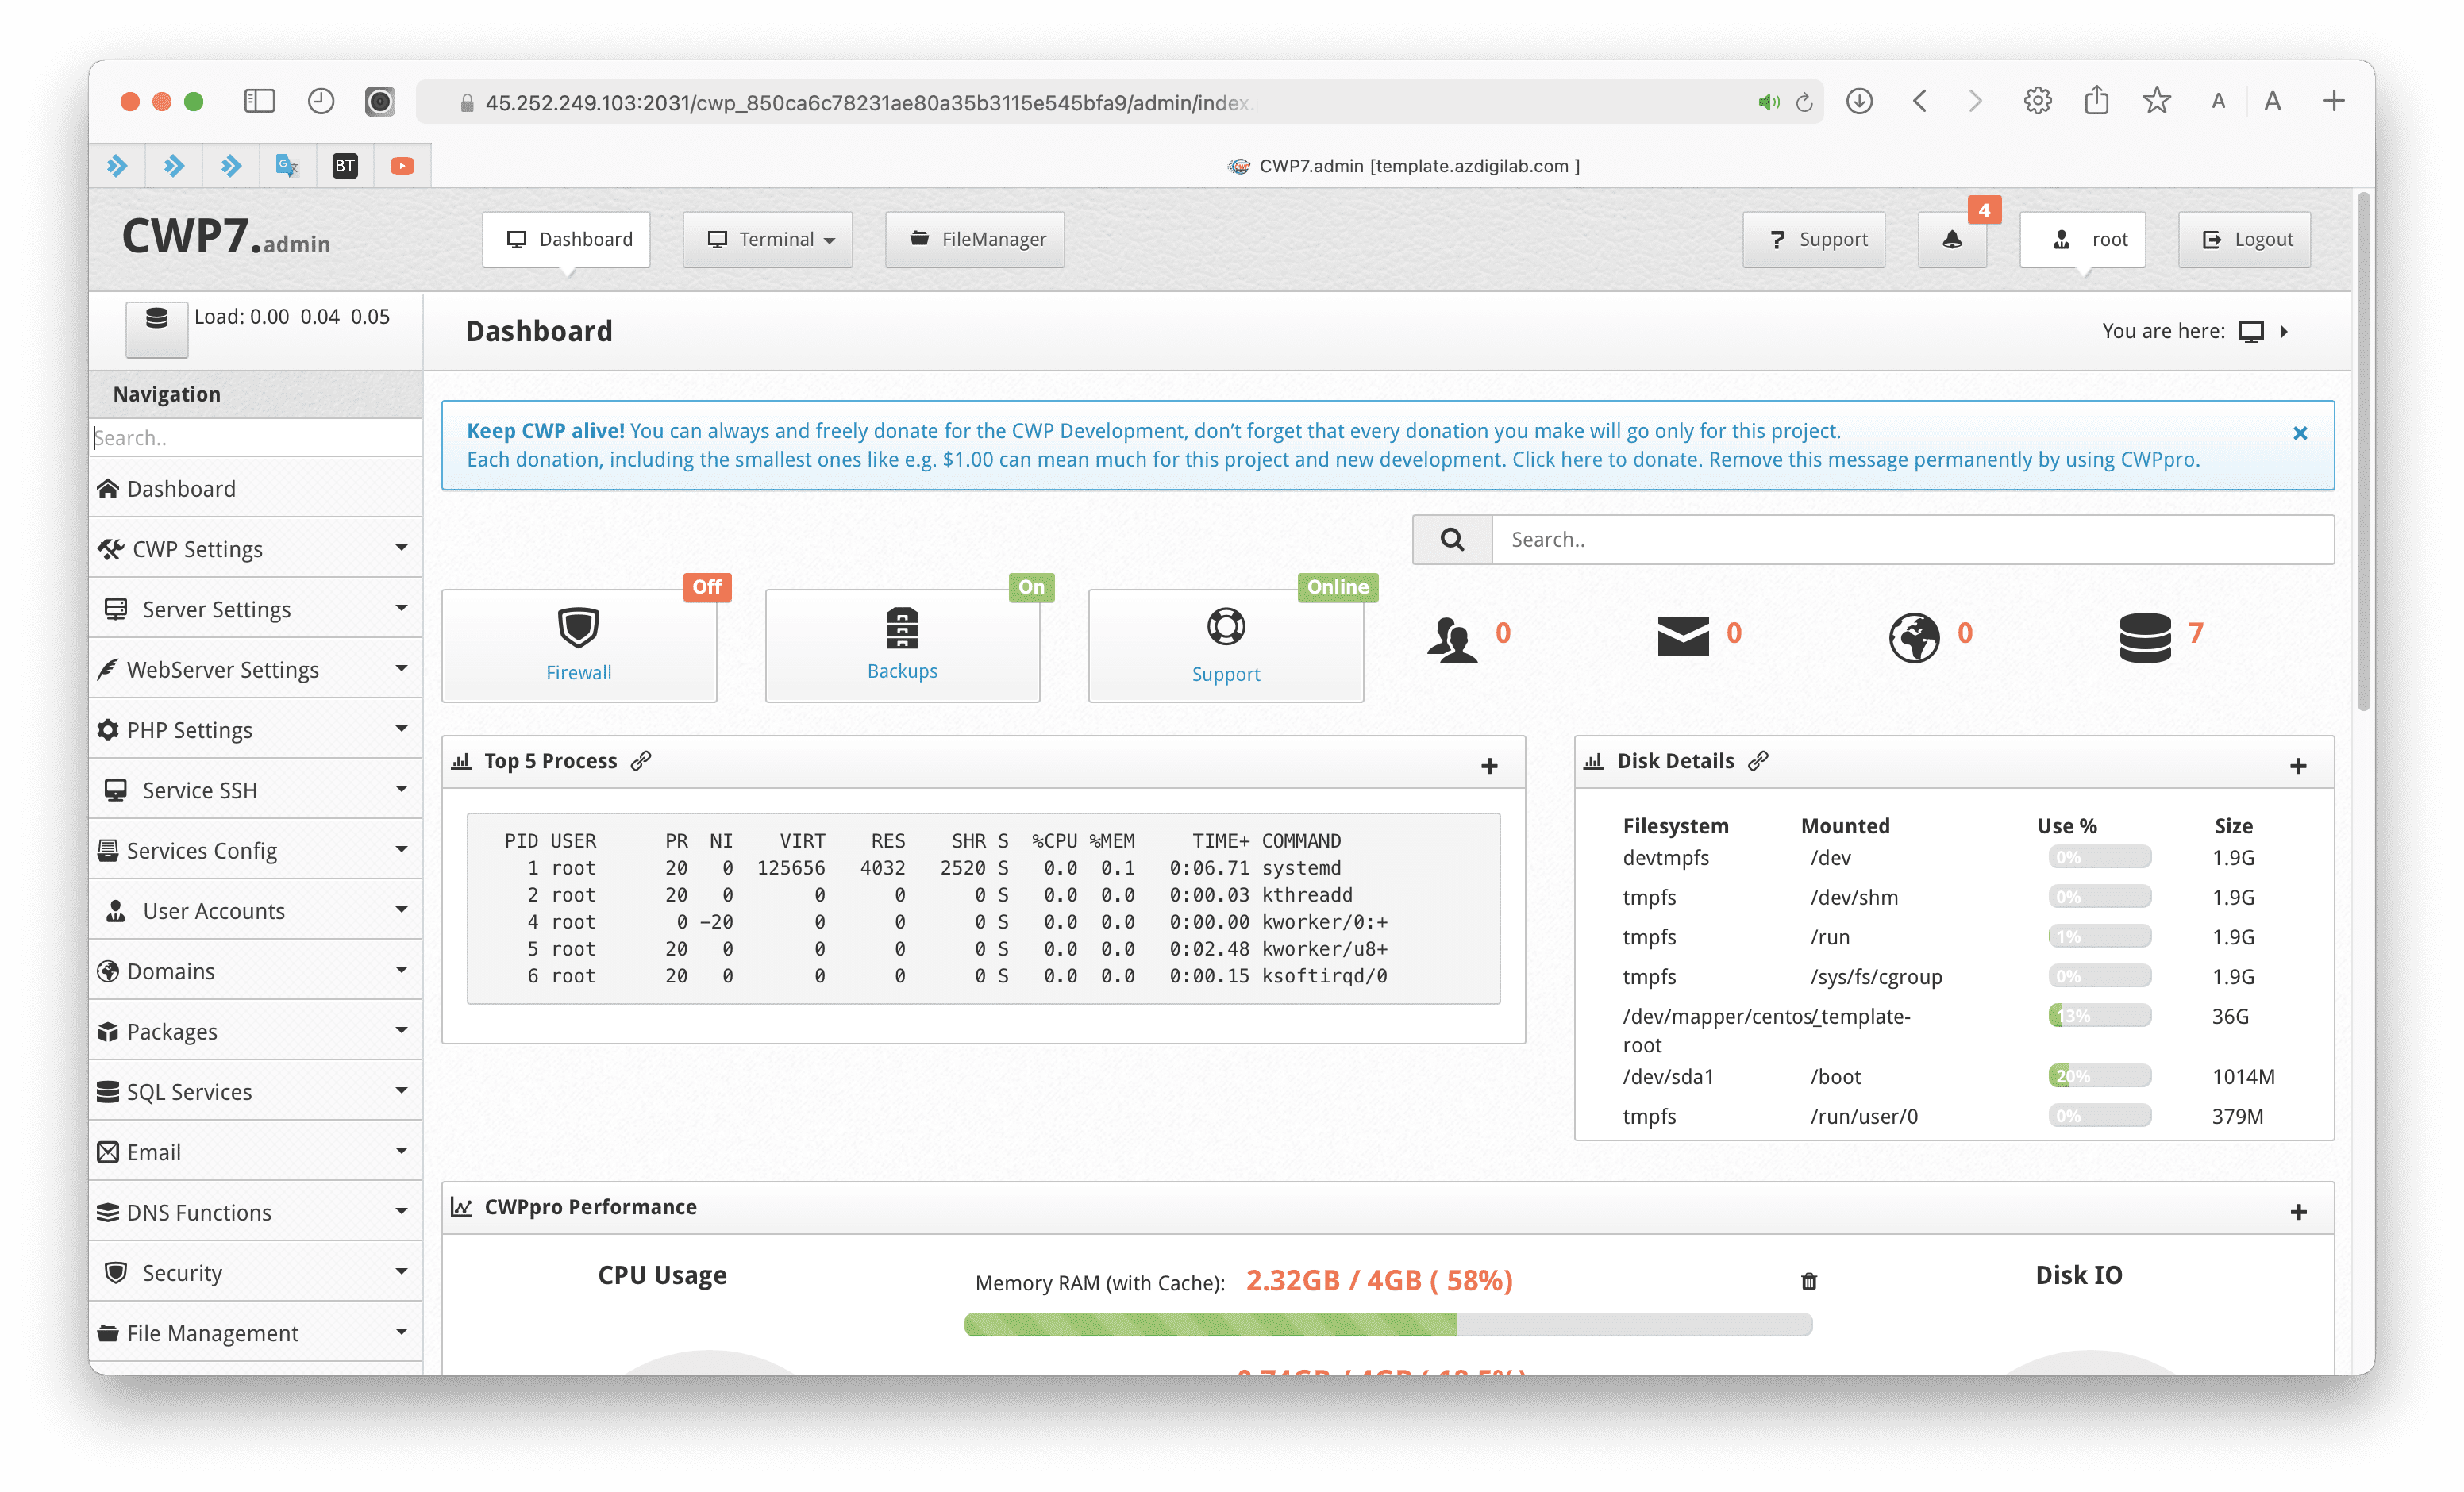
Next, you need to determine the current PHP version in use by selecting PHP Settings => PHP info as shown below:
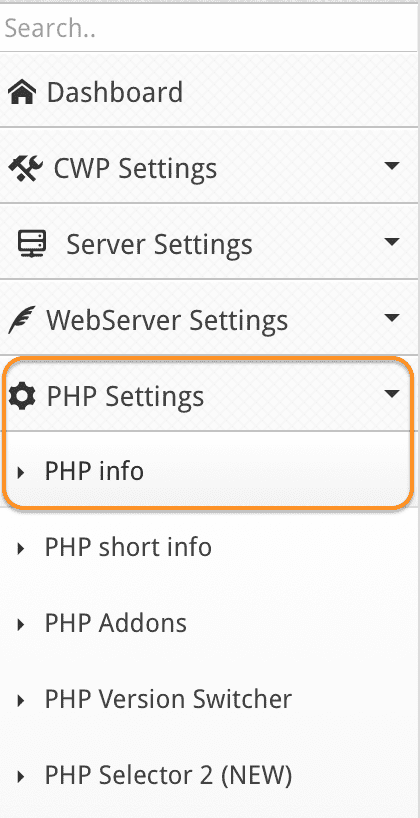
The screen will show the information table of the PHP version in use.

As shown above, my currently installed PHP Version is PHP 5.6.
We continue to the next step to change the PHP CentOS Web Panel version to the latest PHP 7.4.
Step 3: Change the PHP version on CentOS Web Panel
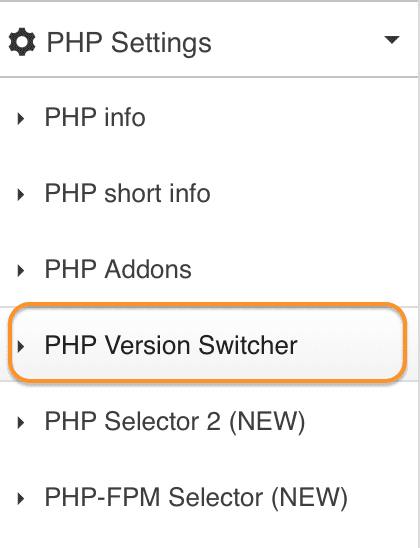
To change the version of PHP on the CentOS Web Panel, you go to the PHP Settings => PHP Version Switcher feature as shown below:
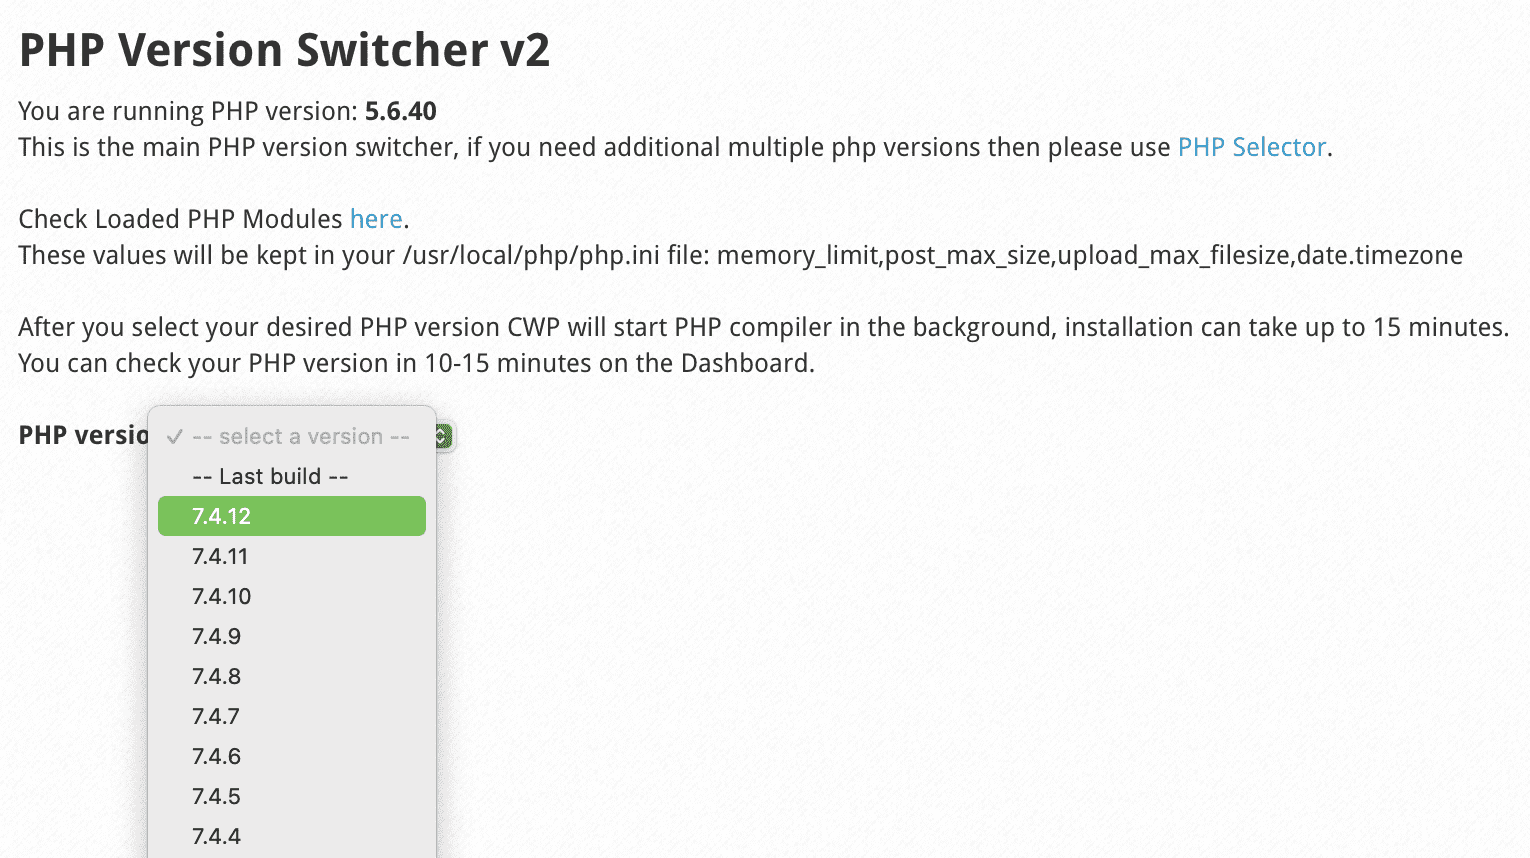
At the right interface, let’s choose the PHP version we want to install. I will install the latest PHP version, PHP 7.4.
After selecting the version of PHP you need, the next step is to select the extensions that come with this PHP version. If you have no special needs, leave the default and scroll down to the bottom of the page and select Save & Build.

You will not be able to see the installation progress on the CentOS Web Panel interface. At this point, you will see a small message at the bottom of the page.
PHP Compiler Started in Background. You can monitor PHP rebuild from the console using command: tail -f /var/log/php-rebuild.log
So you need to go back to the SSH interface in step 1 and run the following command to monitor the installation of the new PHP version.
tail -f /var/log/php-rebuild.log
Below is my installation process:
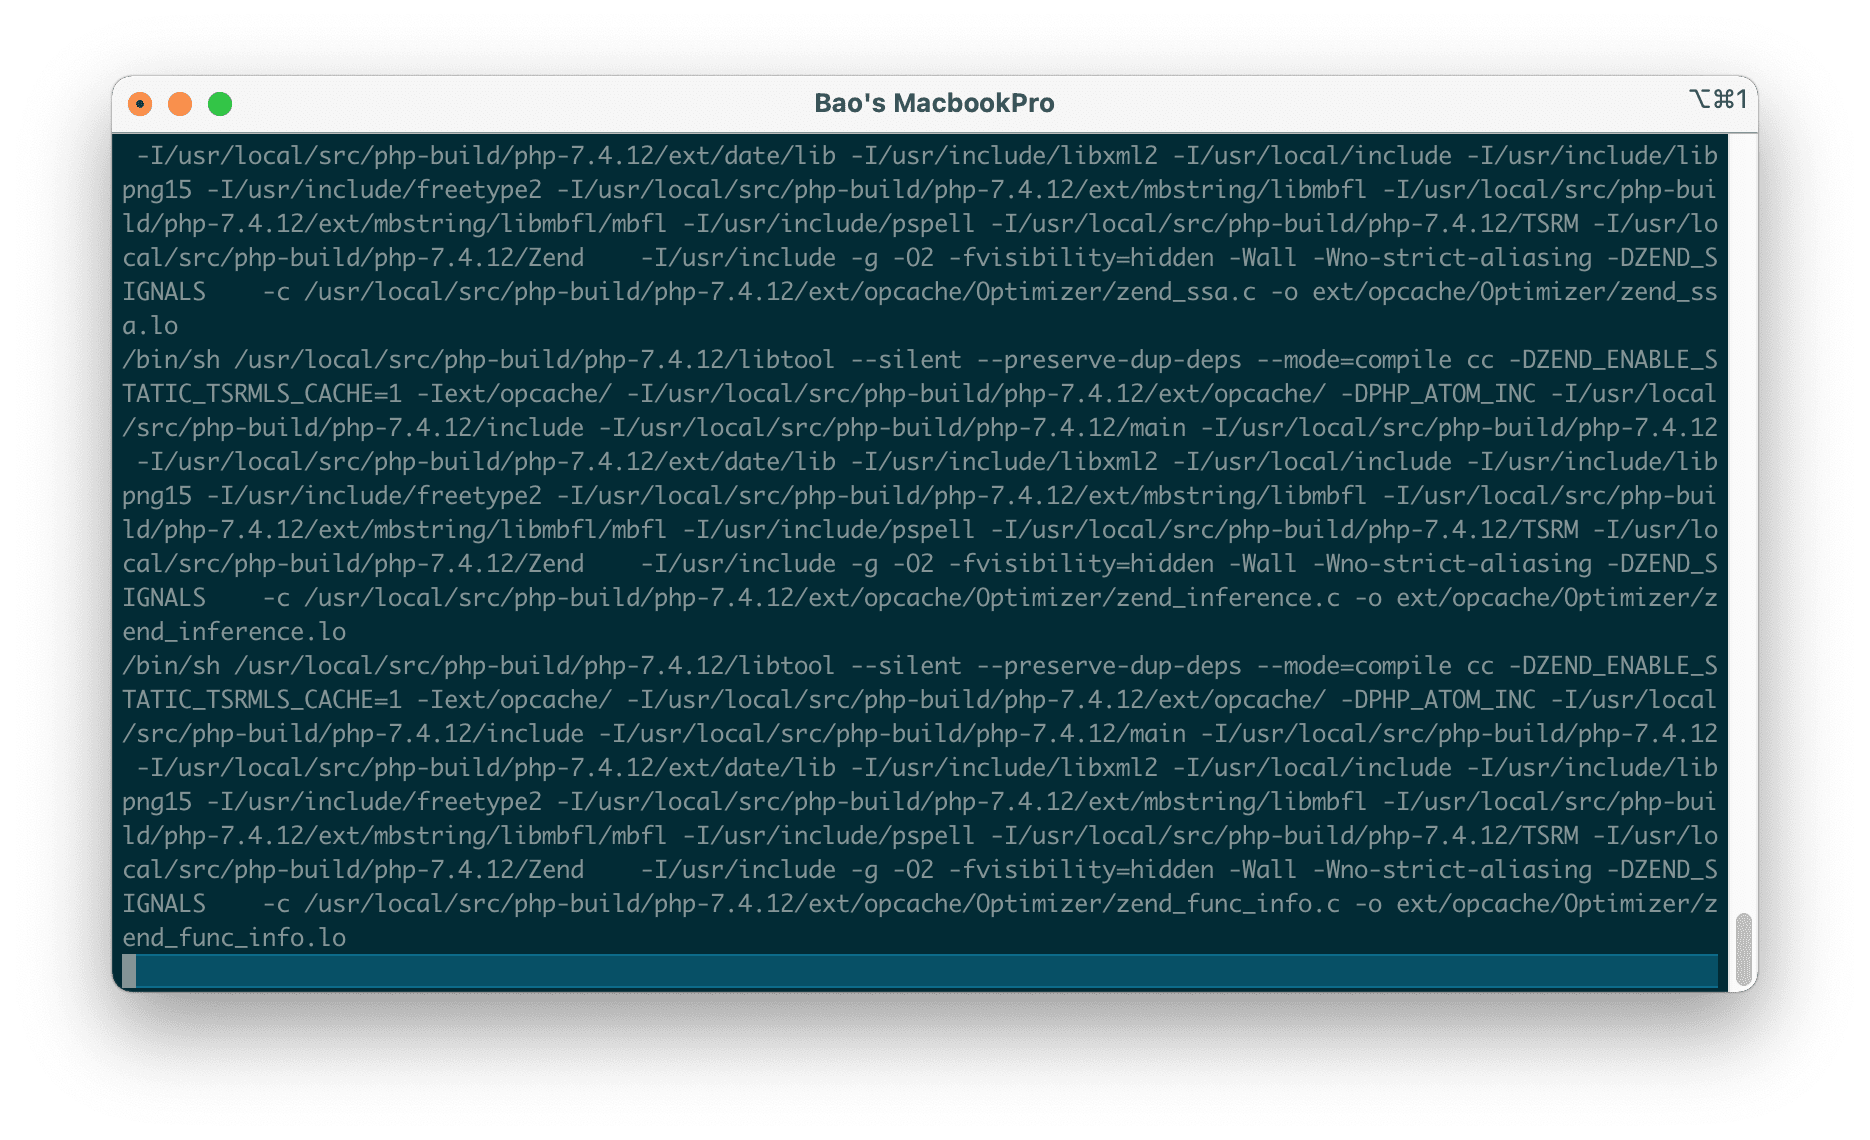
Please wait about 15 minutes, my new PHP version has been installed, with more powerful servers, so this time can be much shorter.

You can check again as with step 2, you will see that the new PHP 7.4 version has been installed successfully. And all existing websites and future websites will run on this PHP version.
III. Summary
Thus, AZDIGI has completed the instructions on changing the PHP version on CentOS Web Panel. Using the latest version will help your website run faster, be compatible with the latest source code, and more importantly, help protect your website against security holes in the old version.
Hope this article will be of help to you. Wishing you success!

