Nội dung
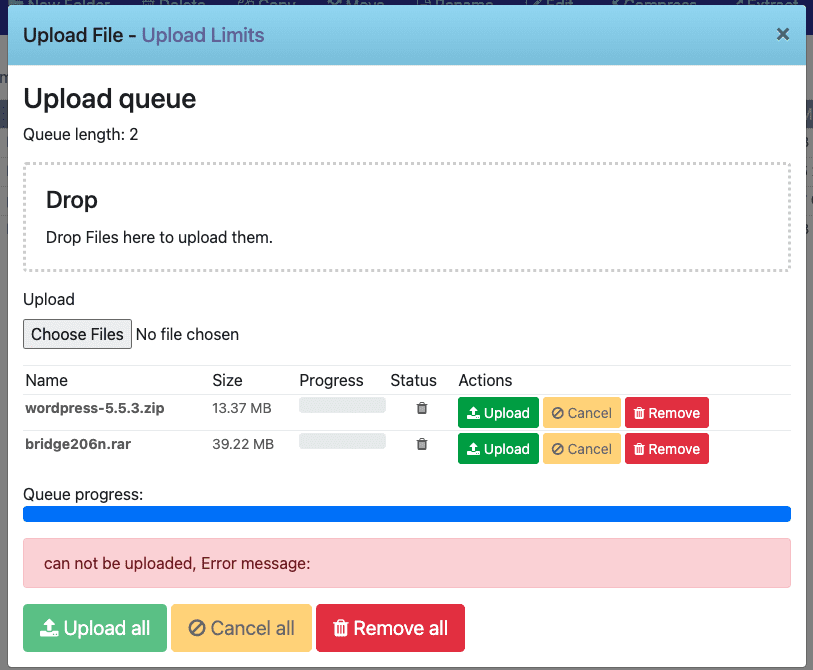
Can not be uploaded Error message CyberPanel. When using CyberPanel, you may encounter a very annoying error that is can not be uploaded, Error message on CyberPanel when uploading files through File Manager.
This is an illustration when I upload files, with large and small files, I get this error (this is an error from control) So I will fix it as follows:

Step 1: SSH into the server
To fix the error that can not be uploaded Error message on CyberPanel, you need to SSH into the server and edit the file system, specifically the php.ini file.
How to login to Linux VPS with SSH protocol.
Step 2: Find and edit the file php.ini
First, you need to determine where the php.ini file is loader using the grep command to find this file. You can execute the command to find it:
php -i | grep php.ini
After I grep, the result returned is Loaded Configuration File => /usr/local/lsws/lsphp71/etc/php.ini.

After identifying the php.ini file, use the vi, vim or nano command to open the file and edit it, depending on your usage habits. . I will use the vi command to edit the file.
/usr/local/lsws/lsphp71/etc/php.ini
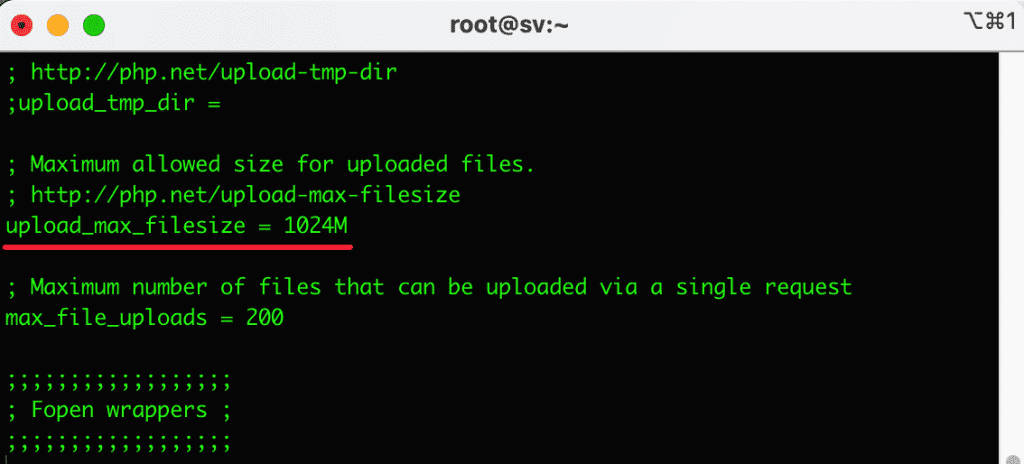
After opening the php.ini file, find and edit the following lines:
- upload_max_filesize 1024
- post_max_size 512
- memory_limit 512
- max_execution_time 300


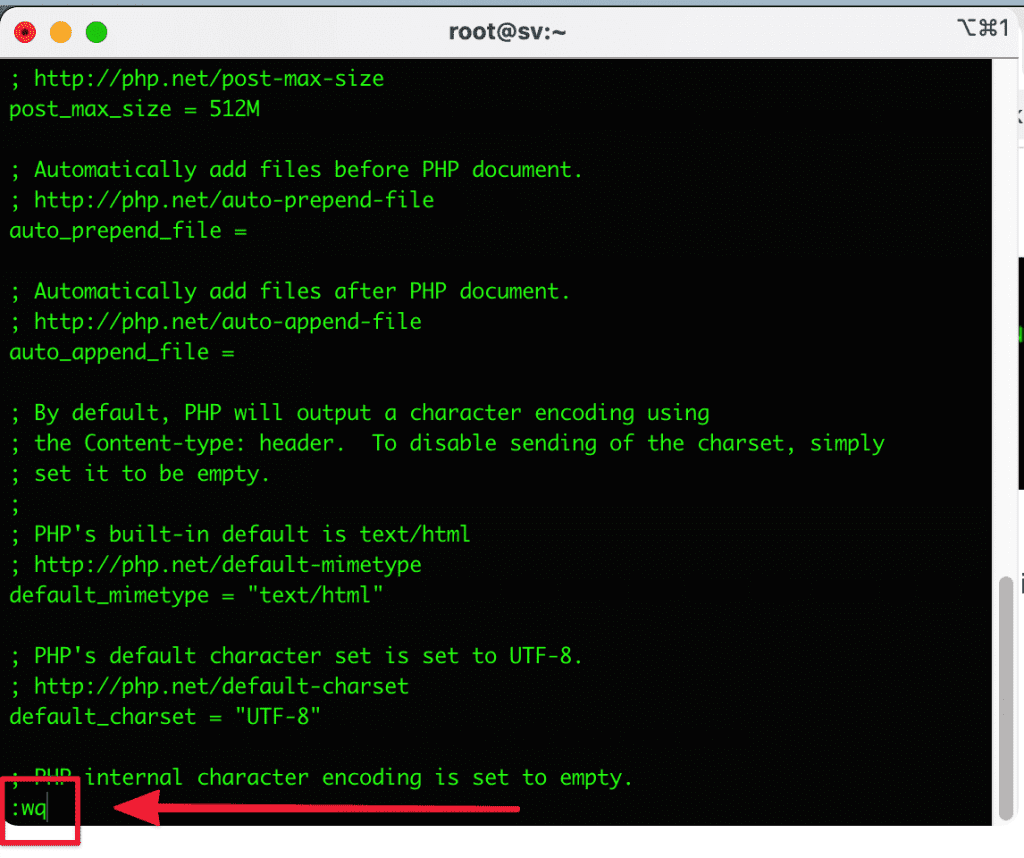
After finding and editing, you save the php.ini file by pressing the ESC key and enter :wq to save and exit.

Step 3: Restart the service
Please restart some services to apply the change.
systemctl restart lscpd
systemctl restart lsws
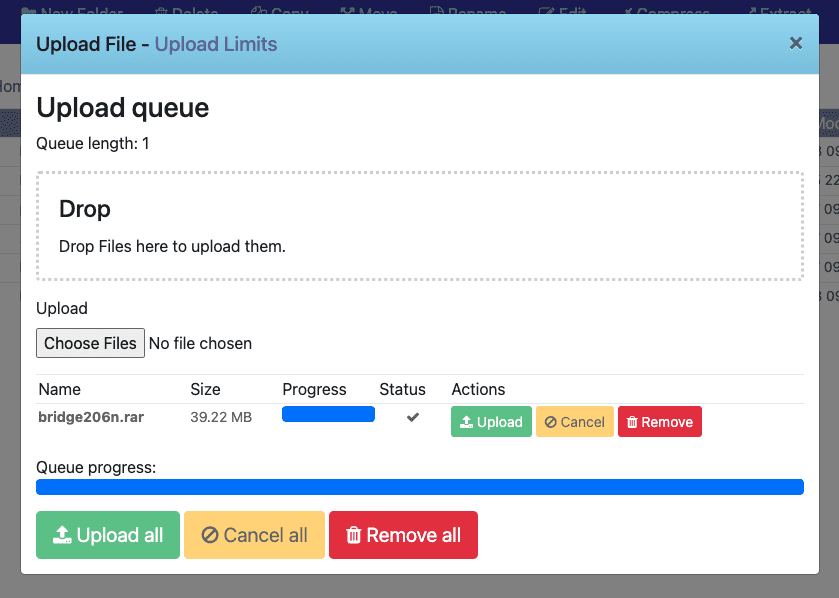
Now upload the file and see the results, below are my results:

Hopefully, this article will help you solve the error: can not be uploaded Error message on CyberPanel.
- See also: CyberPanel tutorial series
If you need assistance, you can contact support in the ways below:
- Hotline 247: 028 888 24768 (Ext 0)
- Ticket/Email: You use the email to register for the service and send it directly to: support@azdigi.com .

