Nội dung
How to use WordPress Staging on CyberPanel
I. OVERVIEW
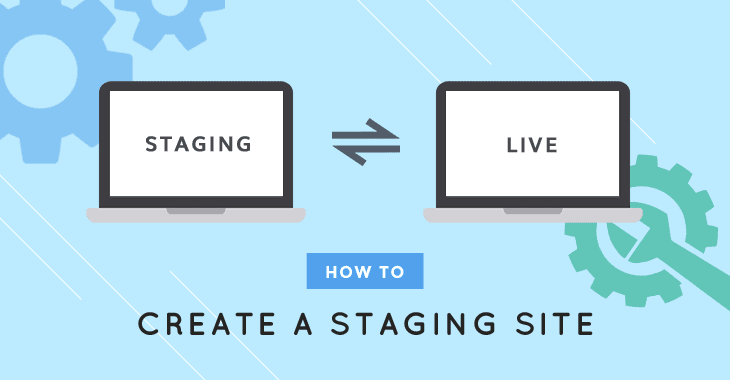
From CyberPanel v1.8.8 version onwards, CyberPanel has been equipped with a function called Staging and this function is built-in on each website when set up. And as you know, Staging is a very useful feature for every website administrator. Staging helps create the environment for the main web-based website building. And when the Staging website is complete, it can quickly be synchronized to the main website.
Let’s say you have a WordPress website and you need to upgrade and add more features to your website. But how do you not want to affect the main web? You can’t edit directly on the main web because it’s live and you can’t download it locally. Therefore, the Staging function will help you handle it quickly. Please follow the steps below.
II. IMPLEMENTATION GUIDE
I have 2 demo websites as follows:
- The main website: dotrungquan.site
- Staging website: staging.dotrungquan.site and the website that needs Staging must be pointed to the server IP.
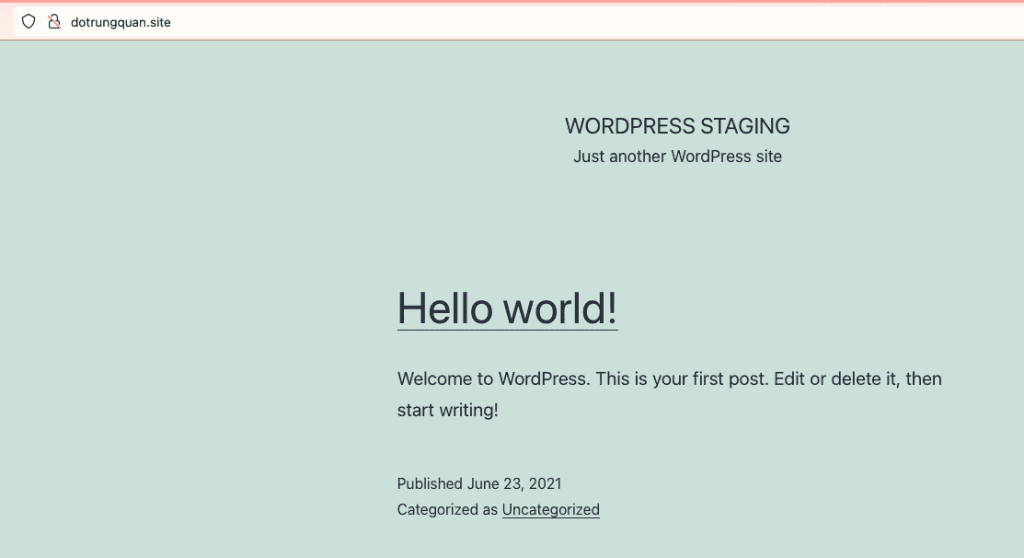
And site dotrungquan.site is the default WordPress that I want to demo.
Step 1: Login to CyberPanel
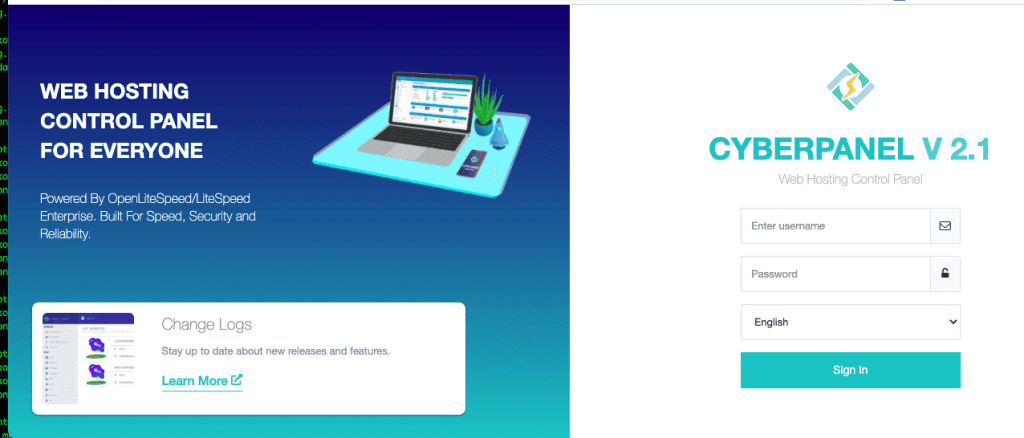
First, log in to CyberPanel through the address ip-server:8090
Step 2: Go to Manage website at CyberPanel
Access CyberPanel => List Websites => Select the website that needs Staging and select Manage to enter the website administration on CyberPanel.

Step 3: Implement Staging
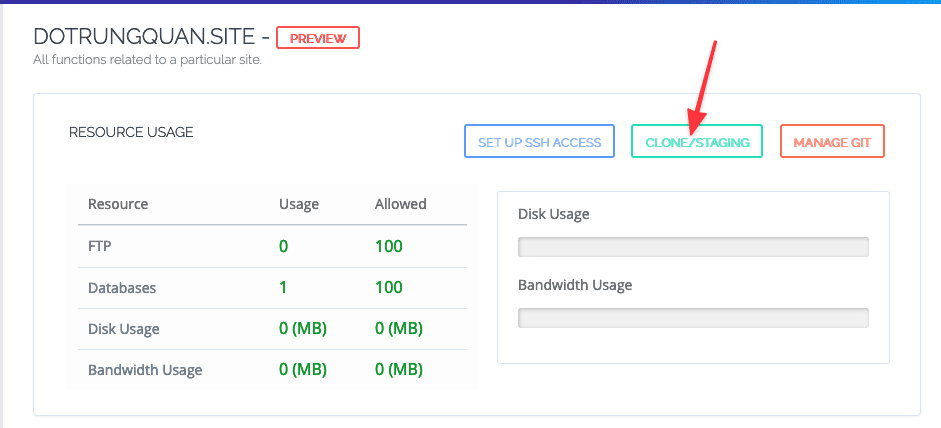
To perform staging your website, please click CLONE/STAGING.
Next, in the Domain section, enter the website that needs Staging and this domain must be pointed to the CyberPanel server IP, then click Start Cloning.
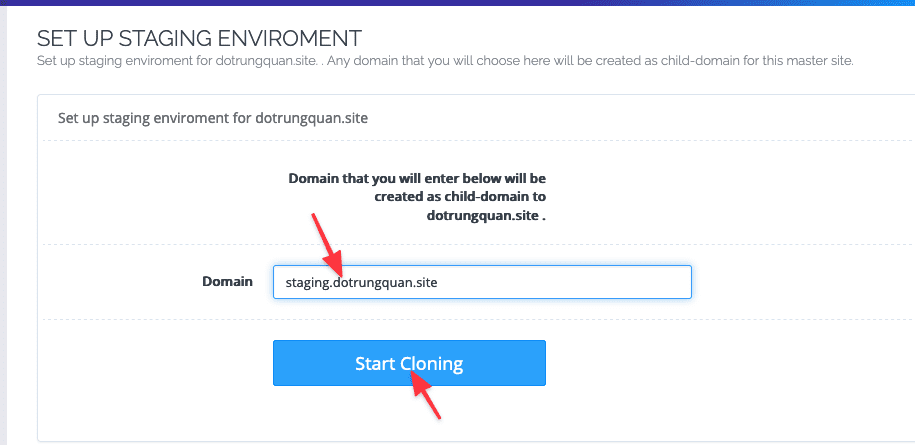
The execution time depends on the size of your website data. And below are some images from my Staging process.
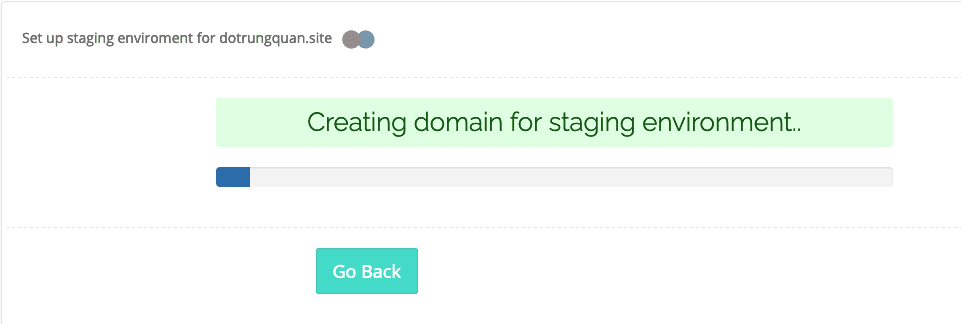


When the screen shows Successfully Installed, it means Staging is complete. Now go to List Domain in Manage of the web, you will see the web has been Staging as below. And the Path line is the path where the source code is stored.
Now you can log in to the Staging Web to start adjusting.

Step 4: Copy/Sync Staging to the main website
After the Staging web has been set up, you can Sync back to the main website. And below is my Staging website, I have completely designed it and I will sync it back to the main website.
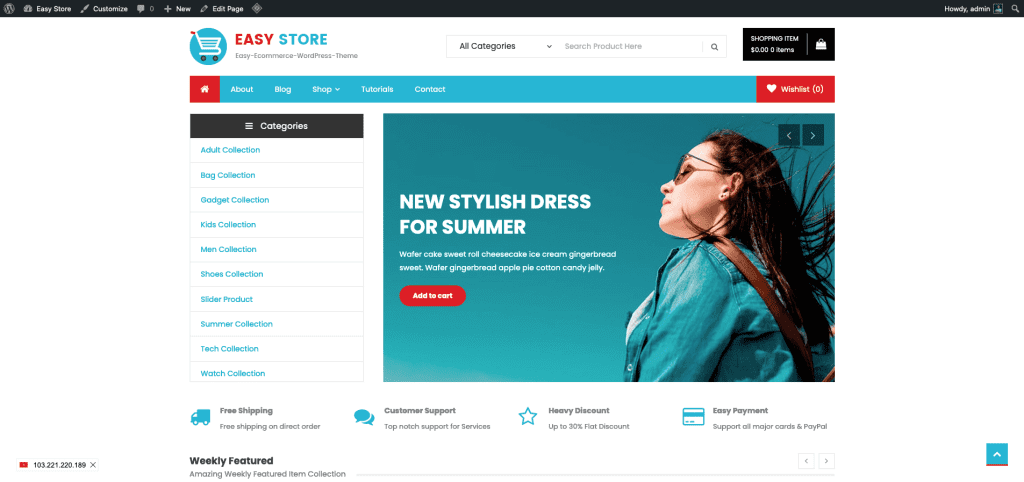
To Sync back to the main website, click on the CyberPanel Logo icon at the List Domain interface in Manage.

The system will take you to this website nd you just need to click on COPY/SYNC TO MSSTER to get started.
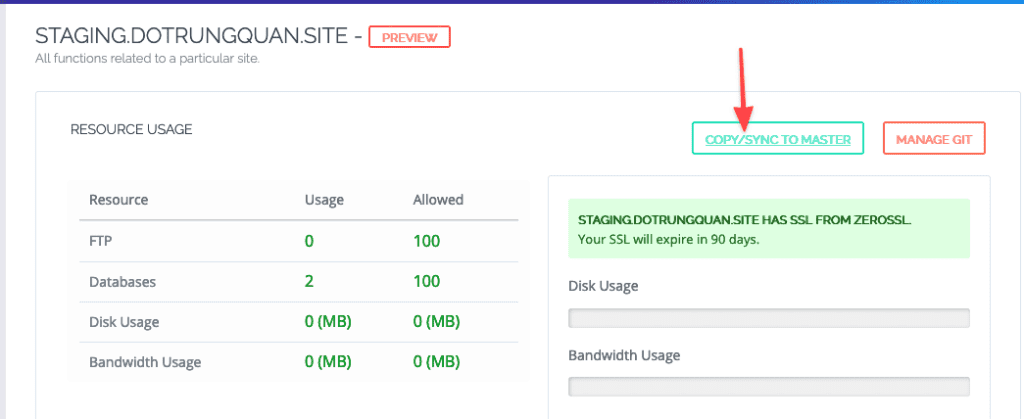
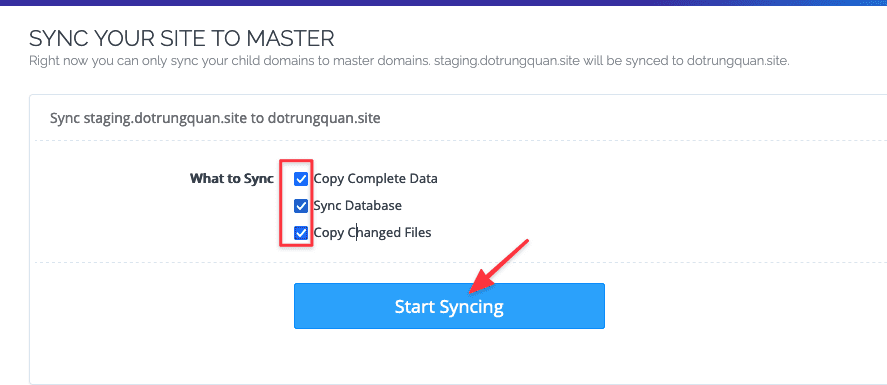
In this section, there will be several options for you to make
- Copy Complete Data
- Sync Database
- Copy Changed Files
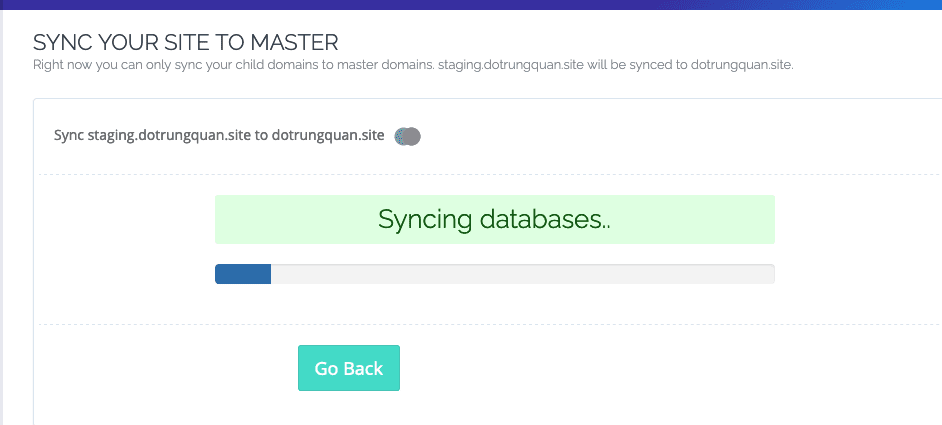
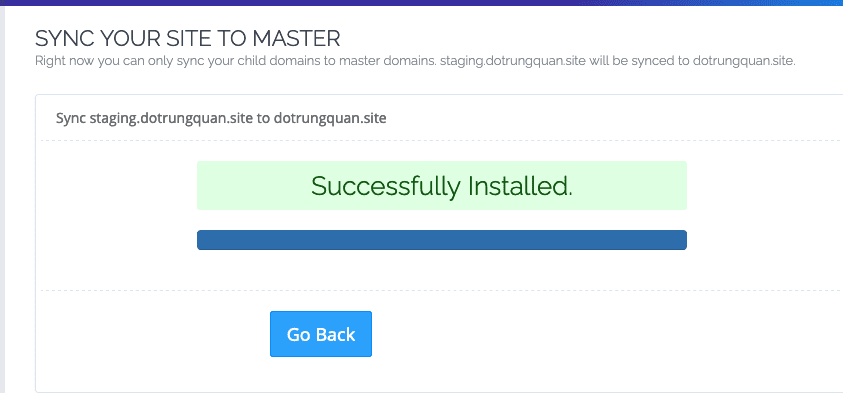
After you have finished selecting, click Start Syncing to begin. And below are some illustrations when doing the process.
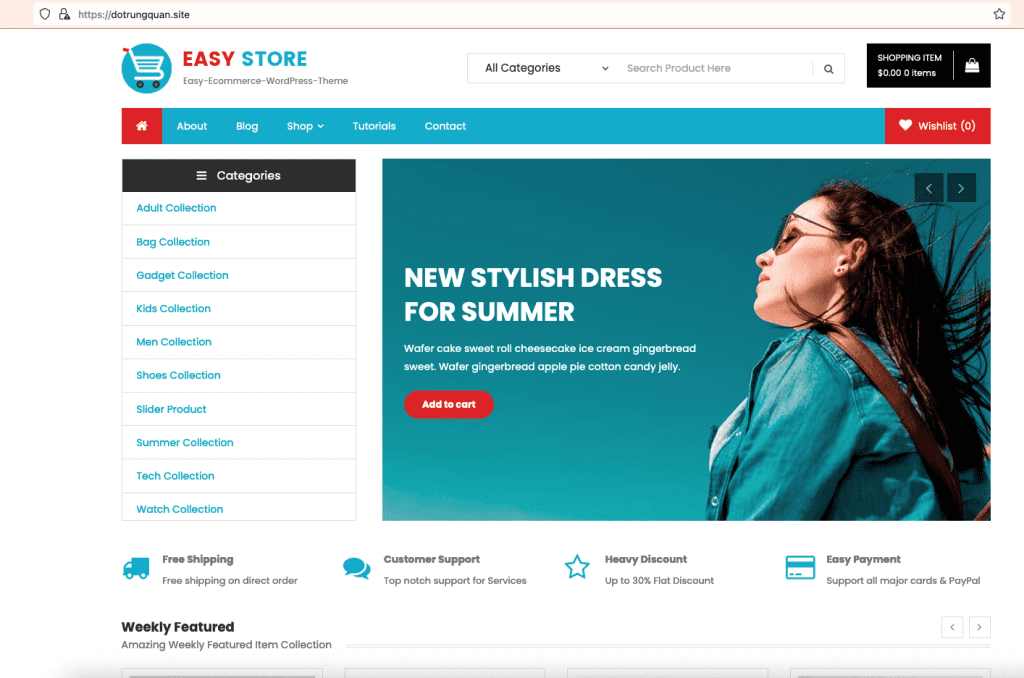
And below is my result when I perform Staging:
III. Summary
Hopefully, this article brings a lot of new and helpful information to you, so that you can actively manage and perform all operations on CyberPanel.
If you need assistance, you can contact support in the ways below:
- Hotline 247: 028 888 24768 (Ext 0)
- Ticket/Email: You use the email to register for the service and send it directly to: support@azdigi.com .

