Nội dung
Index your posts instantly with Rank Math SEO. Recently on February 26, 2022, the Rank Math SEO plugin integrated Index Now to give customers more options, whereby websites using this plugin will automatically handle all its own Index Now API. This integration aims to shorten the process of updating and changing the website’s content on search engines such as Google, Bing, Yandex.
This is a very useful feature for SEO. To install and configure how, please follow the steps below.
1. Create Indexing API Project
1.1 Go to Google Cloud Platform
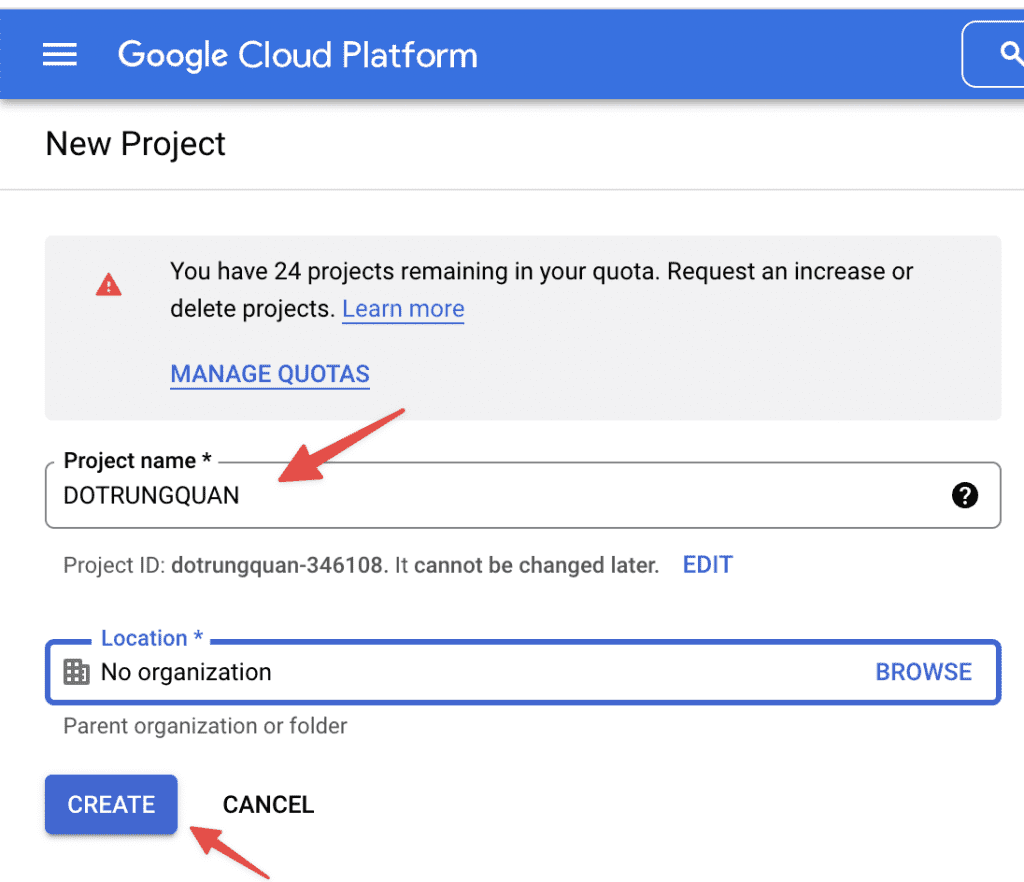
1.2 Create a new Project
You can create a new Project by selecting My Firrst Project => New Project

Then you name this Project => select Create.
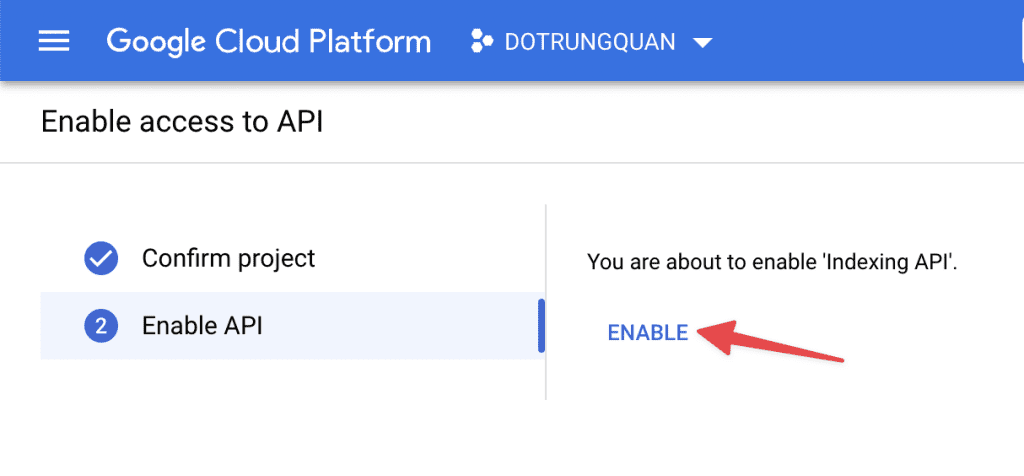
1.3. Enable API access
When the Project is created, you will activate the API: in the Enable access API section, select NEXT.

Next, click Enable to activate.
2. Create a service account
Next, you need to create a service account by accessing this link.
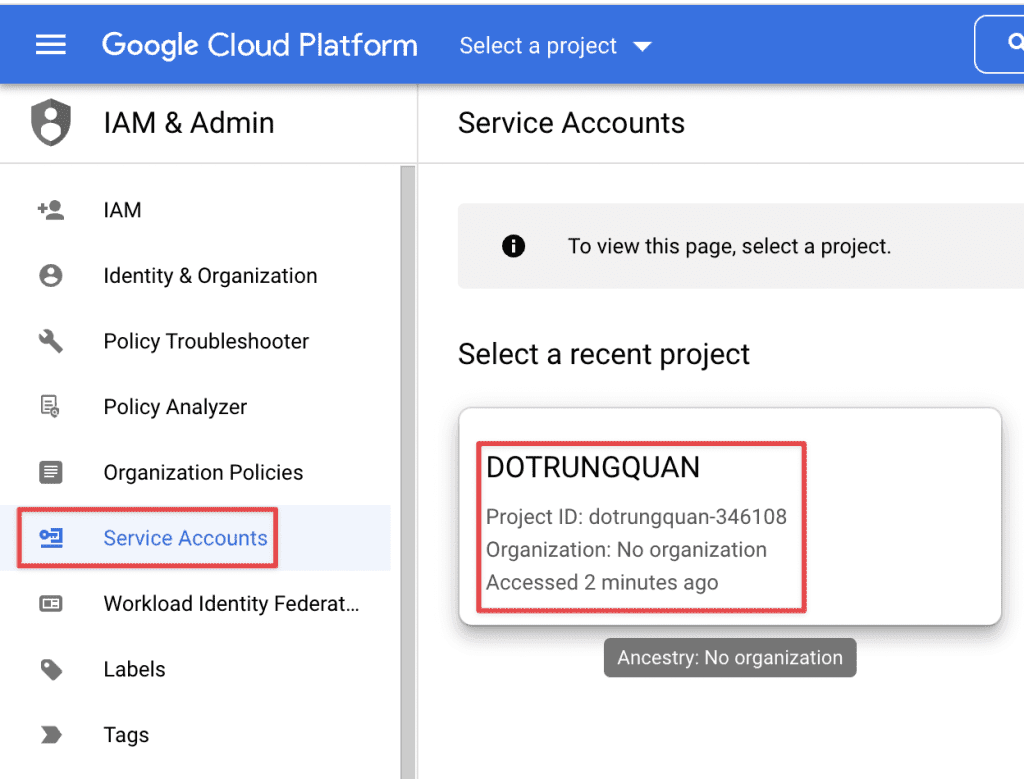
2.1. Select project
Here, you will be prompted to select Project, select the Project created in the previous step.
2.2 Create a service account
After selecting Project, you will be redirected to a page and create a new service account by clicking Servies Accounts => Create Services Account

In this section, enter the following information:
- Services account name: Set an arbitrary name
- Services account ID
- Services account description
After entering, click DONE to complete.
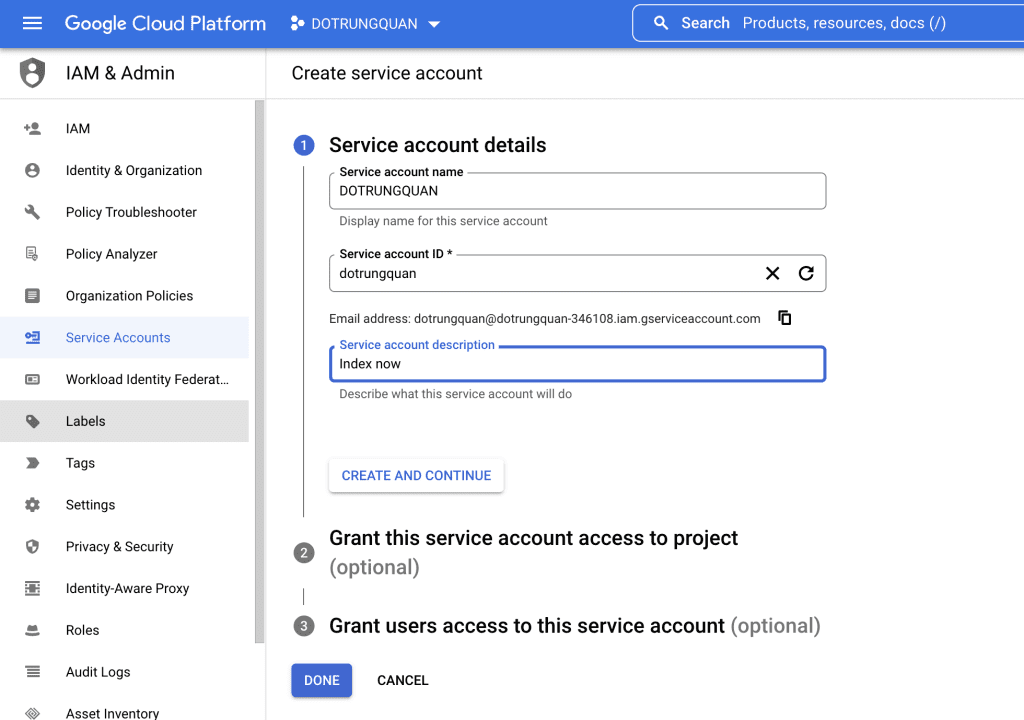
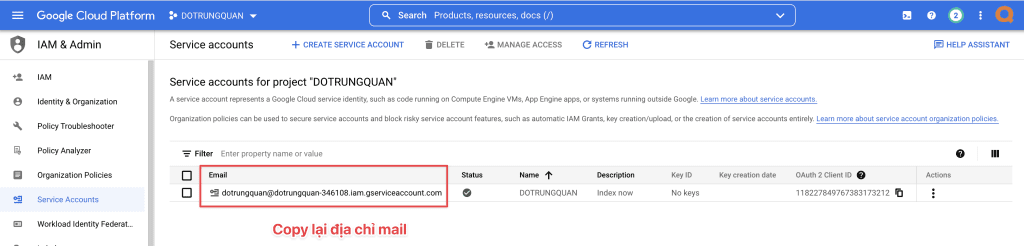
After completing the creation, copy this email address again to configure for Step 2.4.
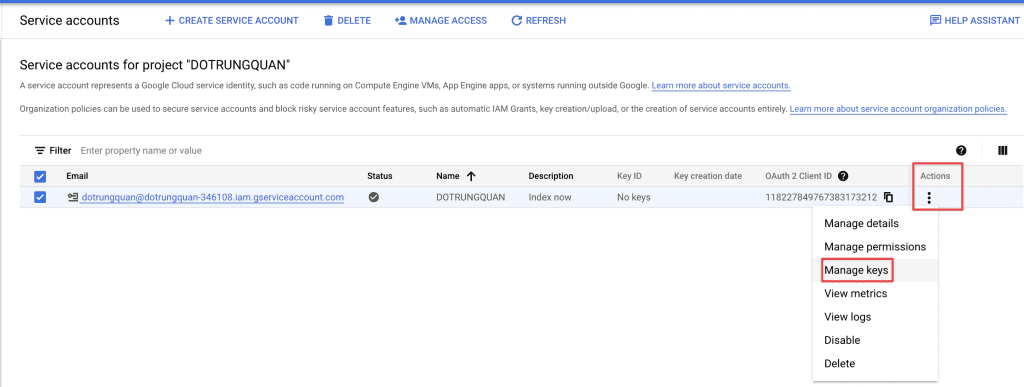
2.3 Set up a key and generate a JSON key
On the service account page, click on the 3 dots of the newly created account and select Manage keys, as below:
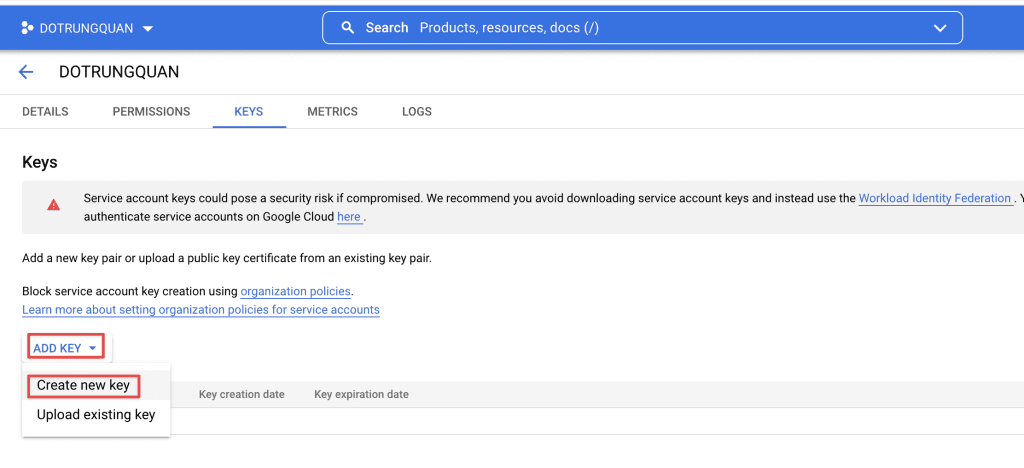
Nễt, click ADD KEY => Create new key to generate a JSON key.
You choose the JSON format and click Create.
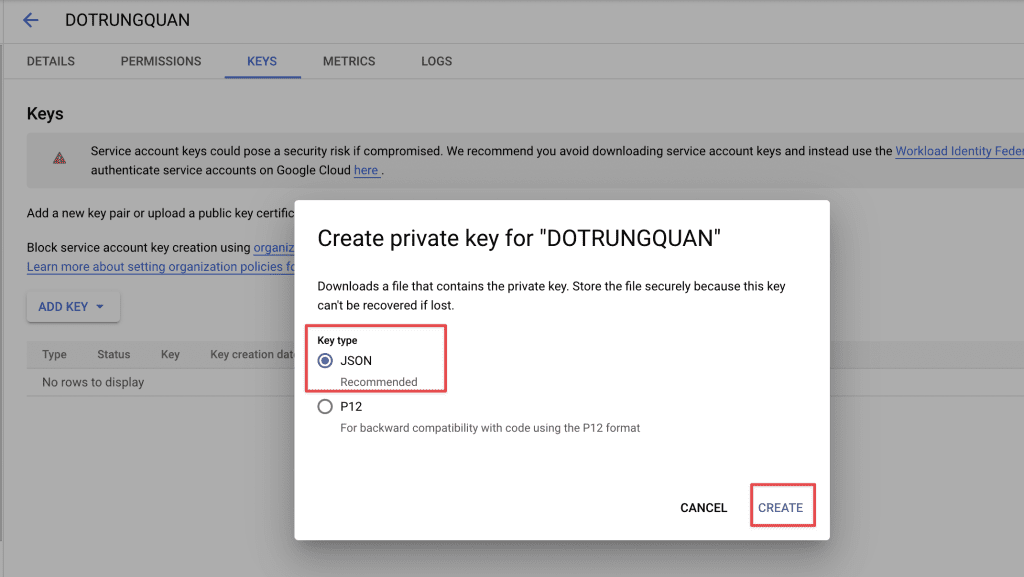
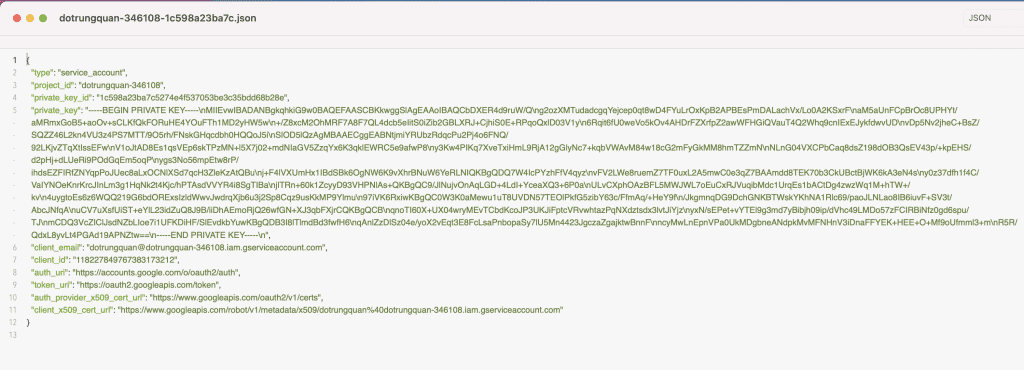
After clicking create, you will receive a json file downloaded to your computer. Please save the content of this file from configuring the next step.
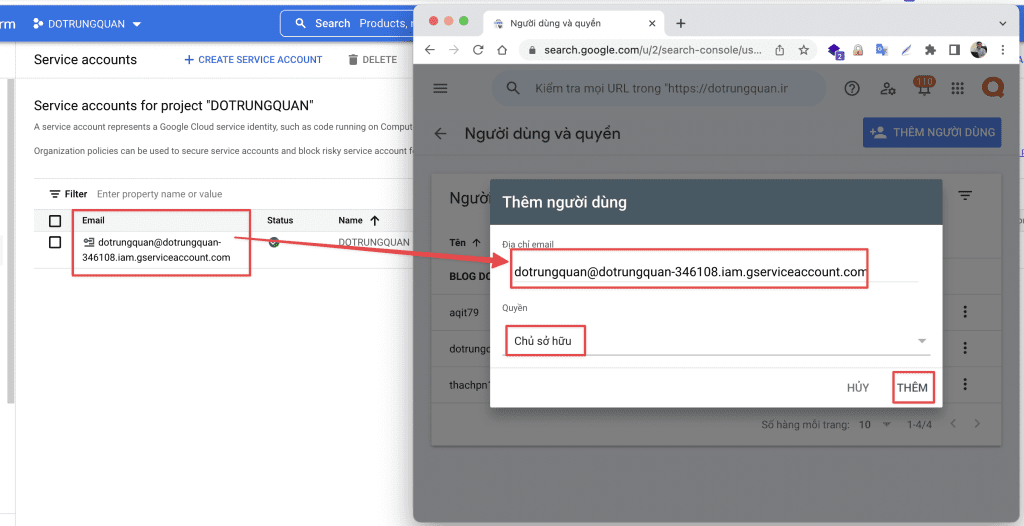
2.4 Add an account to Search Console
In this step, your website must be declared with Search Console before.
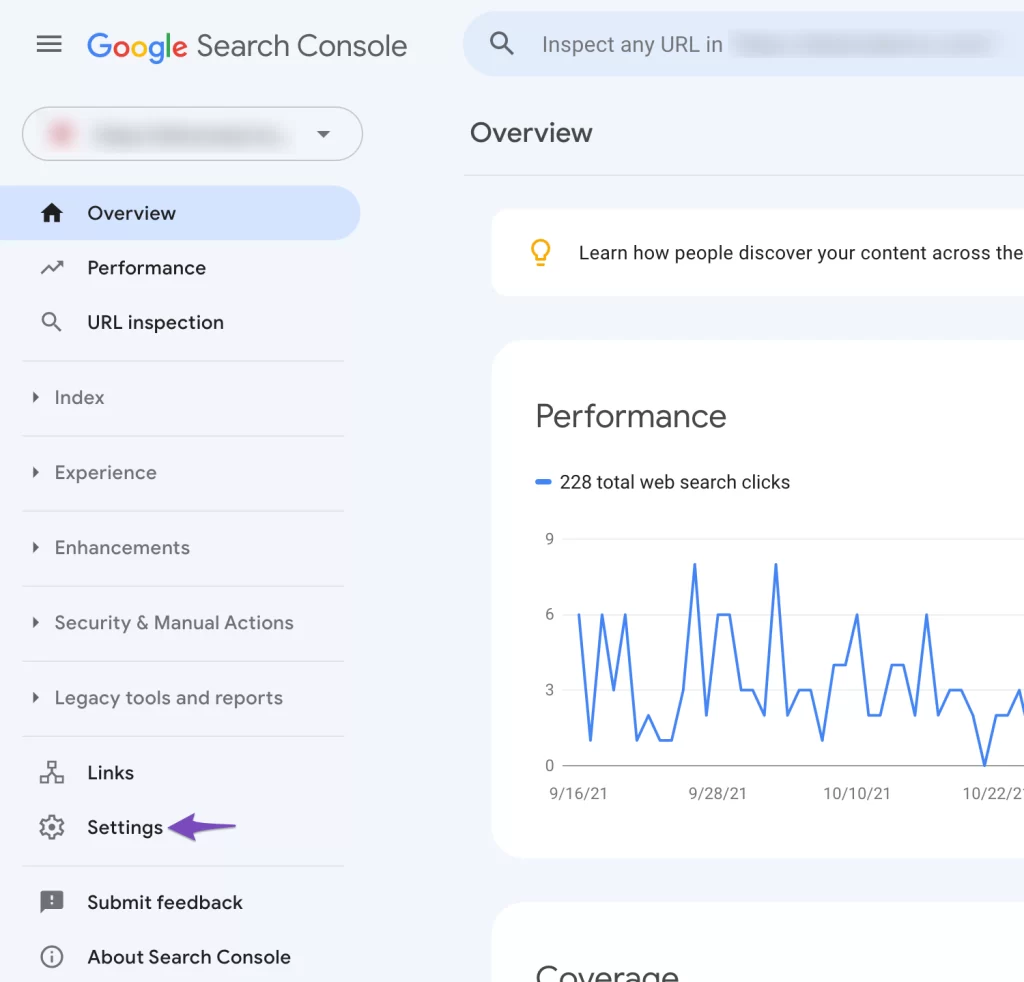
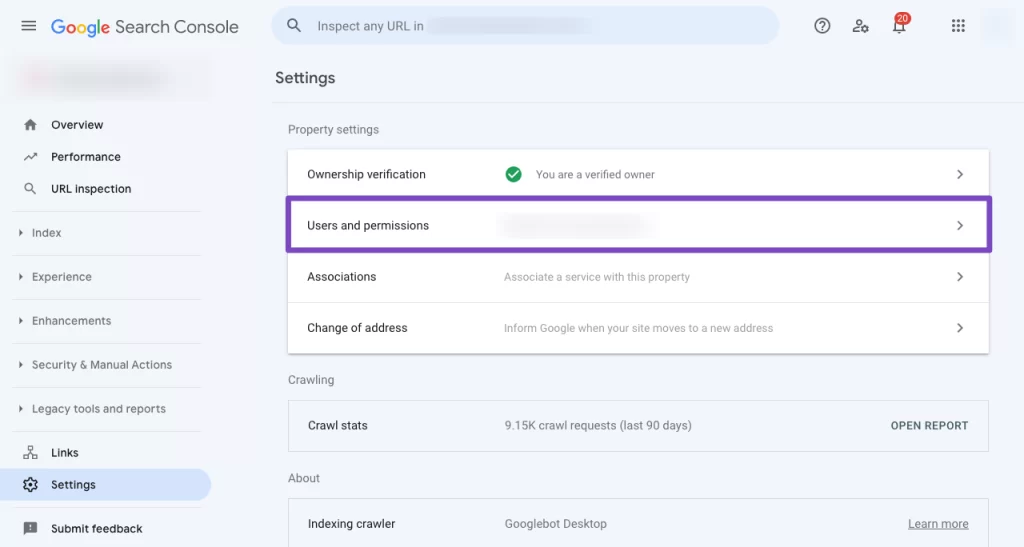
Go to Settings => Users add permissions
Add a new user.
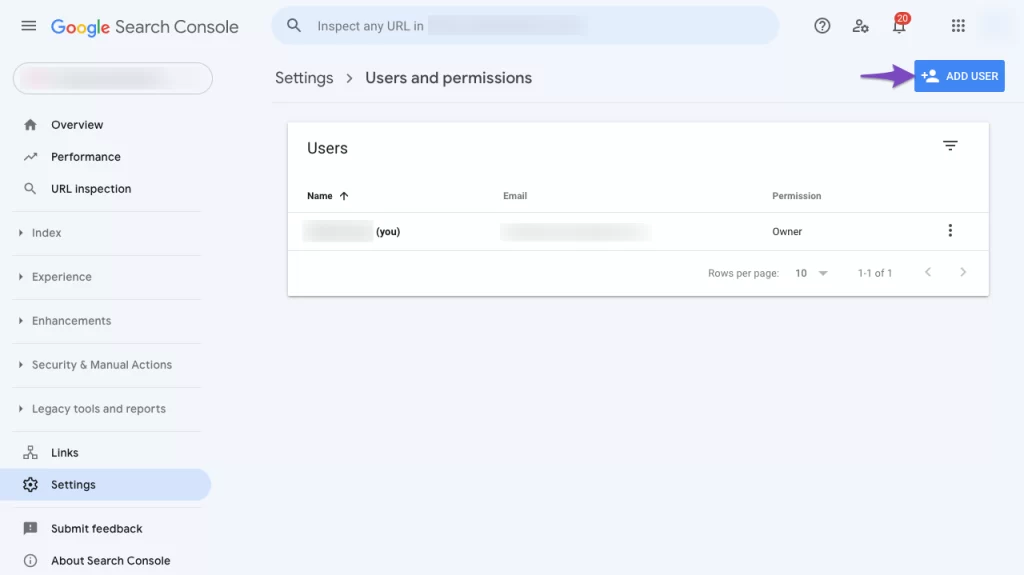
In the Email address box, enter the email address created in the previous step. And select Permissions as Owner => click Add to finish.
You can use a Project, Service Account, and JSON API Key on multiple sites, just make sure the Service Account is added as Owner for all sites in Search Console.
3. Install and Configure the Instant Indexing Plugin for Google
You will use the Plugin developed by Rank Math as the connection environment. You can install this plugin directly from the WordPress Plugins library.
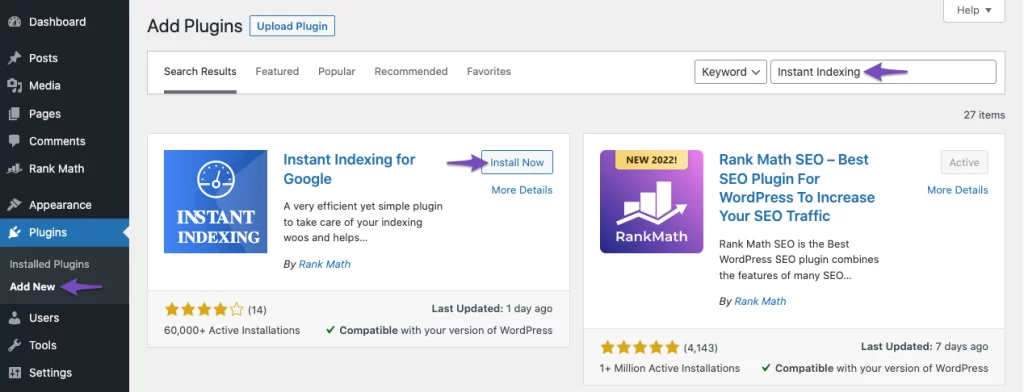
3.1 Install Plugin
Click Plugin => Add New and enter the keyword “Instant Indexing” to search.
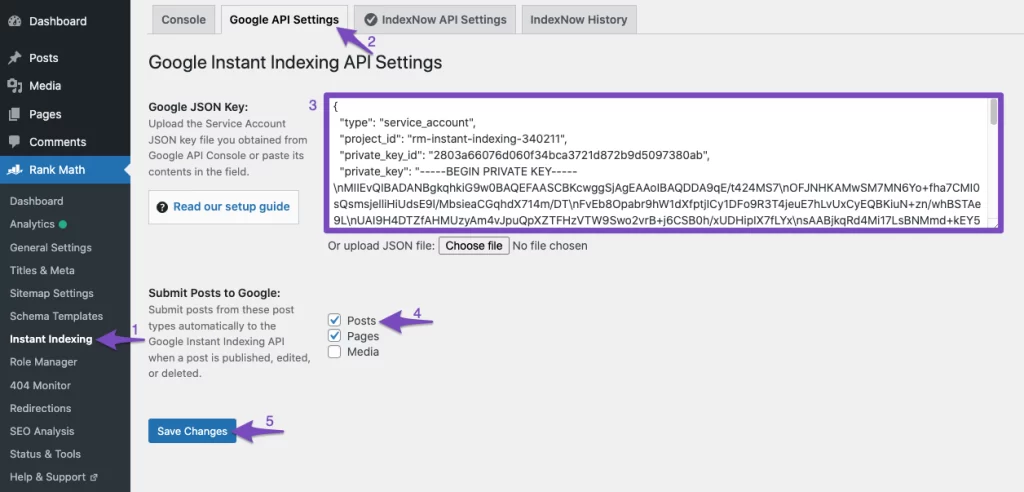
3.2 Plugin configuration
After installing the plugin, go to Rank math => Instant Indexing => Google API Settings and enter the content of the previously created JSON file. Then, in the Submit Posts to Google section, you can tick them all.
3.3 Use API for instant indexing
On the Console tab, you can enter the article URL to have it instantly indexed.
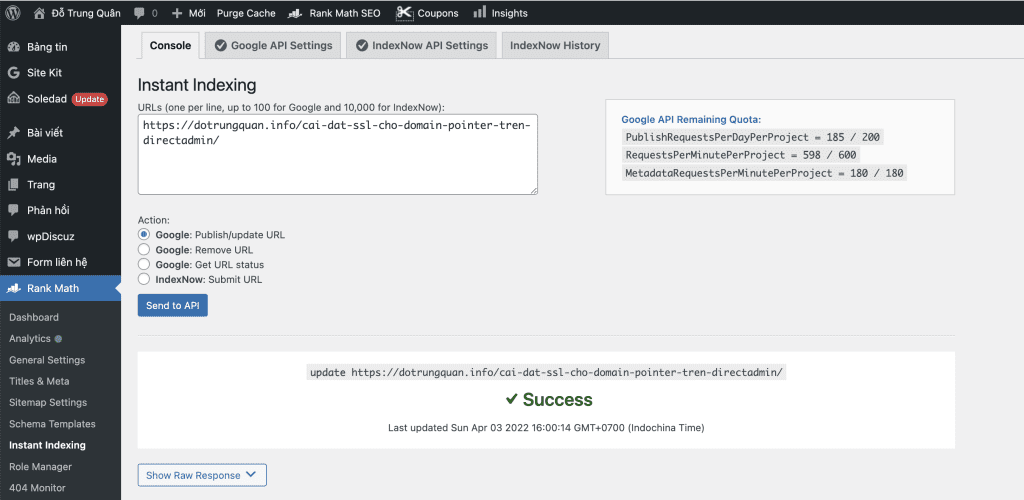
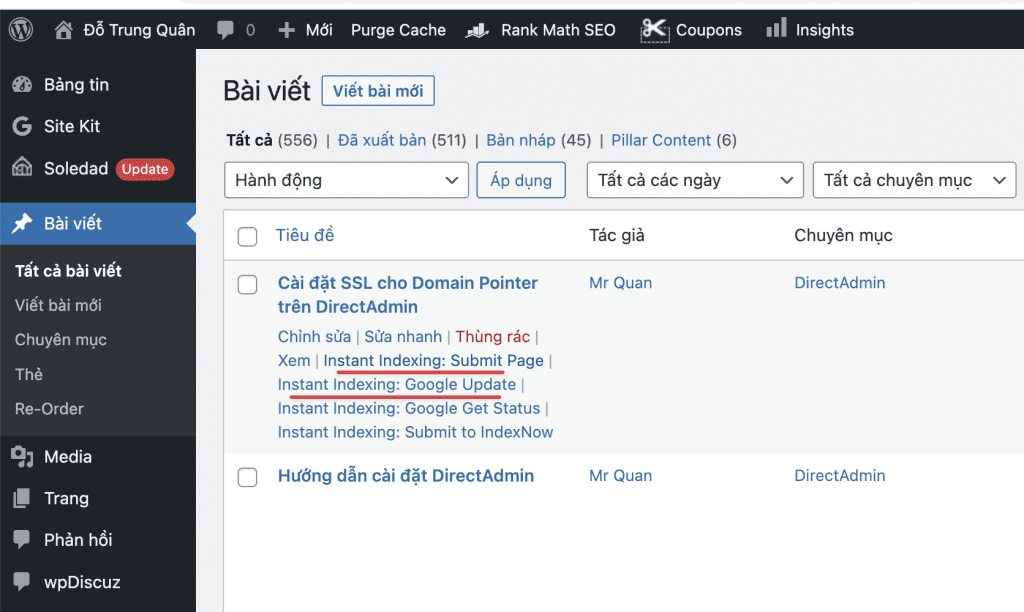
In addition, in the Posts interface, after writing, you can click here directly to request an immediate index of your post.
Thus, AZDIGI has completed the steps to configure the article Index immediately with Rank Math SEO. Wishing you success with your website.
You can refer to other instructions at the link below:
If you need assistance, you can contact support in the ways below:
- Hotline 247: 028 888 24768 (Ext 0)
- Ticket/Email: You use the email to register for the service and send it directly to: support@azdigi.com