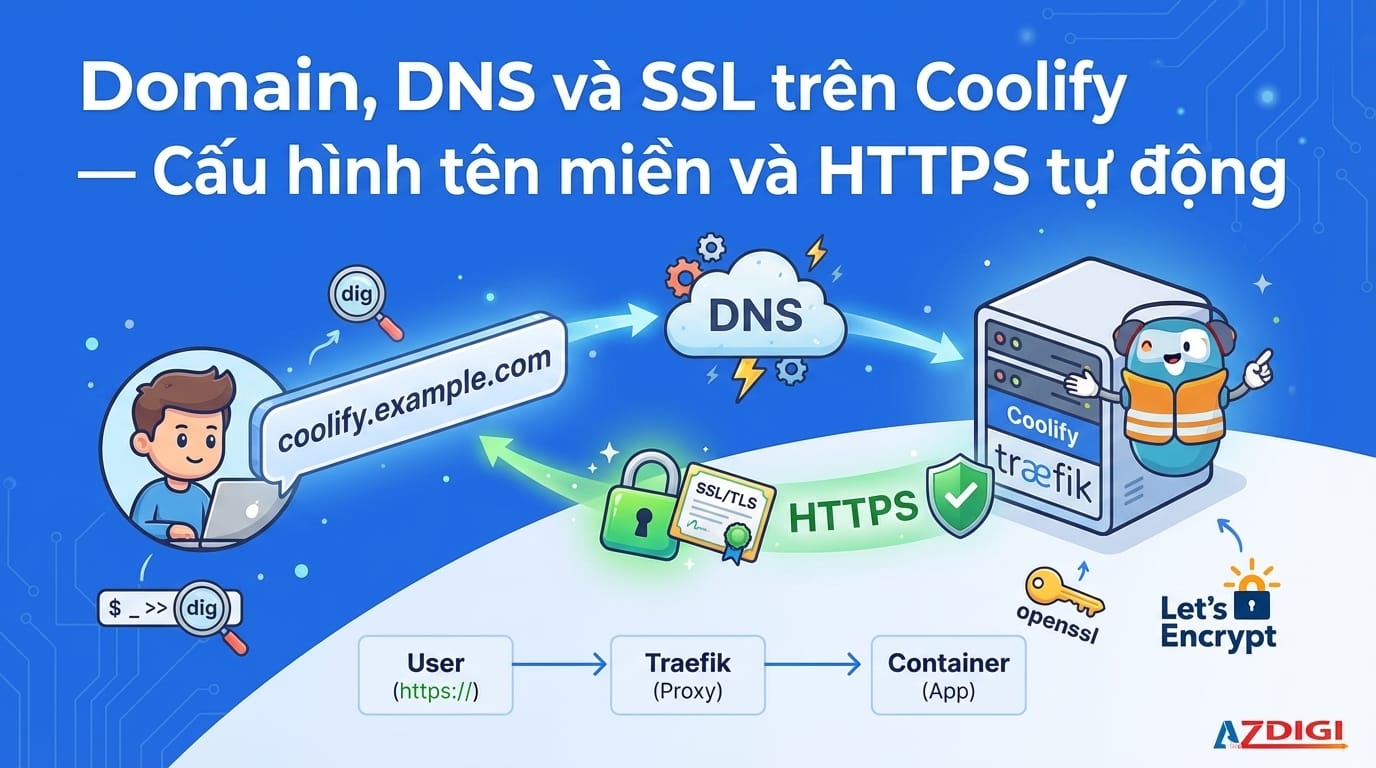
By default, Coolify runs on http://IP:8000 and deployed applications are accessed via IP + port. To use beautiful domain names and HTTPS, you need to configure DNS and SSL. This article provides a detailed guide on pointing domains and automatically provisioning SSL on Coolify.
📖 Previous article: Part 3, Dashboard Interface
I. Understanding How Domains Work on Coolify
Coolify uses Traefik as a reverse proxy. When you assign a domain to a resource, Traefik will:
- Receive requests from that domain (port 80/443)
- Route traffic to the correct container
- Automatically provision SSL certificates via Let’s Encrypt
- Redirect HTTP → HTTPS
User accesses https://app.example.com
    ↓
Traefik (reverse proxy) — port 443
    ↓ (routes by domain)
Container "my-app" — port 3000 (internal)
ℹ️ You do NOT need to configure Nginx, Apache, or any web server. Traefik handles everything, you just need to point DNS.
II. DNS Configuration
1. Domain for Coolify Dashboard
First, point a domain to the Coolify dashboard itself:
- Go to DNS provider (Cloudflare, Namecheap, Route53…)
- Create an A record:
- Name:
coolify(or subdomain you want) - Value:
VPS IP - TTL: Auto
- Name:
- Wait for DNS propagation (usually 1-5 minutes)
# Example DNS record
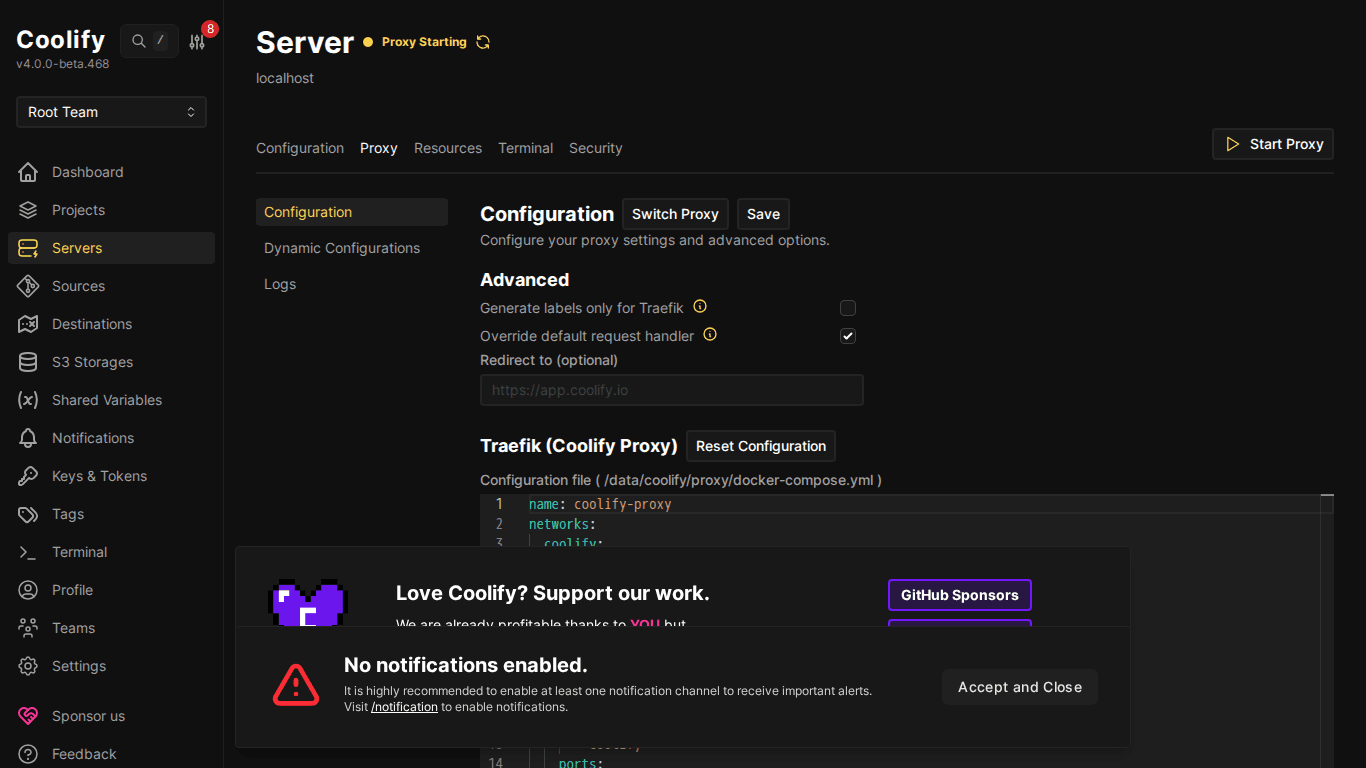
coolify.example.com A 103.221.223.142Then go to Settings in Coolify → fill in the domain in Instance’s Domain → Save.
2. Domain for Applications
Each application/service needs its own domain. Create A records for each:
# Example: multiple apps on same server
blog.example.com       A    103.221.223.142
api.example.com        A    103.221.223.142
n8n.example.com        A    103.221.223.142
monitor.example.com    A    103.221.223.142
💡 All domains point to the same IP. Traefik will differentiate them based on hostname in HTTP requests and route to the correct container.
3. Wildcard DNS (Advanced)
If you deploy many apps, instead of creating A records for each subdomain, use wildcard DNS:
# Wildcard — all subdomains point to server
*.example.com    A    103.221.223.142
With wildcard, you can assign any subdomain to applications without having to go back to the DNS provider to create new records.
⚠️ Wildcard DNS is not supported on all free DNS providers. Cloudflare free plan supports wildcard DNS but does NOT support wildcard SSL (requires Business plan or turn off proxy mode for subdomains).
III. SSL Certificate – Automatic HTTPS
Let’s Encrypt (Default)
Coolify automatically provisions SSL via Let’s Encrypt when you assign a domain to a resource. The process:
- You set domain for application (e.g.
blog.example.com) - Coolify/Traefik automatically requests certificate from Let’s Encrypt
- Certificate is issued within seconds
- Automatically renews before expiration (90 days)
ℹ️ No additional actions needed, just DNS pointing correctly and ports 80/443 open, SSL will work automatically.
Requirements for SSL to Work
- Port 80 must be open: Let’s Encrypt uses HTTP-01 challenge to verify domain
- Port 443 must be open: for HTTPS traffic
- DNS pointing correctly: domain must resolve to Coolify server IP
- Not using Cloudflare proxy (orange cloud) if you want Let’s Encrypt directly
IV. Using Cloudflare with Coolify
Cloudflare is the most popular DNS provider. There are 2 ways to use it with Coolify:
Method 1: DNS Only (Recommended for beginners)
- Turn off proxy (cloud icon → grey/DNS only)
- Let’s Encrypt provisions SSL directly
- Simple, least configuration
Method 2: Cloudflare Proxy (Advanced)
- Turn on proxy (orange cloud) → traffic goes through Cloudflare CDN
- SSL mode: set Full (Strict) on Cloudflare
- Advantages: CDN caching, DDoS protection, hides real server IP
- Disadvantages: more complex config, need to watch SSL mode
🚨 If using Cloudflare Proxy, must set SSL mode = Full (Strict). If set to Flexible, will cause infinite redirect loop (ERR_TOO_MANY_REDIRECTS).
Method 3: Cloudflare Tunnel (Zero Trust)
If server is behind NAT or you don’t want to open ports 80/443:
- Install
cloudflaredon server - Create tunnel pointing to Coolify containers
- No need to open ports: traffic goes through Cloudflare tunnel
- SSL completely managed by Cloudflare
V. Assigning Domain to Resource on Coolify
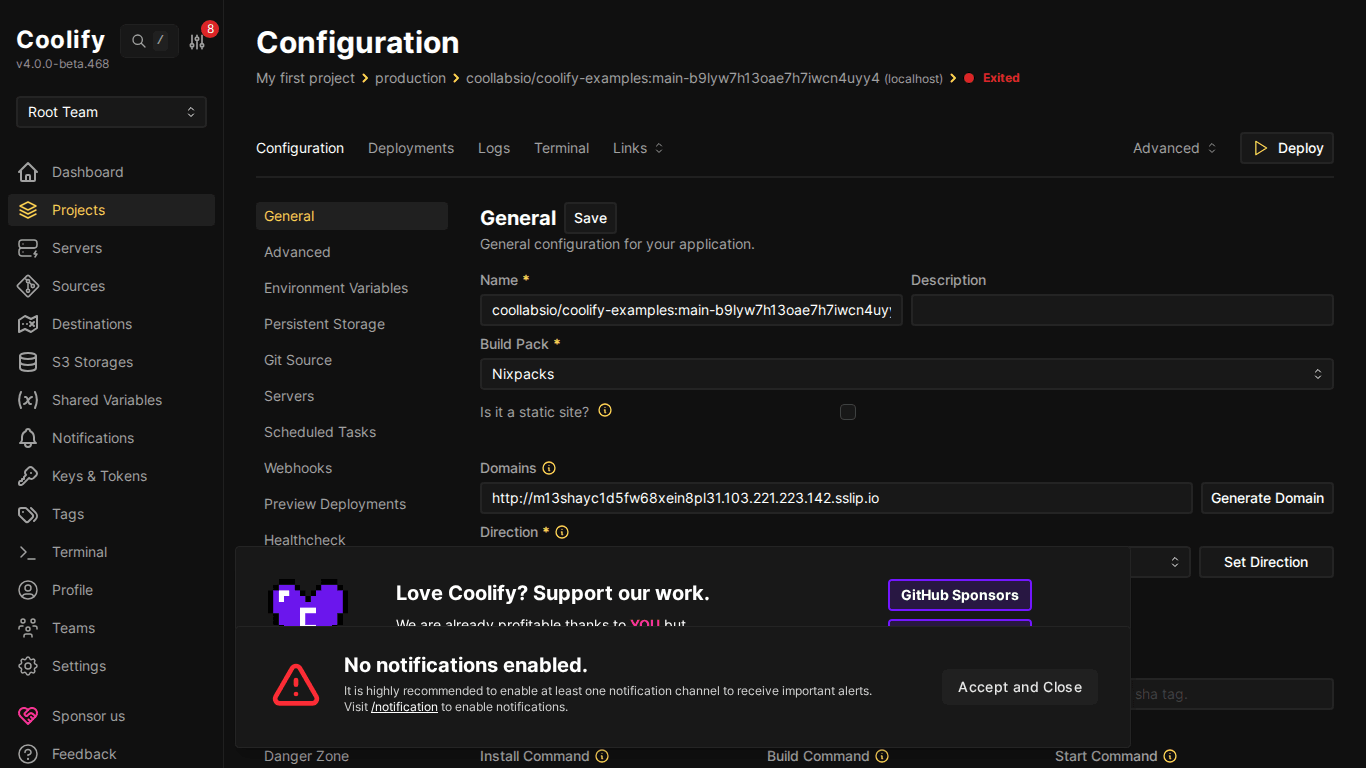
After DNS is pointing, assign domain to application on Coolify:
- Go to resource (app/service/database)
- Find Domains or FQDN field
- Enter domain:
https://blog.example.com - Click Save
- Redeploy resource
💡 Enter domain with https:// prefix, Coolify will know to provision SSL. You can assign multiple domains to 1 resource, separated by commas.
VI. Troubleshooting Common Errors
SSL Certificate Cannot Be Issued
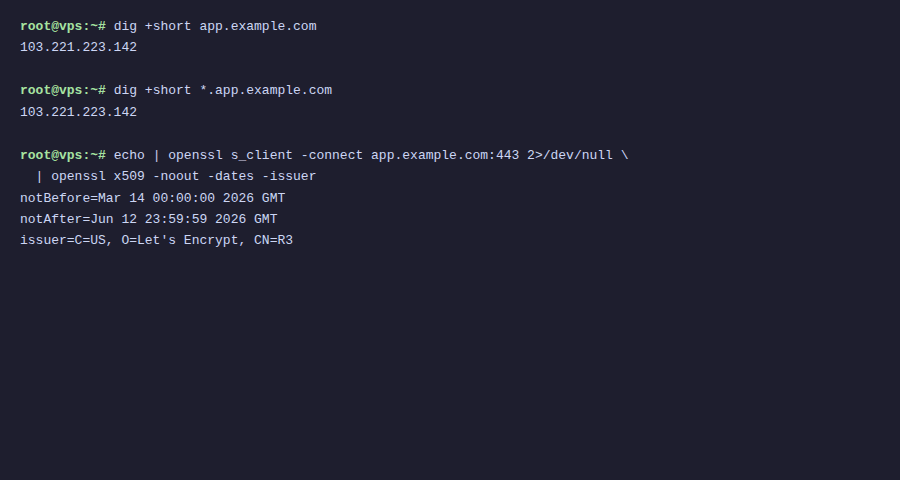
- Check DNS has propagated:
dig blog.example.com - Ensure port 80 is open (Let’s Encrypt needs port 80)
- If using Cloudflare proxy → turn off proxy temporarily or switch SSL mode = Full (Strict)
ERR_TOO_MANY_REDIRECTS
- Cause: Cloudflare SSL mode = Flexible + Coolify redirect HTTP → HTTPS → infinite loop
- Fix: Set Cloudflare SSL = Full (Strict)
502 Bad Gateway
- Container hasn’t started or crashed → check logs
- Incorrect port mapping → check port in resource config
- App not ready → wait a few seconds then refresh
VII. Summary
Configuring domains and SSL on Coolify is very simple: point DNS, assign domain in dashboard, and Coolify handles the rest. No need to install Nginx, no need to run Certbot, no need to manually renew SSL.
Next article: Deploy your first application to Coolify: Static sites, React/Vue SPAs from GitHub.
You might also like
- Coolify Interface - Detailed Dashboard Usage Guide
- Reverse Proxy Ollama with Nginx - Access AI via Custom Domain with HTTPS
- Cloudflare Tunnel: Access Your Home Computer Remotely Without Port Opening
- Multi-Server & Scaling on Coolify — Expanding Your System
- Installing Coolify on VPS - Detailed Step-by-Step Guide
- Databases on Coolify — MySQL, PostgreSQL, Redis, MongoDB
About the author

Trần Thắng
Expert at AZDIGI with years of experience in web hosting and system administration.