Have you heard of OpenClaw – the open-source AI assistant project that has taken the tech community by storm since early 2026? This is not just an ordinary chatbot but a personal AI assistant that can run 24/7 on your machine, remembering every conversation and connecting with Telegram, WhatsApp, Discord.
This article will walk you through installing OpenClaw from scratch, step by step. No advanced programming knowledge required. Whether you are a developer or an everyday user, you will have your own AI assistant up and running by the end of this guide.
Homepage – Official Documentation – GitHub
What is OpenClaw?
Before diving into the installation, let me briefly explain what OpenClaw is so you understand the tool you are about to set up.
OpenClaw is an open-source project developed by Peter Steinberger, an Austrian developer well known for founding PSPDFKit and building numerous AI tools.
At its core, OpenClaw is a self-hosted gateway that connects large AI models like Anthropic’s Claude or OpenAI’s ChatGPT to your computer environment. Instead of chatting through each service’s website, you can chat through Telegram, WhatsApp, Discord, or any platform you already use every day.
The core differentiator of OpenClaw compared to other chatbots lies in its self-hosting capability and long-term memory. When you ask Claude on its website, each conversation is a separate session and you have to re-explain context every time. With OpenClaw, it remembers everything you said last week, last month, like an assistant that truly understands you.
A practical example: you can configure OpenClaw to automatically compile tech news every morning and send it to you via Telegram. Or when you send a screenshot of a phone error, it can analyze and guide you through fixing it. All of this happens on your machine, without going through any intermediary server.
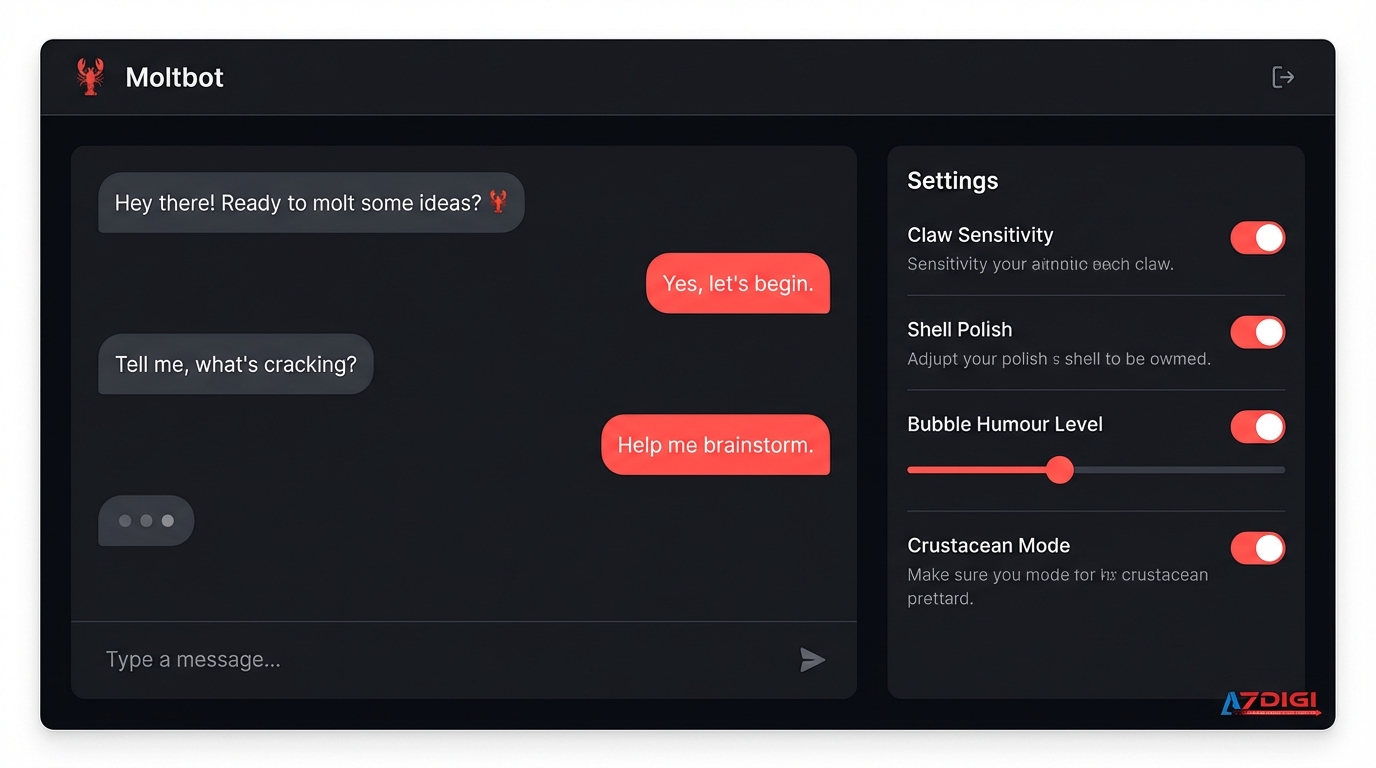
Naming history: The project was originally named “Clawdbot”, then renamed to “Moltbot” at Anthropic’s request because the name was too similar to “Claude”. The project has now been officially renamed to OpenClaw. If you come across older articles online mentioning Clawdbot or Moltbot, those refer to OpenClaw.
System Requirements for Installing OpenClaw
Before getting started, check whether your computer meets the minimum requirements. If any of these are missing, the installation will fail.
Software: You need Node.js version 22 or higher (Node 24 is recommended). Check with the command node --version. If your machine has an older version, upgrade before proceeding.
Hardware: The minimum configuration is 8GB RAM and an Intel or Apple Silicon chip (M1/M2/M3/M4). Lower-spec machines can still run it but will be slow and unstable, especially when handling multiple requests simultaneously.
Operating system: OpenClaw supports macOS, Linux, and Windows via WSL2 (Windows Subsystem for Linux). If you are on Windows, install WSL2 with Ubuntu first since running natively on Windows has not been thoroughly tested.
API Key: You need an API Key or an account with an active monthly paid plan for Claude, ChatGPT, Gemini (or all of them if you can 😗). This is the brain of OpenClaw – all AI processing goes through these external APIs.
How to Install OpenClaw on Your Personal Computer
Now let’s get to the main part. I will guide you through each step in detail – just follow along.
⚠️ Security note: Do not attempt to expose this application to the internet from your personal computer. If you need remote access, install OpenClaw on a VPS with Docker to keep the data on your machine safe.
Step 1. Install Homebrew (macOS)
If you are on macOS, the first step is to install Homebrew, the most popular package manager on Mac. OpenClaw needs Homebrew to install Node.js and other dependencies.
Open Terminal (find it via Spotlight with Cmd + Space, type “Terminal”) and run this command:
/bin/bash -c "$(curl -fsSL https://raw.githubusercontent.com/Homebrew/install/HEAD/install.sh)"The installation takes about 2-5 minutes depending on your network speed. Once complete, verify with this command:
brew --versionIf a version number appears (e.g. Homebrew 4.x.x), the installation was successful. Next, install Node.js via Homebrew:
brew install nodeVerify that Node.js is installed:
node --version💡 Note: If you are on Linux or Windows (WSL2), you do not need Homebrew. Install Node.js directly using NodeSource or nvm.
Step 2. Install OpenClaw with a Single Command
Open Terminal (macOS/Linux) or PowerShell (Windows) and run the corresponding command.
macOS / Linux
curl -fsSL https://openclaw.ai/install.sh | bashWindows PowerShell
iwr -useb https://openclaw.ai/install.ps1 | iexStep 3: Onboarding Configuration

After the installation is complete, OpenClaw will automatically launch the onboarding wizard for initial setup. If the wizard does not start automatically, you can run it manually with this command:
openclaw onboard --install-daemonThe wizard will ask you a series of questions for setup. Here is an explanation of each step:
I understand this is powerful and inherently risky. Continue?
Select Yes to proceed.
Onboarding mode
Select QuickStart if you are just getting started – this is the simplest mode.
Model/auth provider
Choose the AI model you want to use. For example: Anthropic (Claude), OpenAI (ChatGPT), or Google (Gemini).
AI Auth Method
Depending on the service you choose, there will be different authentication methods. For example, if you select OpenAI, you should choose OpenAI Codex (ChatGPT OAuth) to authenticate via OAuth and use the Pro plan in your account instead of a token, which is much more cost-effective.

After selecting the auth method, your browser will open automatically (if installed on a personal machine) for you to sign in and grant permissions. Alternatively, you can copy the link from the terminal and paste it into your browser.
Default model
Choose the default model corresponding to the service you selected, for example anthropic/claude-sonnet-4-20250514.
Select channel
Choose the first messaging channel to integrate. Simply pick the platform you are already using and follow the instructions.
Install skills
Choose the skills you want to use (press <Space> to select). You can skip this and install them later.
Once onboarding is successful, OpenClaw will run as a background service on your machine. Check its status with this command:
openclaw gateway statusStep 4: Access the Control UI
OpenClaw comes with a web interface for management and chatting. Open your browser and navigate to:
http://127.0.0.1:18789/This is the Control UI. From here you can test-chat with OpenClaw without configuring any messaging platform. If everything works, congratulations – you have successfully installed OpenClaw!
Connecting OpenClaw with Messaging Platforms
The real power of OpenClaw lies in its ability to chat from the apps you use every day. This section covers how to connect with the most popular platforms.
Connecting WhatsApp requires you to scan a QR code, just like logging into WhatsApp Web. Run this command:
openclaw channels login --channel whatsappThe channels login command is only used for WhatsApp (QR code scanning). Telegram and Discord use channels add with a token and do not require login.
The terminal will display a QR code. Open WhatsApp on your phone, go to Settings → Linked Devices → Link a Device and scan this QR code. After a successful link, you can chat with OpenClaw just like any regular WhatsApp contact.
Note: WhatsApp has limitations on message volume and linked devices. If you run into issues, refer to the official documentation for more details.
Telegram
Telegram is the recommended platform because the setup is straightforward and it does not have as many limitations as WhatsApp. You need to create a bot through @BotFather first.
Open Telegram, search for @BotFather and send the /newbot command. BotFather will ask for a name and username for your bot – the username must end with “bot” (for example: MyAssistantBot). After creation, you will receive a token in the format 123456789:ABCdefGHIjklMNO.
Add the token to OpenClaw:
openclaw channels add --channel telegram --token "123456789:ABCdefGHIjklMNO"Open the bot on Telegram and press Start or send the /start command. Telegram will return a pairing code along with an approval command:

In the screenshot above, the pairing code is NL7NRBMA. You need to run the following command in your terminal to approve:
openclaw pairing approve telegram NL7NRBMAAfter that, you can freely chat with the bot on Telegram.
Discord
Discord requires creating a bot first and then inviting it to your server. Here is a step-by-step breakdown for easy reference.
Step 1: Create an Application on Discord Developer Portal
Go to the Discord Developer Portal and sign in with your Discord account. Click New Application, give it a name (for example: “OpenClaw Assistant”) and click Create.

Step 2: Create a Bot and Get the Token
In the Application page you just created, select the Bot menu from the left sidebar.
Click Reset Token to get the bot token. Copy this token and save it – you will need it in a later step.

⚠️ The token is only shown once after resetting. If you lose it, you will have to reset to get a new token.
Step 3: Enable Message Content Intent
Still on the Bot page, scroll down to the Privileged Gateway Intents section. Enable all 3 intents:
- Presence Intent
- Server Members Intent
- Message Content Intent (most important – without this enabled, the bot cannot read messages)

Click Save Changes at the bottom of the page.
Step 4: Invite the Bot to Your Discord Server
Select the OAuth2 menu from the sidebar. In the OAuth2 URL Generator section:
- Scopes: check
bot,applications.commands - Bot Permissions: check
Send Messages,Read Message History,Attach Files,Embed Links,Use Slash Commands

Copy the generated URL at the bottom of the page, open that link in your browser. Select the server you want to invite the bot to and click Authorize.
Step 5: Enable Discord in OpenClaw
Go back to the terminal and use the openclaw onboard command again for higher accuracy during setup. If you have already completed the initial setup, access the settings wizard instead:
openclaw configThen select the Local option, and choose Channels.

Select Configure/Link, then choose Discord, and follow the instructions until you reach the step to enter the Bot token – paste the token you copied in Step 2.

When you reach the Config Discord channels access step, you should select Yes to start configuring Discord access right away. There are 3 options:
Allowlist: Only allow OpenClaw to be used in specific channels.open: Allow usage across all Discord channels.Disabled: Do not allow usage in channels – only allow direct messages with the bot.
If you choose Allowlists, you will need to enter the ID of the channel you want to use (it is recommended to enter the ID rather than #channel-name).
To get a channel’s ID, click the settings button in the bottom-left corner of the Discord screen.

Then go to the Advanced section and enable Developer Mode.
Now you can get the channel ID by right-clicking on the channel you need and selecting Copy Channel ID.
Step 6: Test It Out
Open the Discord server where you invited the bot and send a message in any channel the bot has read permission for. If the bot replies, your setup is complete. If you want the bot to only respond when tagged, you can configure this further in openclaw.json under the channels.discord section.
💡 By default, the bot responds to all messages in DMs. In servers (groups), the bot only responds when mentioned or replied to. To change this behavior, see the group messages configuration section in the Discord documentation.
Essential Commands and Commonly Used Features
Once installation is complete, here are the commands and features you will use most frequently.
Slash commands: On any platform (Telegram, WhatsApp, Discord), you can use the following commands:
/status– Shows bot status: current model, tokens used, uptime/resetor/new– Clears context and starts a new conversation/model– Switch between models (Claude Sonnet, Claude Opus, GPT-4o,…)
Multimodal: You can send images for the bot to analyze. For example, take a screenshot of an error and ask how to fix it, or send a photo of a recipe and ask for an explanation. The bot can “see” the image and respond accordingly.
Automation: OpenClaw supports cron jobs and heartbeats. You can configure the bot to automatically perform recurring tasks. For example, compiling a news digest every morning at 7 AM, or checking gold prices every hour.
Long-term memory: This is the feature that sets OpenClaw apart from regular chatbots. OpenClaw stores context through memory files in its workspace. When you ask “what did I ask yesterday?”, the bot can retrieve and answer accurately. This feature is especially useful when you want the bot to understand long-term context about your work, preferences, or ongoing projects.
Important Security Considerations
This is the section you MUST read carefully before using OpenClaw in a real-world environment.
The biggest issue is that many users accidentally expose port 18789 (Control UI) to the public internet without authentication. Bad actors can then access it, read your entire chat history, steal API keys, and even execute commands on your machine.
To use OpenClaw safely, follow these guidelines:
- NEVER expose port 18789 to the public internet. If you need remote access, use an SSH tunnel or a VPN like Tailscale (recommended).
- Enable pairing mode for all channels. This requires strangers to have a verification code before they can chat with the bot.
- Secure your configuration files that contain API keys. Do not commit them to GitHub or share them with anyone.
If you want to run OpenClaw on a server for remote access, read the article Deploy OpenClaw on a Vietnam VPS to understand how to set things up securely.
Frequently Asked Questions (FAQ)
How much does it cost to use OpenClaw?
OpenClaw itself is free and open-source. However, you will pay for the AI model API (Claude or GPT) and operational costs (electricity, VPS if running on a server). With a Claude Pro subscription at $20/month, you can chat comfortably for personal use. Heavy users may need Claude Max at $100-200/month.
Does OpenClaw have an official crypto token?
NO. There was a fraudulent crypto token (CLAWD) that reached a market cap of $16 million USD before crashing 90%. Developer Peter Steinberger has confirmed that OpenClaw does NOT have any official token. If someone invites you to buy a related token, it is a scam.
Can OpenClaw run on a Raspberry Pi?
In theory, yes, but it is not recommended. Raspberry Pi has limited RAM and a weak CPU, so OpenClaw will be slow and may crash when processing complex requests. If you want to run it 24/7 at low cost, renting a VPS with 4GB RAM is a better option.
How is OpenClaw different from Claude Code?
Claude Code is a tool designed for developers. It runs in the terminal and focuses on coding. OpenClaw is a versatile personal assistant that connects to messaging platforms and has long-term memory. If you need AI to help with coding, use Claude Code. If you want a 24/7 multi-platform chat assistant, choose OpenClaw.
Does OpenClaw support Vietnamese?
OpenClaw uses Claude or GPT as its “brain”, both of which have strong Vietnamese language support. You can chat in Vietnamese freely and the bot will reply in Vietnamese.
Conclusion
OpenClaw is a significant step forward in bringing AI into everyday life. Instead of visiting a website every time you need to ask AI something, you can chat through Telegram, WhatsApp – the apps you open every day. Long-term memory helps AI understand your context, while self-hosting ensures your data stays on your machine.
However, keep in mind that this is still a young project with real security risks. Read the security guidelines carefully, do not expose it to the public internet, and always update to the latest version.
If you want to deploy OpenClaw on a VPS for 24/7 operation, AZDIGI offers VPS plans with suitable configurations starting from 99,000 VND/month. With a 24/7 technical support team, you can deploy with confidence knowing server issues are covered. Contact us today for a configuration recommendation tailored to your needs.
You might also like
- What is Claude Code Channels? Complete Guide to Connecting Claude Code with Telegram and Discord
- OpenClaw hybrid: Gateway on VPS + Node on local Mac
- OpenClaw Security: Step-by-Step Safe Configuration Guide
- What Is Hermes Agent? Installation and Usage Guide
- Integrating OpenViking into OpenClaw: Upgrading AI Agent Memory, Reducing Token Costs by 83%
- What is Claude Code Agent Teams? How to coordinate multiple AI agents in parallel
About the author

Trần Thắng
Expert at AZDIGI with years of experience in web hosting and system administration.