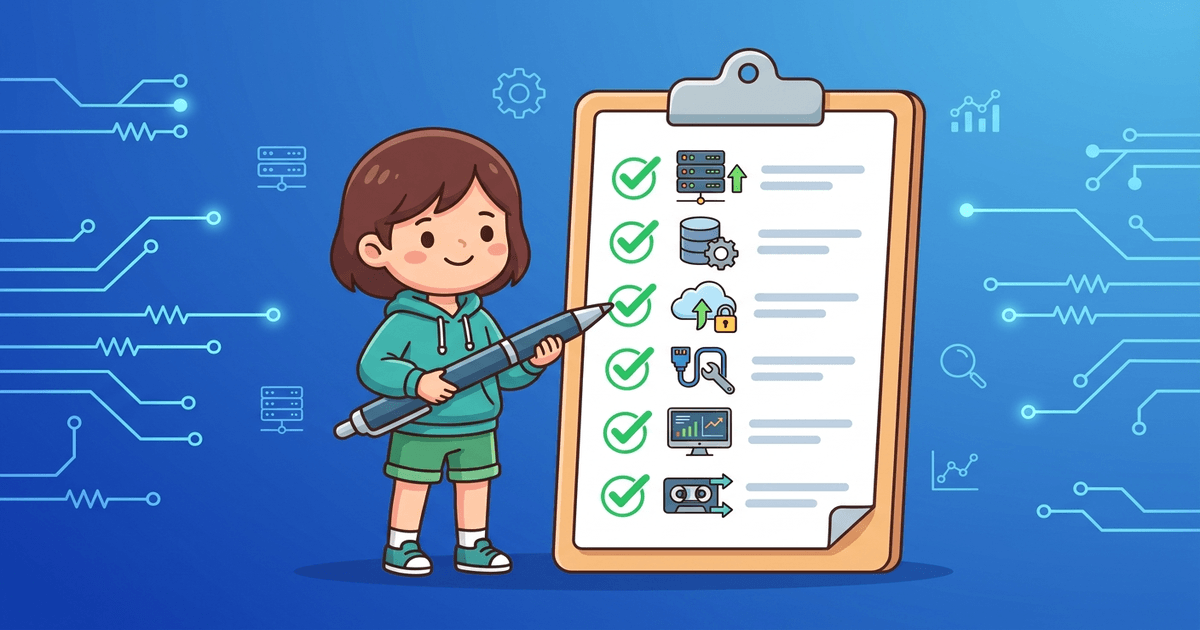
What Do You Need to Prepare When Renting a VPS? Checklist for Beginners
When renting a VPS for the first time without knowing what to prepare, it is very easy to choose the wrong package, or receive the server but not know where to start. This article summarizes two checklists: what needs to be determined before purchasing, and what needs to be done immediately after receiving the VPS.
If you are not clear about what VPS is, read that article first then come back here.
Checklist before renting VPS

1. Determine the purpose of use
What is the VPS used for? The answer affects the configuration, operating system, and even the provider you should choose.
Some common use cases:
- Website/blog: WordPress, Laravel, Next.js… need web server + database
- Web application: SaaS, API backend, internal dashboard
- Game server: Minecraft, Mu Online, Ragnarok (need powerful CPU, lots of RAM)
- Dev/test: Testing environment, CI/CD runner
- Self-host: n8n, Nextcloud, Gitea, email server, VPN
Each purpose has different resource requirements. Personal web blogs only need 1GB RAM, but game servers may need 4-8GB or more.
2. Estimate required resources
Four main specifications to consider:
- CPU: 1-2 vCPU is enough for small web. Applications heavy on computation (video encoding, code building) need 4+ vCPU.
- RAM: 1GB is minimum for web. WordPress + MySQL comfortable at 2GB. Many Docker containers need 4GB+.
- Storage: Blogs usually use 5-10GB. Applications with many file uploads or large databases need 40-80GB. Prefer SSD or NVMe.
- Bandwidth: Most providers give 200Mbps-1Gbps. Check if there are monthly traffic limits.
If unsure, start with small package and upgrade later. Most providers allow upgrade without data migration.
3. Choose operating system
Most VPS run Linux. The question is which distro to choose:
- Ubuntu 22.04/24.04: Most popular, lots of documentation, suitable for beginners
- AlmaLinux/Rocky Linux: CentOS replacement, stable for production, commonly used with cPanel/DirectAdmin
- Debian: Lightweight, stable, fewer annoying updates
- Windows Server: Need to run .NET, MSSQL, or software only available on Windows. Higher price due to license fees
If just starting, choose Ubuntu. Most guides online are written for Ubuntu.
👉 See more: Comparing Windows vs Linux VPS
4. Managed or unmanaged?
Unmanaged VPS: You manage everything yourself, from OS installation, security, updates, backup. Cheaper price, but requires basic Linux knowledge.
Managed VPS (or hosting with management): Provider handles server part, you only manage applications. Higher price, but less worry about security and operations.
If you are not confident with Linux command line, you can use VPS with control panel (cPanel, DirectAdmin) to manage through web interface. Or start with hosting first, then move to VPS when more familiar.
5. Choose data center location
Server placed close to users means faster access speed. Simple rule:
- Customers in Vietnam → choose Vietnam data center (Ho Chi Minh City, Hanoi)
- Southeast Asian customers → Singapore
- Global customers → US or EU
AZDIGI has data centers in Vietnam and Singapore, suitable for both domestic and regional needs.
6. Check backup and snapshot policy
Ask clearly before purchasing:
- Is there automatic backup? How frequent (daily, weekly)?
- Where is backup stored (same server or different server)?
- Is there snapshot feature to create quick copies before major changes?
- Does backup restore cost extra?
Backup is insurance for data. Do not skip this.
7. Calculate real budget
Many people overlook this: promotional prices usually only apply to the first cycle. When renewing, the price may be higher than subscription.
Besides monthly VPS fees, calculate additional:
- Domain (if not already have): around 300,000-700,000 VND/year
- SSL (if need higher grade than free Let’s Encrypt): from 150,000 VND/year
- Control panel license (if need cPanel/DirectAdmin)
- Bandwidth overage costs (if there are limits)
With affordable VPS, Pro VPS at AZDIGI from 99,000 VND/month, or X-Platinum VPS from 79,000 VND/month if need NVMe and 1Gbps bandwidth.
Checklist after receiving VPS
After receiving login information (IP, username, password), get started with setup. Here are 7 tasks to do in order.
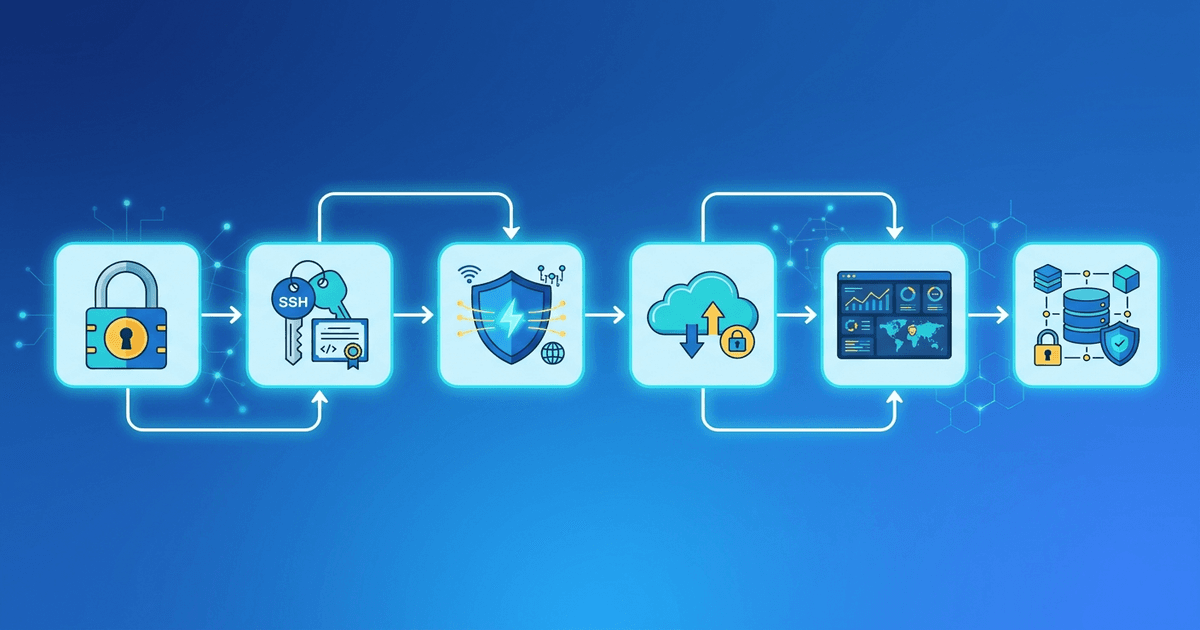
1. Change root password immediately
Default password sent via email, can be leaked. Log in via SSH and change immediately:
passwd rootUse long password, combining uppercase, lowercase, numbers and special characters. Best to use password manager to generate and save.
2. Configure SSH key, disable password authentication
SSH keys are much more secure than passwords. Create key pair on local machine, copy public key to server:
ssh-copy-id root@your-server-ipThen disable password login in /etc/ssh/sshd_config:
PasswordAuthentication noRestart SSH service and test again before closing current session (to avoid locking yourself out).
👉 Detailed guide: Comprehensive SSH protection on Linux VPS
3. Update operating system
Newly installed VPS may not have latest patches:
# Ubuntu/Debian
apt update && apt upgrade -y
# AlmaLinux/Rocky
dnf update -y
This step patches known security vulnerabilities. Should run immediately after receiving VPS.
4. Install firewall
By default, all ports on VPS are open. Install firewall to only allow necessary traffic:
UFW (Ubuntu/Debian):
ufw allow 22/tcp    # SSH
ufw allow 80/tcp    # HTTP
ufw allow 443/tcp   # HTTPS
ufw enable
CSF (ConfigServer Firewall): Popular on servers using cPanel/DirectAdmin, has management interface and anti-brute-force features.
Only open ports that are being used. Close everything else.
5. Install web server or control panel
Depending on purpose, choose one of two directions:
Manual installation: Nginx or Apache + PHP + MySQL/MariaDB. Suitable if you know Linux and want complete control.
Use control panel: cPanel, DirectAdmin, CyberPanel, HestiaCP… Manage through web interface, create websites, email, databases, SSL more easily.
Beginners should start with control panel. When understanding better, can switch to manual installation for lighter server.
6. Set up automatic backup
Even if provider has backup, you should still backup additionally. 3-2-1 principle: 3 copies, 2 media types, 1 copy elsewhere.
Simplest way: cron job backup database + web folder to file, push to object storage or another server. If using control panel, usually has scheduled backup feature available.
7. Install monitoring
When VPS is running stably, install monitoring tools to know when server has issues:
- Uptime monitoring: UptimeRobot (free), Hetrixtools, or self-host Uptime Kuma
- Resource monitoring: htop (quick view), Netdata (detailed dashboard), or Grafana + Prometheus if need deep dive
At minimum should have uptime monitoring to receive alerts when server goes down.
Common mistakes of beginners
Choosing package too big “to be safe”: 8GB RAM VPS for WordPress blog with 100 posts is wasteful. Start small, scale when needed.
Not backing up before changes: Installing additional packages, changing config, updating versions… always snapshot or backup first. Losing data once and you will remember.
Following AI guidance when VPS is already running: When using VPS, you may have already installed necessary software, following guides from ChatGPT/Claude/Gemini risks application conflicts or worse, unrecoverable data, do not operate on VPS unless you understand what you are doing.
Ignoring security: Using weak passwords, not installing firewall, opening random ports, running everything as root. This is the fastest way to get server hacked.
Only looking at promotional price: Subscription price 50,000 VND/month but renewal 200,000 VND/month. Always check renewal price before deciding.
Not reading SLA and refund policy: Each provider has different uptime commitments and refund conditions. Read first to avoid surprises later.
Frequently asked questions
What to do first after renting VPS?
Change root password – change root password – change root password (important things repeated 3 times), configure SSH key, update OS, and install firewall. These four basic security steps should be done before installing any applications. See detailed checklist in “After receiving VPS” section above.
Is control panel installation necessary?
Not mandatory, but if you are not familiar with Linux commands, control panel helps manage much easier. cPanel and DirectAdmin are two popular choices (with license fees). If want free, try CyberPanel or HestiaCP.
How long until VPS is ready to use?
Most providers activate VPS within 5-15 minutes after payment. Initial setup (security, web server installation, application deployment) takes additional 30 minutes to several hours depending on experience. If using available templates (like n8n 1-click deploy), much shorter time.
👉 See VPS at AZDIGI from 79,000 VND/month, activated in 5 minutes, automatic backup, 24/7 support.
👉 Read more: What is VPS and types of VPS you need to know
You might also like
- How to Rent a VPS: Choose a Configuration and Set It Up Safely
- How to Choose a Budget VPS: Specifications, Costs and Common Traps
- Vietnam VPS vs International VPS Comparison: Which to Choose?
- Seven VPS Providers in Vietnam: Criteria and Evaluation Guide
- VPS Windows vs Linux: Comparison and How to Choose the Right Type
- What is Flowise? When Should You Self-Host It on a VPS?
About the author

Trần Thắng
Expert at AZDIGI with years of experience in web hosting and system administration.