354 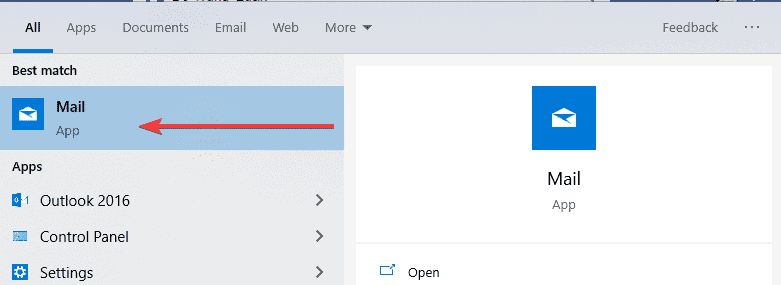


In today’s article, AZDIGI will show you how to log in to an email account on Windows 10’s Mail application. Let’s follow along.
Step 1: Create an email account
AZDIGI has written an article to create an email account, you can refer to the link below:
Step 2: Open the application and sign in
You open Windows’s Mail application của Windows as shown below:
In the image below, click the settings icon and select Manage accounts
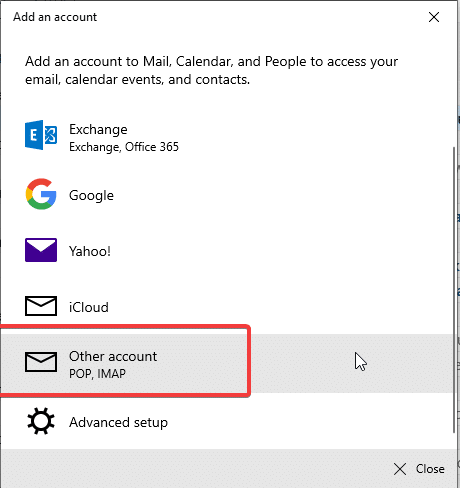
Click Add Account to add a new account
You choose Other account POP, IMAP to log in email
Then you fill in the information:
- The email account you created in step 1
- Enter display name
- Enter the password of the email account
- Sign in
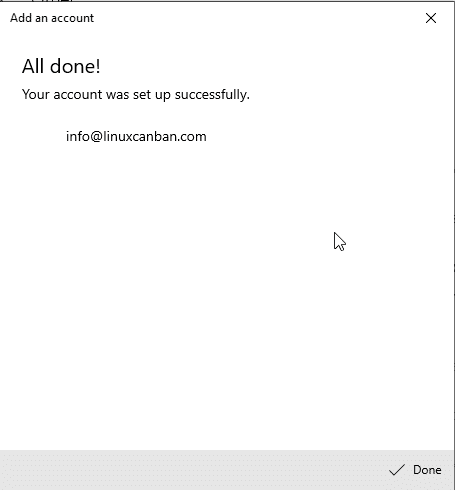
The screen displays the message below that the login is successful.
- Hotline 247: 028 888 24768 (Ext 0)
- Ticket/Email: You can use your email to register for the service and send it directly to: support@azdigi.com
- Visit the AZDIGI website to refer to the best hosting/VPS service in Vietnam.