After successfully registering for the mail service at AZDIGI and completing the steps to set up DNS records for the domain. In the next step, AZDIGI will guide you to create mail accounts to log in and use.
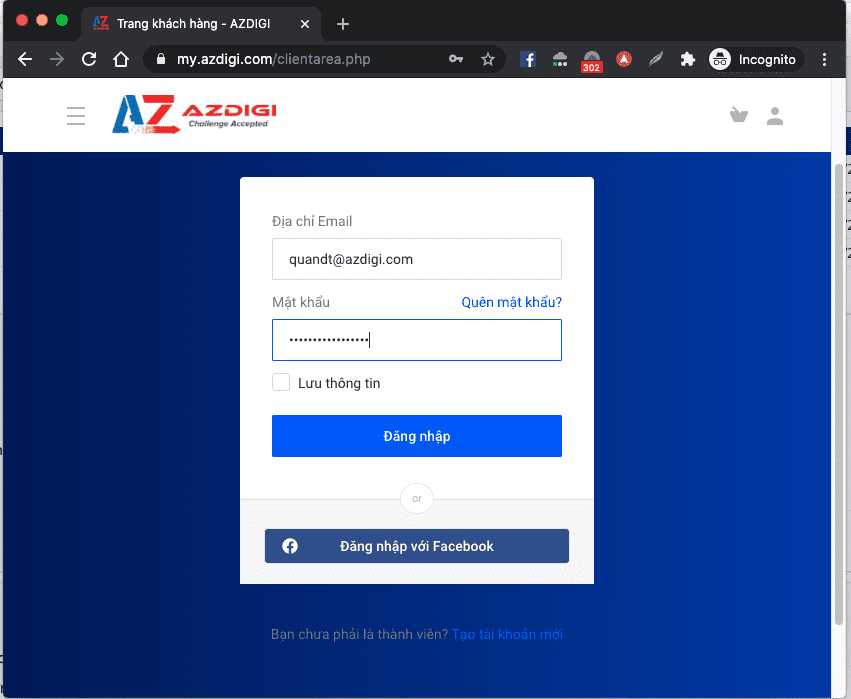
You log in to the service administration at the link: https://my.azdigi.com, then log in to access the management services.
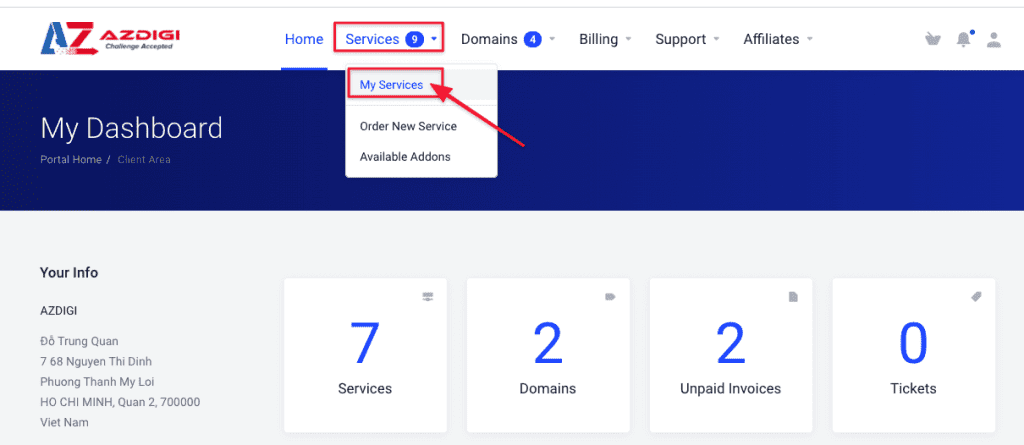
Next, select the mail service for which you want to create an account.

At Email Management, click on Email Accounts to create a mail account.

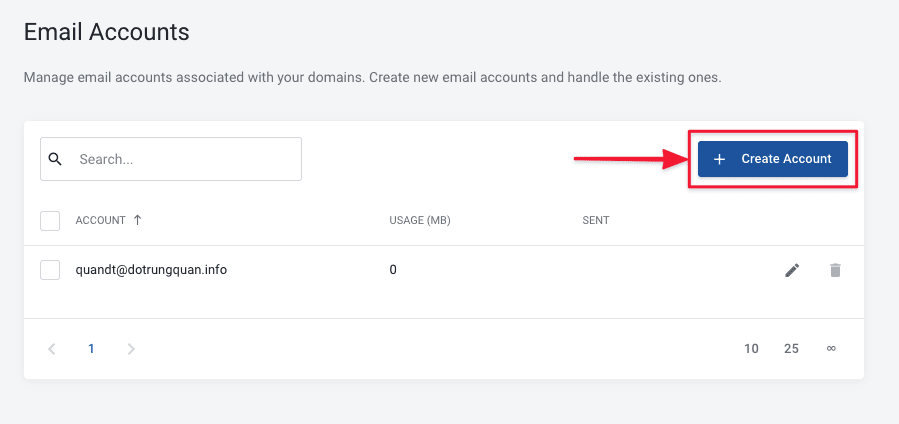
After entering the Create Accounts interface, you will see a default system account created with the format username@mydomain. don’t delete this account.
Click on Create Account to create a new account.
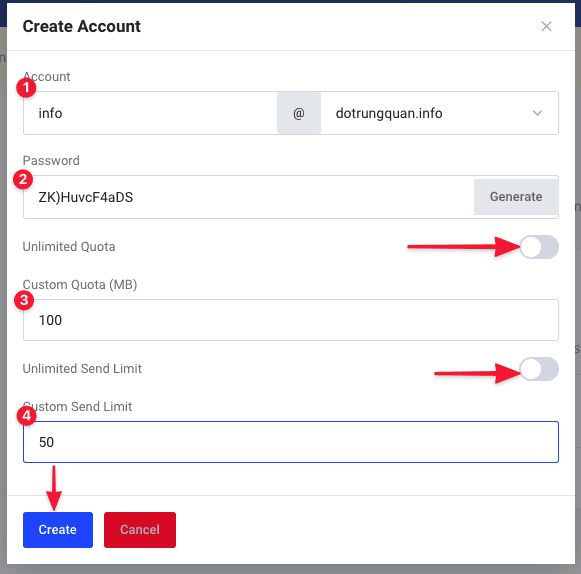
Below are the comments on a few parameters to set up for your mail account.
- Account: You enter the account you want to create
- Password: Enter the password you want to create, note that you should set a password with high complexity, or click Generate to generate it automatically
- Custom Quota (MB): Limited capacity for each account, you can limit these accounts by entering the capacity in MB. Or you choose Unlimited Quota to allow unlimited.
- Send Limit: Limit outgoing emails, you can limit or select Unlimited Send Limit.
After you have set up each account, click Create.
If you receive a warning: Message: Unable to create email account: You cannot set an unlimited send limit, it means the account is not allowed to be set to unlimited, then enter Custom Send Limit to create.
After creating the accounts will display as shown below:
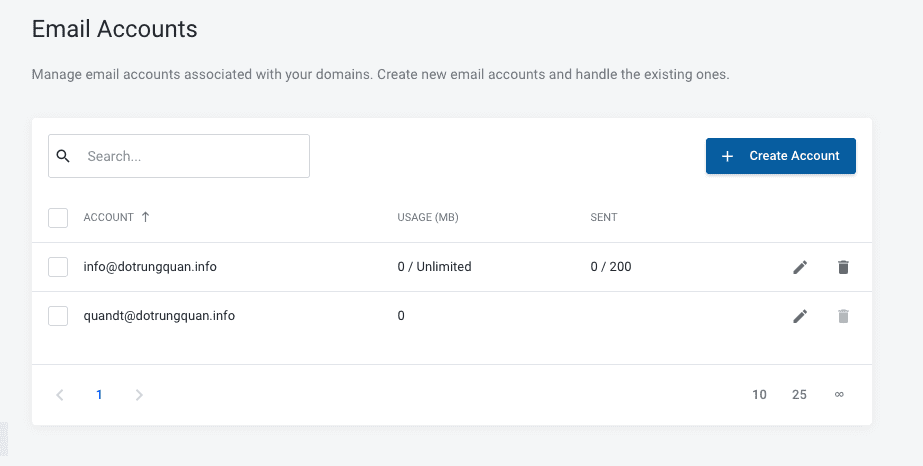
So AZDIGI has completed the steps to create a mail account with the Pro Mail Hosting service. To refer to the documentation for using mail, you can access the Pro Mail Hosting Guide at the link below:
- Hotline 247: 028 888 24768 (Ext 0)
- Ticket/Email: You can use your email to register for the service and send it directly to: support@azdigi.com

