Nội dung
In today’s tutorial, AZDIGI will show you how to remote database on CentOS Web Panel in the simplest way for convenience in using or providing developers to create new websites.
I. Overview
CentOS Web Panel is a control panel that has both a free version as well as a paid version. Particularly with the free version, you can create user accounts with limited bandwidth depending on the level you want. The big difference is that with the free version, we can’t create a Reseller and don’t have the option to install multiple versions of PHP at the same time.
In this article, AZDIGI will show you to enable the remote database feature on CentOS Web Panel (CWP) for convenience during use as well as provide website editors with to access and process data.
II. Enable remote database feature on CentOS Web Panel (CWP)
To enable the remote database feature on CentOS Web Panel, follow these 3 steps.
Step 1: Login to CentOS Web Panel with user account
To log in to CentOS Web Panel with a user account, we just need to access the following link on the browser. With login port of 2083 similar to cPanel.
https://IP:2083/
Remember to change IP to the IP address your CentOS Web Panel server is using.
Below is my CentOS Web Panel interface:
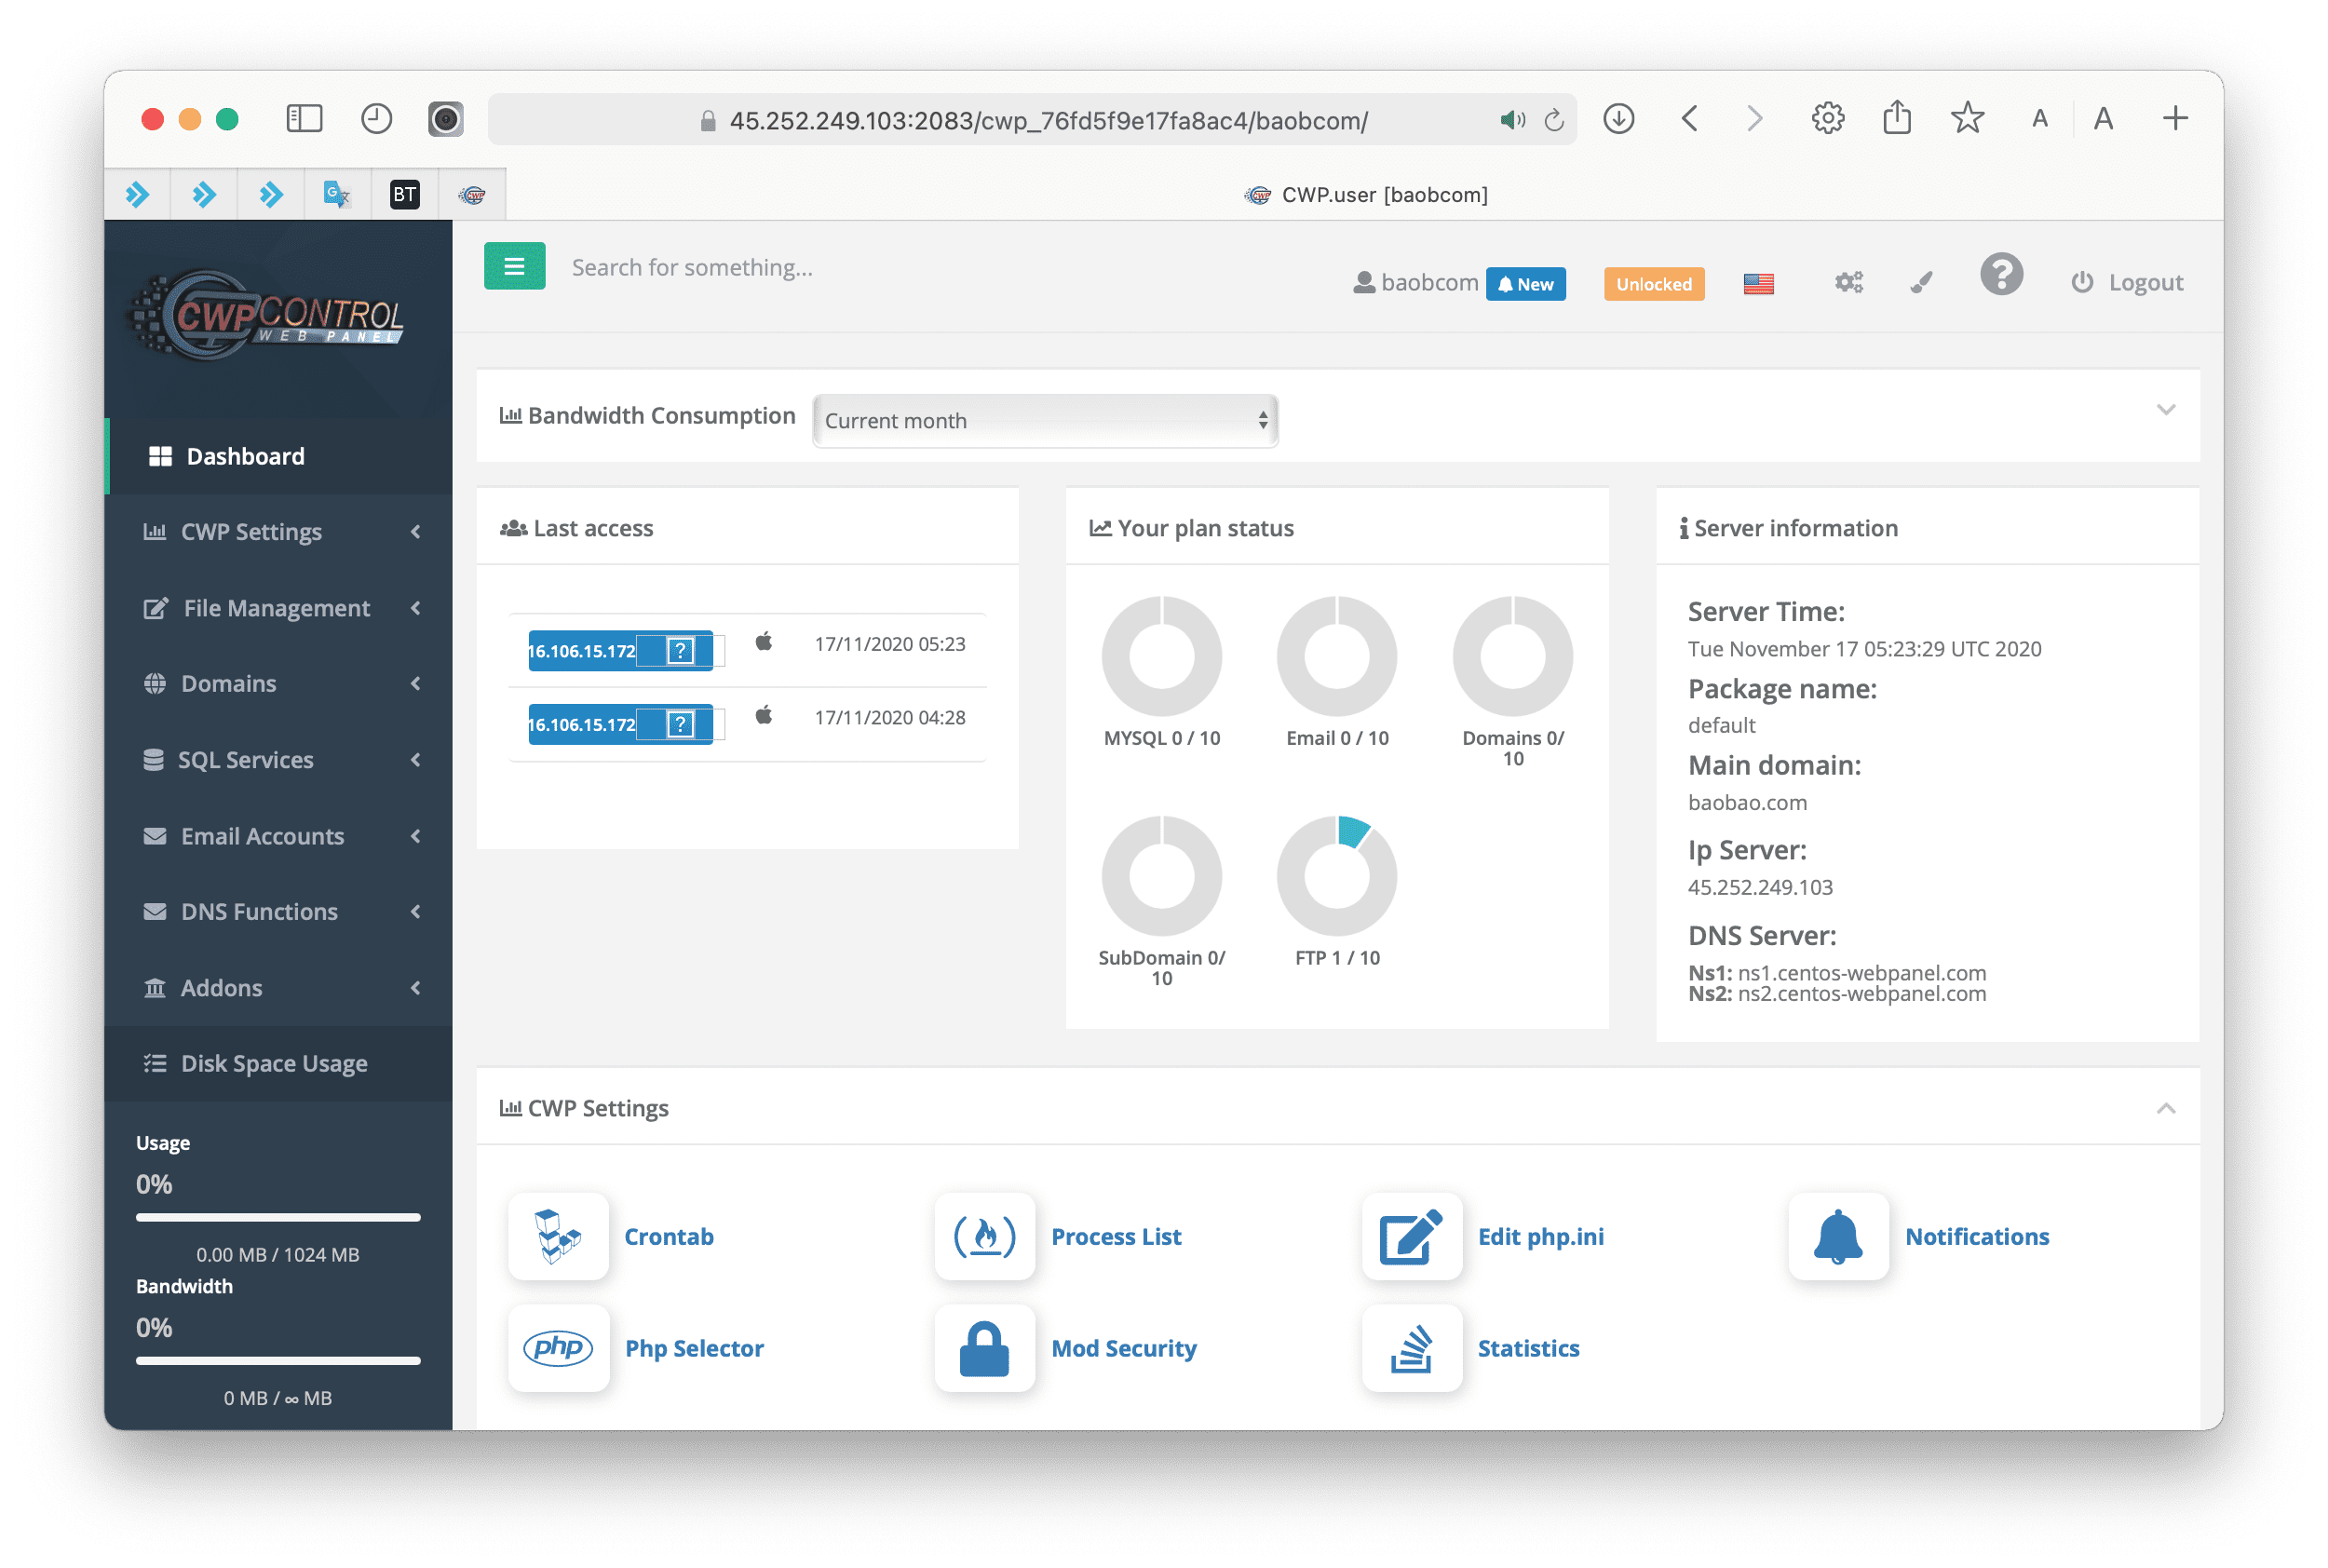
We continue with step 2 to create a Database on CentOS Web Panel.
Step 2: Create a database on CentOS Web Panel (CWP)
If you already have a database, you can skip this step and continue to step 3. However, if you do not have a database, you can refer to the following article to create it.
We continue to step 3 to enable the remote database CentOS Web Panel feature.
Step 3: Enable remote database feature on CentOS Web Panel
I have created a database named baobcom_bao and the user is also baobcom_bao. You can see the image below and you can see a database when created by default only for connections from localhost.
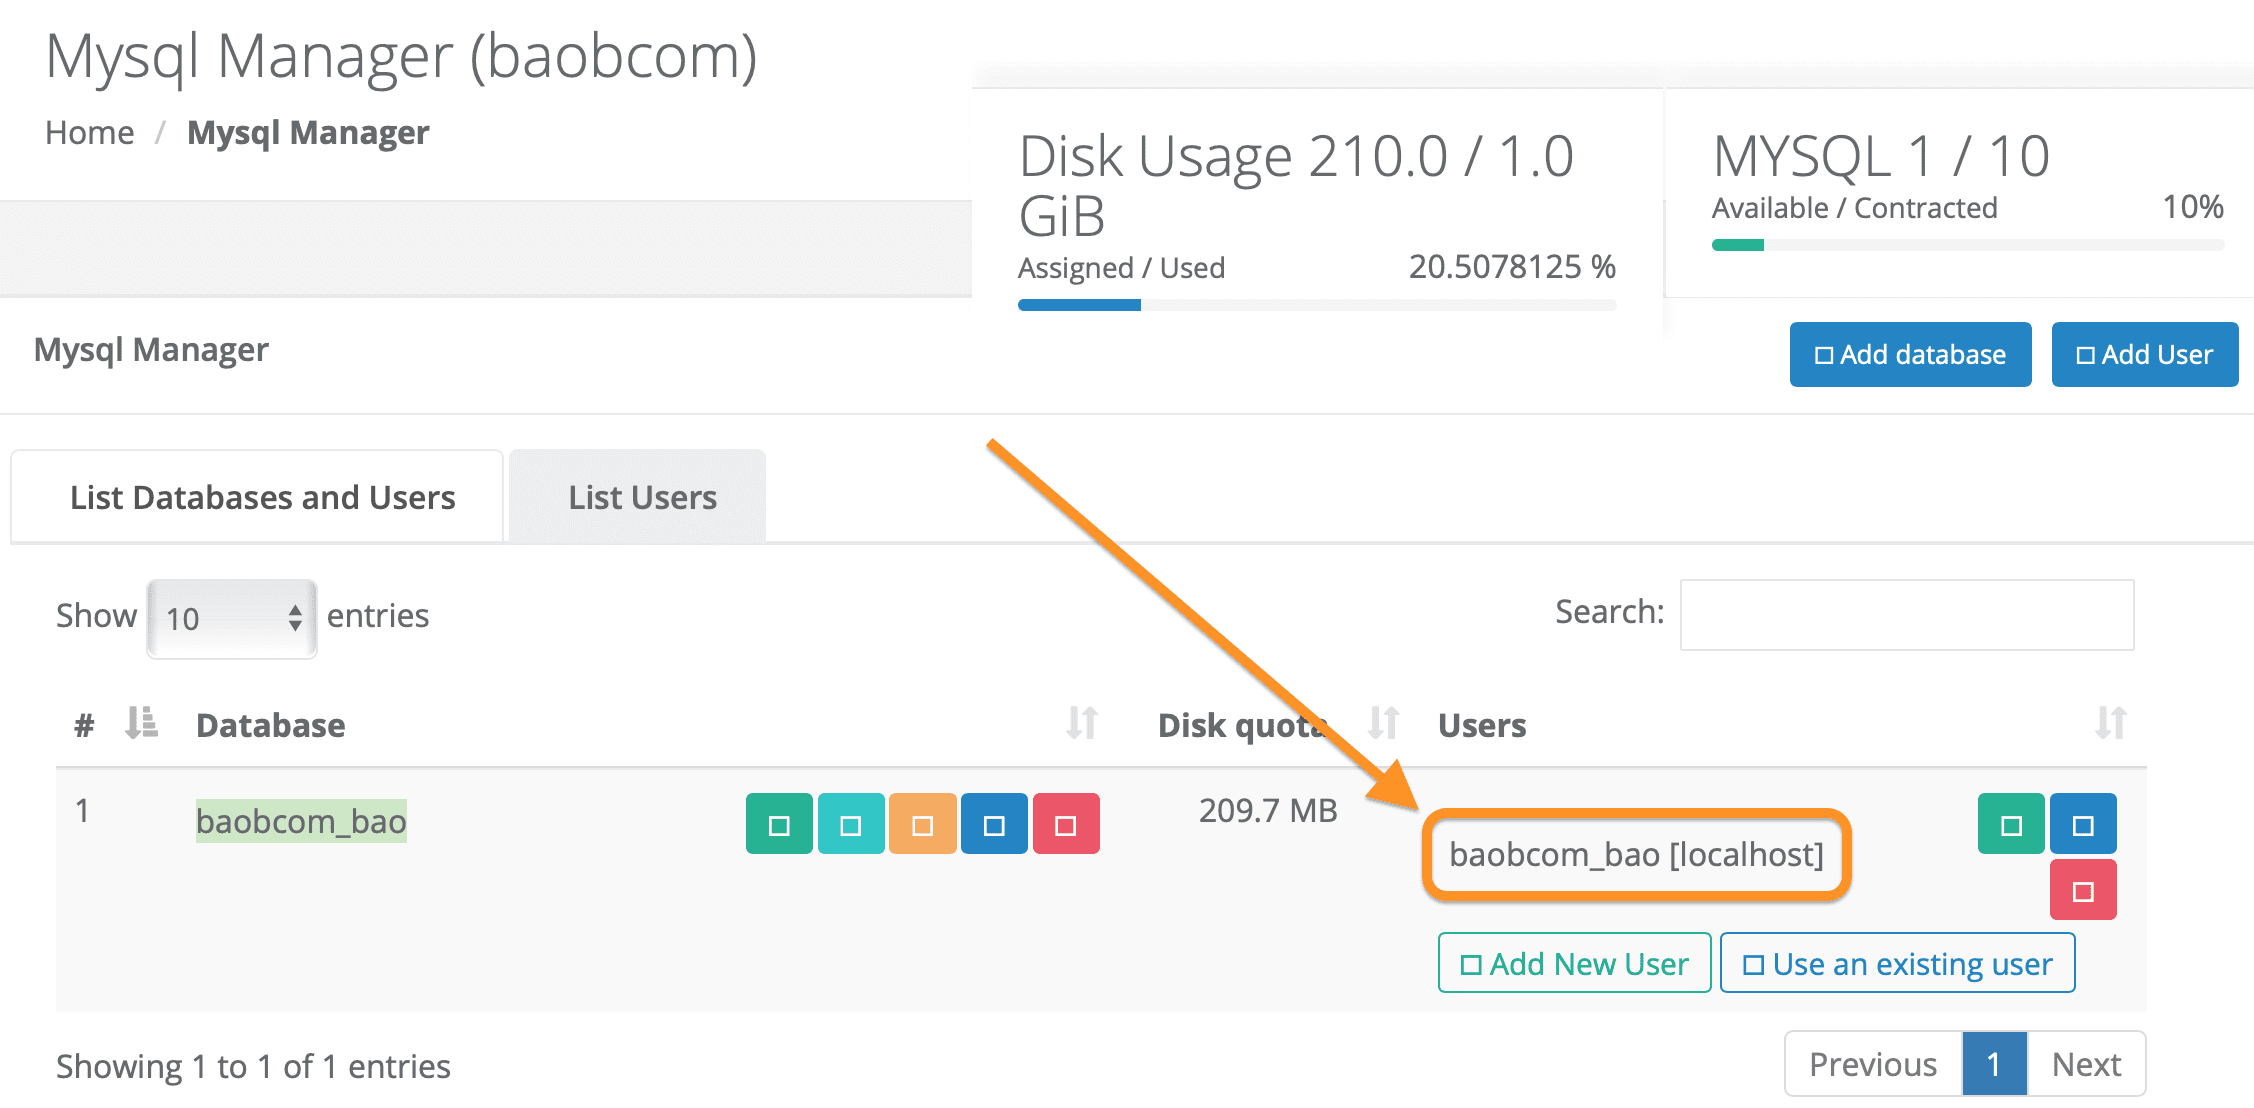
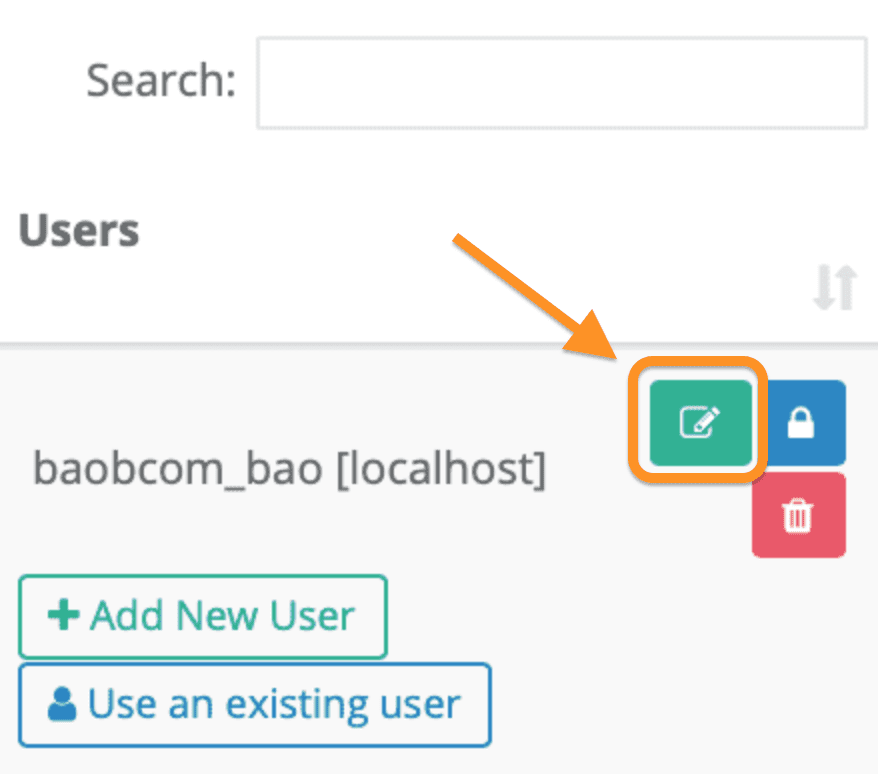
localhost.Next, select Edit privileges and host.
The default host only allows connections from localhost.
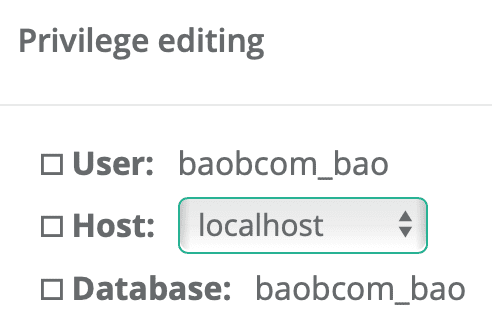
And you will have 3 options:
- Option 1 (localhost): Only for connections on the server.
- Option 2 (% Any Host): Allow connections from all IPs.
- Option 3 (Specify IP): Allow only from some IPs specified by you.
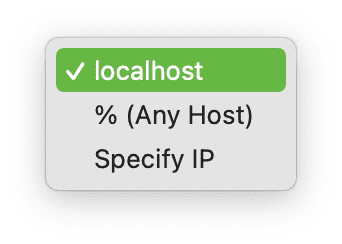
Because I want to allow connections from anywhere, I will choose % Any Host => click save.
Please wait a moment for CentOS Web Panel to save the configuration.

Step 4: Remote database on CentOS Web Panel with Sequel Pro
I will use Sequel Pro software to connect.
- Host: Fill in the CentOS Web Panel server IP information.
- Username: Enter the Username of the database.
- Password: The password of your Username.
- Database: I leave it as Username.
- Port: If your MySQL uses another Port, you can fill in that port, and if you leave it blank by default, Sequel Pro will understand it as 3306.
- Connect using SSL: Remember to tick this box if you enabled Force SSL in the previous paragraph. But CentOS Web Panel does not support this item yet.
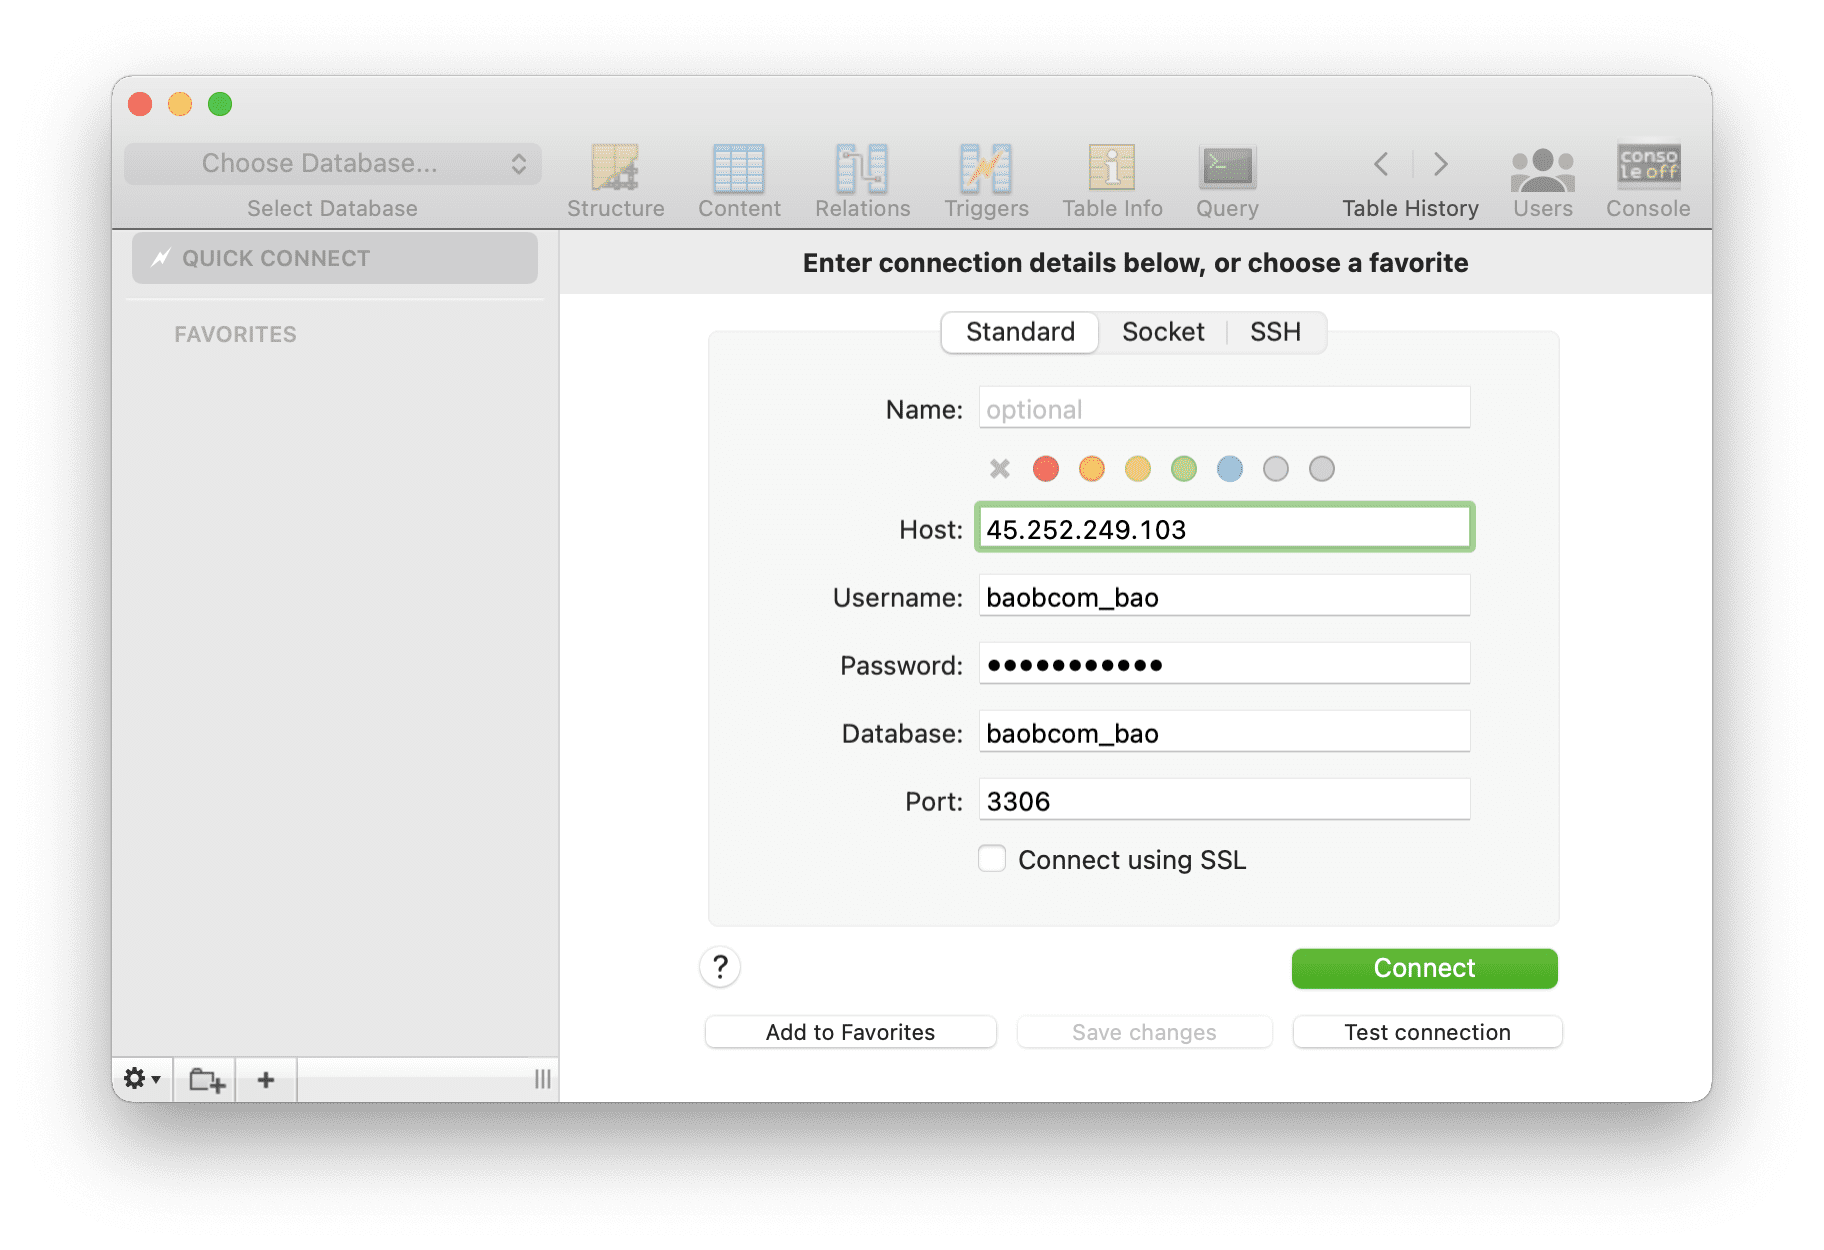
As shown below, I have successfully connected.
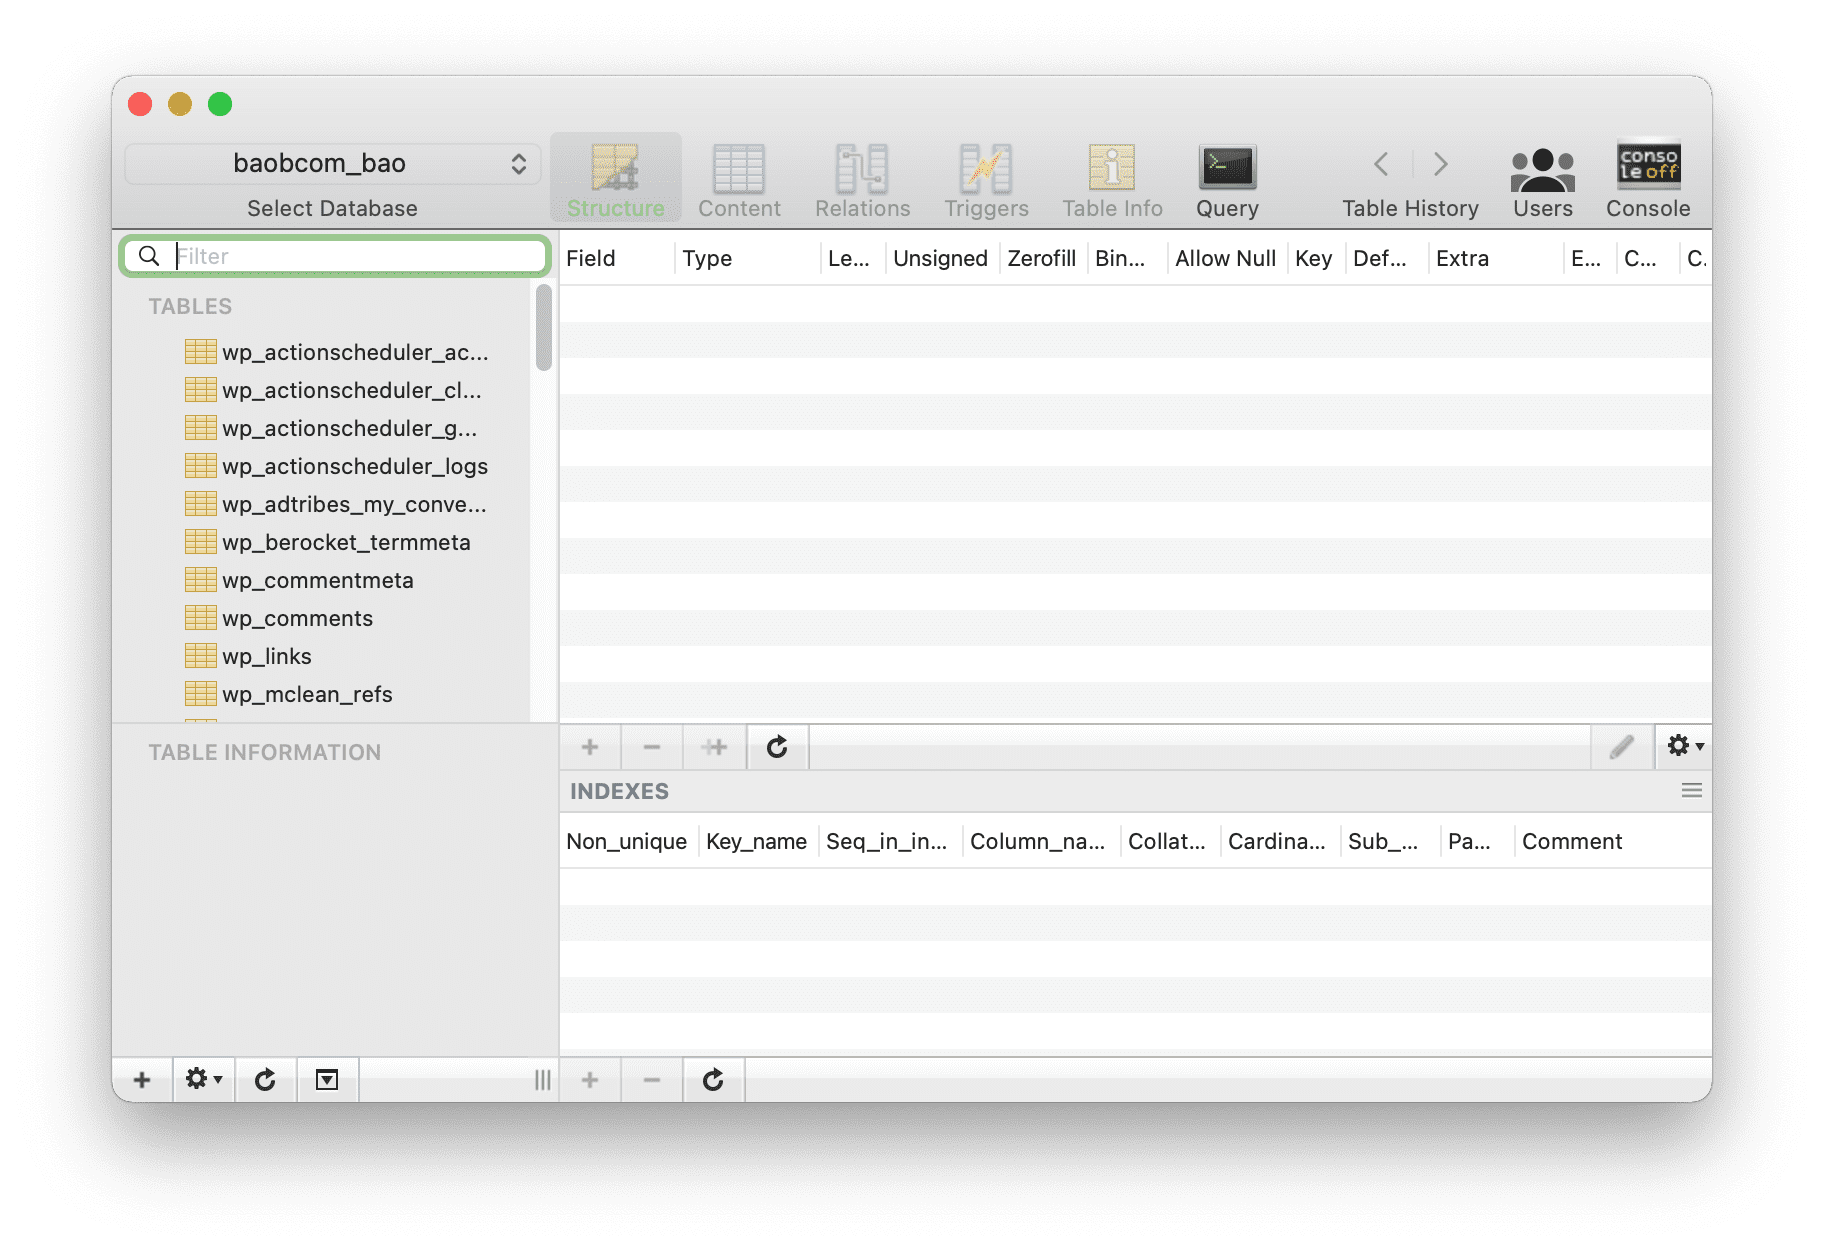
So we have completed the steps to open the remote database feature on CentOS Web Panel.
Note: If you cannot connect, your firewall may not have opened port 3306.
III. Summary
With just 4 basic steps, you can successfully remote the database on CentOS Web Panel and be able to use it right away.
Hope this article will be of help to you. Wishing you success!
See more useful articles about CentOS Web Panel at the following link:
If you need assistance, you can contact support in the ways below:
- Hotline 247: 028 888 24768 (Ext 0)
- Ticket/Email: You use the email to register for the service and send it directly to: support@azdigi.com .
- Refer to services at the AZDIGI website.

