Nội dung
Installing Nginx Proxy Manager with Docker Compose on Ubuntu 22.04 with 2 steps.
Introduction
What is Reverse Proxy?
Reverse proxy is a type of proxy server that mediates between a server and the clients sending requests. It controls the clients’ request, if valid, it is forwarded to the appropriate servers. In contrast to a forward proxy, which is an intermediary that allows clients contacting it to communicate with any virtual server, a reverse proxy is an intermediary for servers contacting it to be contacted by any client. The biggest advantage of using a reverse proxy is the ability to manage centrally. It helps to control all requests sent by the client to the protected servers.
- Reference at: WIKIPEDIA
With Reverse Proxy, there are now many different solutions to this problem through: Apache, Nginx, HAProxy,… but it seems that the other solutions are quite complicated and a bit difficult to use for newbies. So in this article, AZDIGI will show you how to install Reverse Proxy with another simpler solution that supports Web UI interface for users to manipulate easily, which is Nginx Proxy Manager. However, to install Nginx Proxy Manager, you need to meet the conditions below.
Conditions the server needs to meet:
If the above conditions are met, we will now proceed to install and configure Nginx Proxy Manager.
Implementation Guide
Step 1: Install Nginx Proxy Manager
- First, you need to create a directory containing the project and create a docker-compose.yml file for Nginx Proxy Manager with the following commands in turn:
mkdir /home/nginxproxymanager
cd /home/nginxproxymanager
nano docker-compose.yml
Enter the content below and save it.
version: '3'
services:
  app:
    image: 'jc21/nginx-proxy-manager:latest'
    restart: unless-stopped
    ports:
      - '80:80'
      - '81:81'
      - '443:443'
    environment:
      DB_MYSQL_HOST: "db"
      DB_MYSQL_PORT: 3306
      DB_MYSQL_USER: "npm"
      DB_MYSQL_PASSWORD: "npm"
      DB_MYSQL_NAME: "npm"
    volumes:
      - ./data:/data
      - ./letsencrypt:/etc/letsencrypt
  db:
    image: 'jc21/mariadb-aria:latest'
    restart: unless-stopped
    environment:
      MYSQL_ROOT_PASSWORD: 'npm'
      MYSQL_DATABASE: 'npm'
      MYSQL_USER: 'npm'
      MYSQL_PASSWORD: 'npm'
    volumes:
- ./data/mysql:/var/lib/mysql- Enable Nginx Proxy Manager
docker-compose up -d
After successful activation, you will see the result as shown below:

Step 2: Access WebUI
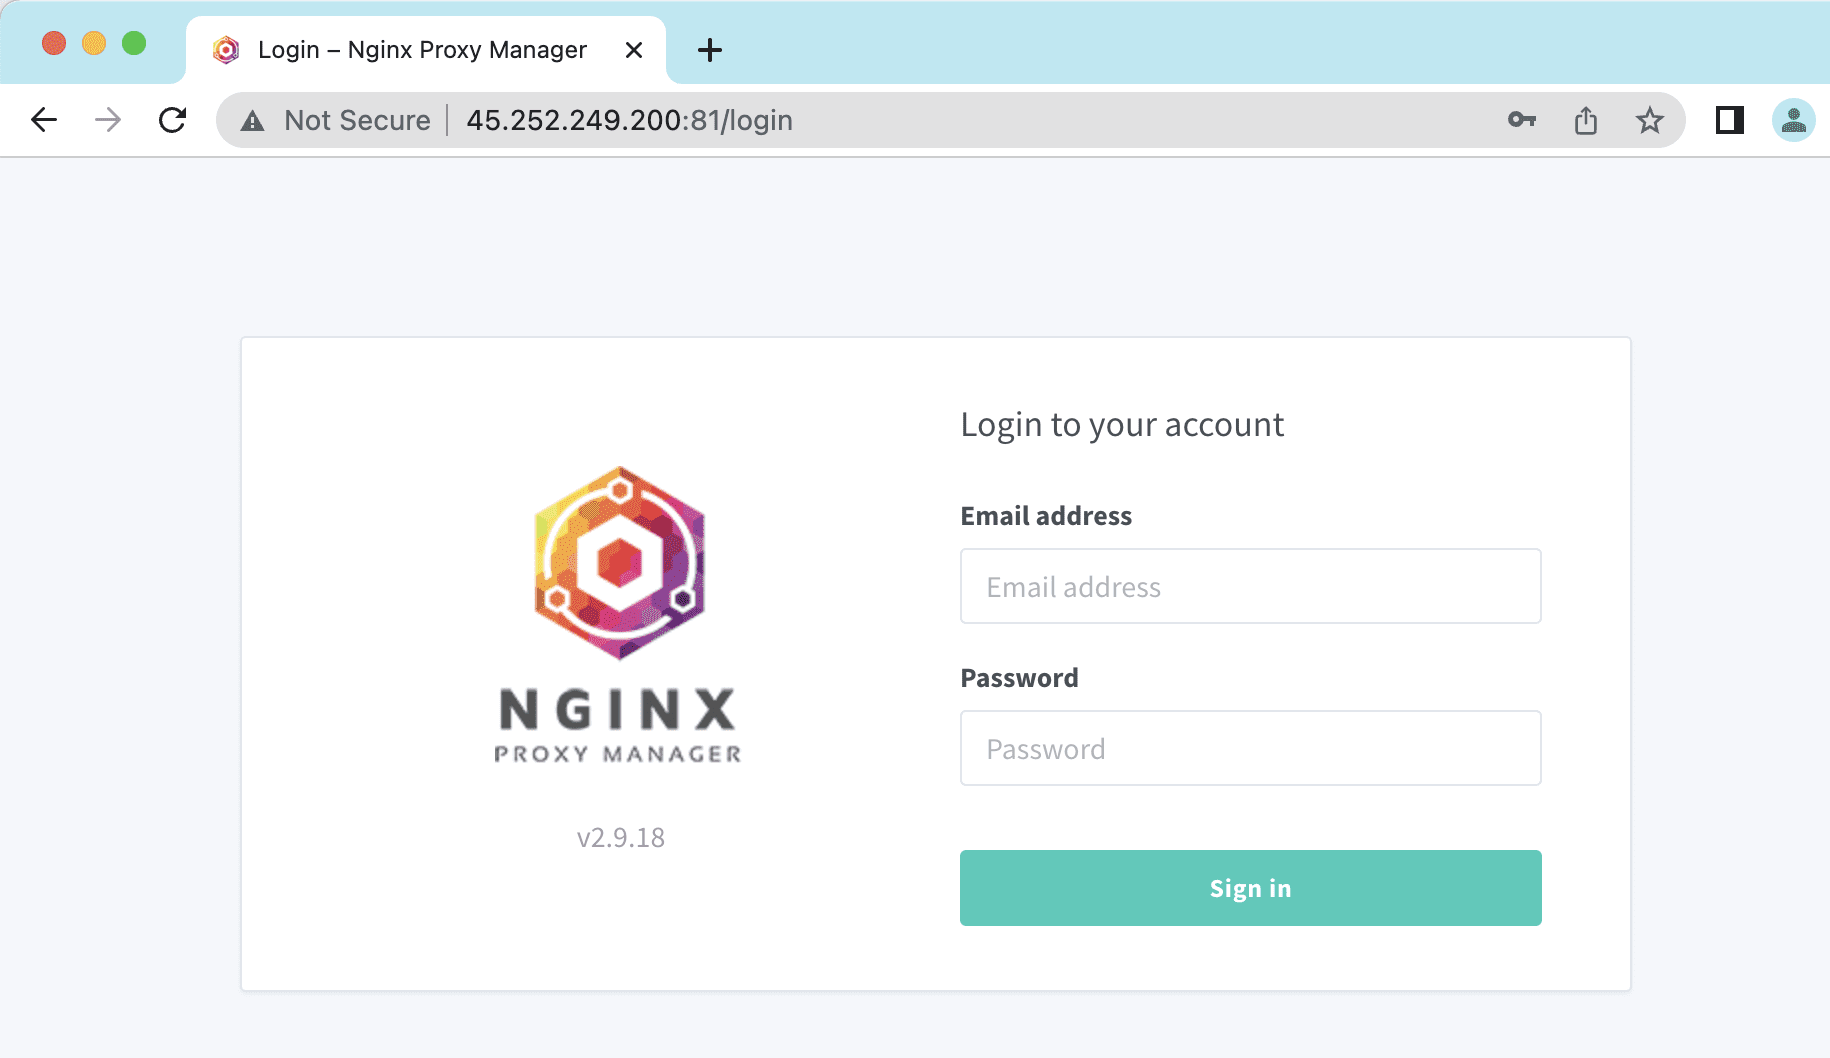
- You can access Nginx Proxy Manager’s Web UI by following the link:
http://IP-Address:81
- Use the default information below to login:
Email:    admin@example.com
Password: changeme
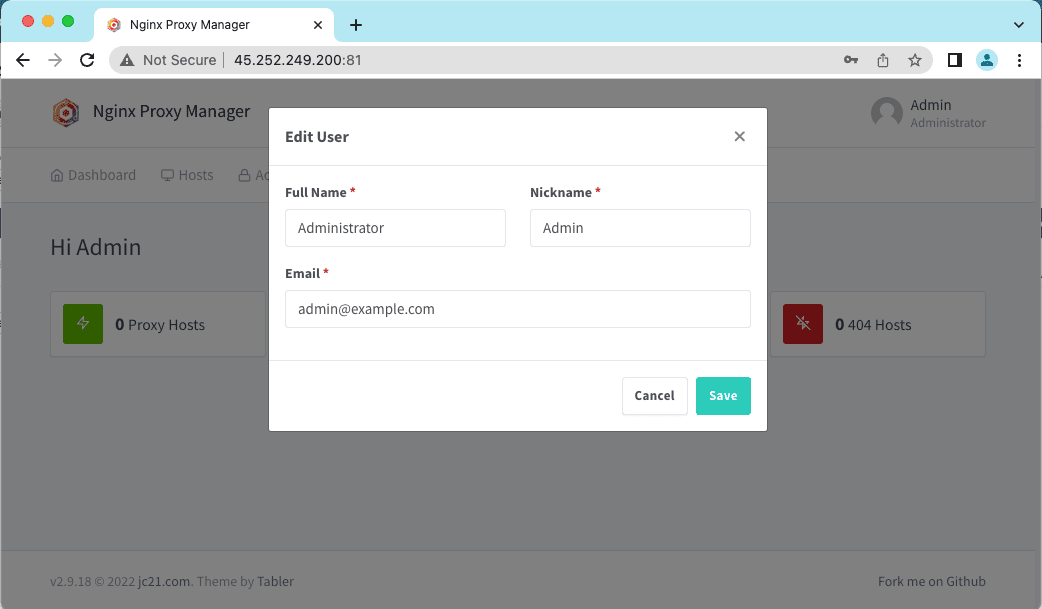
After successfully logging in, you will see an interface with a popup to fill in Full Name, Nickname, Email and Password information as shown below:

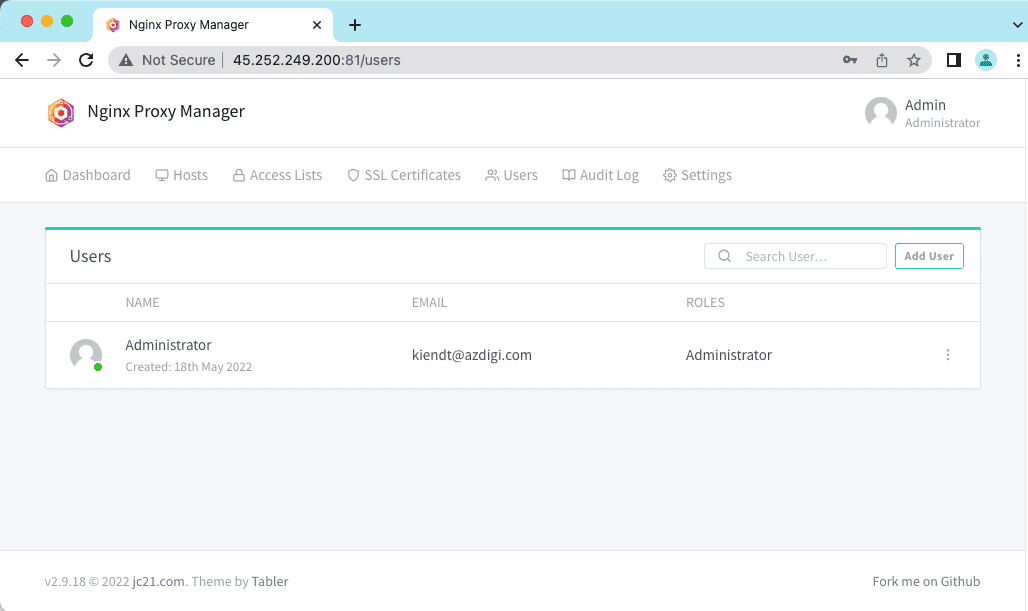
And after filling in the necessary information, the WebUI interface will fully display as follows:

Above is a detailed tutorial on Nginx Proxy Manager – An application that helps to manage Reverse Proxy simply and effectively for web applications in Homelab. With Nginx Proxy Manager, we can also do a lot of cool things, AZDIGI will introduce you to those features in the next articles. Wishing you success!

