

On the cPanel interface, a Git™ Version Control feature helps developers easily deploy source code from the computer directly to the host or synchronize with another repository through Git.
Before using this feature, AZDIGI recommends that you know how to use Git and Terminal before. You can refer to the series of Basic Git Tutorials to gain knowledge about Git.
In this case, we will both set up git synchronization from the repository directly on the cPanel host with the computer without having to go through an intermediate repository.
Some note:
- The main domain name of the hosting package must be pointed to the host to be able to connect the repository via the domain name.
- When pushing or pulling, fetching from the computer, it will ask for the password, you enter the host package password.
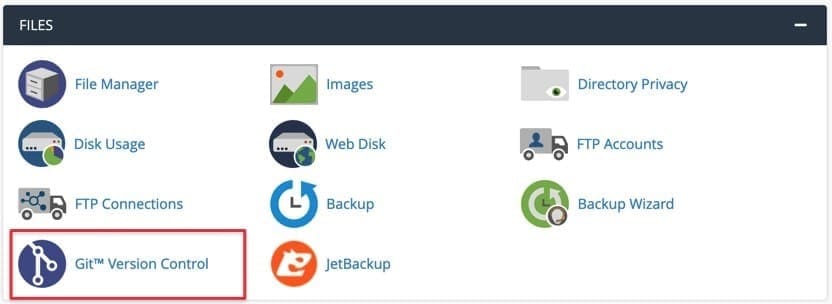
First, at the cPanel interface, you access the Git™ Version Control feature to start creating a repository on the host.
Then you press the Create button on the right to start creating the repository.

Next, turn off Clone a Repository and start entering the following information:
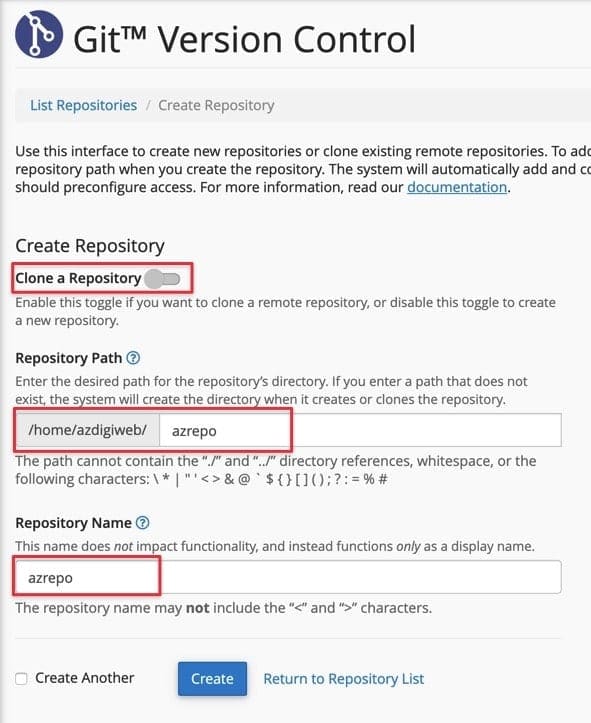
- Repository Path: Enter the repository path that you need to create, AZDIGI recommends not using the public_html directory as a repo because it will be easy to conflict repositories with each other through the directory
.git. - Repository Name: The name of the repository, written immediately without accents, without special characters.
Click the Create button to finish.
At this point, you will go to the tutorial screen to set up this repository under your computer, there are two options to set up the repository to an existing project folder, or create a new folder. Here you can choose the option that is right for you, AZDIGI will take the example of creating a new repository on the computer.
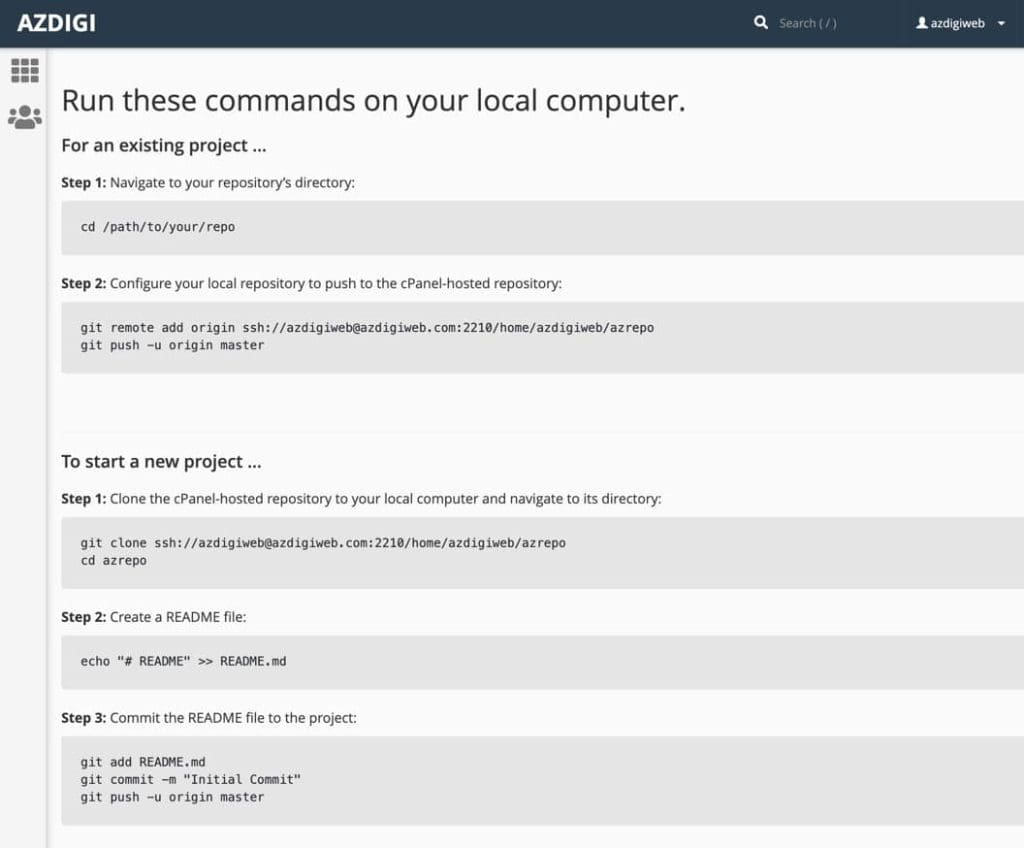
Starting at the computer, we access the directory to work with the repository on cPanel with the command cd and create a repository on your computer with git init , and then add the cPanel repository address to this directory.
git clone ssh://azdigiweb@azdigiweb.com:2210/home/azdigiweb/azrepo
cd azrepo
Now we will proceed to create a file called README.md and push it to the repository.
echo "# README" >> README.md
git add .
git commit -m "Init commit"
git push -u origin master

Now you go to the repository folder on cPanel and you will see the README.md file that has just been pushed.

Thus, the repository connection is completed between the Git repository on the computer and the cPanel host.
Automatic deployment with .cpanel.yml file
Above, I have guided you to create a repository on cPanel, but for example, that repository is syncing with a website in a development state, and the production website is located in another directory. Now we can proceed to use the .cpanel.yml file to deploy part or all of the repository through the production website directory.
Here I will take for example my production directory is /home/azdigiweb/public_html/.
You first create a file .cpanel.yml in the repository folder and declare the content as follows:
---
deployment:
  tasks:
    - export DEPLOYPATH=/home/azdigiweb/public_html/
    - /bin/cp -rf wp-content $DEPLOYPATH
    - /bin/cp -rf images $DEPLOYPATH
It means we will declare a variable named $DEPLOYPATH is the value containing the path of the production website directory. And then every time we push from the computer to the repository task in the .cpanel.yml file will execute (like the example above, copy the wp-content and images folders into the production folder. You can add as many commands as you like.
Proceed to push it to the repository on cPanel.
git add .
git commit -m "Added .cpanel.yml"
git push -u origin master
Now AZDIGI will try to create a folder named images and give it a file inside.
mkdir images
touch images/hello.txt
git add .
git commit -m "upload 5 folders"
git push origin master
Now you can try again in File Manager, it will automatically execute the command to copy the images folder over to the production folder.
Wishing you success!
