Nội dung
What is the One-Click login to phpMyAdmin feature?
In this article, AZDIGI will show you to enable the One-Click login to phpMyAdmin DirectAdmin feature most simply and easily. However, you need to use DirectAdmin version 1.59.0 and above to activate it.
This feature will help you quickly log in to phpMyAdmin with just one click from your DirectAdmin interface without going through any login steps, making it more convenient. In addition, you can manage all the databases on your user if you have multiple databases.
Enable One-Click login to phpMyAdmin DirectAdmin
To enable One-Click login to the phpMyAdmin Directadmin feature, follow these 3 steps:
Step 1: SSH into your DirectAdmin system
To enable One-Click login to phpMyAdmin DirectAdmin, we need to do SSH or access your VPS or server as root first. If you do not know how to SSH into your VPS/Server, you can refer to the following tutorial:
After successfully SSHing, we continue with step 2 to start enabling the One-Click login feature on phpMyAdmin DirectAdmin.
Step 2: Enable One-Click login to phpMyAdmin DirectAdmin with CustomBuild 2.0
First, we need to check if the version of CustomBuild we are using is 2.0 or not. To check the version of CustomBuild you are using, please check out the following short tutorial:
In case your CustomBuild version is lower than 2.0 then you need to upgrade CustomBuild 1.x to 2.0 , you can check out the following tutorial:
Once CustomBuild 2.0 is in place, use the following commands to enable One-Click login to phpMyAdmin DirectAdmin:
cd /usr/local/directadmin/
./directadmin set one_click_pma_login 1
service directadmin restart
cd custombuild
./build update
./build phpmyadmin
./build rewrite_confs
Explanation of the above commands:
- Command 1: Move to directory
directadmin. - Command 2: Adjust
one_click_pma_loginconfiguration to 1 (enable). - Command 3: Restart the DirectAdmin service.
- Command 4: Move to
custombuilddirectory. - Command 5: Update custombuild script.
- Command 6: Start reinstalling the latest phpMyAdmin under the new configuration.
- Command 7: Rewrite the appropriate default configuration.
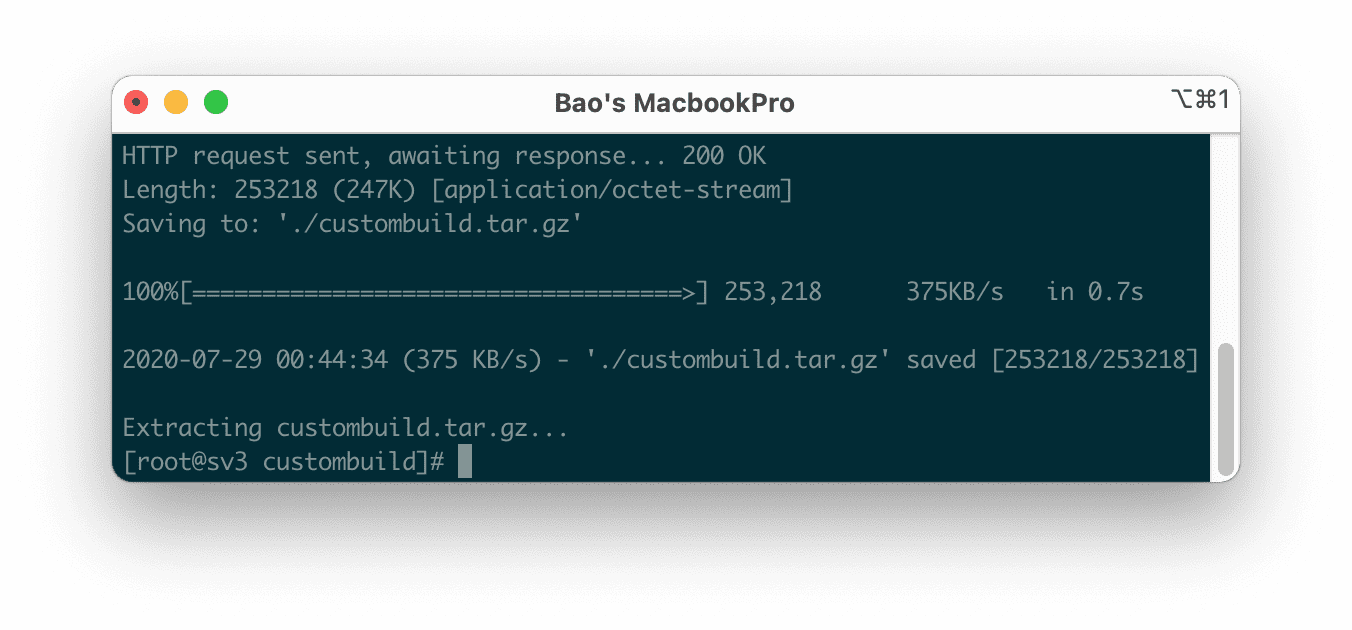
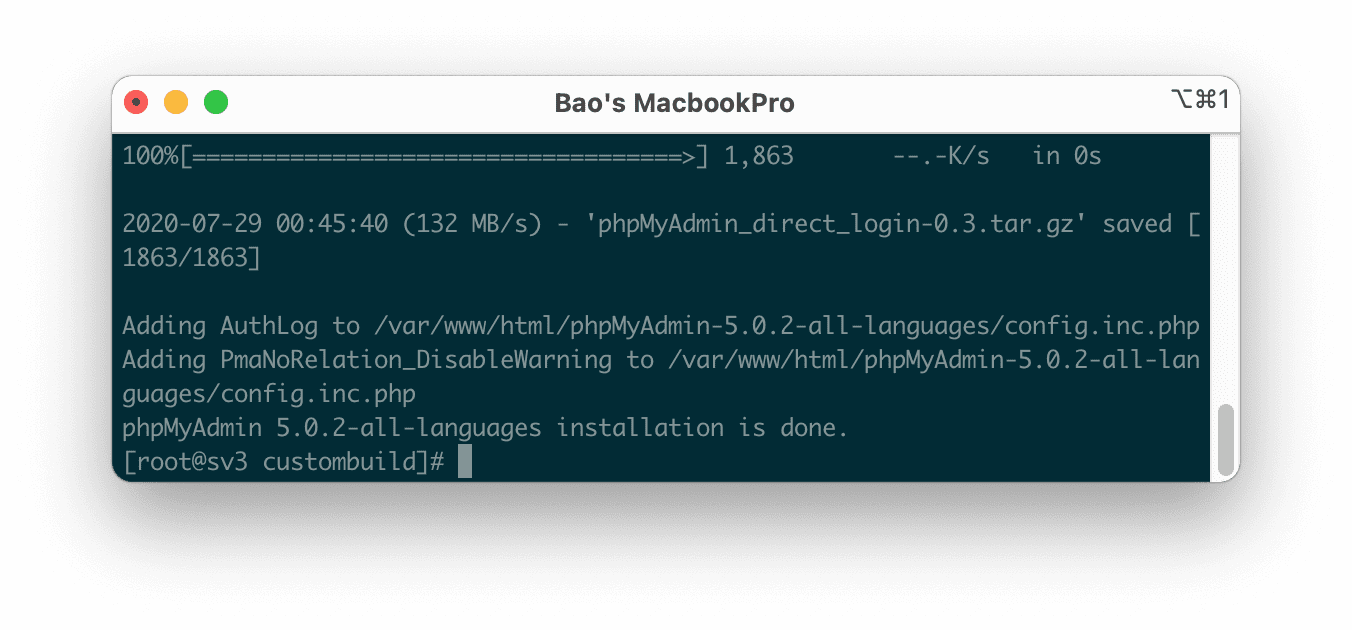
Here are the pictures during its enable process:

directadmin directory and one_click_pma_login configuration to 1 (Enable).

custombuild directory and update custombuild script.
Thus, my VPS has been successfully activated with the One-Click login to phpMyAdmin DirectAdmin feature.
3. Practical use
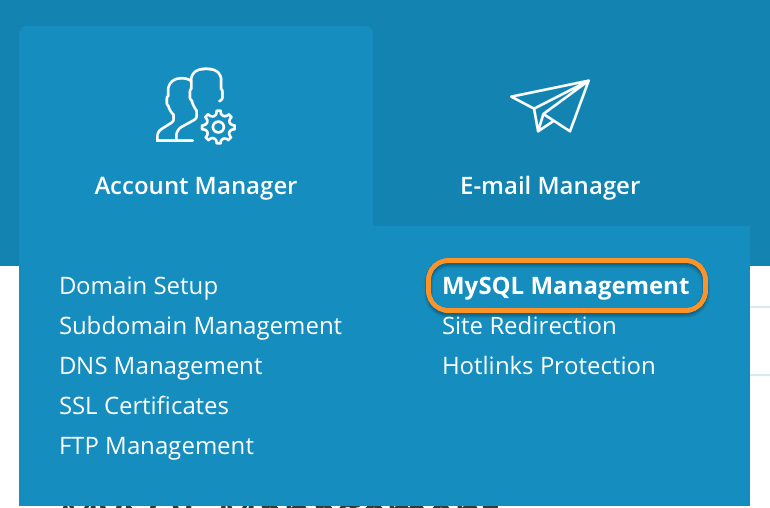
After the installation is complete, we can use it by logging into our DirectAdmin interface. Then, access the Account Manager feature list => go to the MySQL Management feature shown below:

After entering this feature, we will see a new button (Number 2). And see your current database list (Number 1).

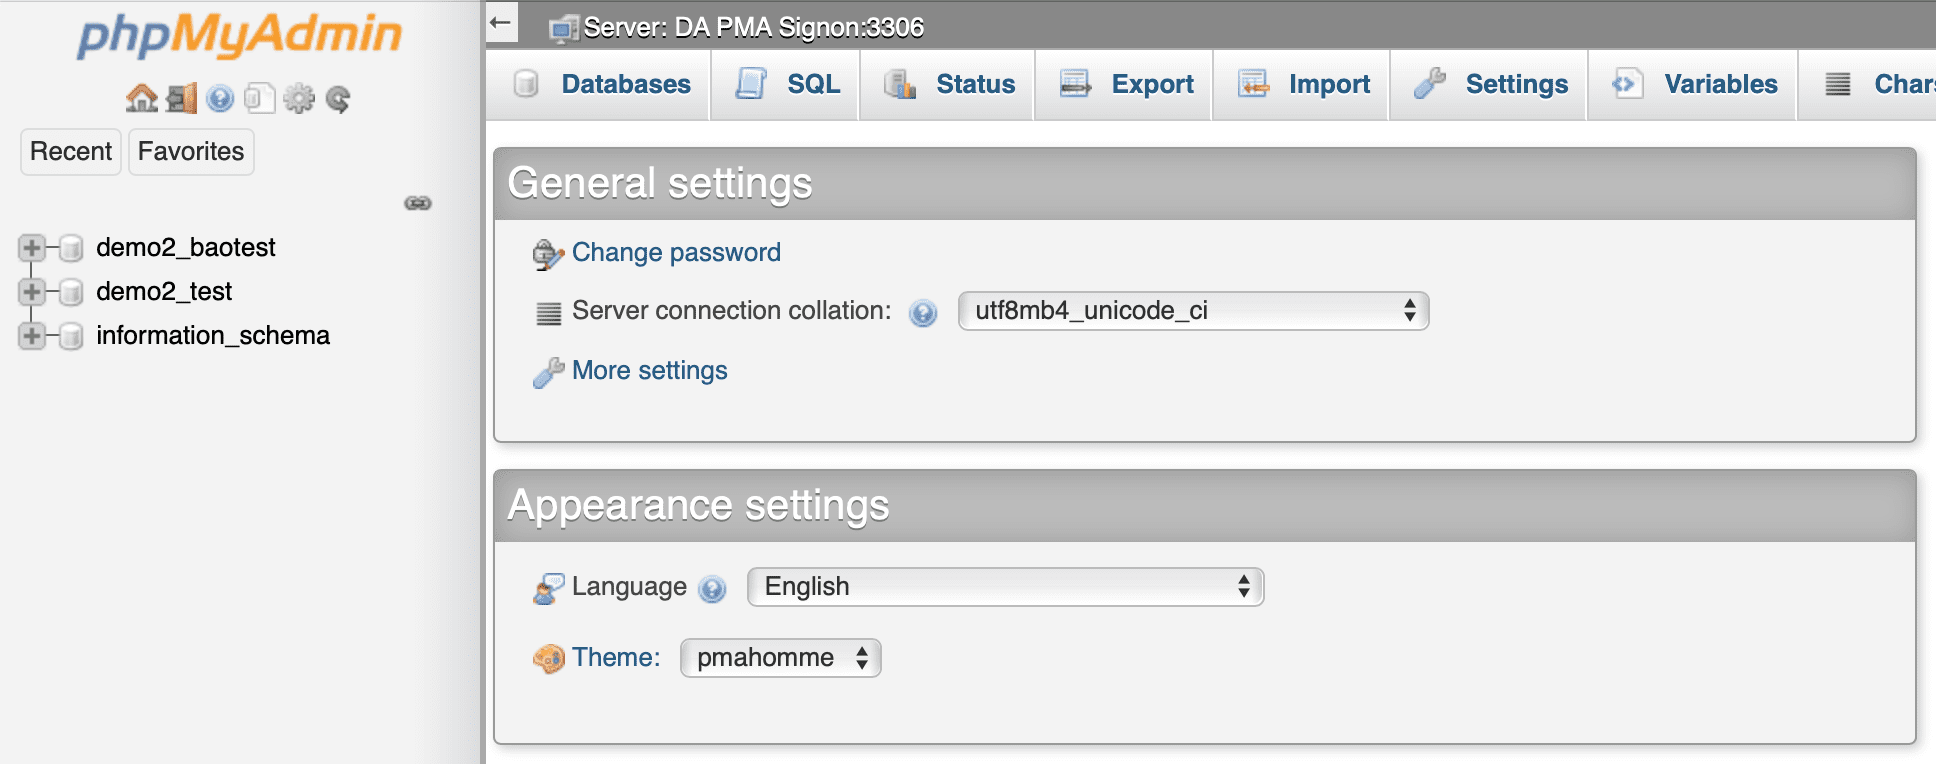
When you click on the phpMyAdmin logo, you will go straight to it without going through any login steps.

You can manage all your databases here without switching back and forth as default.
4. Summary
This article has shown how to quickly enable a One-Click login to the phpMyAdmin DirectAdmin feature with CustomBuild 2.0, as well as manipulate the DirectAdmin interface to take advantage of this new feature. Hope this article will be of help to you.
Wishing you success!
See more useful articles about DirectAdmin at the following link:
If you need assistance, you can contact support in the ways below:
- Hotline 247: 028 888 24768 (Ext 0)
- Ticket/Email: You use the email to register for the service and send it directly to: support@azdigi.com

