Checking PHP information with the info file in 3 simple steps.
Introduction
When installing software or websites, there are specific requirements from the server (Host/VPS), and only when those requirements are met, can the software or website function properly. So, how do we know if our server has all the necessary components, modules, etc. that the website requires?
To better illustrate, let’s say we need to install a WordPress website. Firstly, we need to check the Requirements section that WordPress demands from our server. Below are the basic requirements that WordPress needs.

Check PHP information with the Info file
With the Info file, you can view all information related to the server, such as:
- The PHP version being used by the website
- Information about the options and extensions of the PHP version in use.
- Server info and environment (if compiled as a module)
- PHP environment
- OS information, path, key and local values of configuration options
- HTTP headers
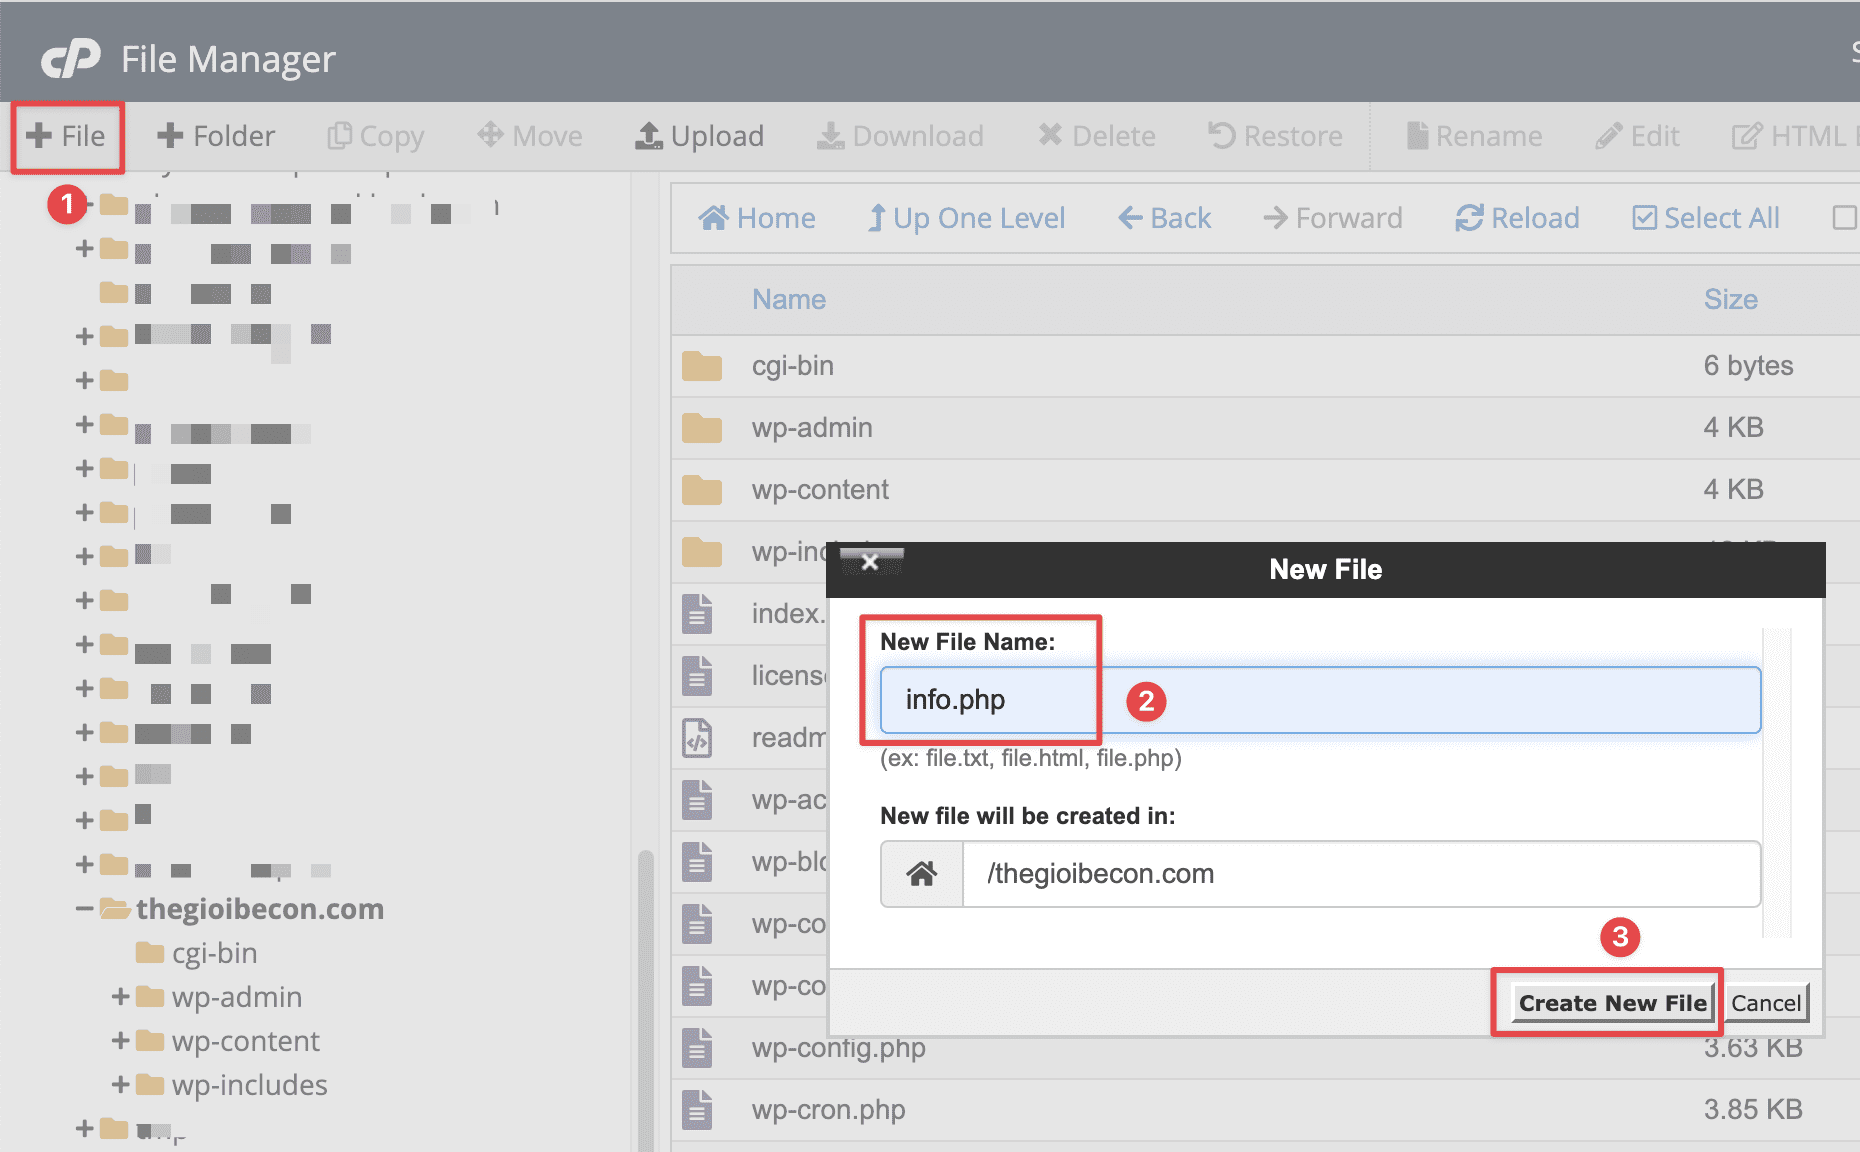
Step 1: Create the info file
There are many ways to create the info file. You can create it via an FTP client, or the easiest way is to create it directly via the File Manager of your Hosting/VPS. For example, here I’m using Hosting with cPanel control, and now I will create File Info through cPanel‘s File Manager.
First, log in to cPanel, then access the website’s root directory (Document root) where you want to create the File Info. After that, name the File Info and click Create New File.
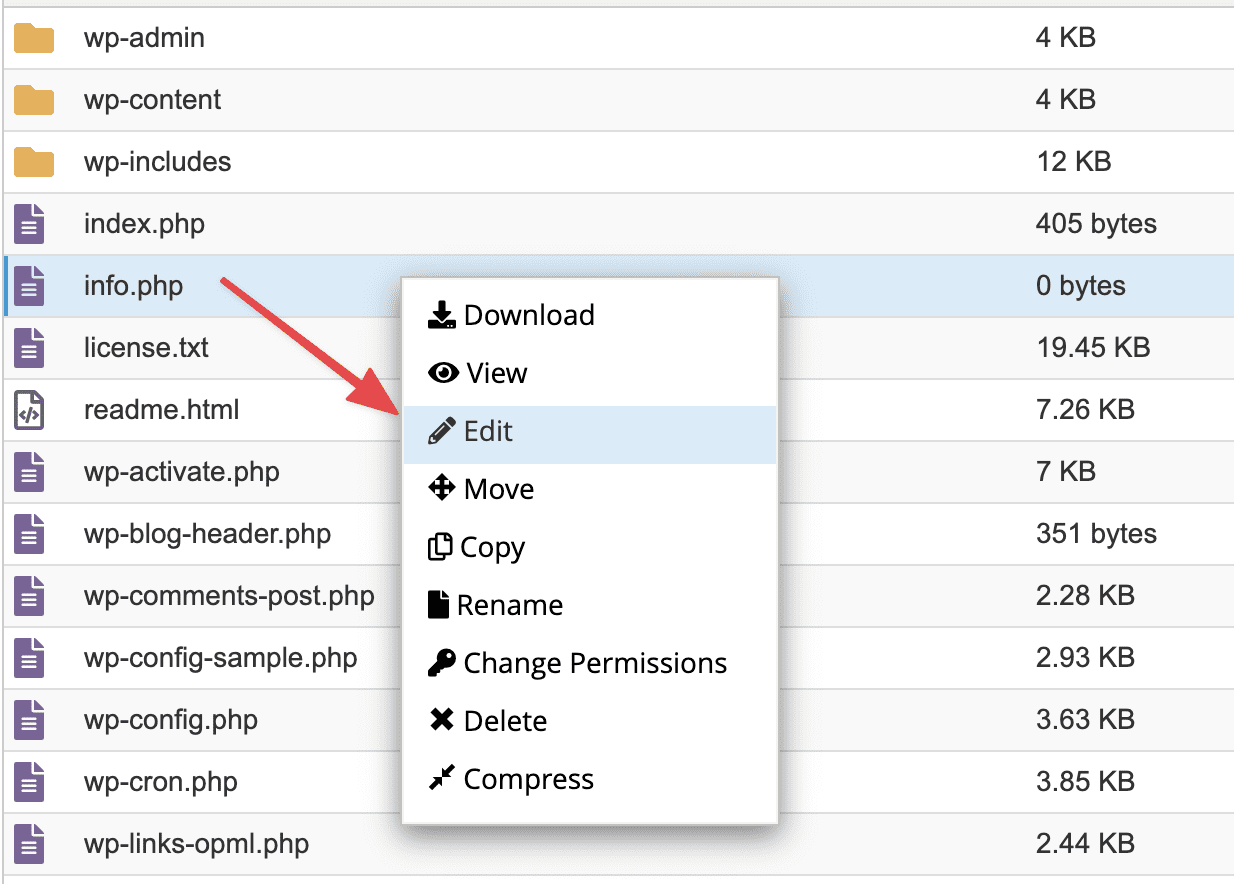
Step 2: Edit info file
After creating the Info file, right-click on the file you just created and select Edit.
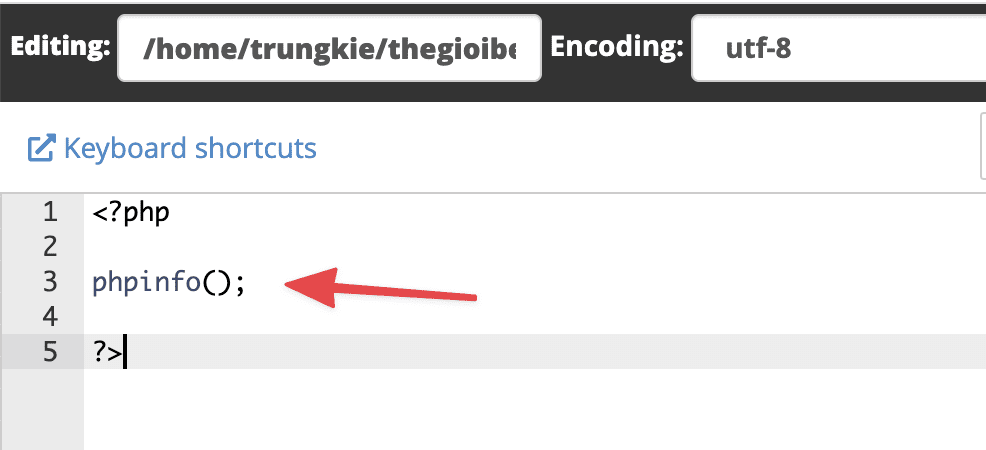
Next, copy and paste the code below into the info file.
<?php
phpinfo();
?>
The structure when adding the code will be similar to the image below. After adding, click Save Changes.
Step 3: Check the result
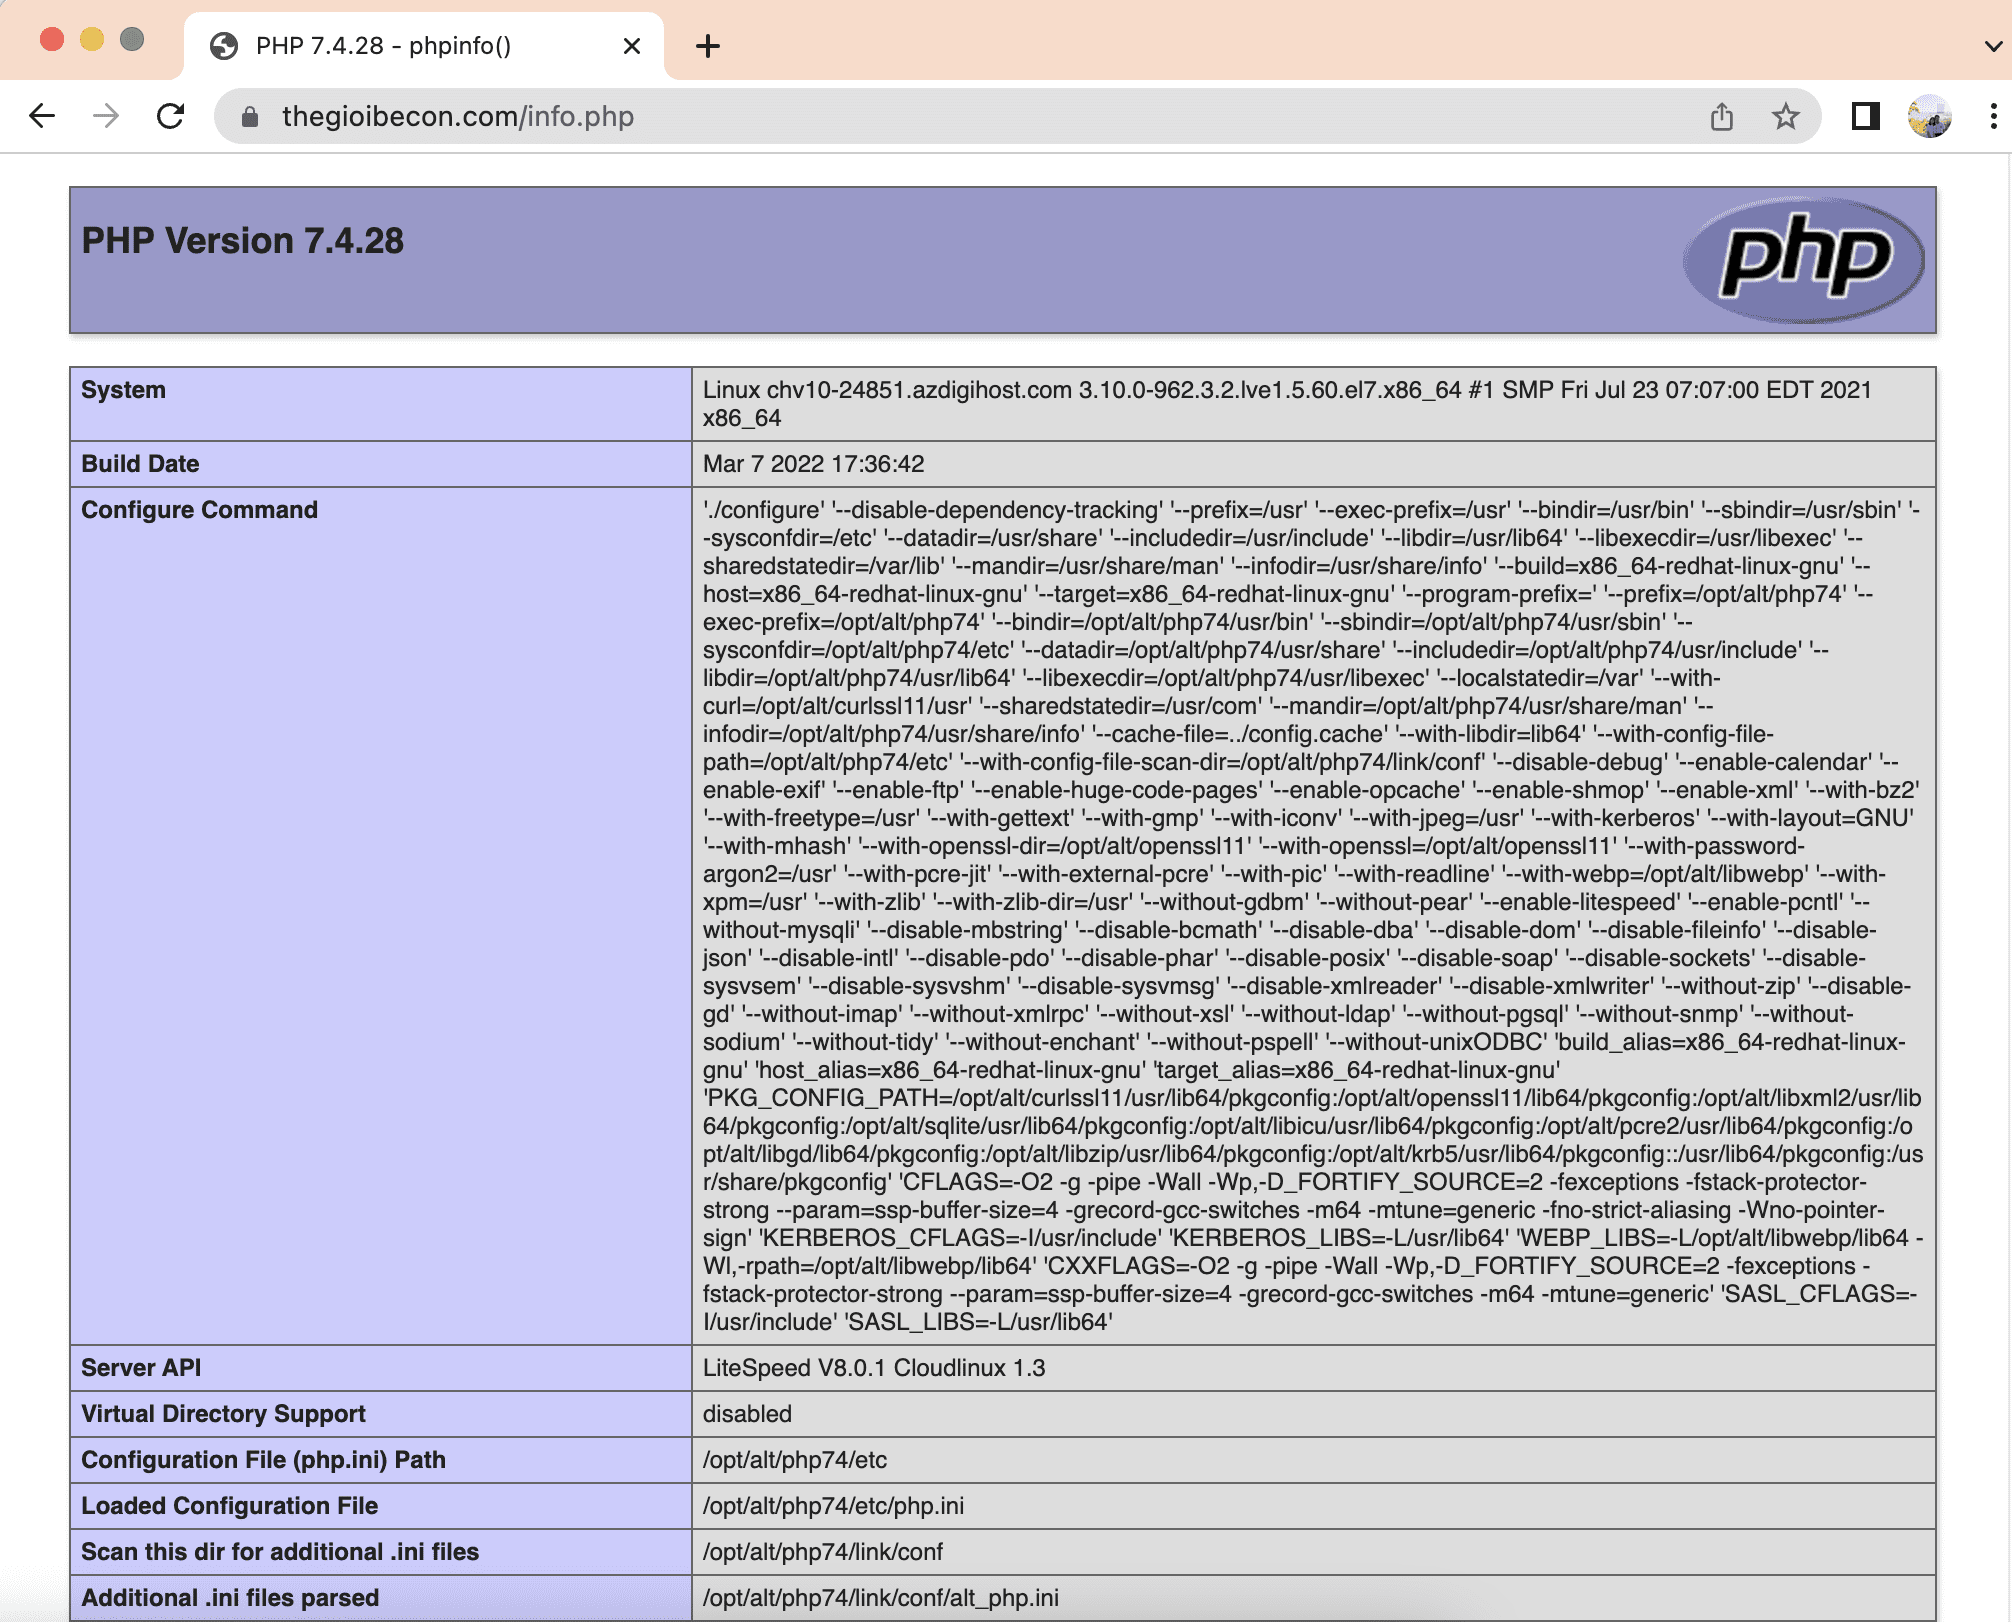
After successfully creating and adding the code to the info file, you can now go to any browser and access the path with the structure: https://website_name.com/file_name.php
And with the website name and file you just created, it will be https://thegioibecon.com/info.php. If you access the content similar to the image below, it is successful.
So in this article, AZDIGI has shown you how to quickly create File Info to check PHP information as well as server information that your website is using, so that you can know whether this server configuration is suitable or not, and from there, you can adjust and add necessary components to make the website operate more stably.
You might also like
About the author

Thạch Phạm
Đồng sáng lập và Giám đốc điều hành của AZDIGI. Có hơn 15 năm kinh nghiệm trong phổ biến kiến thức liên quan đến WordPress tại thachpham.com, phát triển website và phát triển hệ thống.