Nội dung
In the process of using the FASTPANEL control panel, there will be times when we need to create more FTP accounts to send to partners, devs,… So, in this tutorial, AZDIGI will show you how to create an FTP account on FASTPANEL.
I. What is FASTPANEL?
FASTPANEL is an outstanding free web control panel with a lot of features such as:
- Create a website with just a few clicks.
- Email management.
- Database management.
- Manage backup/restore to the cloud.
- Website traffic analysis.
- Create user.
- Two-factor authentication is supported.
- SSL support.
- Support Firewall.
- Support Cron.
- Supports multiple PHP versions.
- Integrated AI-BOLIT malware scanning.
- Integrated Spam Asasin.
- Supports command manipulation without SSH through the console.
- And many other features…
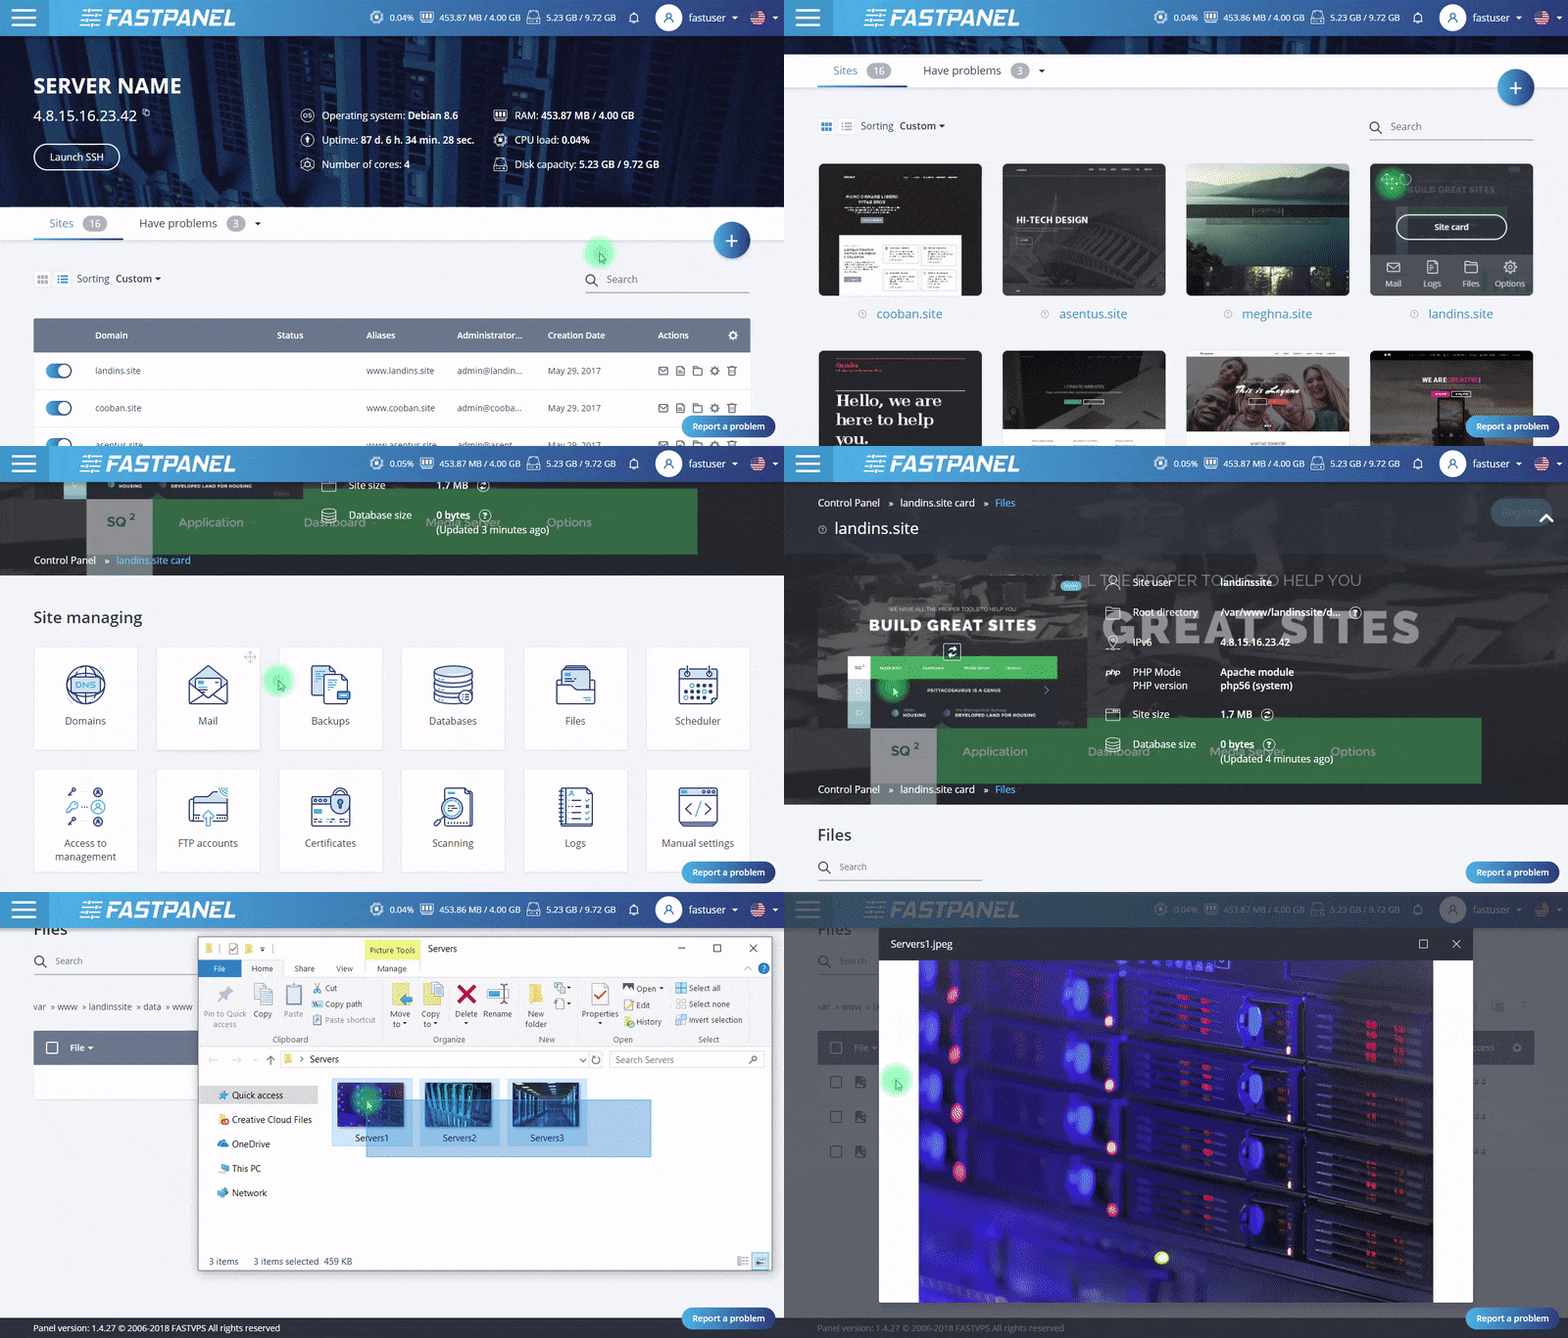
Below is the FASTPANEL interface:

II. How to create an FTP account on FASTPANEL
To create an FTP account on FASTPANEL, we follow these 3 steps.
Step 1: Access the FASTPANEL admin page
To access the FASTPANEL interface, you access the link in the form https://IP:8888 on your browser (replace IP to your VPS/Server FASTPANEL IP)

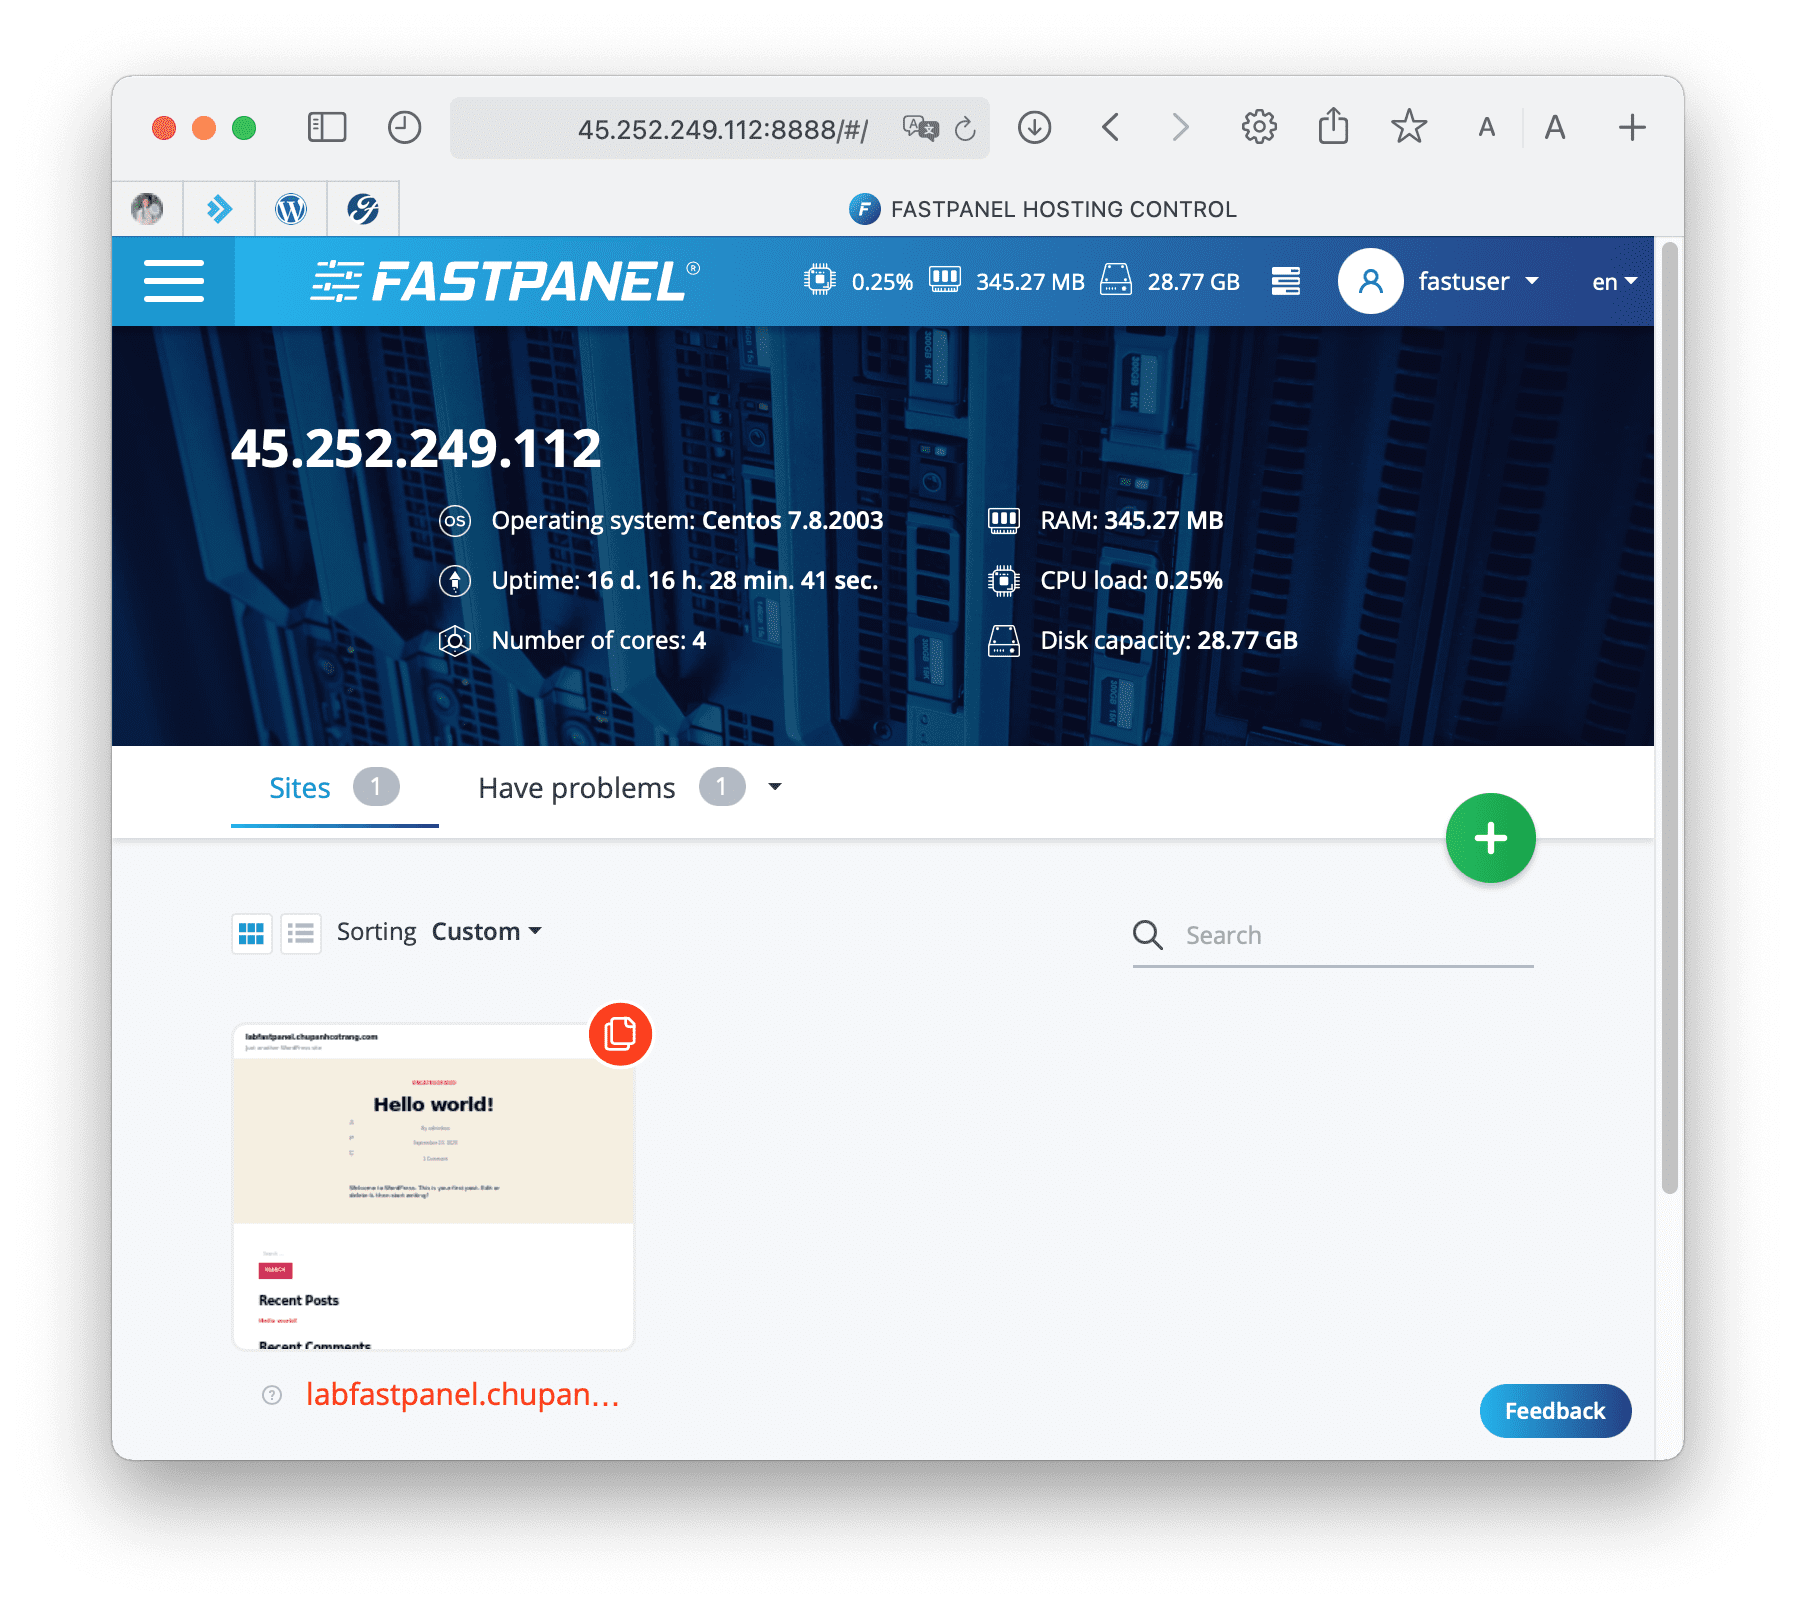
Below is the FASTPANEL interface: We go to the next step to see how to create an FTP account on FASTPANEL.
Step 2: Create an FTP account on FASTPANEL
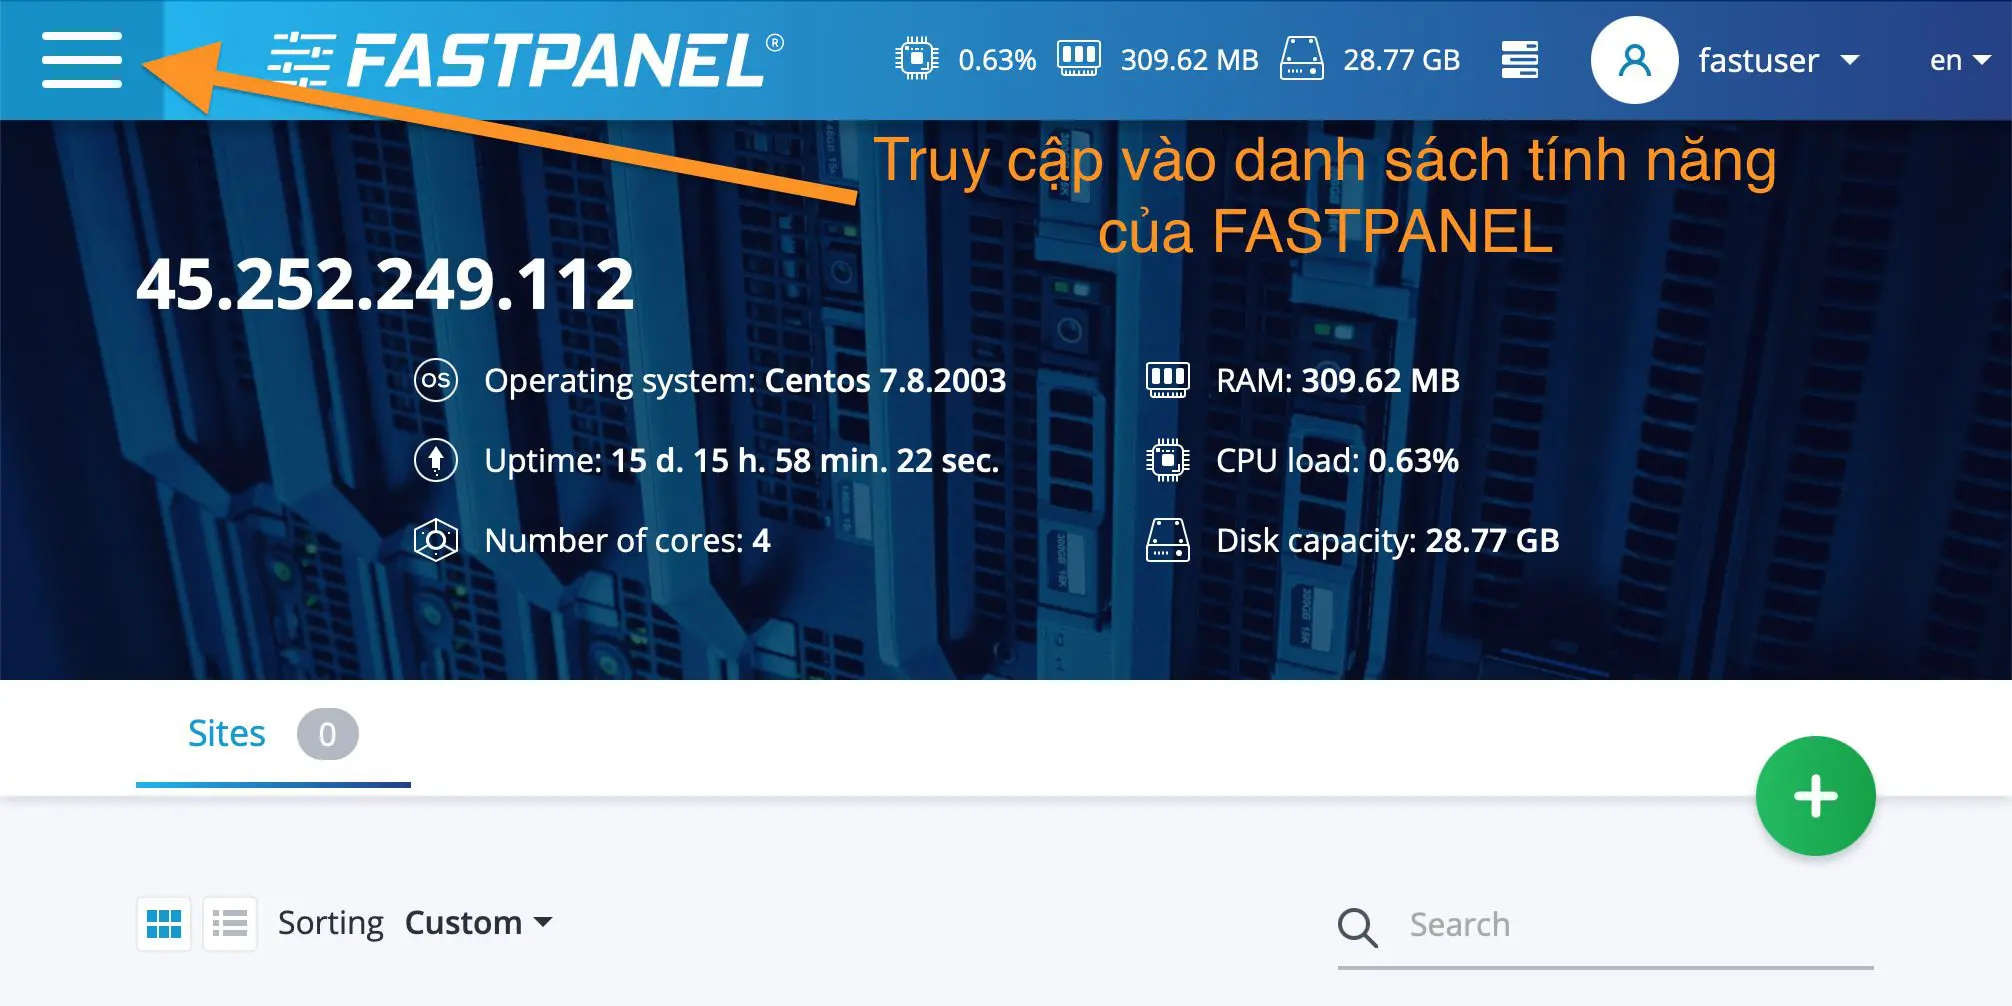
First, we click on the button in the upper left corner to access the feature list of FASTPANEL.

=> Click on the search box and search with the keyword FTP.

After entering the FTP list administration interface, click New Account.

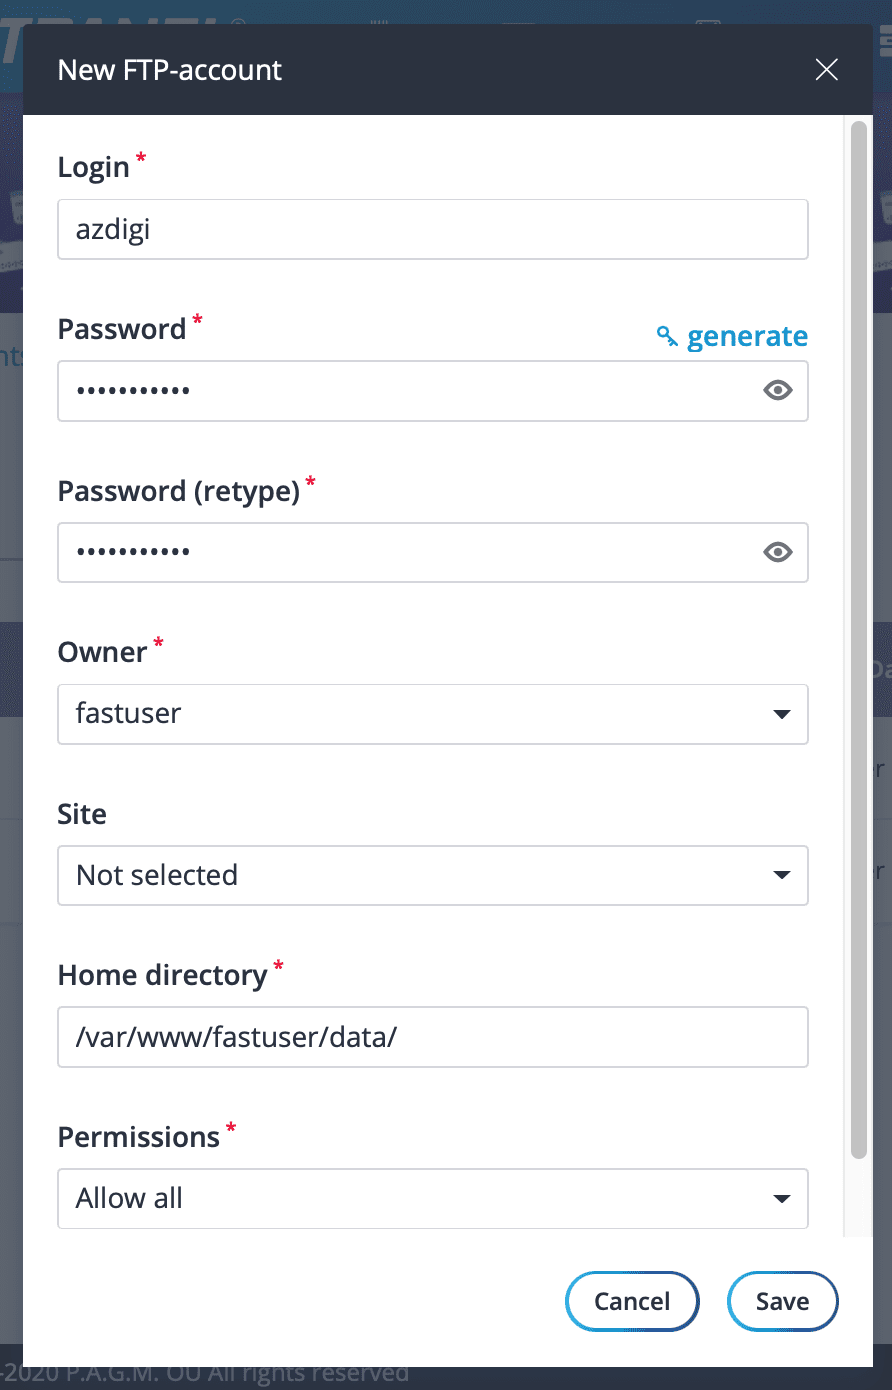
In this section, we need to enter the following necessary information:

Note:
- Login: You will need to enter the username to use (no accents and no spaces)
- Password You need to enter a password of at least 8 characters, with at least one uppercase letter, one lowercase letter and one special character. For example, a valid password would be Azd!giNo1. Or more simply, we can choose the generate button to let FASTPANEL generate the password.
- Owner: Which user will the newly created FPT account be managed/owned, if you need to create one for you to use, you can skip this part.
- Site: If you need to create this FTP account for any website, please select a website in this box.
- Home directory: You will give permission where this FTP account can access. You can skip this section if you have selected a website on the Site.
- Permissions: There will be two options Allow all (Allow all permissions) or Read-only (Only for viewing without deleting or editing anything), depending on your chosen needs, but we will choose to Allow all.
After you have selected the information you need and saved the Login & Password information, click Save to create an FTP account. Wait a few seconds, you will receive a message that the FTP account has been successfully initialized. If there is an error, the system will notify you in detail.

So we have successfully created an FTP account on FASTPANEL. However, you need to perform step 3 to check the connection with the newly created FTP account.
Step 3: Access the newly created FTP account on the FASTPANEL interface
After we have created an FTP account on FASTPANEL, we need to try to access it to check if the account is active. I will use the most popular FTP Client software, FileZilla, to connect FTP with the account I just created successfully in step 2.
You just need to enter your FASTPANEL server IP address in the Host box, Login information in the Username box and finally, the password in the Password box => then click Quickconnect.
Below is a picture of my successful FTP connection:

III. Summary
Hopefully, through this article, you have learned how to create an FTP account on FASTPANEL as well as how to use FileZilla to connect FTP with previously created information.
If you find the article useful, don’t forget to rate 5 stars.
Wishing you success.
In addition, you can check out some other articles about FASTPANEL at the link below:
If you need assistance, you can contact support in the ways below:
- Hotline 247: 028 888 24768 (Ext 0)
- Ticket/Email: You use the email to register for the service and send it directly to: support@azdigi.com

