
In today’s tutorial, AZDIGI will help you enable two-factor authentication on FASTPANEL, this will help your FASTPANEL be more secure against objects using attack Brute Force mechanisms.
I. What is FASTPANEL?
FASTPANEL is an outstanding free web control panel with a lot of features such as:
- Create a website with just a few clicks.
- Email management.
- Database management.
- Manage backup/restore to the cloud.
- Website traffic analysis.
- Create user.
- Two-factor authentication is supported.
- SSL support.
- Support Firewall.
- Support Cron.
- Supports multiple PHP versions.
- Integrated AI-BOLIT malware scanning.
- Integrated Spam Asasin.
- Supports command manipulation without SSH through the console.
- And many other features…
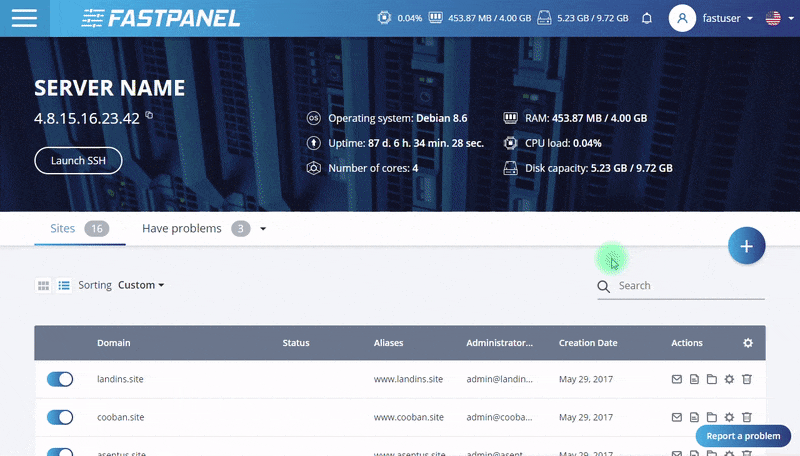
Below is the FASTPANEL interface:
And in this article, AZDIGI will show you how to use two-factor authentication for login on FASTPANEL. This feature will help prevent unauthorized access to FASTPANEL even if the attacker knows your FASTPANEL password.
II. Enable the Two-factor authentication feature on FASTPANEL
To enable the 2wo-factor authentication feature on FASTPANEL, we need to perform the following 3 simple steps.
Step 1: Access the FASTPANEL admin page
To access the FASTPANEL interface, you access the link in the form https://IP:8888 on your browser change the IP to your VPS/FASTPANEL server IP.
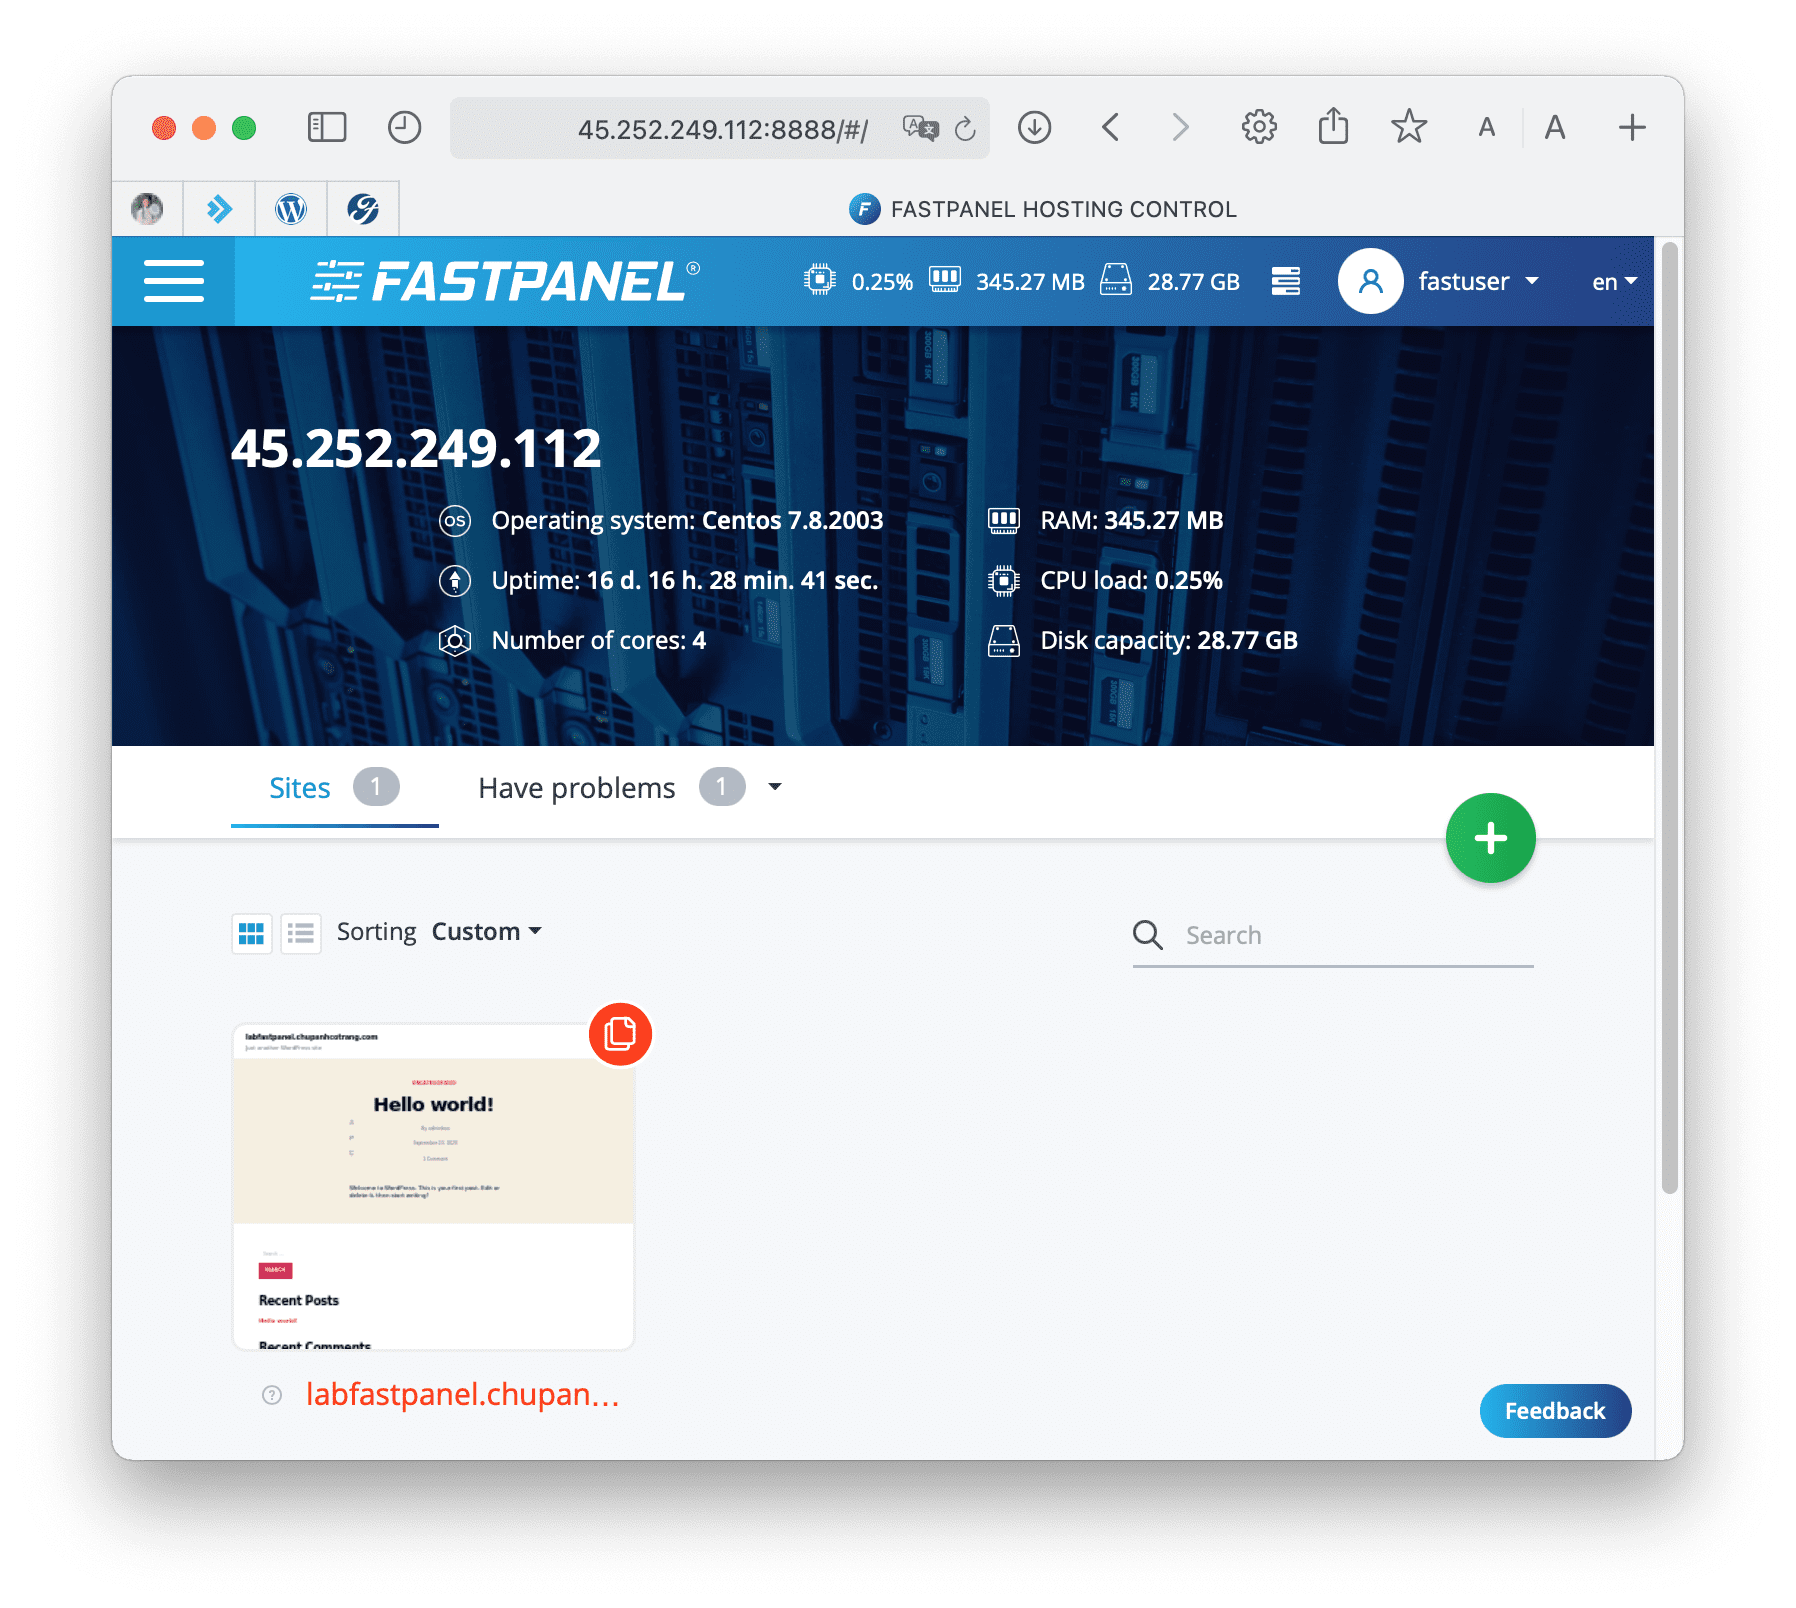
Below is the FASTPANEL interface: We continue to step 2 to perform database creation operations on FASTPANEL.
Step 2: Operation to enable Two-factor authentication
After accessing the FASTPANEL interface, we do as shown below:
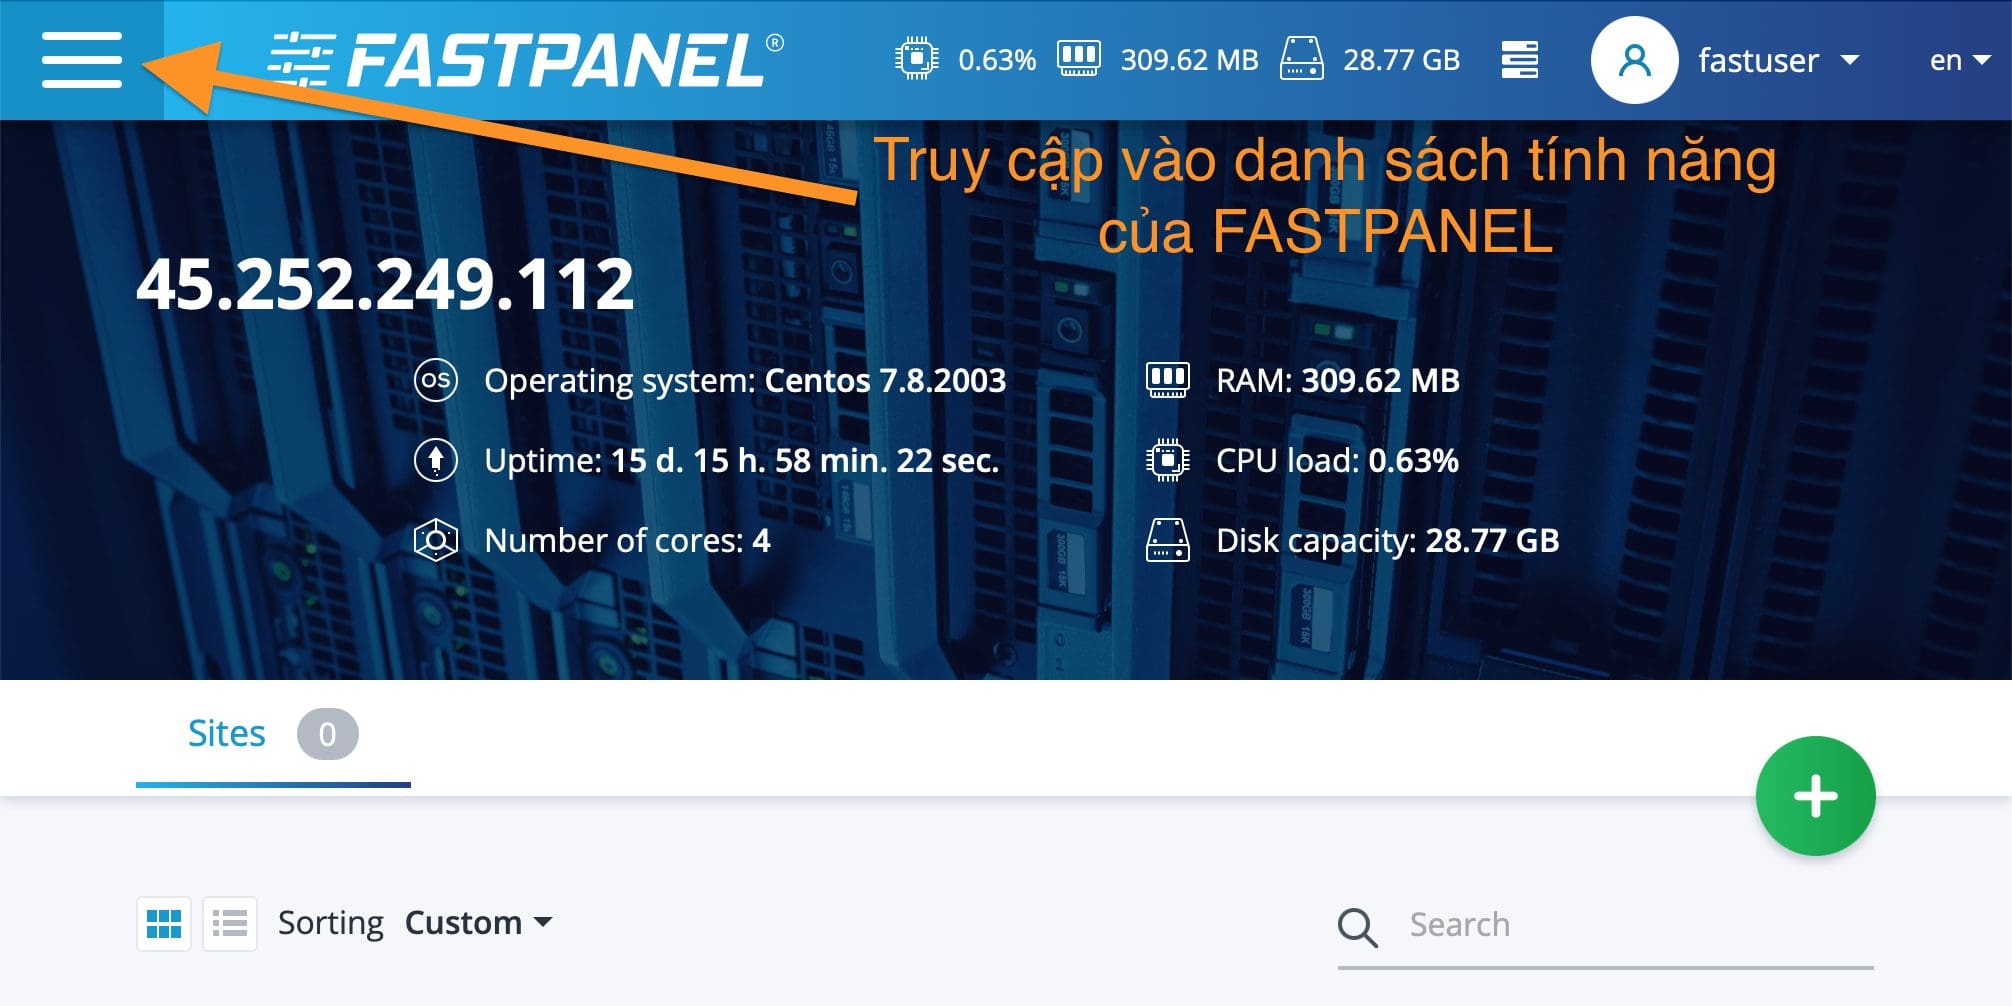
Continue to scroll down and select Settings > Basic to enter the Two-factor authentication management console.

Next, click Two-factor authentication.
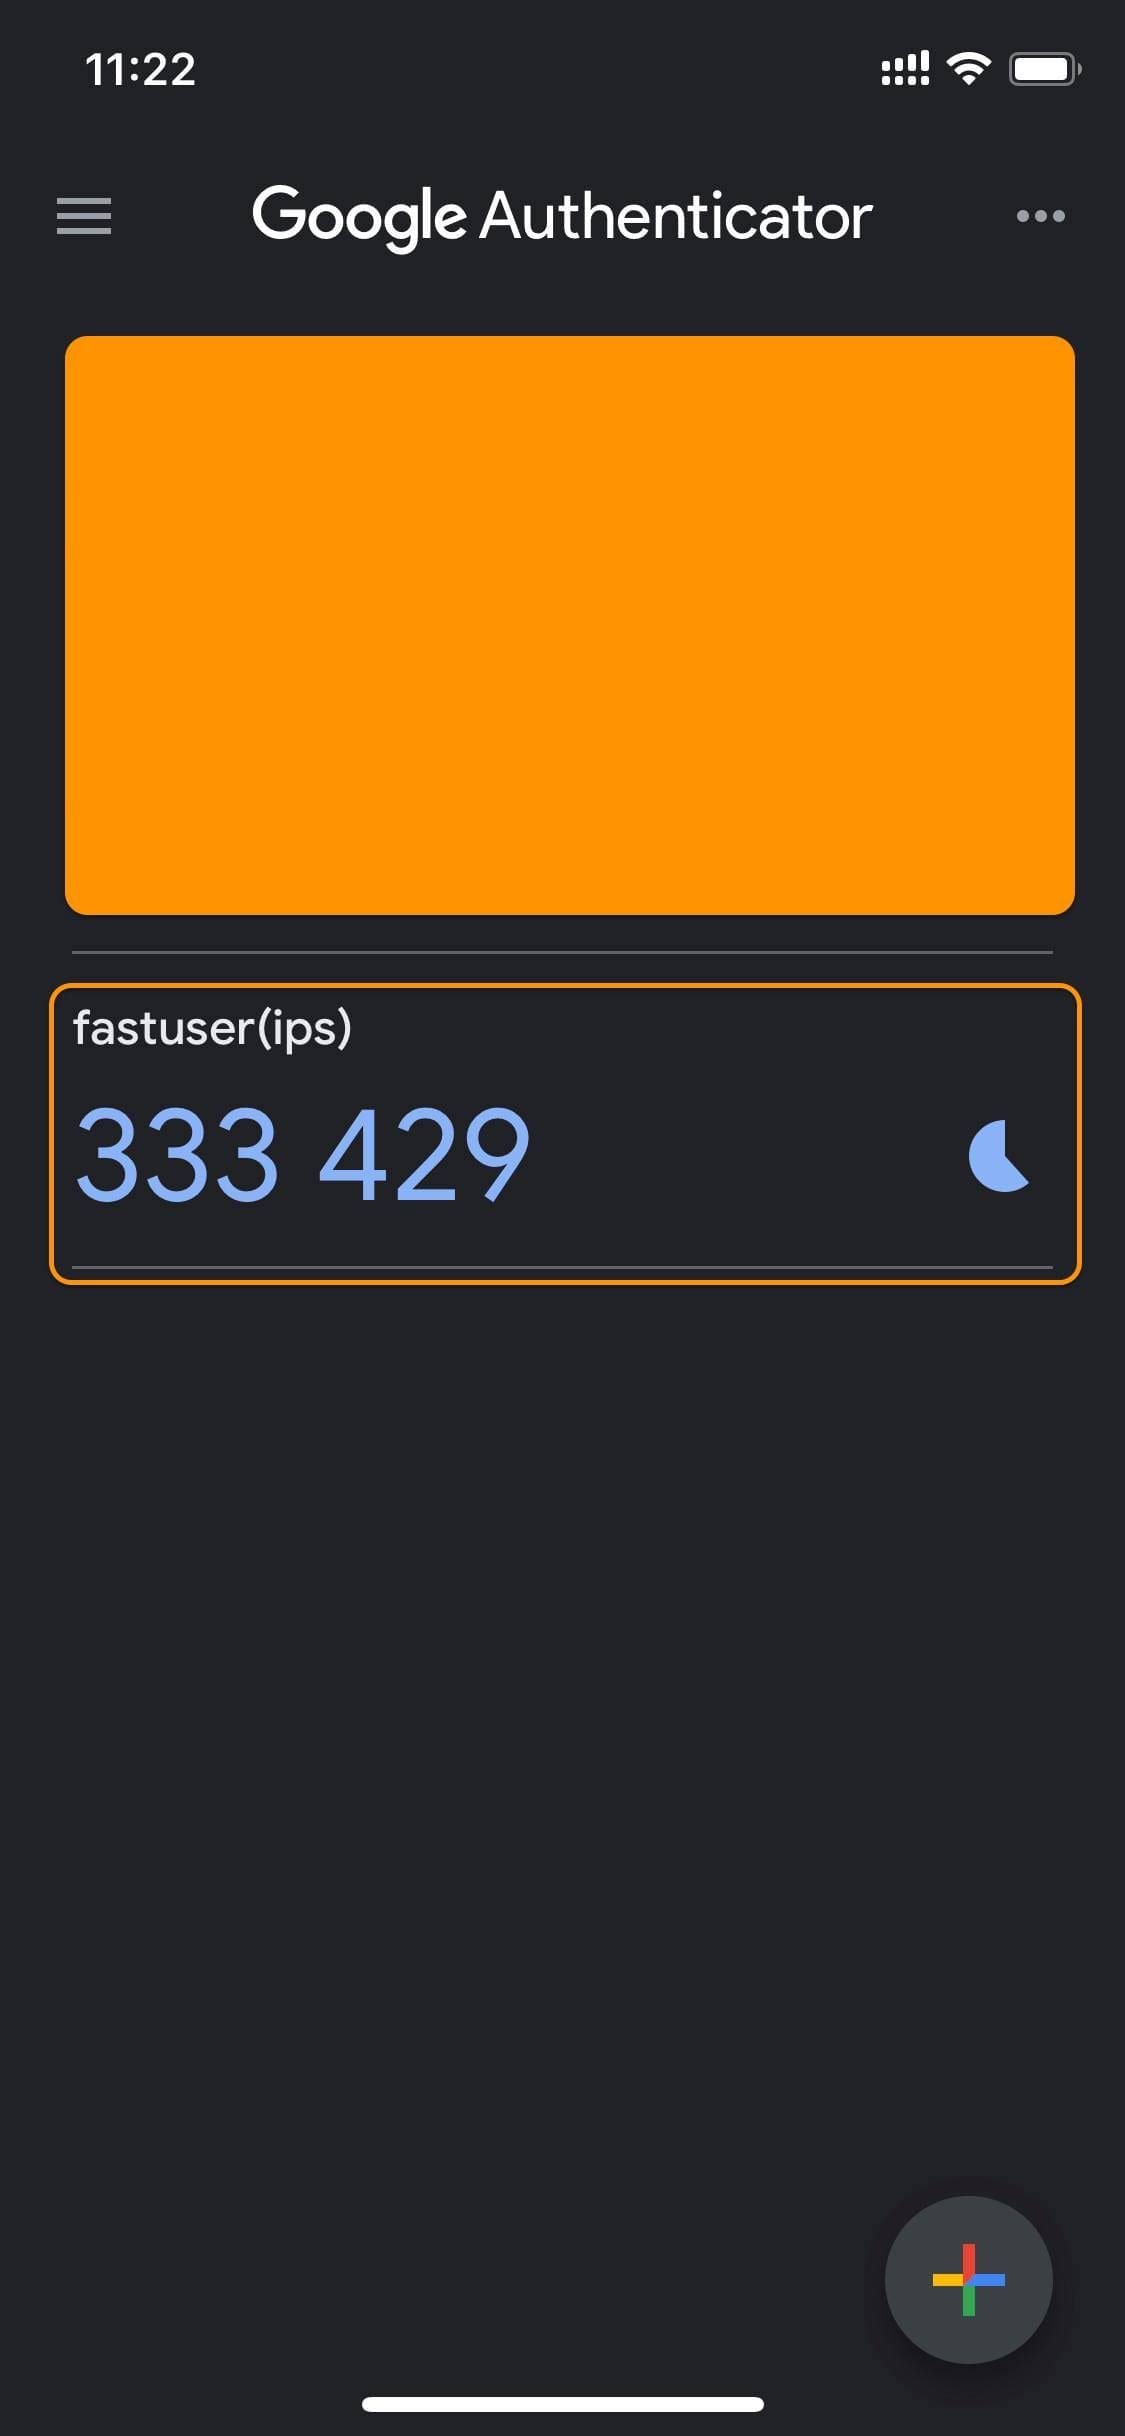
To turn on this feature, we just need to swipe right at Enable/Disable. Once enabled, you will receive a QR code and a Secret key. Please save this Secret key.
After you have saved the Secret key, use a software called Google Authenticator to scan the QR code. Here is the link to download Google Authenticator:
Below is the result after I scan the above QR code. I received a 6-digit code, this code is short-lived and will be replaced by another 6-digit code.
So we have enabled the Two-factor authentication feature on FASTPANEL complete. To check the result, let’s log in again.
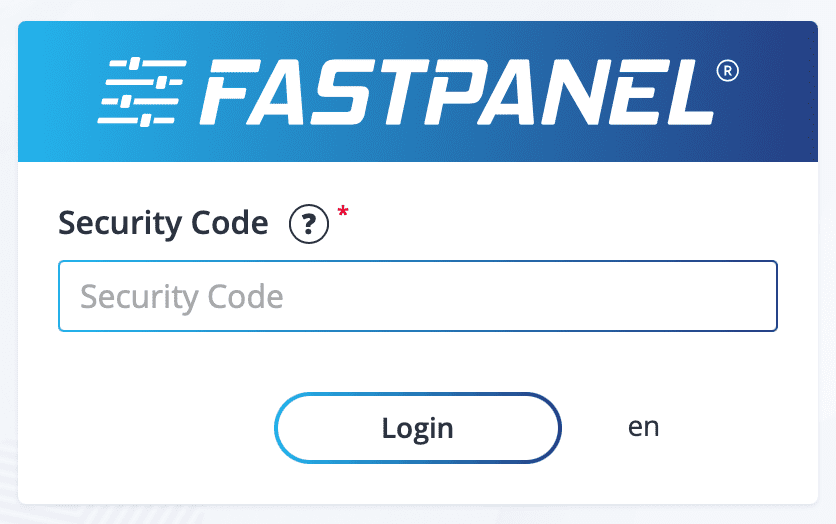
Step 3: Check the two-factor authentication feature on FASTPANEL
After you log in with a normal fastuser account, FASTPANEL will continue to ask for more Security Code. Use the code in the Google Authenticator app to access it.
III. Summary
With just 3 simple steps, you can enable Two-factor authentication on FASTPANEL to significantly increase security at the login step of FASTPANEL, thereby helping to completely prevent the threat from Brute Force.
If you find the article useful, don’t forget to rate it 5 stars!
Wishing you success!
In addition, you can check out some other articles about FASTPANEL at the link below:
If you need assistance, you can contact support in the ways below:
- Hotline 247: 028 888 24768 (Ext 0)
- Ticket/Email: You use the email to register for the service and send it directly to: support@azdigi.com .
You might also like
About the author

Thạch Phạm
Đồng sáng lập và Giám đốc điều hành của AZDIGI. Có hơn 15 năm kinh nghiệm trong phổ biến kiến thức liên quan đến WordPress tại thachpham.com, phát triển website và phát triển hệ thống.