Nội dung
In this article, AZDIGI will guide you on installing ImunifyAV on VPS using CyberPanel with just a few simple steps. So what is ImunifyAV and how to install it, please follow along.
What is ImunifyAV?
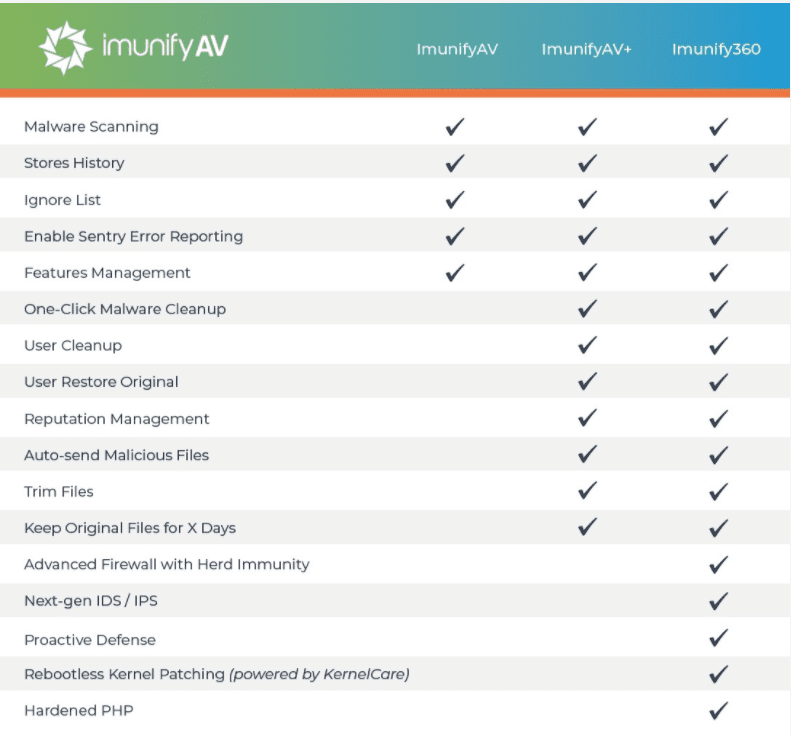
ImunifyAV ImunifyAV is a new generation security solution specially designed for Linux servers, ImunifyAV is developed by CloudLinux Inc. ImunifyAV ImunifyAV is a free version developed to support users with some basic features such as scanning, detecting threats from backlog on your server such as Malware, Fishing, Backdoor, Shell.
With ImunifyAV, because it is a free version, we can only use some basic features like that, if you want more powerful features such as automatically scanning, removing or quarantining malicious files, scheduling automatically, you can use the paid version of ImunifyAV+ or Imunify360. You can check out the features of this free and paid version at the homepage link below:
In addition, you can refer to how to install Imunify360 here.
Install ImunifyAV to scan for malware on CyberPanel
Note: Since CyberPanel doesn’t currently support the ImunifyAV interface such as DirectAdmin, Cpanel and Plesk controls, we have to manage ImunifyAV through browser operations.
To install ImunifyAV, you can follow these 2 steps:
Step 1: Install ImunifyAV
First, you need to access your CyberPanel admin page under the link https://IP:8090/ (replace IP with your IP) and use the admin account to log in.
After successfully logging in to CyberPanel, you access
Security => ImunifyAV
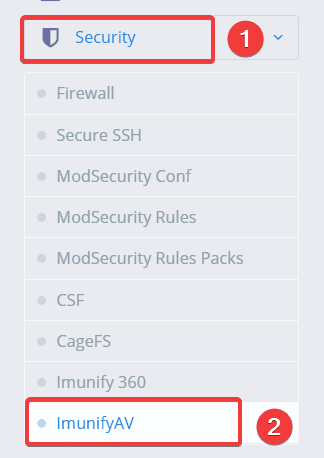
At the next interface, click Install Now.
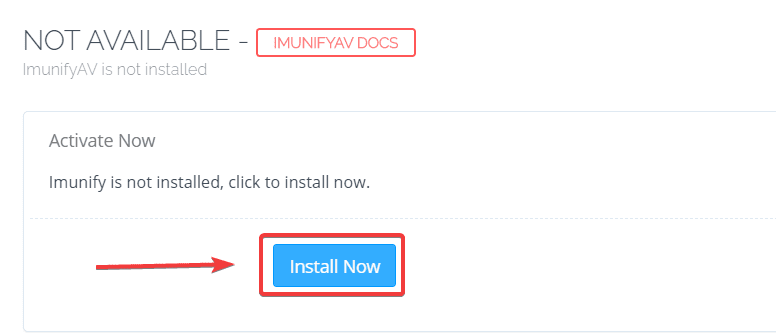
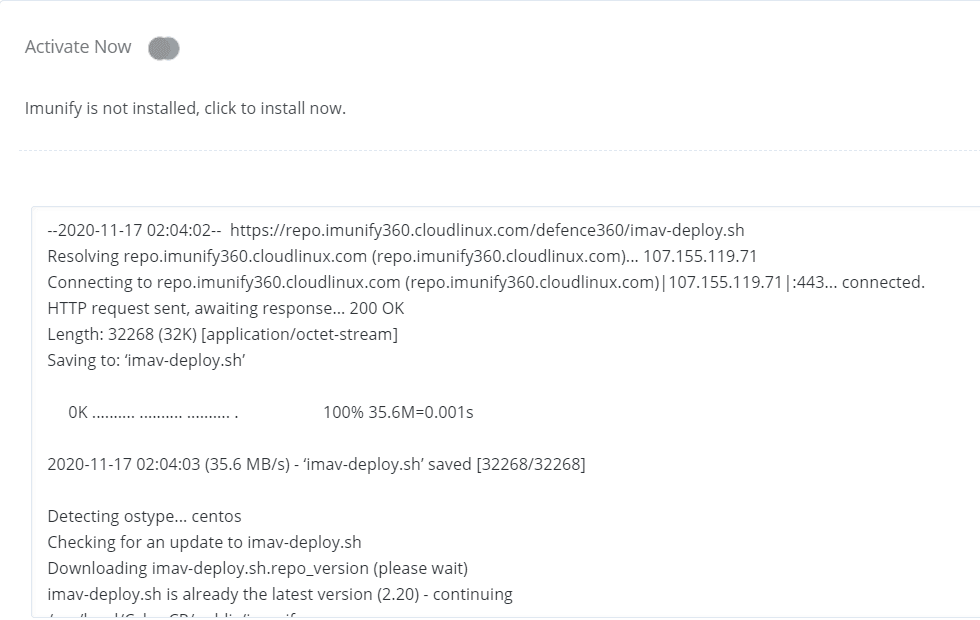
The installation process will take about 5-10 minutes, you need to wait for the system to complete the installation.
Step 2: Access ImunifyAV
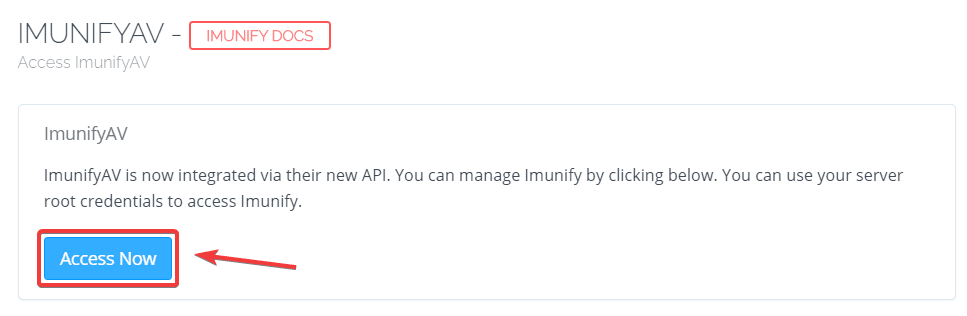
Because ImunifyAV does not have a built-in interface on CyberPanel, using ImunifyAV we need to go through a separate browser. To access, you go to Security => ImunifyAV => click Access Now.
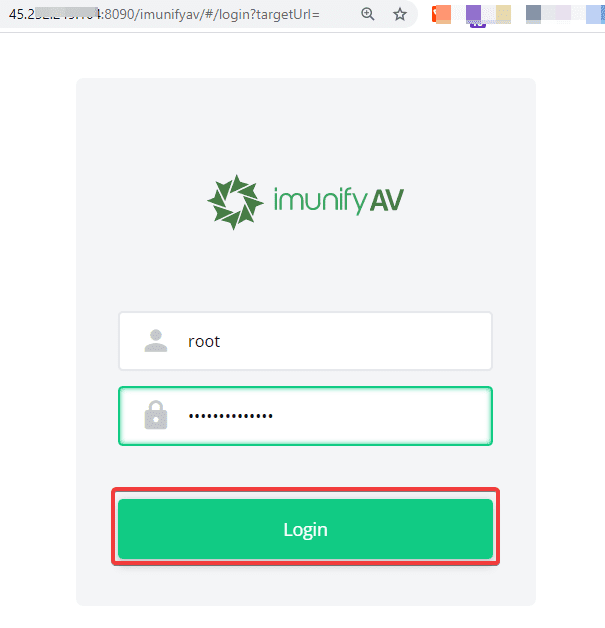
At this point, the system will take you to a link. Here you will need to use your VPS root information to log in.
The interface of ImunifyAV will show as shown below:
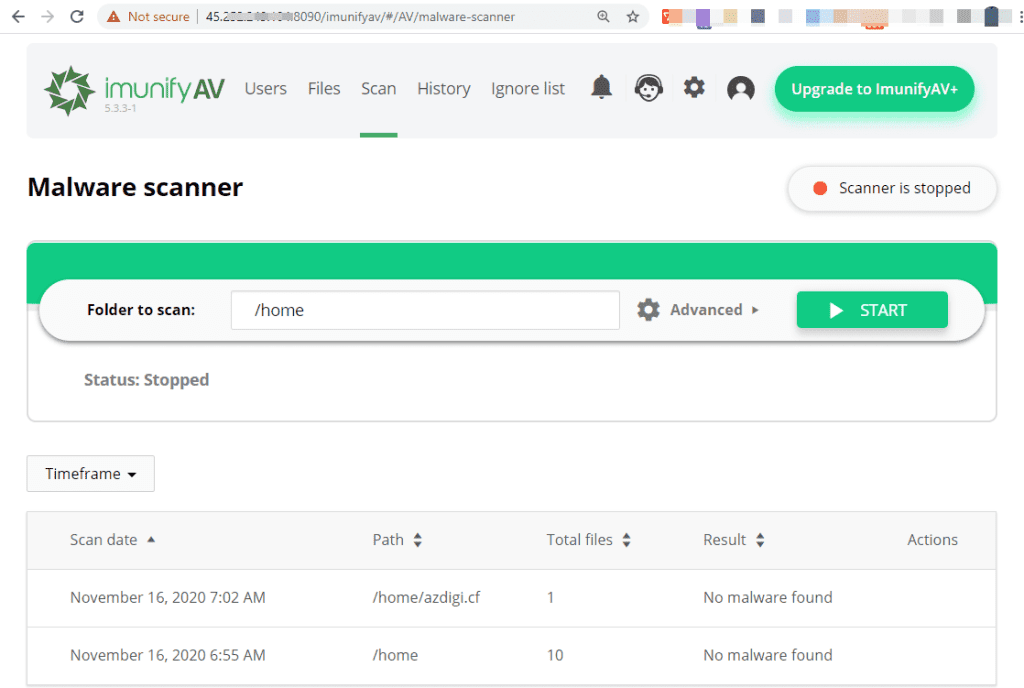
So we have completed installing ImunifyAV on VPS using CyberPanel, to use ImunifyAV‘s basic feature of malicious scanning code, you can better understand the functions according to the annotation below:
- USER: Scan by the user.
- FILES: Displays malware files to the scannable system.
- SCAN: Scan according to the specified path.
- HISTORY: Scanning history.
- IGNORE LIST: Set the path for ImunifyAV to ignore when scanning.
III. Summary
So in this article, AZDIGI has shown you how to completely install ImunifyAV on CyberPanel in the simplest way, installing ImunifyAV will help you a lot in the early detection of malicious code, so you have an early approach to dealing with your website. Hopefully, this article will help you have a more secure solution for your server and website. If you find the article helpful, please share it widely!