Nội dung
Install eXtplorer on OpenLitespeed for easier file management with AZDIGI.
I. Introduction
Continuing with the OpenLitespeed series, in this article, AZDIGI will guide you on how to install an application called eXtplorer on an OpenLitespeed server.
What is eXtplorer?
eXtplorer is a free File Manager application written in PHP that operates directly on the web and is well-supported on Linux operating systems. eXtplorer has all the necessary features similar to the File Manager of cPanel, DirectAdmin, etc. such as direct upload, download, compress and extract files, create new files, delete, edit files. In addition to its convenience, eXtplorer is very lightweight and completely free, making it a trusted tool for many users.
As you may already know, when we install and use OpenLiteSpeed WebAdmin GUI, it means that we have to handle file processing entirely through command lines. Although OpenLiteSpeed WebAdmin GUI provides us with a smooth and fast experience, the lack of an integrated File Manager makes it somewhat difficult for management with the majority of non-technical users who are not familiar with command-line operations. That’s why eXtplorer was born to solve this problem.
In this article, AZDIGI will guide you through the detailed process of installing eXtplorer on an OpenLitespeed server so that you can bring File Manager to your VPS, please follow along.
You can find more information on the eXtplorer website here.
II. Implementation guide.
To install eXtplorer on your server, you can follow these three steps.
Note: During the process, you need to replace “azdigi.cf” with your own domain name.
Step 1: SSH into your OpenLitespeed server
ĐFirst, you need to SSH into your VPS as root. If you don’t know how to SSH into your VPS, you can refer to the instructions below to do it.
Step 2: Install eXtplorer on the server
After successfully SSH into the server, you can install eXtplorer by running the following commands:
cd /usr/local/lsws/azdigi.cf/html
mkdir eXtplorer && cd eXtplorer
wget https://extplorer.net/attachments/download/68/eXtplorer_2.1.9.zip
unzip eXtplorer_2.1.9.zip
chown -R nobody:nobody /usr/local/lsws/azdigi.cf/html/eXtplorer
Command annotation:
- Command 1: Navigate to the directory containing the website source code.
- Command 2: Create a folder named “eXtplorer” and move to the newly created “eXtplorer” folder.
- Command 3: Download the eXtplorer source code
- Command 4: Extract the downloaded file
- Command 5: Grant access to eXtplorer folder
There are many versions of eXtplorer for you to choose from, you can see the versions here.
Step 3: Check the operation of eXtplorer
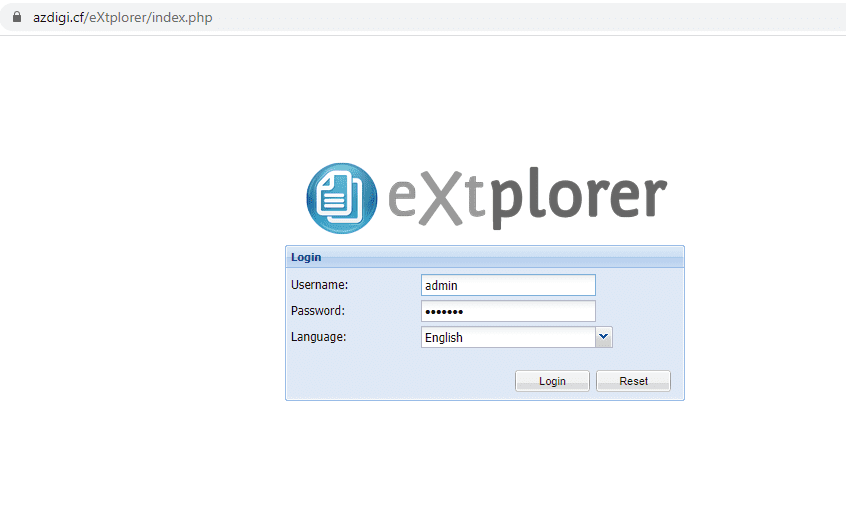
To check the operation of eXtplorer, go to your browser and access it with the following path: yourdomain.com/eXtplorer. If successfully accessed, the eXtplorer interface will look like the image below, and the default information for login will be admin/admin.

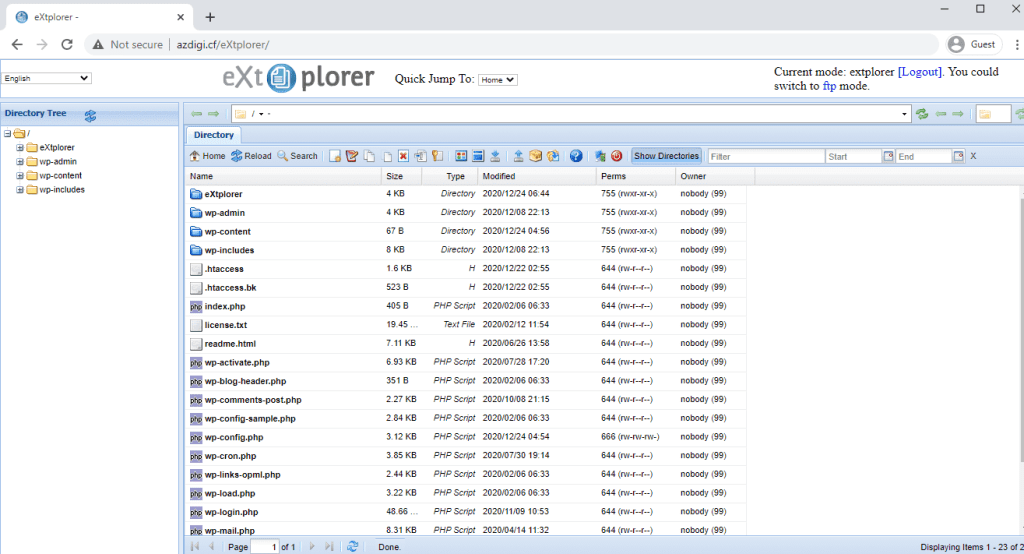
After successful login, the admin interface will be as follows:

III. Summary
In this article, AZDIGI has provided you with a detailed guide on how to install eXtplorer on your server. Integrating eXtplorer into your server can bring back File Manager to users, making file management tasks easier than ever before. For those who need simplicity and a lightweight solution, combining eXtplorer with OpenLiteSpeed WebAdmin GUI is a perfect match.
Hopefully, this article will help you to successfully install eXtplorer on your OpenLitespeed server. If you find the article helpful, please share it widely.
In addition, you can refer to some other articles about OpenLiteSpeed at the link below:
- How to add the website to OpenLiteSpeed WebAdmin GUI
- Install OpenLiteSpeed, MariaDB and PHP on Centos 7
- Install WordPress on Openlitespeed
- Enable QUIC (HTTP/3) on OpenLitespeed
If you need assistance, you can contact support in the ways below:
- Hotline 247: 028 888 24768 (Ext 0)
- Ticket/Email: You use the email to register for the service and send it directly to: support@azdigi.com .

