
Introduction
Odoo is an all-in-one open-source CRM business management software. It offers a different set of business apps for different uses like eCommerce, project management, helpdesk, accounting, inventory and some website building tools.
In this article, AZDIGI will show you how to install Odoo (Open Source ERP&CRM) on CentOS 8. And to install it, you need a CentOS 8 server. If you don’t have a VPS/server, do not hesitate to order a KVM VPS at AZDIGI.
Steps to install Odoo on CentOS 8
Step 1: Update the system and install the EPEL repository
Starting from CentOS 8 you will no longer use the YUM command, but instead, you will use DNF.
The first step when installing Odoo is to install the EPEL repository which provides a set of additional packages for Linux. But first, make sure to update your system first.
dnf update -y
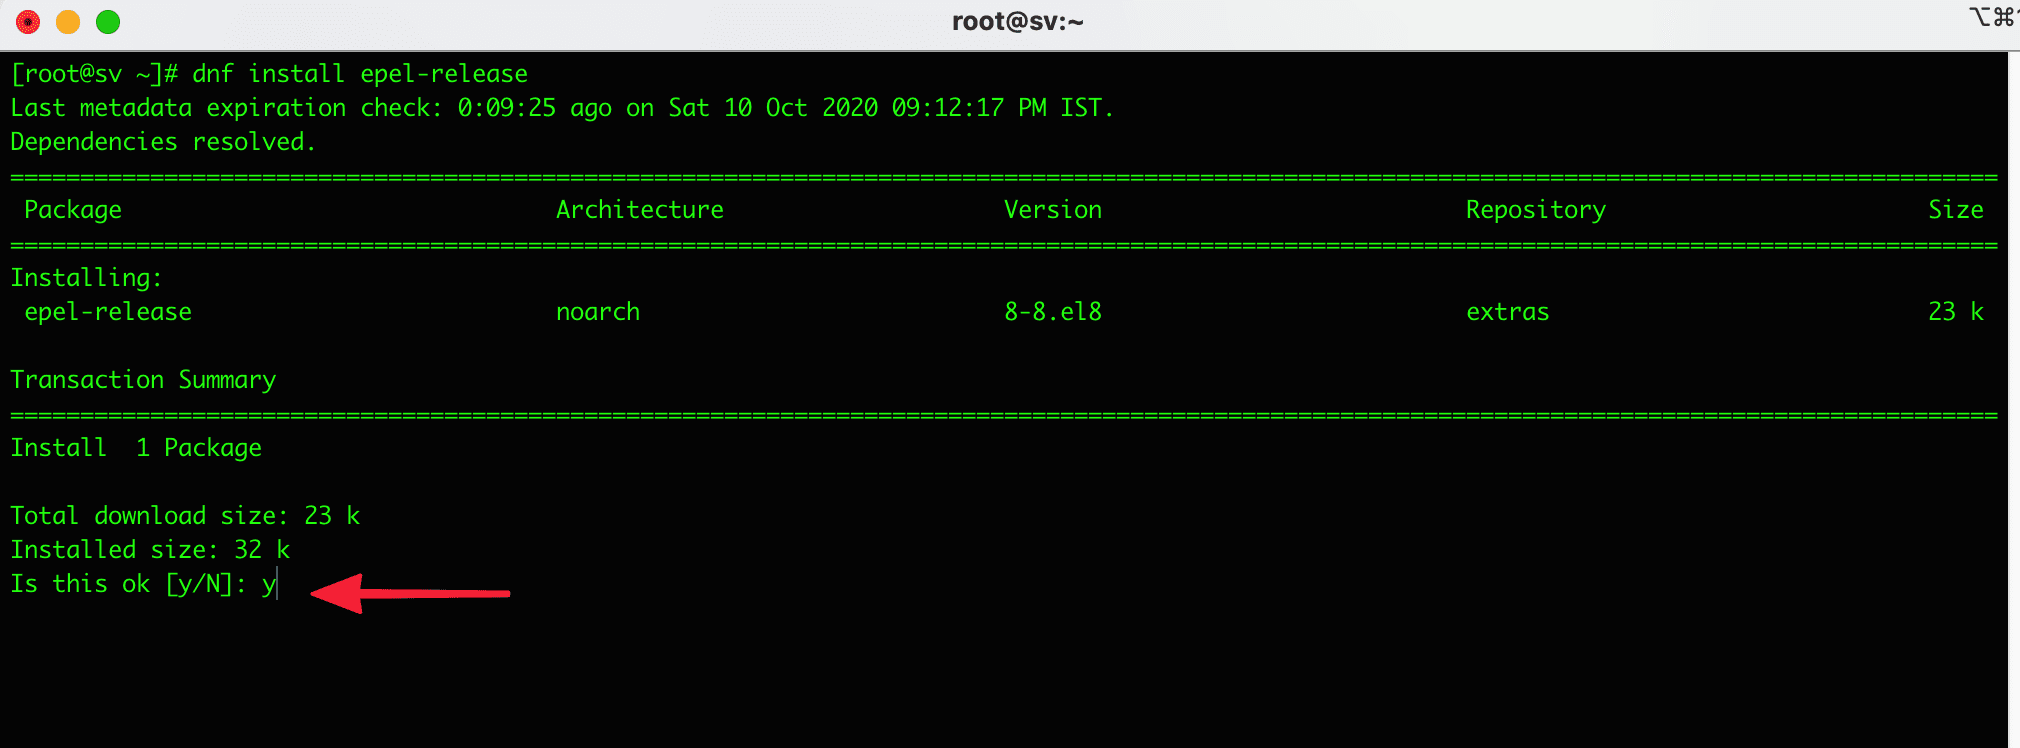
After the system update is complete, install the EPEL repository with the following command:
dnf install epel-release
Step 2: Install Python3 and other extra components
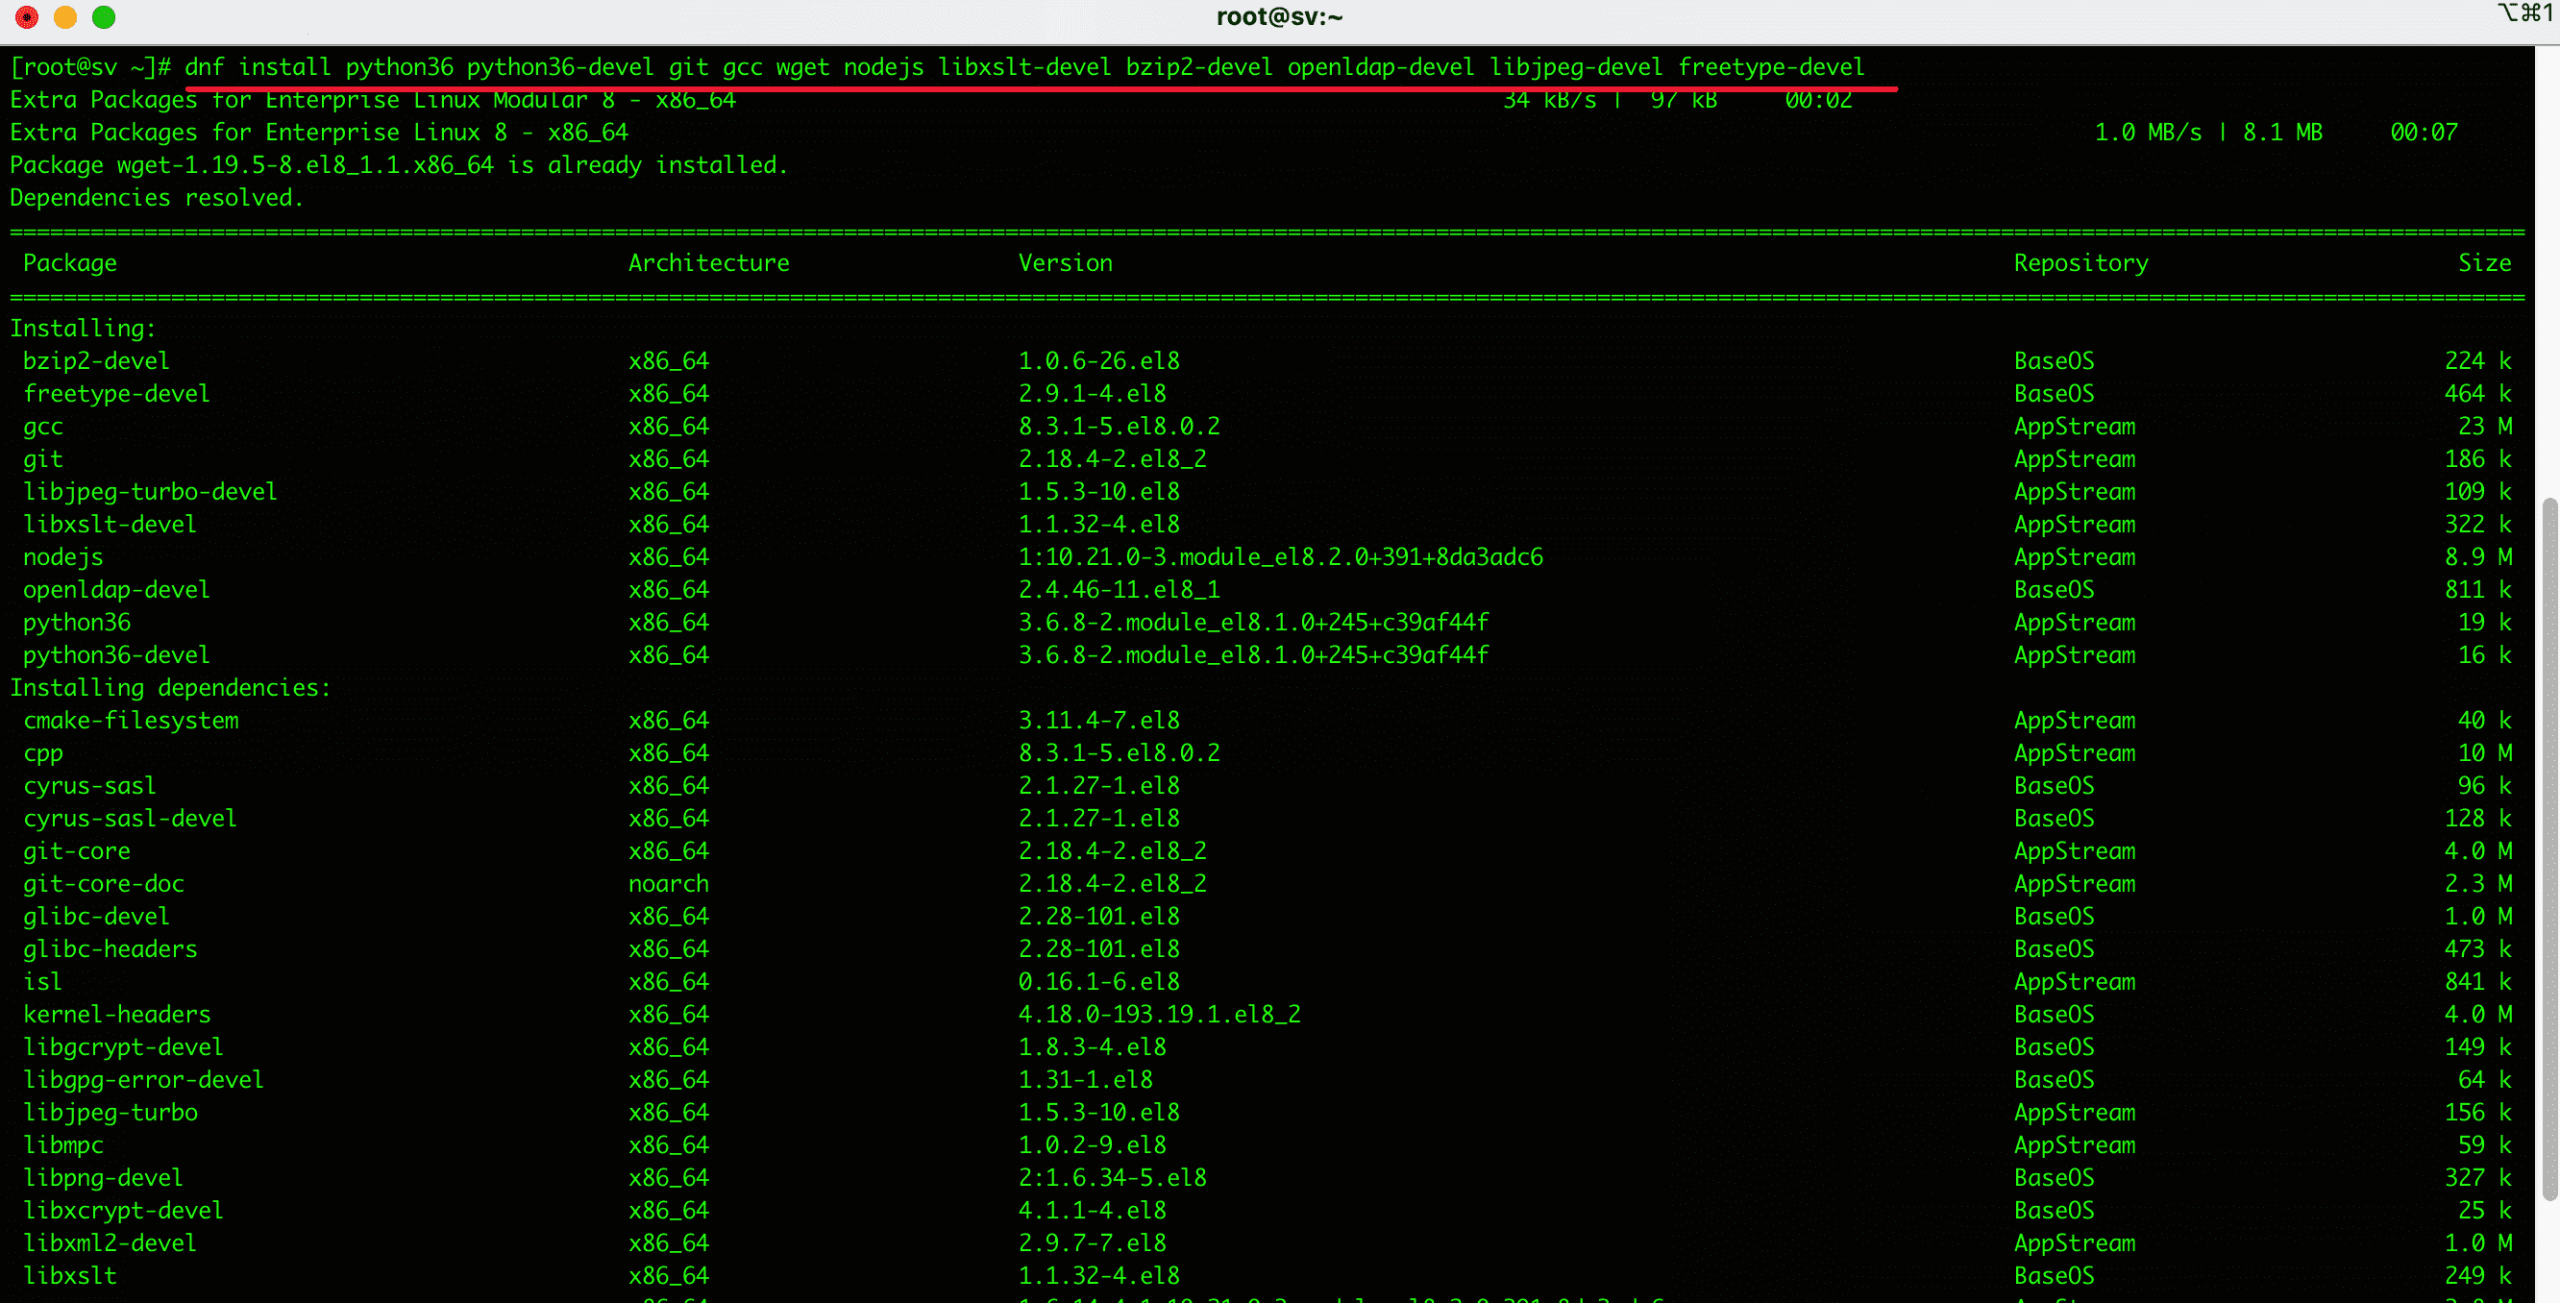
Next, install Python3 and other extra components that Odoo requires. You can use the following command to install.
dnf install python36 python36-devel git gcc wget nodejs libxslt-devel bzip2-devel openldap-devel libjpeg-devel freetype-devel -y
Step 3: Install and configure PostgreSQL on CentOS 8
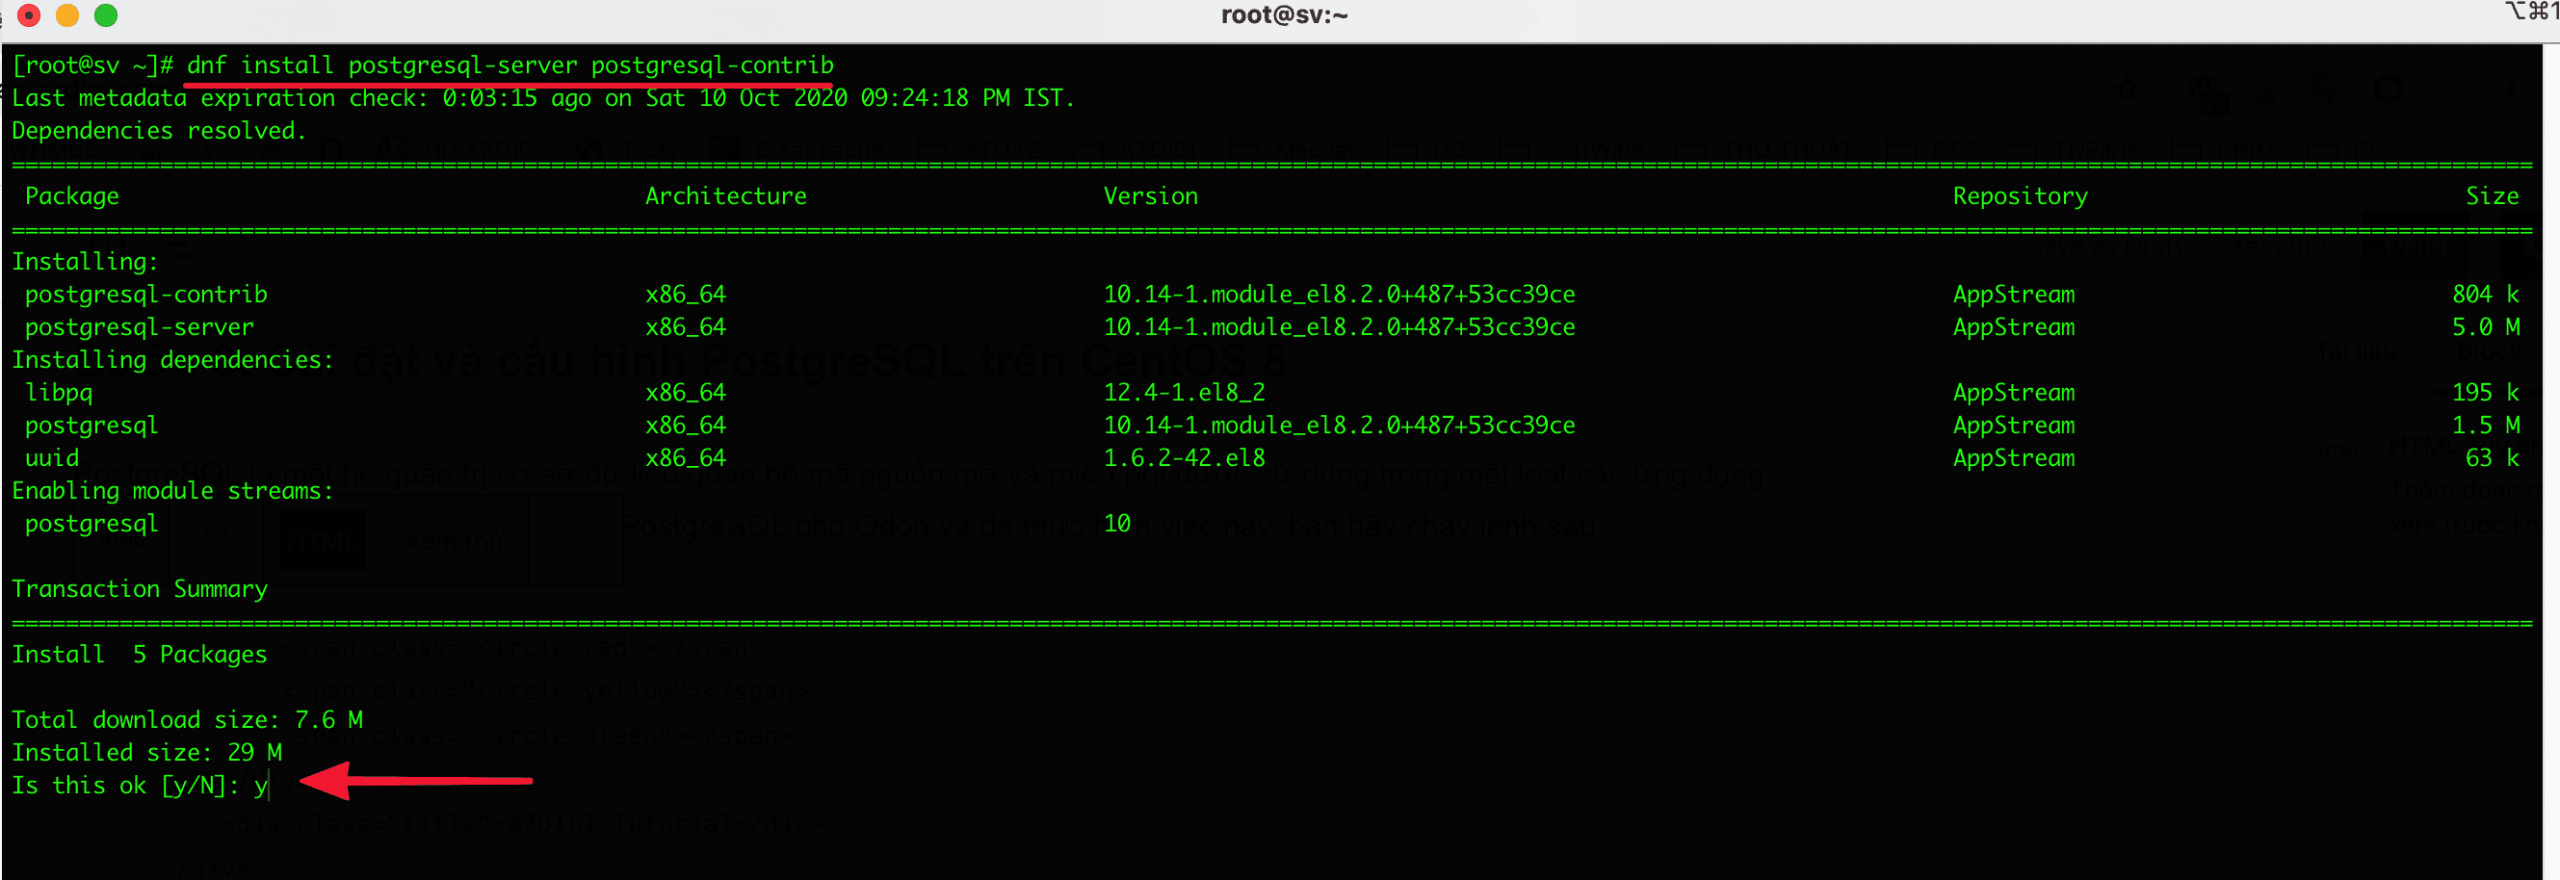
PostgreSQL is a free and open-source relational database management system used in a wide range of applications to store data. We need to install PostgreSQL for Odoo and to do this run the following command.
dnf install postgresql-server postgresql-contrib
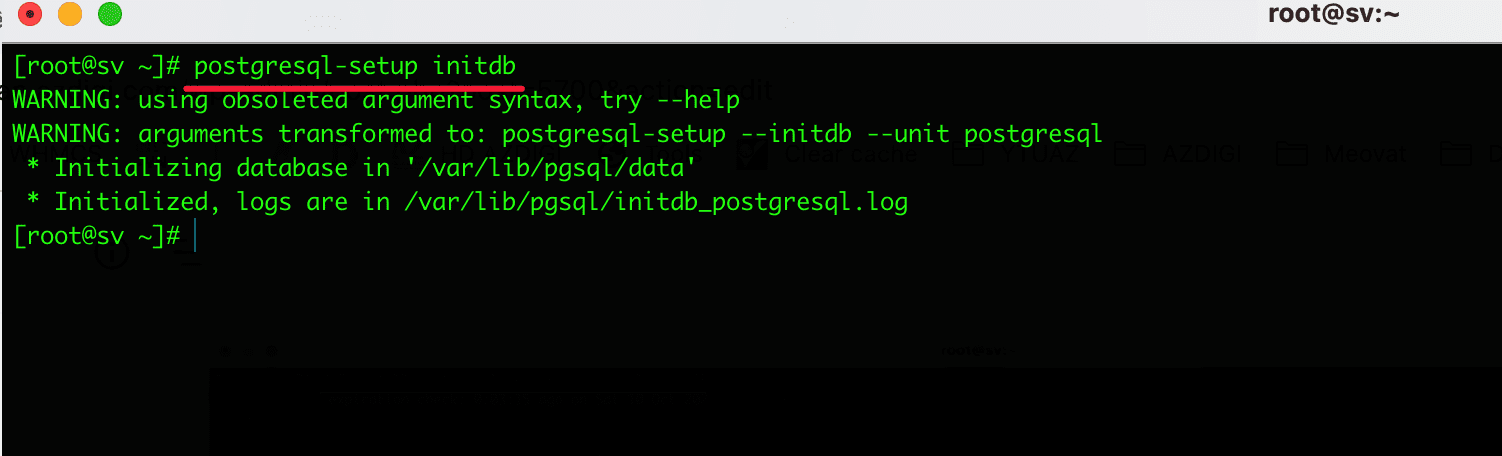
Next, to create a PostgreSQL database cluster, please use the following command:
postgresql-setup initdb
Now create a new PostgreSQL user with the same name as the Odoo user system.
su - postgres -c "createuser -s odoo"
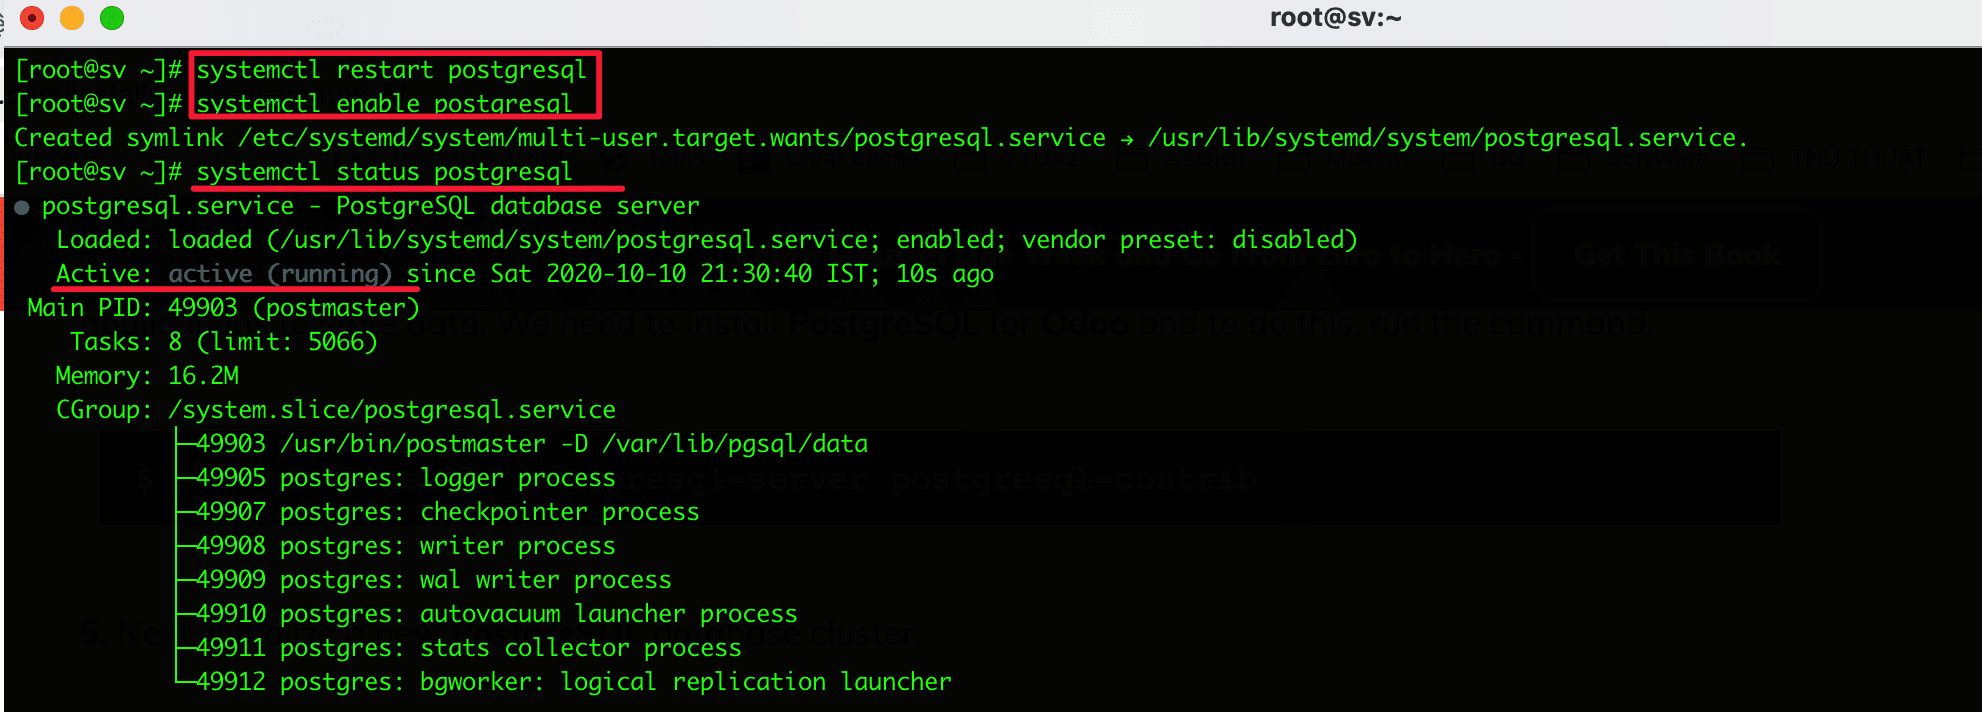
Once the database cluster creation is complete, please restart and enable PostgreSQL by running the following command: Once restarted, use status to check the status.
systemctl restart postgresql
systemctl enable postgresql
systemctl status postgresql
Step 4: Install Wkhtmltopdf Tool on CentOS 8
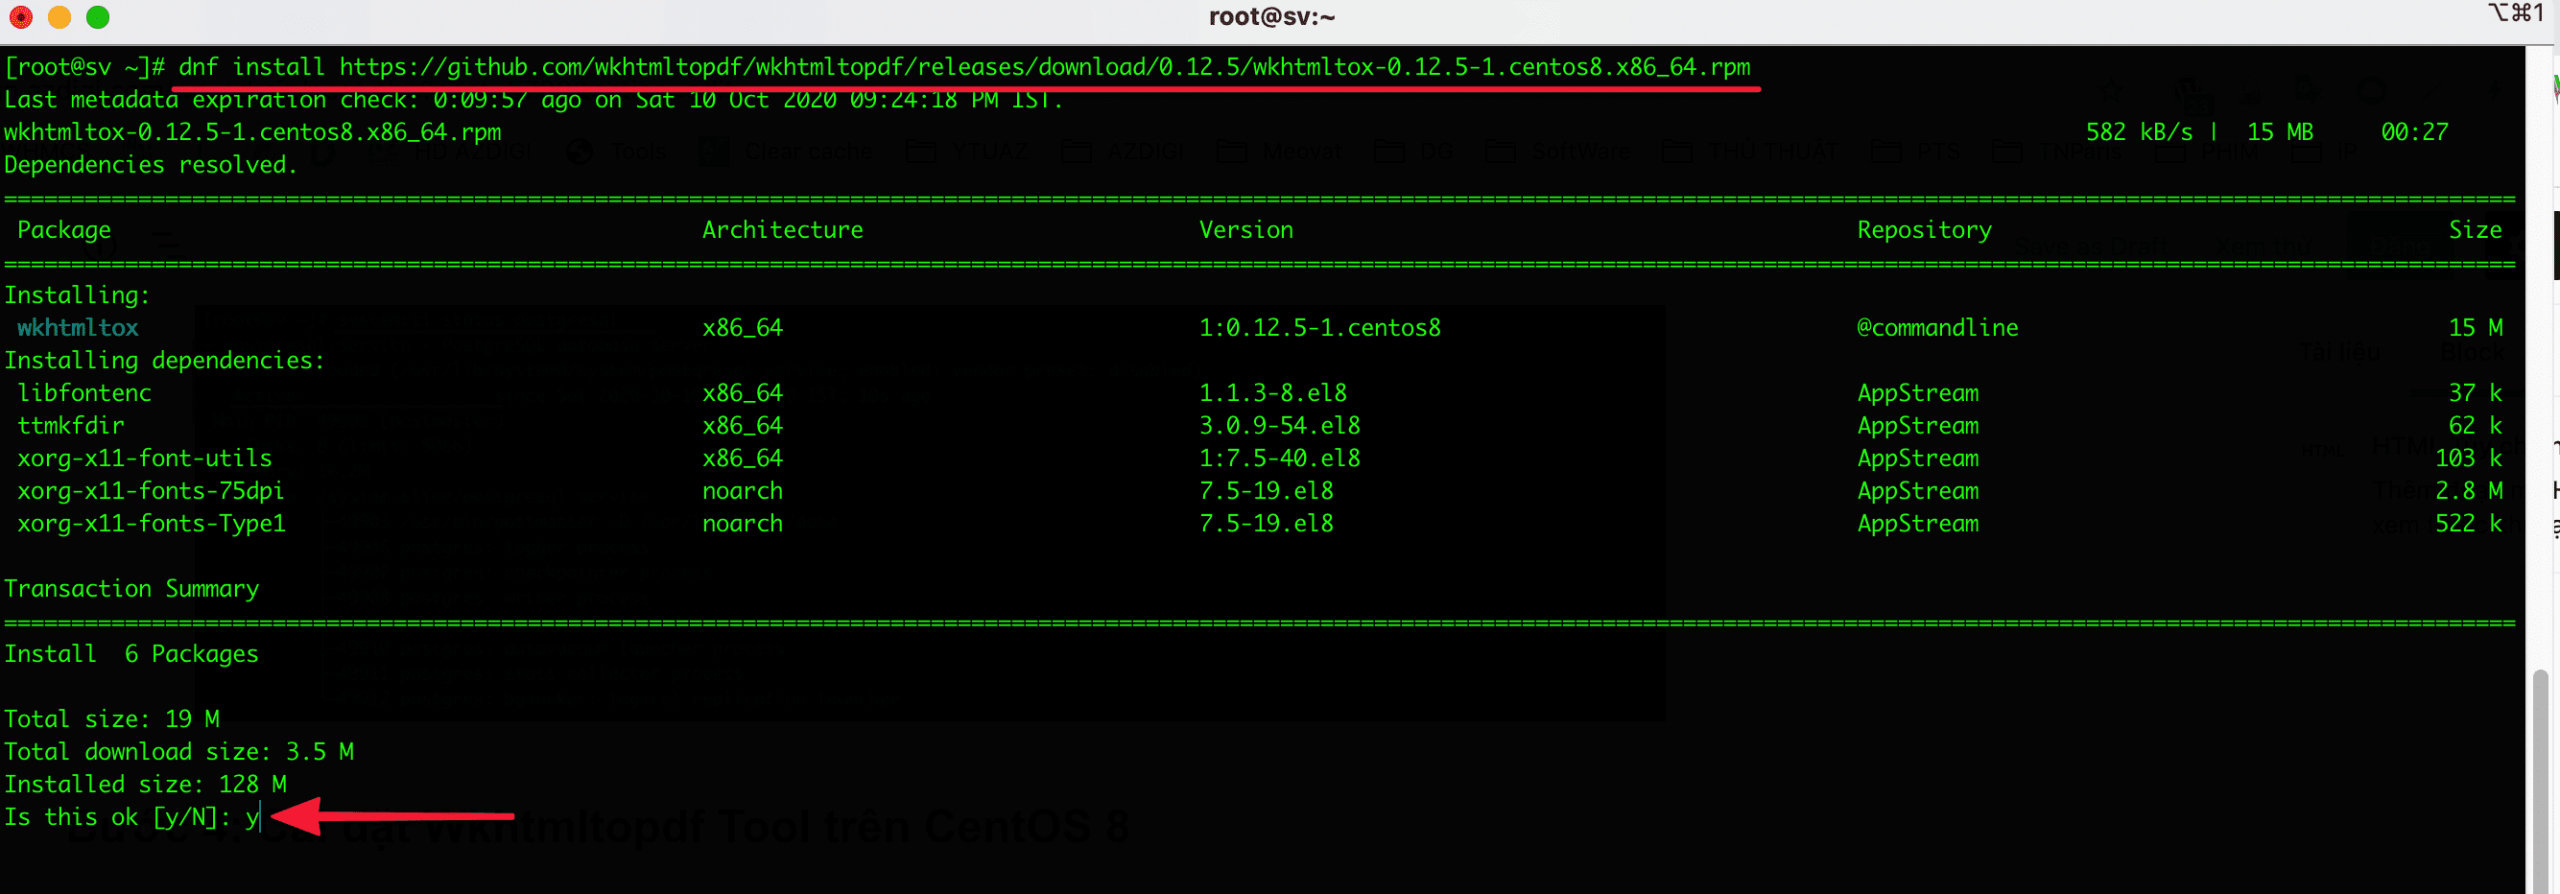
In order for Odoo to print PDF reports, a package called Wkhtmltopdf is required. This is used to render HTML to PDF and other image formats. The rpm package is available on GitHub and you can install the following from rpm.
dnf install https://github.com/wkhtmltopdf/wkhtmltopdf/releases/download/0.12.5/wkhtmltox-0.12.5-1.centos8.x86_64.rpm
Step 5: Install and configure Odoo on CentOS 8
You need to create and add a new system user to run the Odoo service. In this tutorial, I will create a user named Odoo. The home directory is in the /opt/odoo directory.
useradd -m -U -r -d /opt/odoo -s /bin/bash odoo
To start installing Odoo, switch to the user you created. But above I just created a user named Odoo.
su - odoo
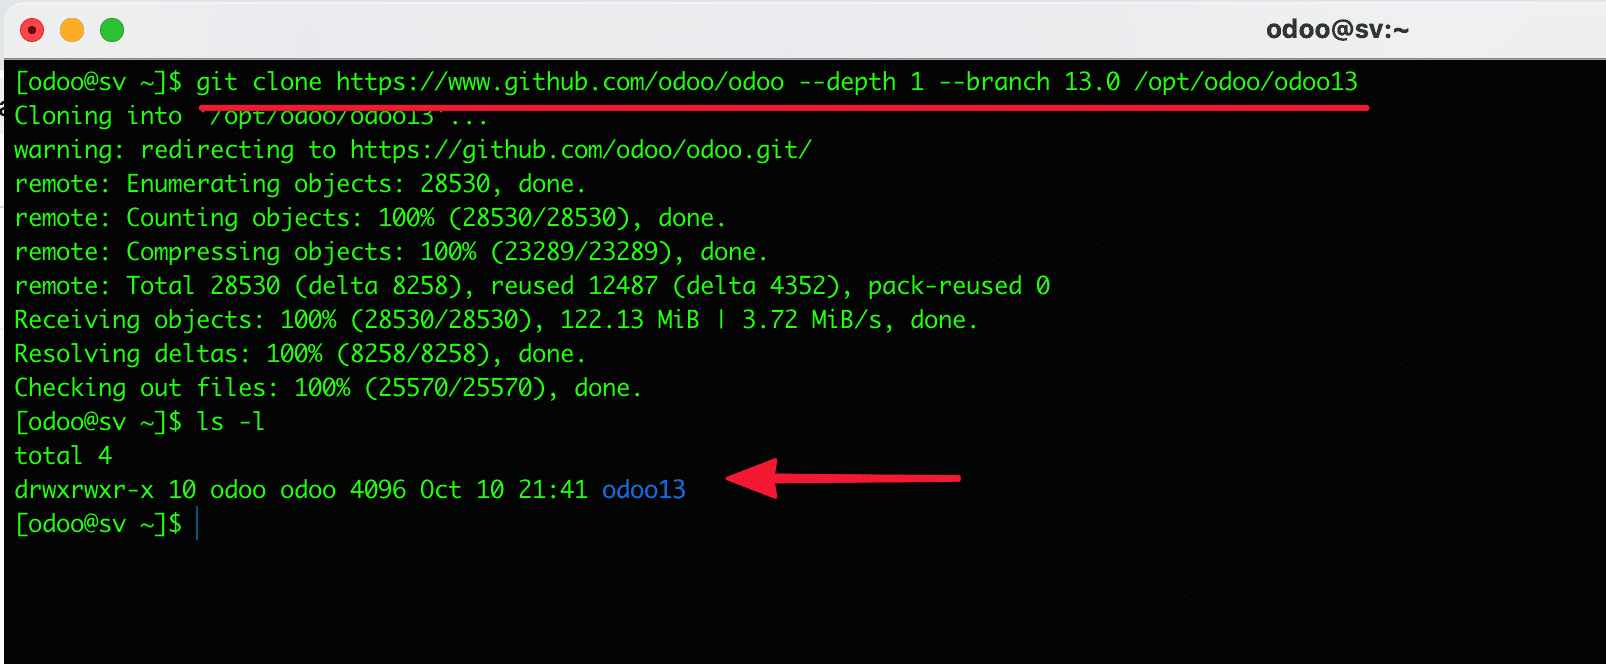
Then clone Odoo 13 from the GIT repository.
git clone https://www.github.com/odoo/odoo --depth 1 --branch 13.0 /opt/odoo/odoo13
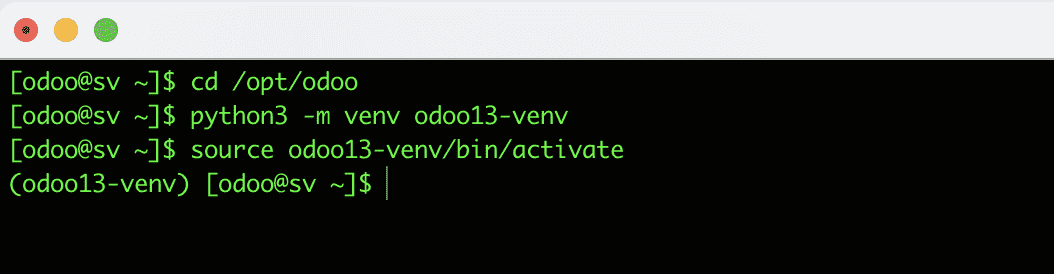
Next, clone the virtual environment.
cd /opt/odoo
python3 -m venv odoo13-venv
The virtual environment has been created, please activate it as follows:
source odoo13-venv/bin/activate
In the virtual environment, install the necessary Python modules for a smooth Odoo installation.
pip3 install -r odoo13/requirements.txt

After installing the Python modules, you need to exit the virtual environment and return to the previous sudo user.
deactivate && exit
Next, create a folder for the modules and assign ownership to the created user.
mkdir /opt/odoo/odoo13-custom-addons
chown odoo: /opt/odoo/odoo13-custom-addons
Create a log directory to track and handle errors later.
mkdir /var/log/odoo13 && touch /var/log/odoo13/odoo.log
chown -R odoo: /var/log/odoo13/
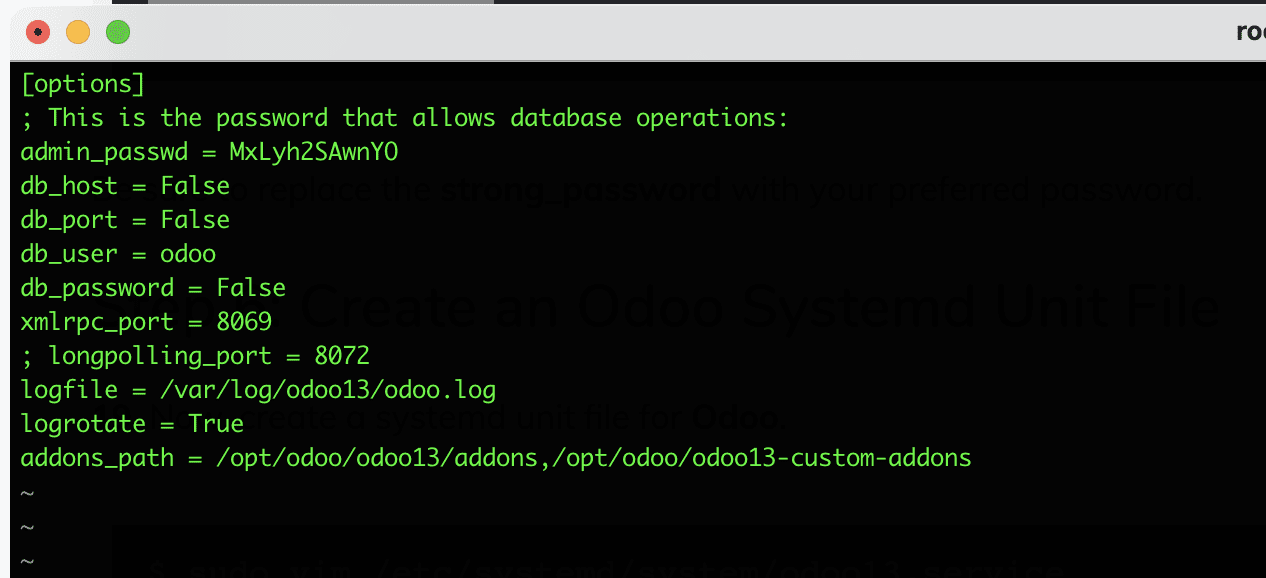
Then you create the Odoo configuration file at /etc/odoo.conf and enter the following lines:
sudo vi /etc/odoo.conf
Copy the content below and paste it into the file: odoo.conf
[options]
; This is the password that allows database operations:
admin_passwd = master_password
db_host = False
db_port = False
db_user = odoo
db_password = False
xmlrpc_port = 8069
; longpolling_port = 8072
logfile = /var/log/odoo13/odoo.log
logrotate = True
addons_path = /opt/odoo/odoo13/addons,/opt/odoo/odoo13-custom-addons
Step 6: Create Systemd Unit File Odoo
Now create a systemd unit file for Odoo as follows:
vi /etc/systemd/system/odoo13.service
Then paste the following code and the file you just created.
[Unit] Description=Odoo13 #Requires=postgresql-10.6.service #After=network.target postgresql-10.6.service[Service] Type=simple SyslogIdentifier=odoo13 PermissionsStartOnly=true User=odoo Group=odoo ExecStart=/opt/odoo/odoo13-venv/bin/python3 /opt/odoo/odoo13/odoo-bin -c /etc/odoo.conf StandardOutput=journal+console
[Install] WantedBy=multi-user.target
Reload the system to apply the changes.
systemctl daemon-reload
Next, start and enable Odoo.
systemctl start odoo13
systemctl enable odoo13
systemctl status odoo13
Odoo uses port 8069 so you need to open this port with Firewall. If you use firewalld use the following command to open it.
firewall-cmd --add-port=8069/tcp --zone=public --permanent
firewall-cmd --reload
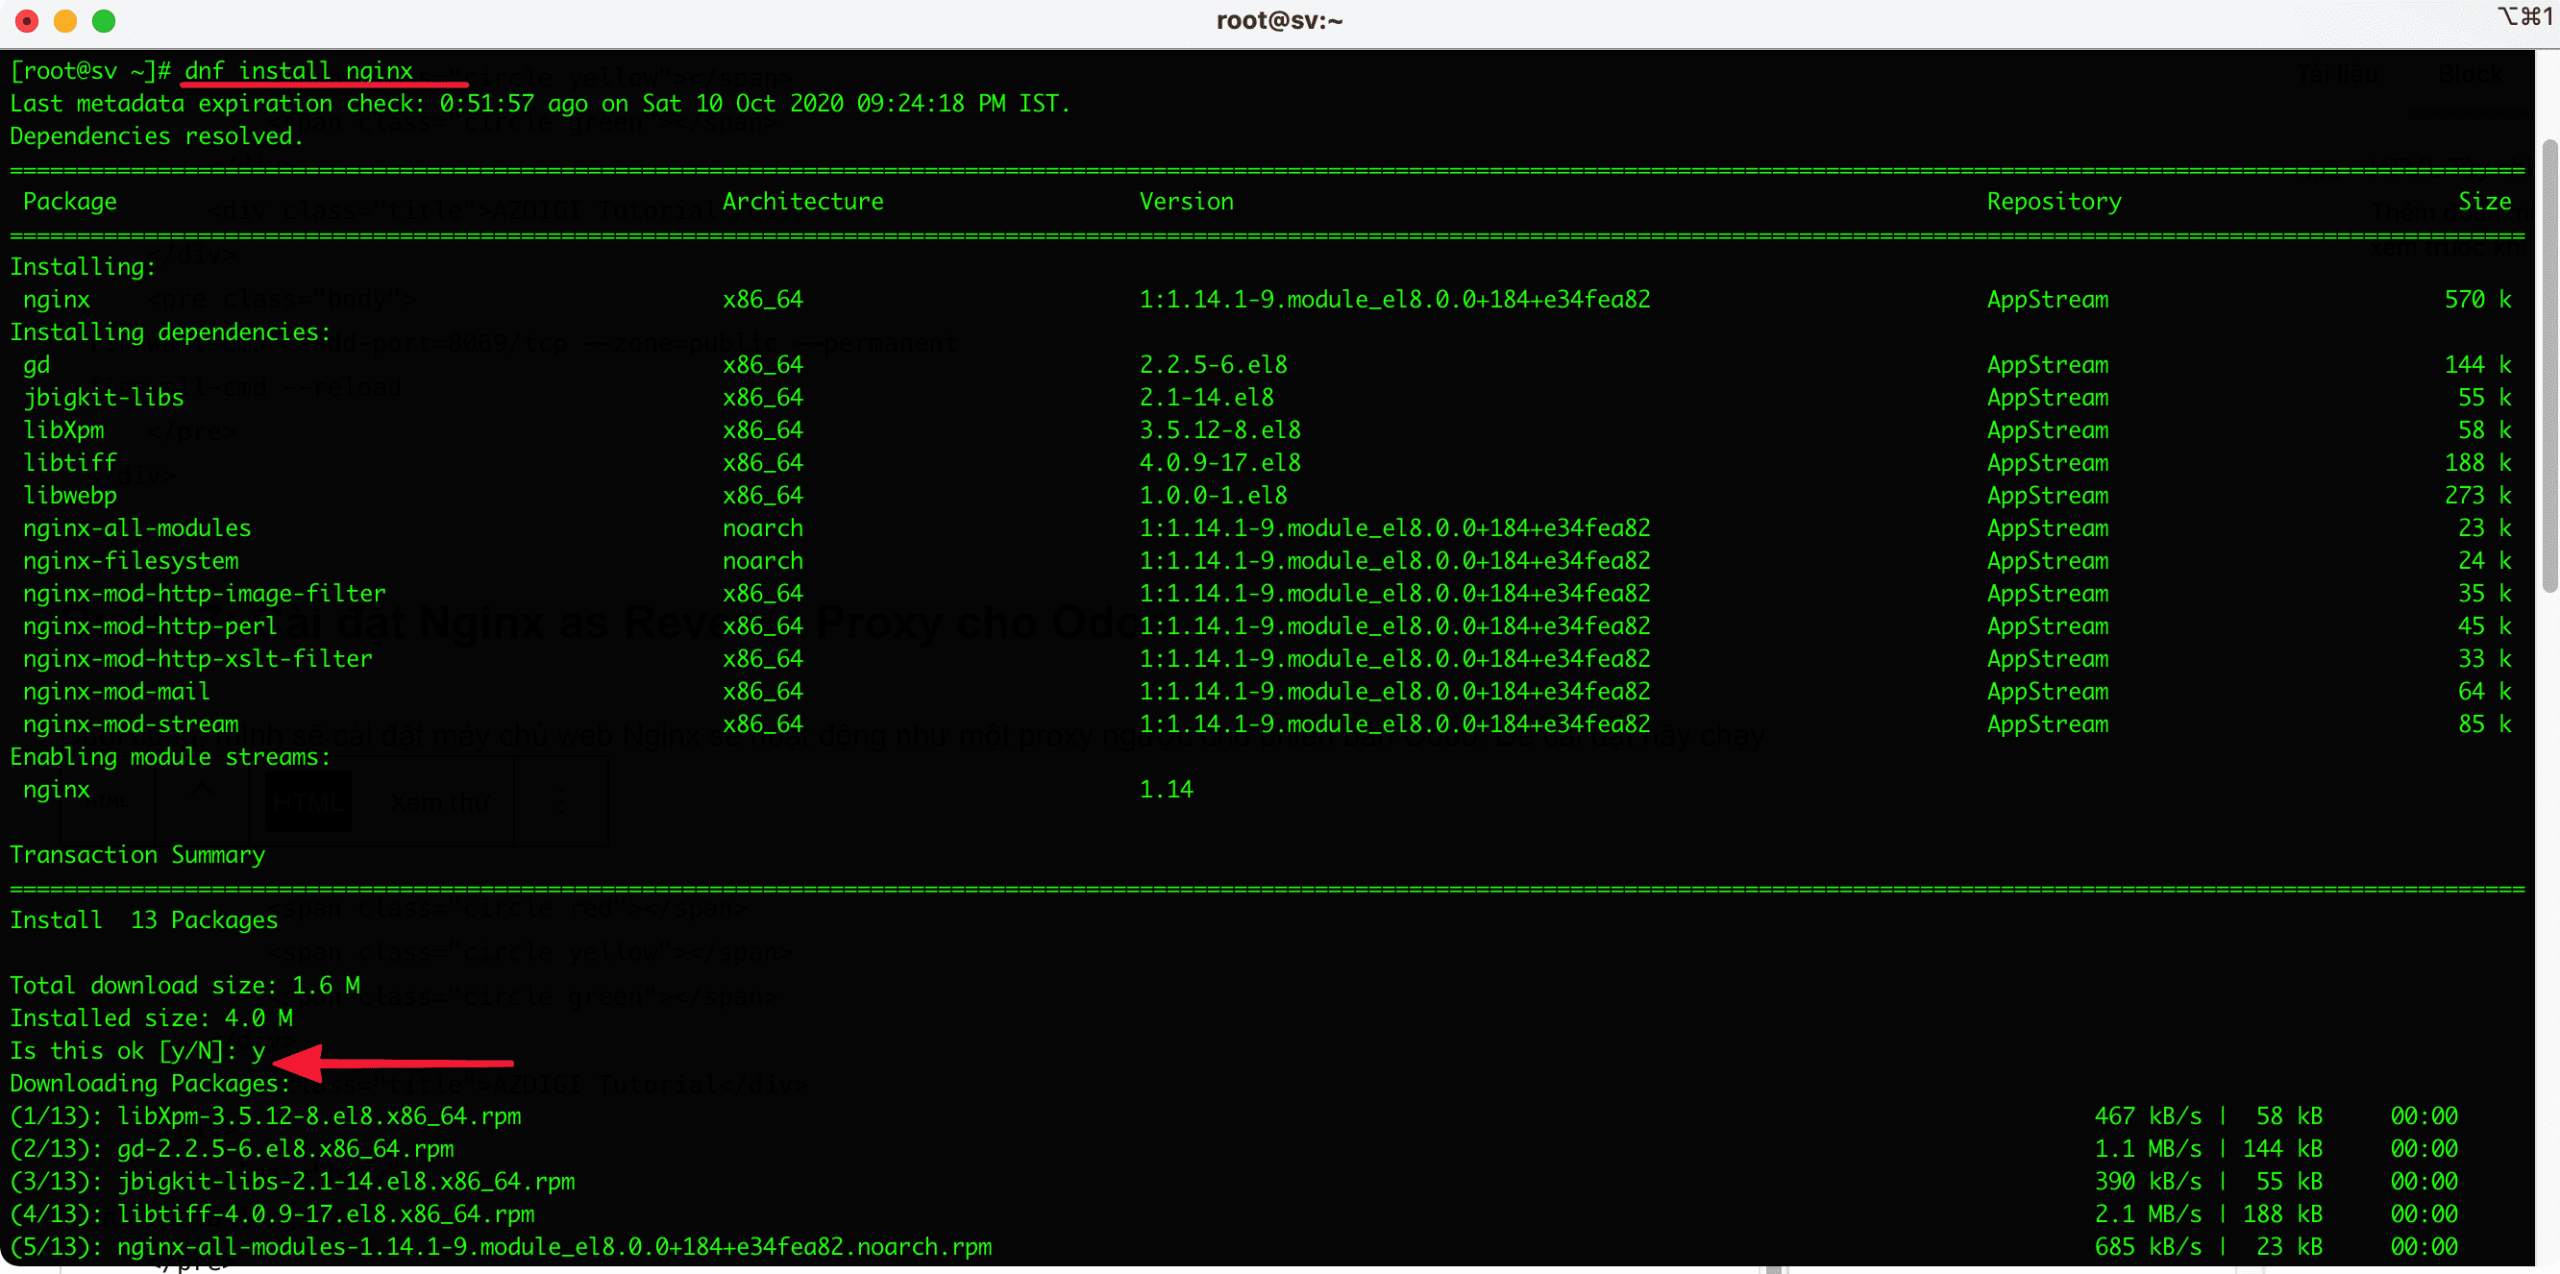
Step 7: Install Nginx as Reverse Proxy for Odoo
Finally, I will install the Nginx web server that will act as a reverse proxy for the Odoo instance. To install it, run the command:
dnf install nginx
After installing NGINX, create a virtual host file and copy and paste the following code:
vi /etc/nginx/conf.d/odoo13.conf
upstream odoo {
 server 127.0.0.1:8069;
}
server {
    listen 80;
    server_name server-IP;
access_log /var/log/nginx/odoo13.access.log;
    error_log /var/log/nginx/odoo13.error.log;
location / {
        proxy_set_header X-Forwarded-Host $host;
        proxy_set_header X-Forwarded-For $proxy_add_x_forwarded_for;
        proxy_set_header X-Forwarded-Proto $scheme;
        proxy_set_header X-Real-IP $remote_addr;
proxy_redirect off;
        proxy_pass http://odoo;
    }
location ~* /web/static/ {
        proxy_cache_valid 200 90m;
        proxy_buffering on;
        expires 864000;
        proxy_pass http://odoo;
    }
    gzip_types text/css text/less text/plain text/xml application/xml application/json application/javascript;
    gzip on;
}
Then you save and do not restart NGINX
systemctl start nginx
systemctl enable nginx
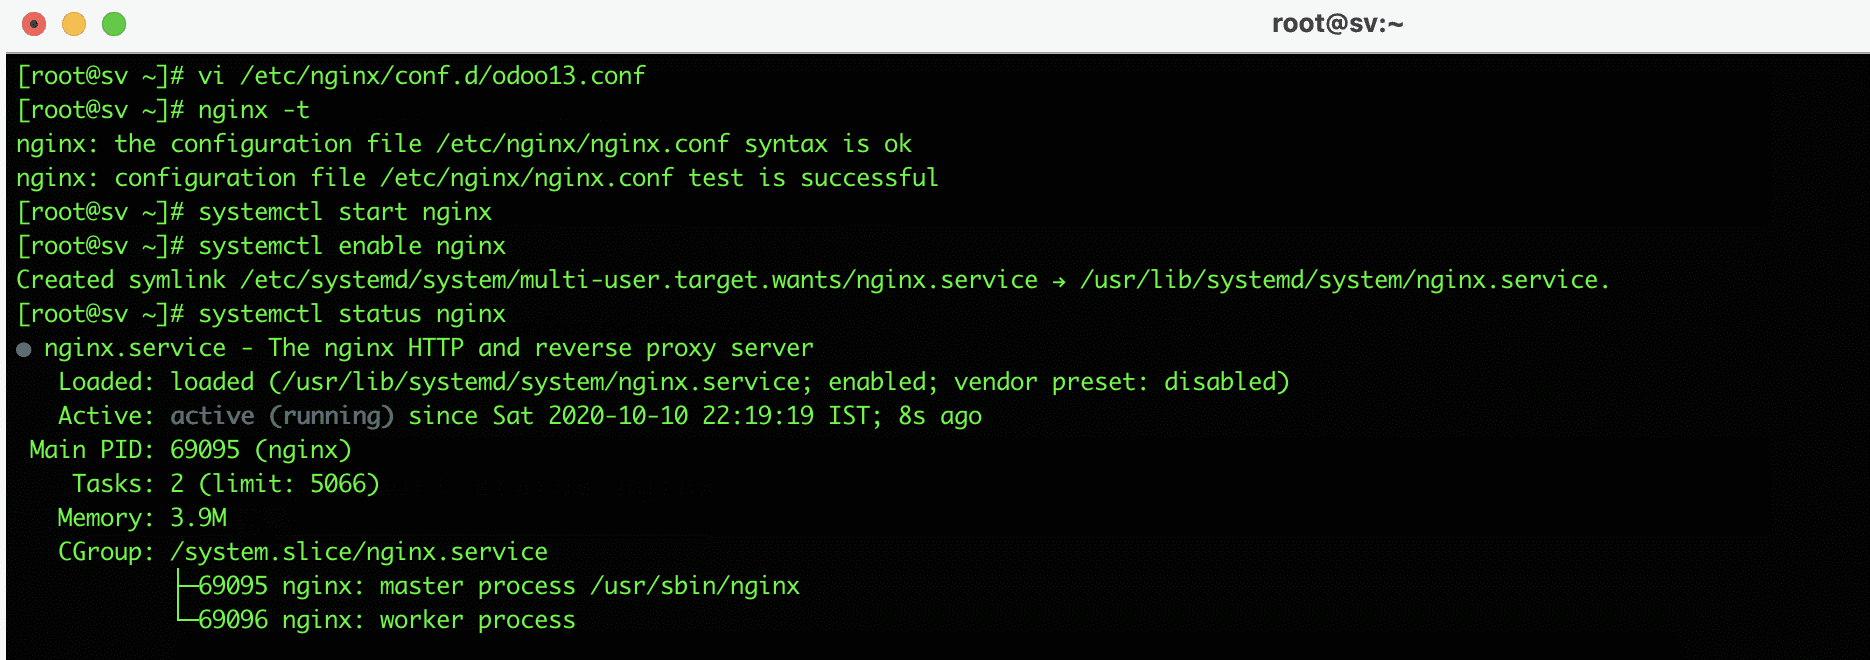
Step 8: Setup Odoo Setup web browser
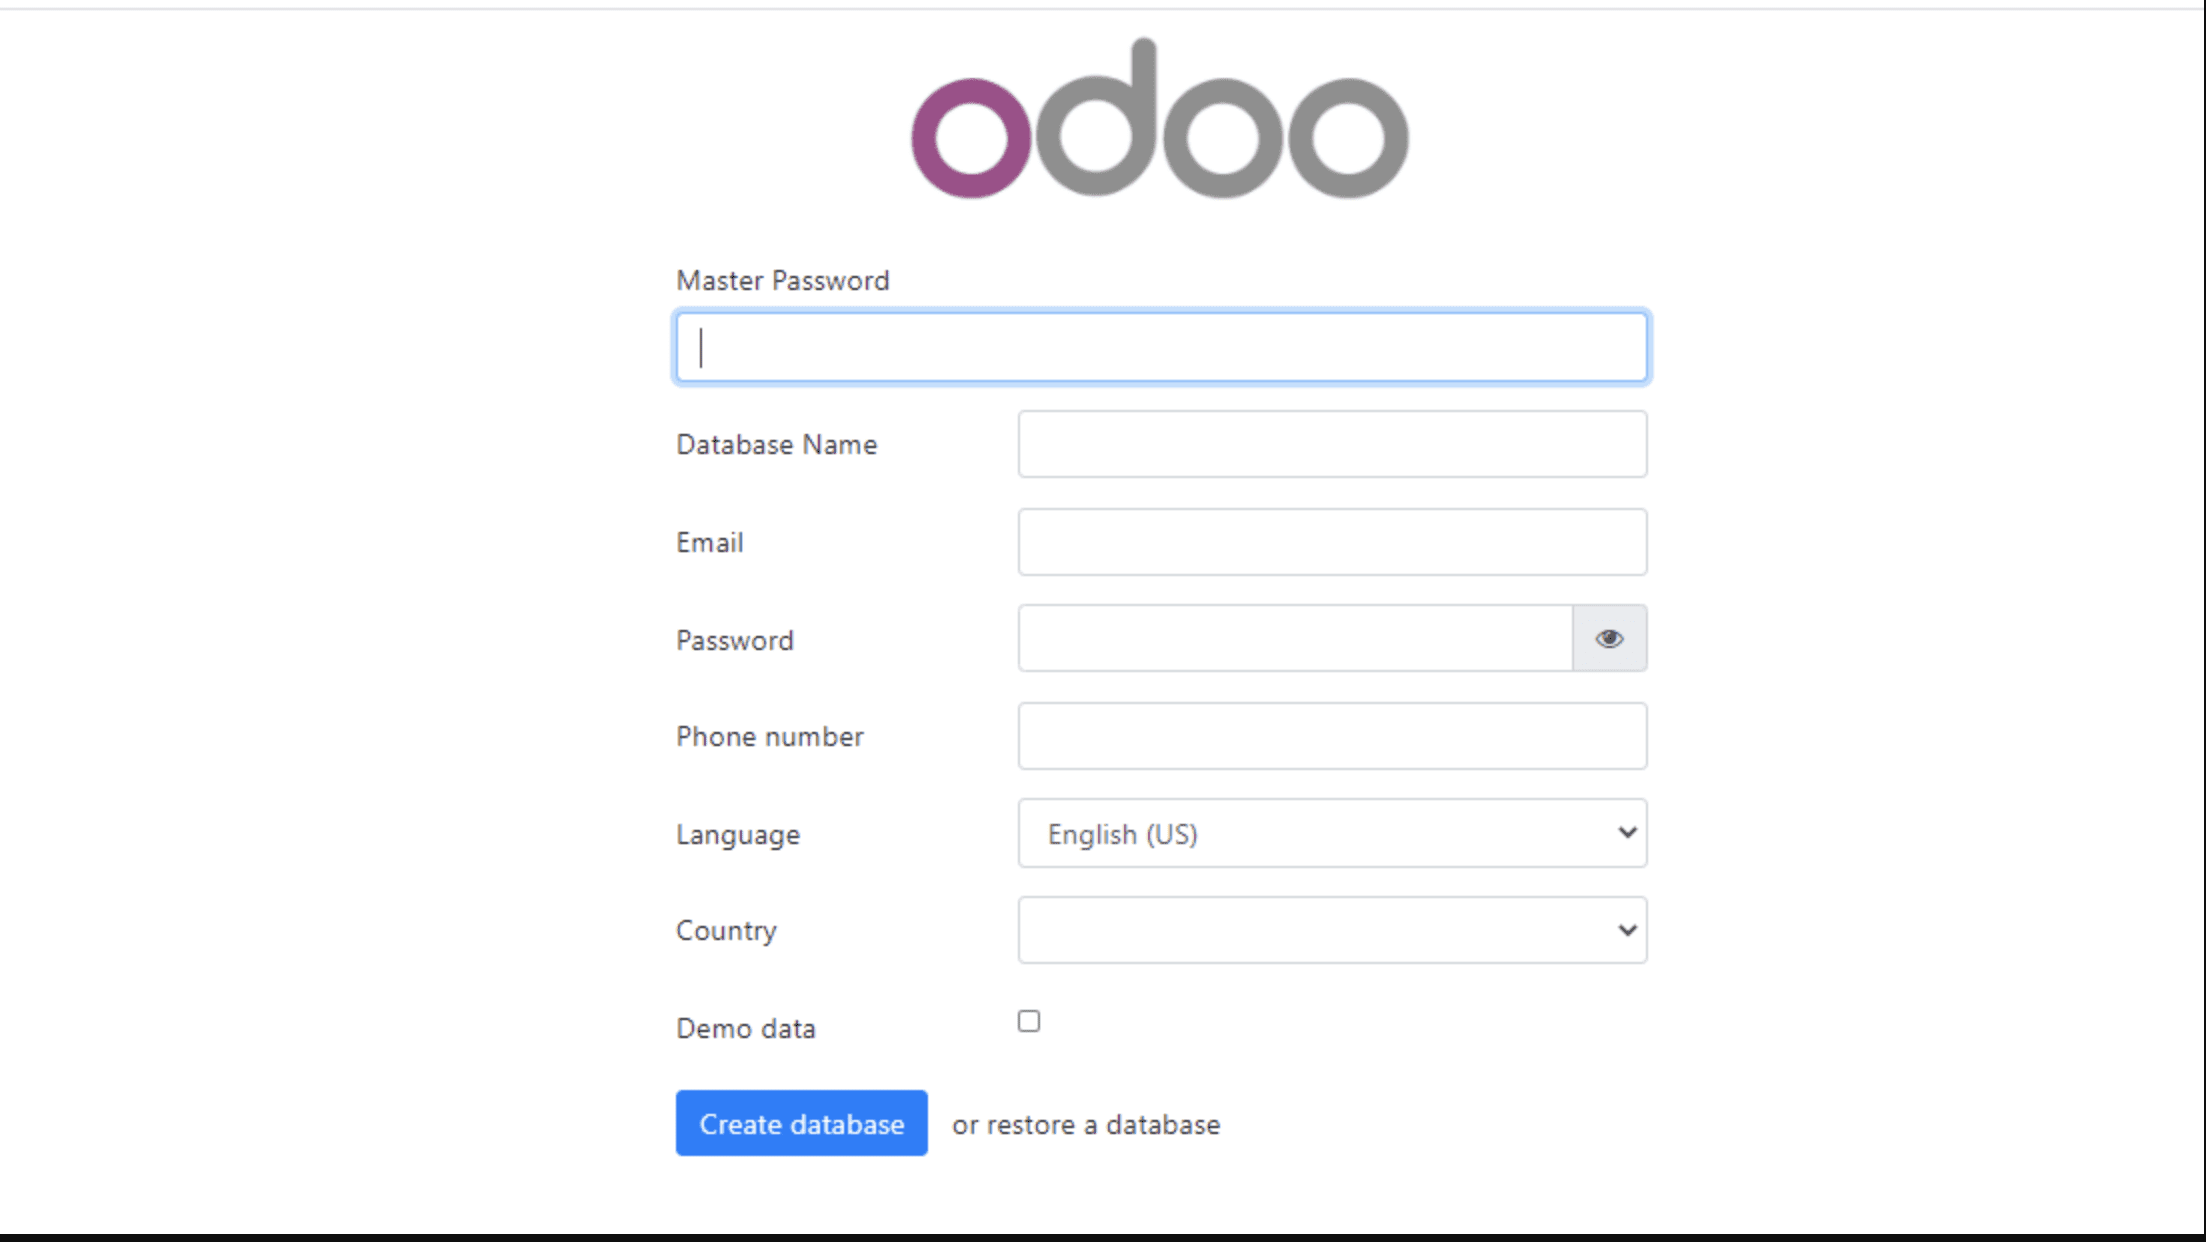
Now go to https://server-ip to access Odoo and set up the next steps.
A web page similar to the one below will be displayed: For the main password, use the password specified in Step 5 when creating the custom Odoo configuration file. Then proceed to fill in all the other entries and click the Create database button.
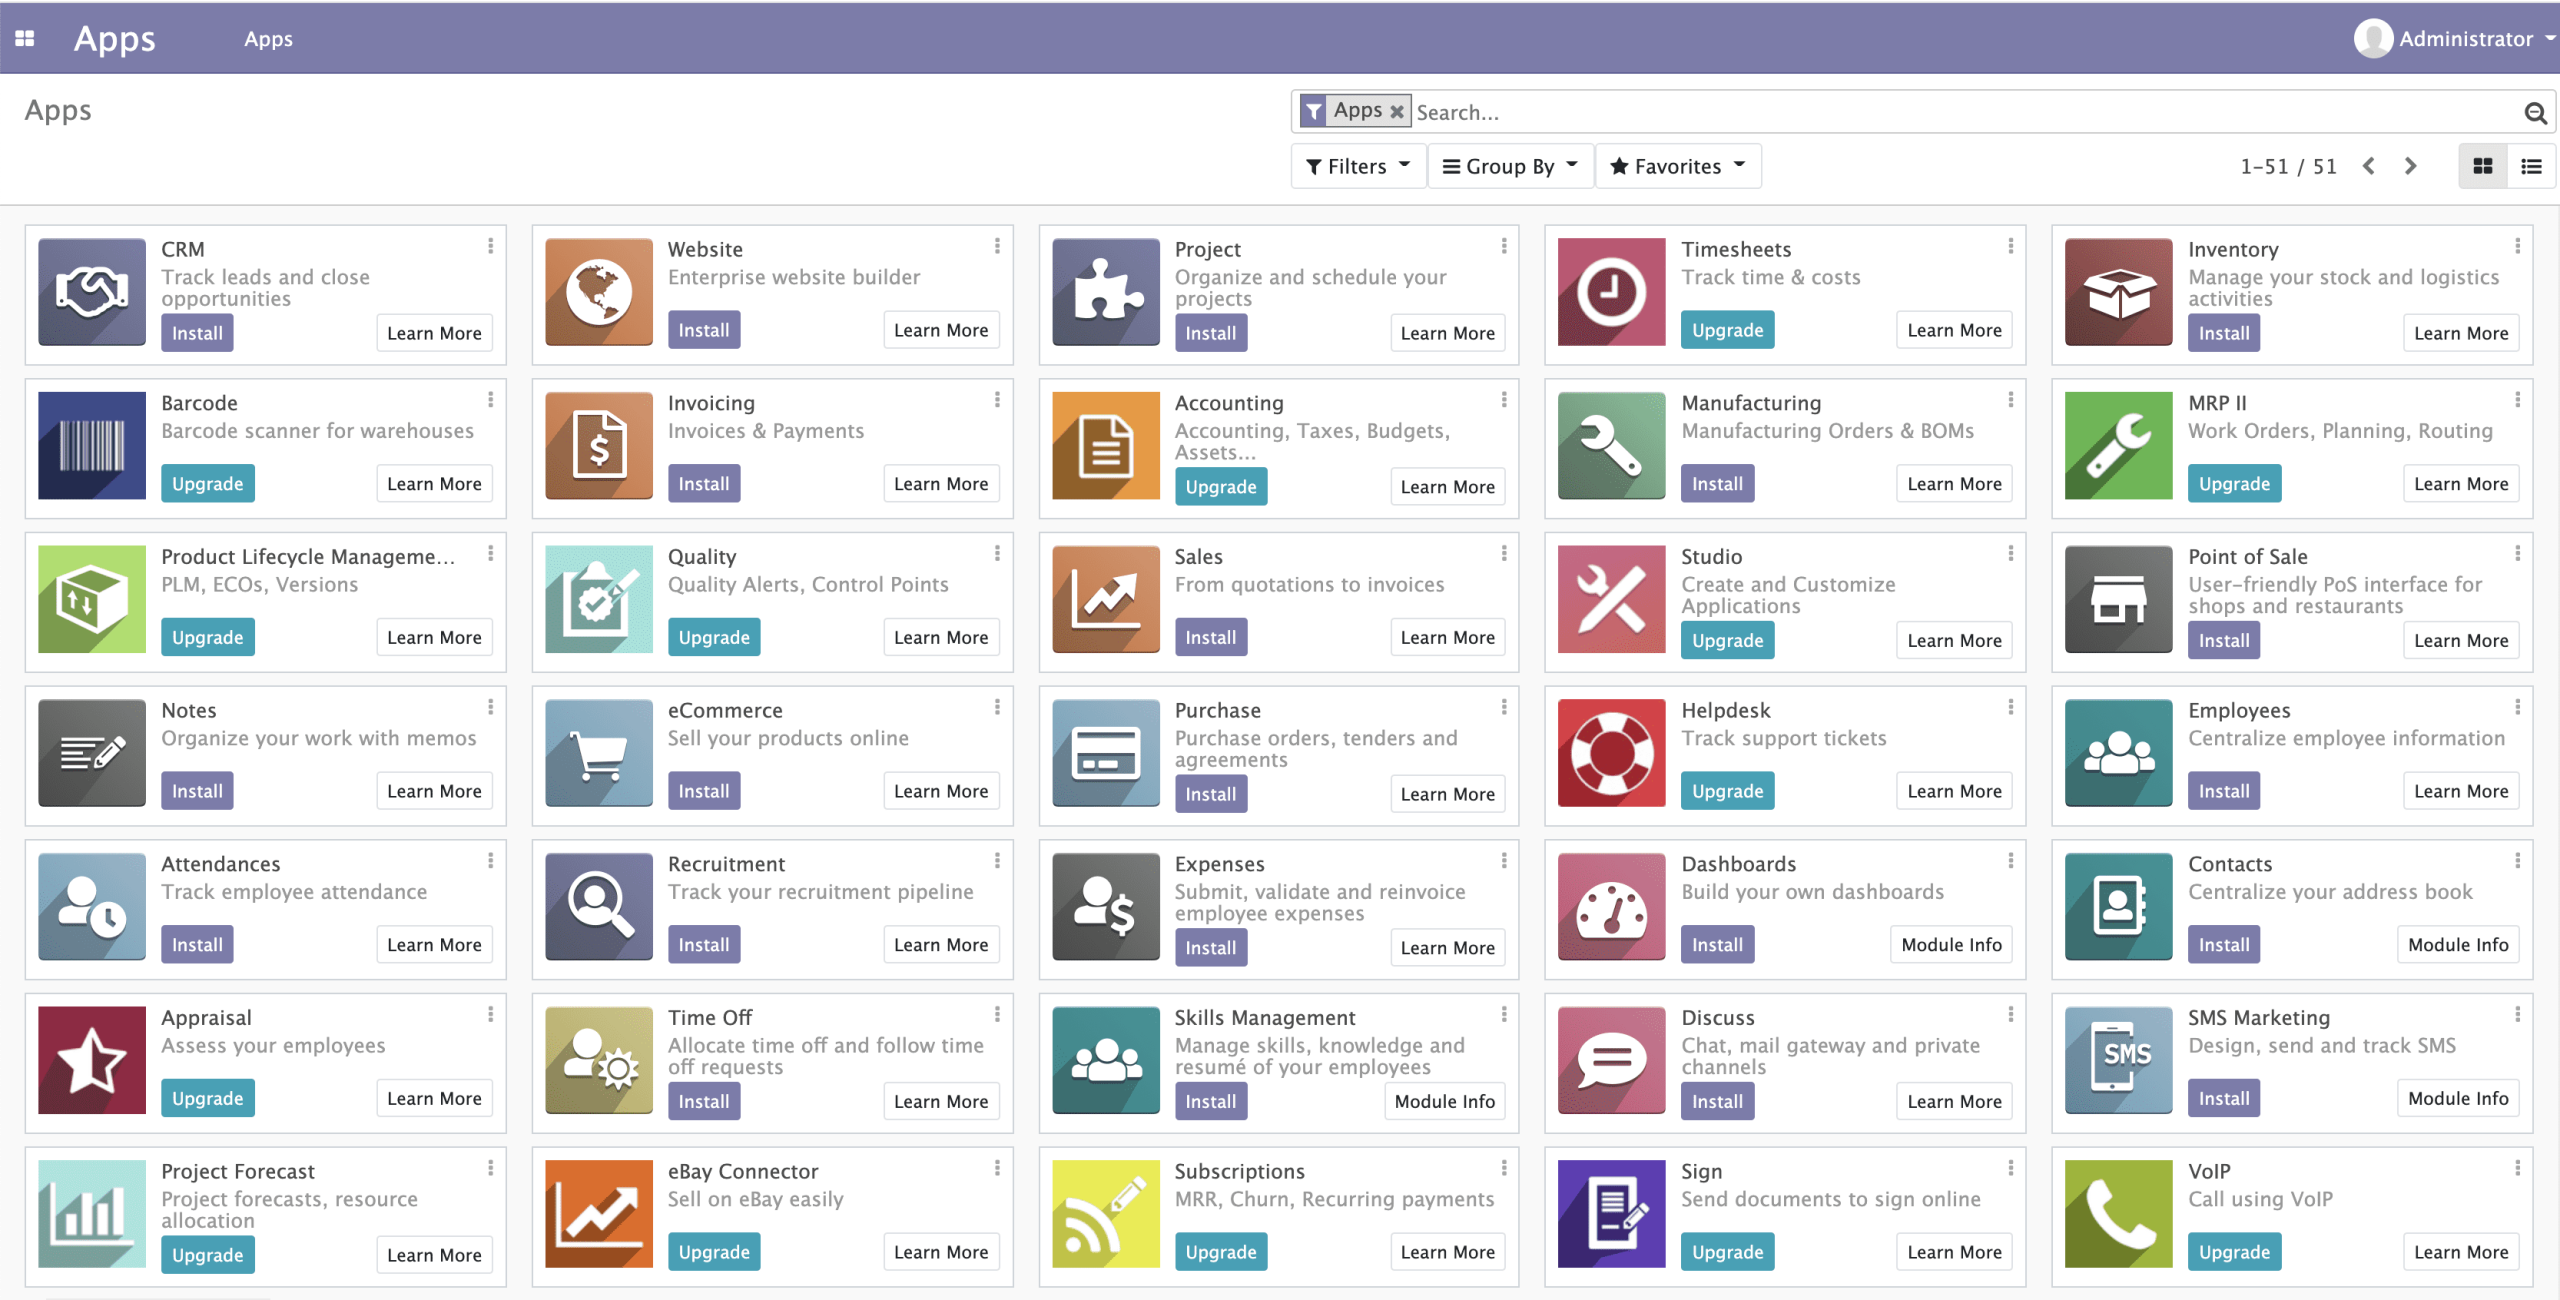
After successfully entering the information, it will take you to the dashboard interface as shown below: You will see different applications and can install applications.
So AZDIGI has just shown you to complete the installation of Odoo on CentOS 8. Hopefully, the above article will help you to be proactive in the installation without any problems.
If you have questions or need support, please live chat with Technical Department. Or send the ticket to the Technical Department according to the information below.
- Hotline 247: 028 888 24768 (Ext 0)
- Ticket/Email: You can use your email to register for the service and send it directly to: support@azdigi.com
About the author

Thạch Phạm
Đồng sáng lập và Giám đốc điều hành của AZDIGI. Có hơn 15 năm kinh nghiệm trong phổ biến kiến thức liên quan đến WordPress tại thachpham.com, phát triển website và phát triển hệ thống.