Nội dung
Install WordPress on Openlitespeed
In the previous post, AZDIGI showed you how to add a website to Openlitespeed, now it’s time for you to install your website and start using it.
I. Overview
Continuing with the familiarization with Openlitespeed, today AZDIGI will guide you to quickly install popular source codes such as WordPress/Joomla/Laravel quickly and simply. Specifically, in this article, AZDIGI will guide you to install the WordPress source code on your website, let’s follow along.
In addition, you can learn more about the WebAdmin Console interface at the link below:
Now, let’s take a look at the article to do it together with AZDIGI.
II. Implementation guide
To install WordPress on Openlitespeed, you can follow these 4 steps:
Step 1: SSH into your Openlitespeed server
To install a WordPress website on Openlitespeed, you first need to install SSH to the VPS with the highest root privileges. If you do not know how to SSH into VPS, you can check out the tutorial article below:
Step 2: Create a database
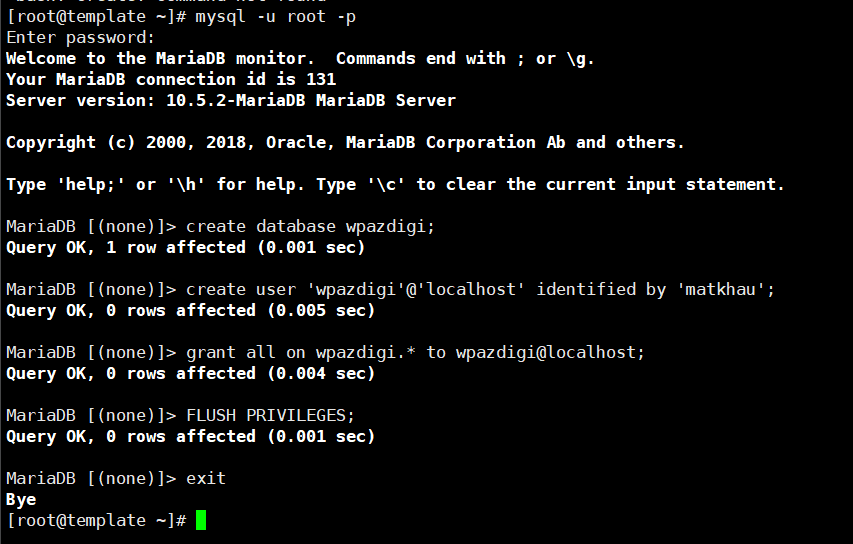
After successfully SSHing into the VPS, you proceed to create a database for the website with the following commands:
mysql -u root -p
create database wpazdigi;
create user 'wpazdigi'@'localhost' identified by 'matkhau';
grant all on wpazdigi.* to wpazdigi@localhost;
FLUSH PRIVILEGES;
exit
Command annotation:
- Command 1: Log in to Maria DB with user root
- Command 2: Create a database
- Command 3: Create User and Password
- Command 4: Grant permissions to the User
Step 3: Install WordPress
To install the WordPress source code, execute the following commands in turn:
cd /usr/local/lsws/azdigi.cf/html
wget http://wordpress.org/latest.tar.gz
tar -zxvf latest.tar.gz
mv wordpress/* .
chown -R nobody:nobody /usr/local/lsws/azdigi.cf/html
Command annotation:
- Command 1: Move to the folder containing your source code (you replace azdigi.cf = your website name).
- Command 2: Download the WordPress source code from the homepage
- Command 3: Extract the downloaded file
- Command 4: Move the source code inside the wordpress folder to the html root folder
- Command 5: Give permission to the directory (you replace azdigi.cf = your website name).
In addition to how to get the WordPress source code directly to VPS as above, you can also download the WordPress source code from the homepage to your computer. Then upload the source code to VPS through software like Filezilla, Winscp…
Step 4: Set up your WordPress website
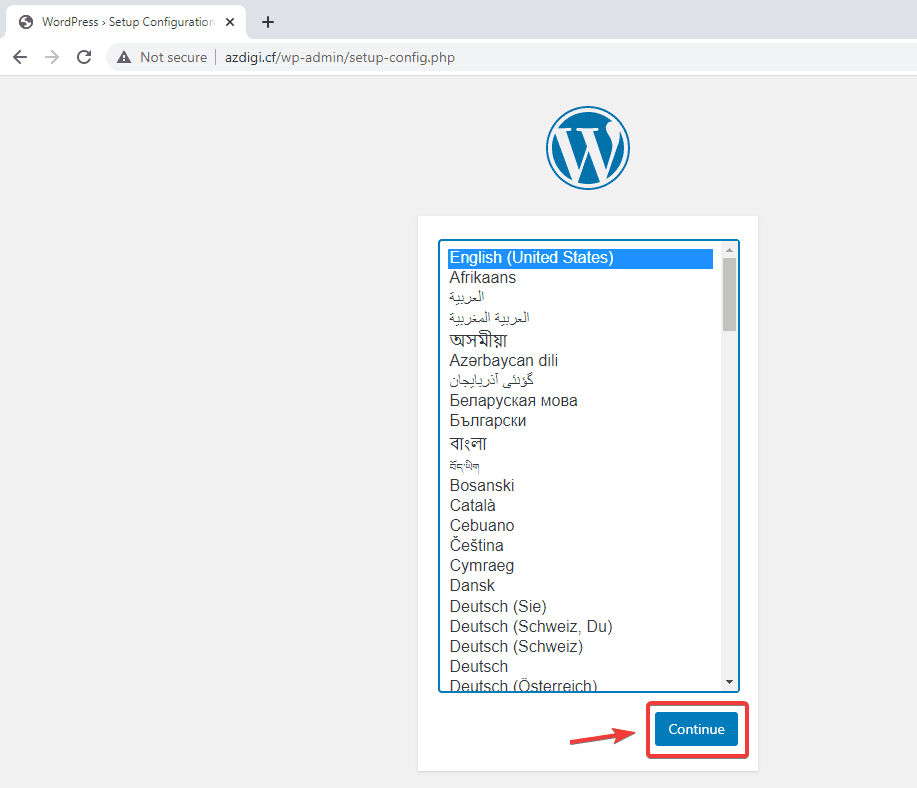
After you have downloaded the source code and created the database, now you set up your WordPress website by going to the browser and typing the name of your website =>the WordPress setup interface will display as shown below You select the language and click Continue.
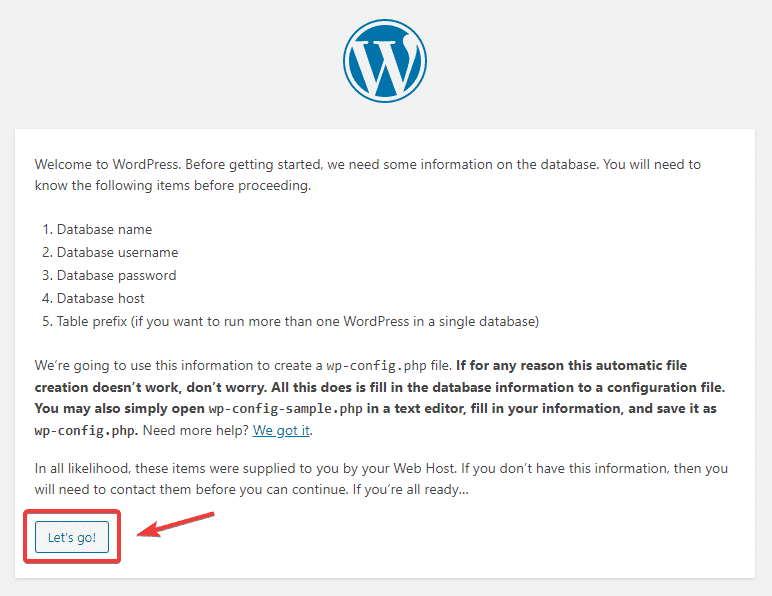
Continue clicking Let’s go!
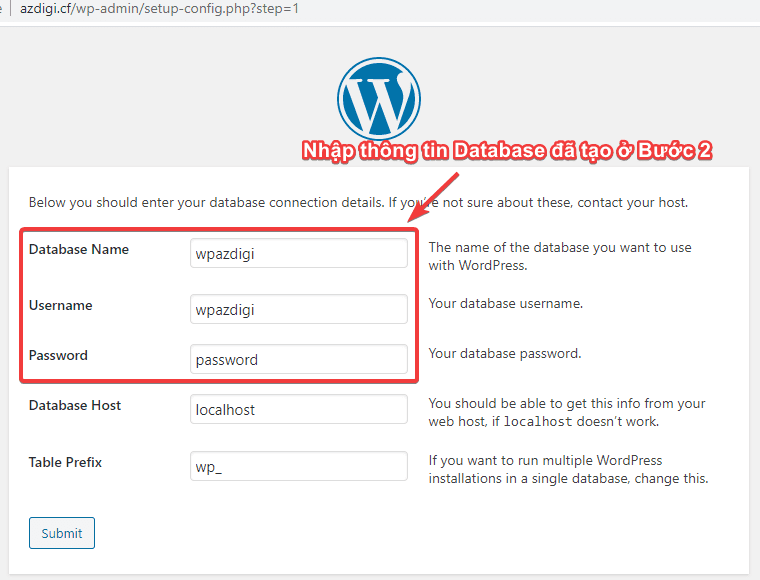
Then you fill in the database information entered in Step 2 => Submit.
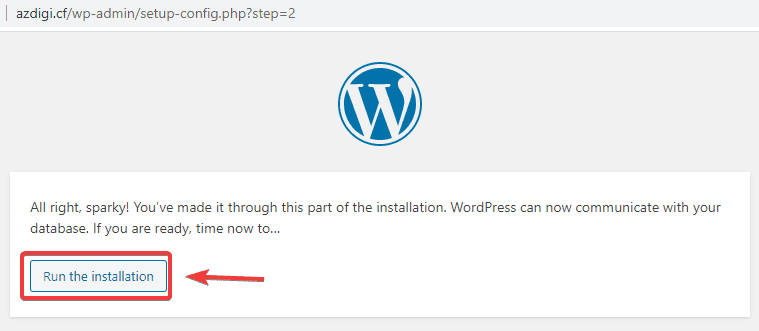
Next, click Run the installation.
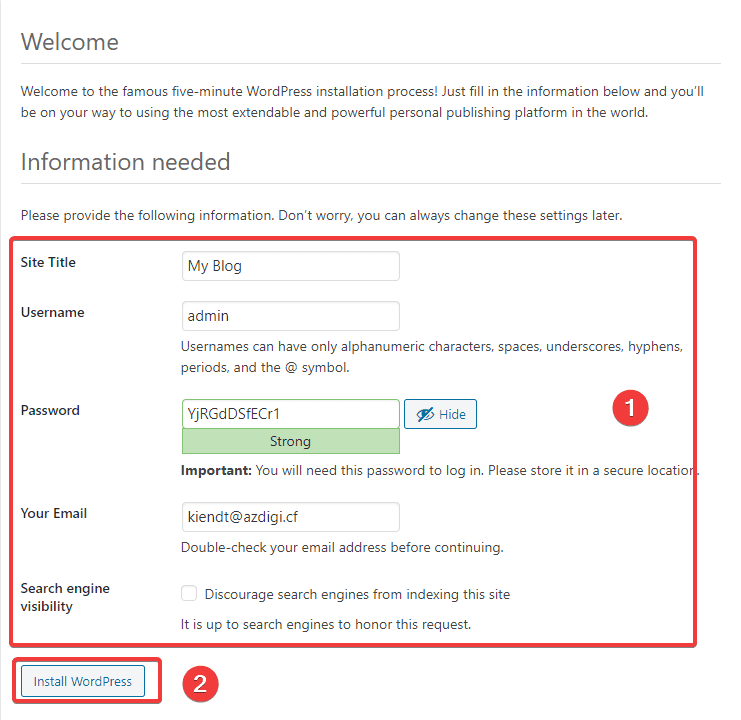
At the next interface, you fill in the website information as follows:
In there:
- Site Title
- Username
- Password
- Your Email
After filling in all the information, click Install WordPress to complete the installation process.
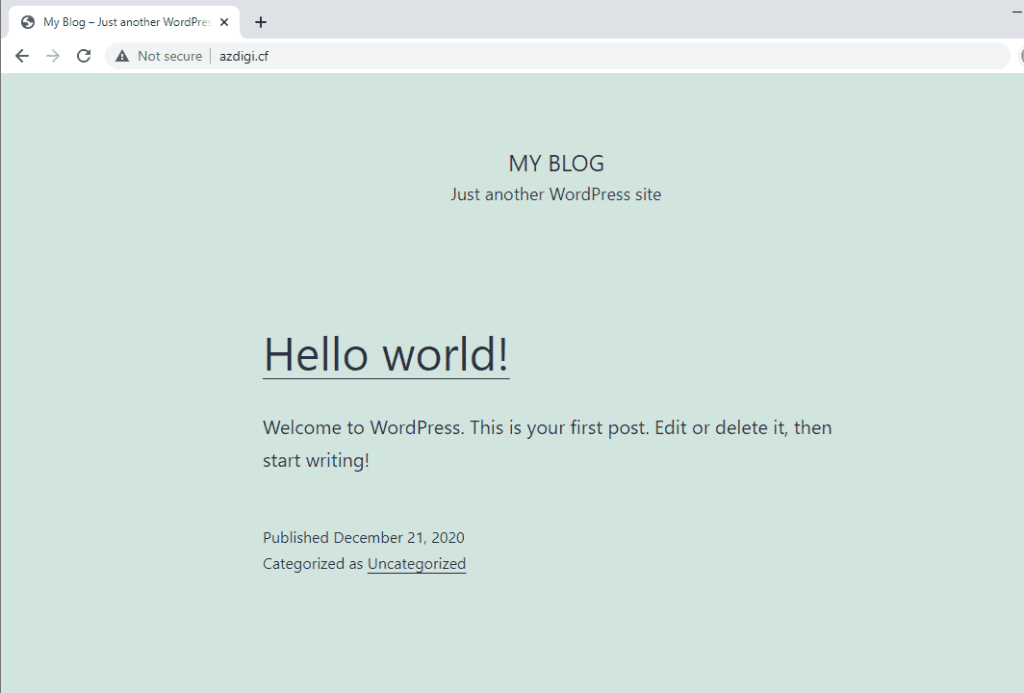
The website interface after installation will look as below:
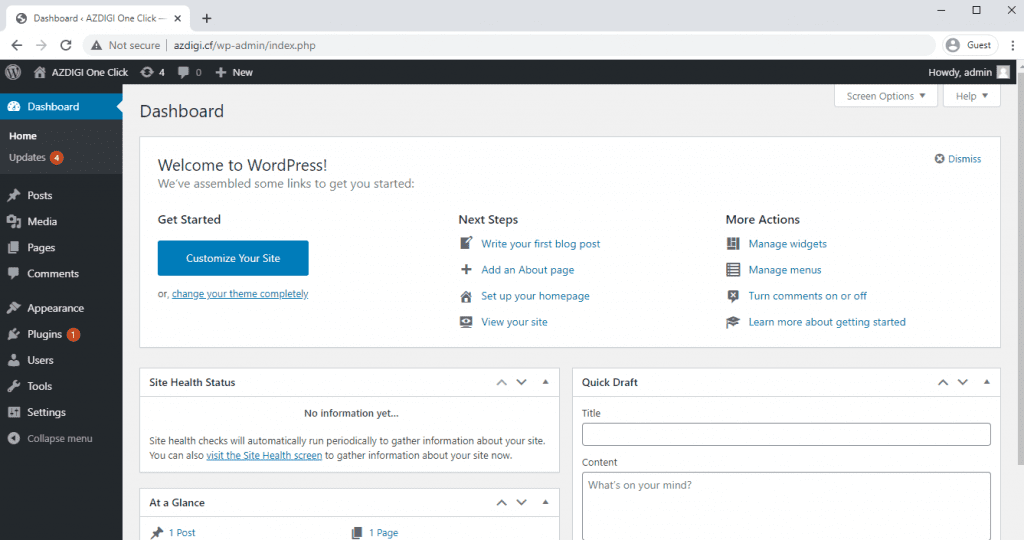
To access the Admin page, go to http://yourdomain.com/wp-admin and the interface will look like this:
III. Summary
Thus, AZDIGI has complete instructions on how to install WordPress on Openlitespeed. This WordPress installation is a bit complicated, but after successful setup, you will have a better experience using the website regardless of previous automatic WordPress installations. Because with WordPress, until now, no Webserver can surpass Litespeed Webserver’s performance. If you find the article useful, please share it widely!
Wishing you success!
If you need assistance, you can contact support in the ways below:
- Hotline 247: 028 888 24768 (Ext 0)
- Ticket/Email: You use the email to register for the service and send it directly to: support@azdigi.com .

