
In today’s article, AZDIGI will show you how to import the database using the Terminal command on cPanel.
I. Overview
The Terminal feature is default enabled for most of the cPanel hosting packages at AZDIGI. This feature will allow you to perform basic commands such as wget, cd, cp, mv… and wp-cli group commands. In this article, I will show you to use the mysql command to import the data of a database into an empty database created earlier.
Why don’t we do the import through phpMyAdmin?
In some cases, your database is too heavy, when importing through phpMyAdmin will fail, or only push up part of the data. And the command import will be extremely useful, even with weak hosting packages.
And when performing import with the command, the system will import until there is enough data to stop.
II. Import database by command with Terminal
To import the database by command with Terminal, we follow these 3 steps:
Step 1: Login to cPanel to manage Host
To access to cPanel , please refer to the following tutorial:
After accessing to cPanel, we continue with step 2 to create the database and upload the database.
Step 2: Create the database and upload the database file
To create MySQL Database in cPanel, please refer to the following short tutorial:
After creating the database, remember to save the Database name, User name and password.
For example, I have created a database and user named shopchup_import.
I uploaded a fairly large database file (~200MB) to the root directory of my hosting package.

So that’s step 2 done, we go to step 3 to enter the Terminal feature and use the command to import this database into the shopchup_import database.
Step 3: Import database by command with Terminal
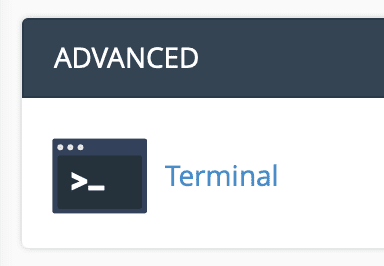
On cPanel, search for the keyword “Terminal” to find this feature. Below is the icon of this feature.
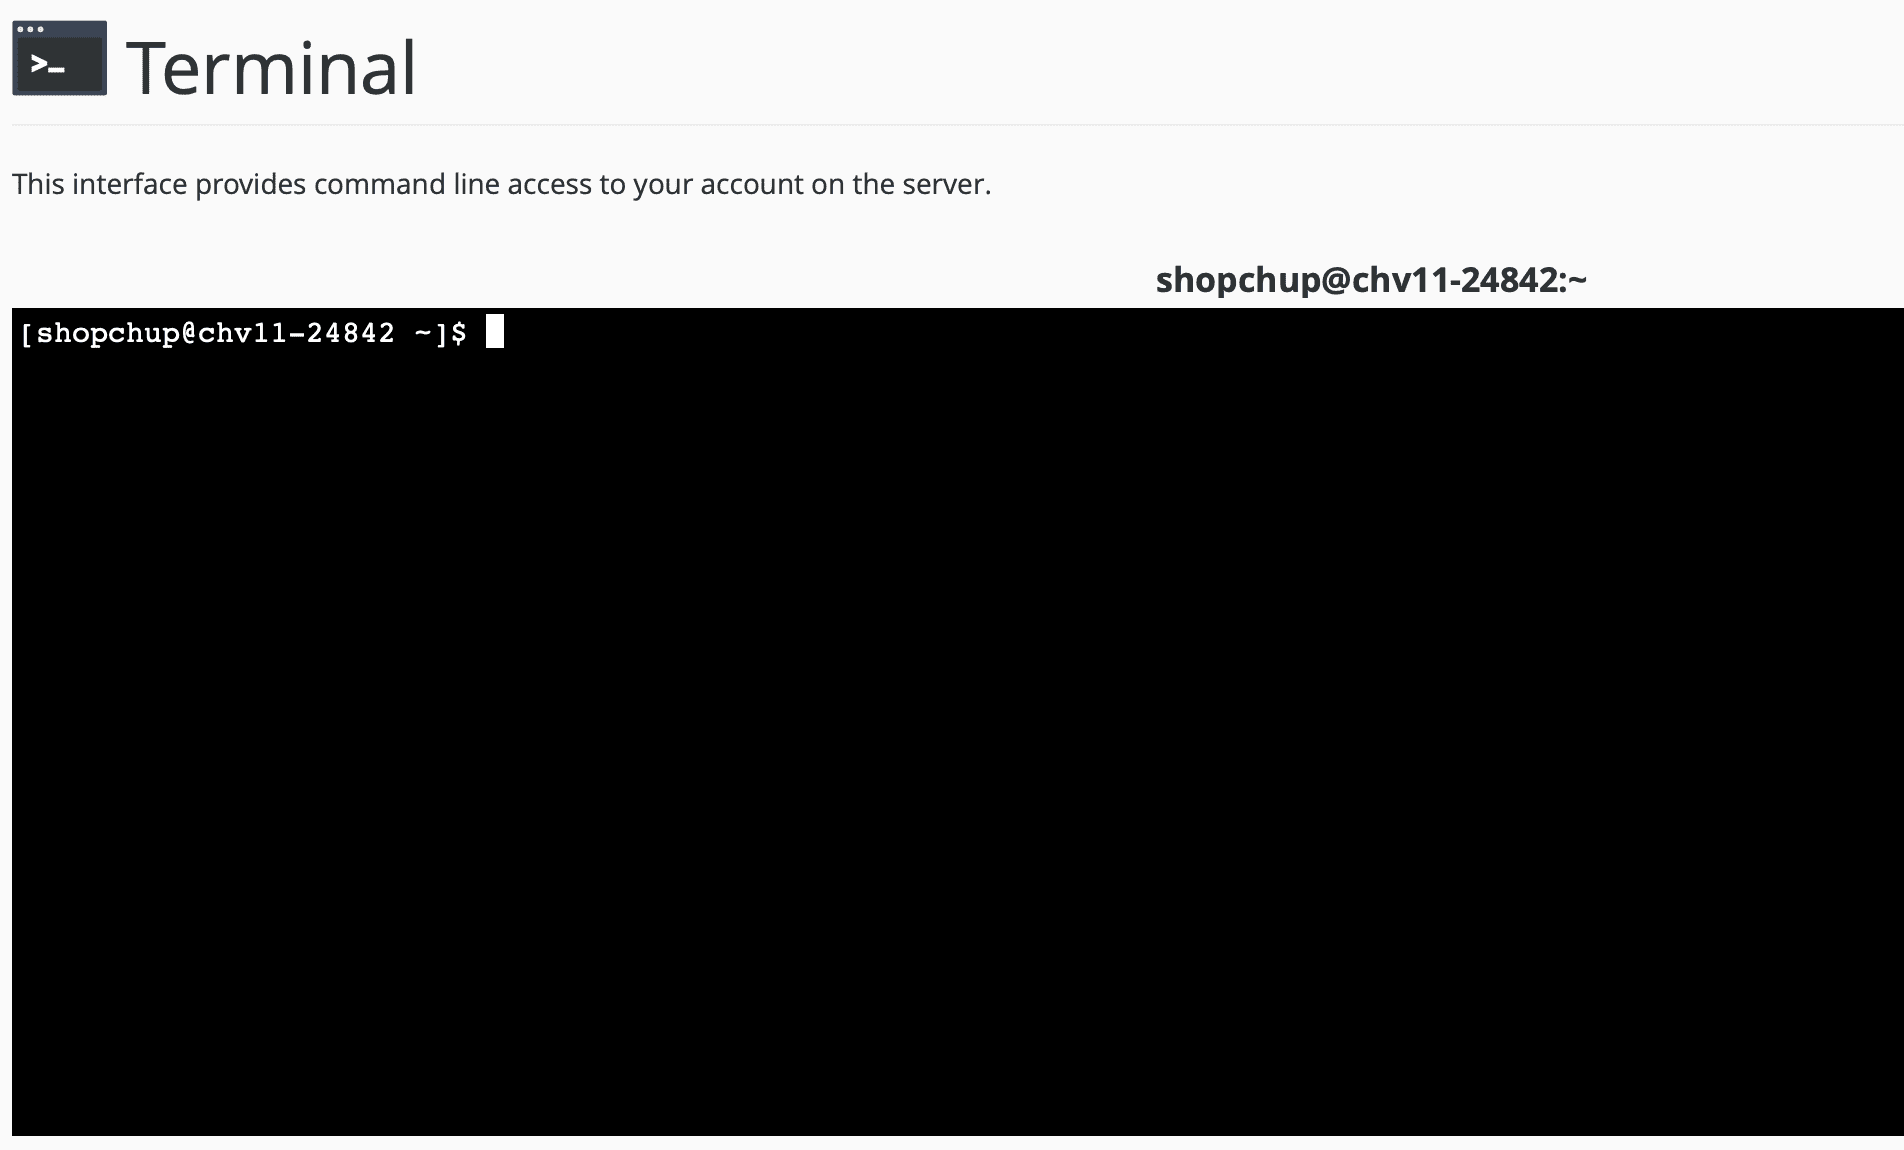
Below is the interface of the Terminal.
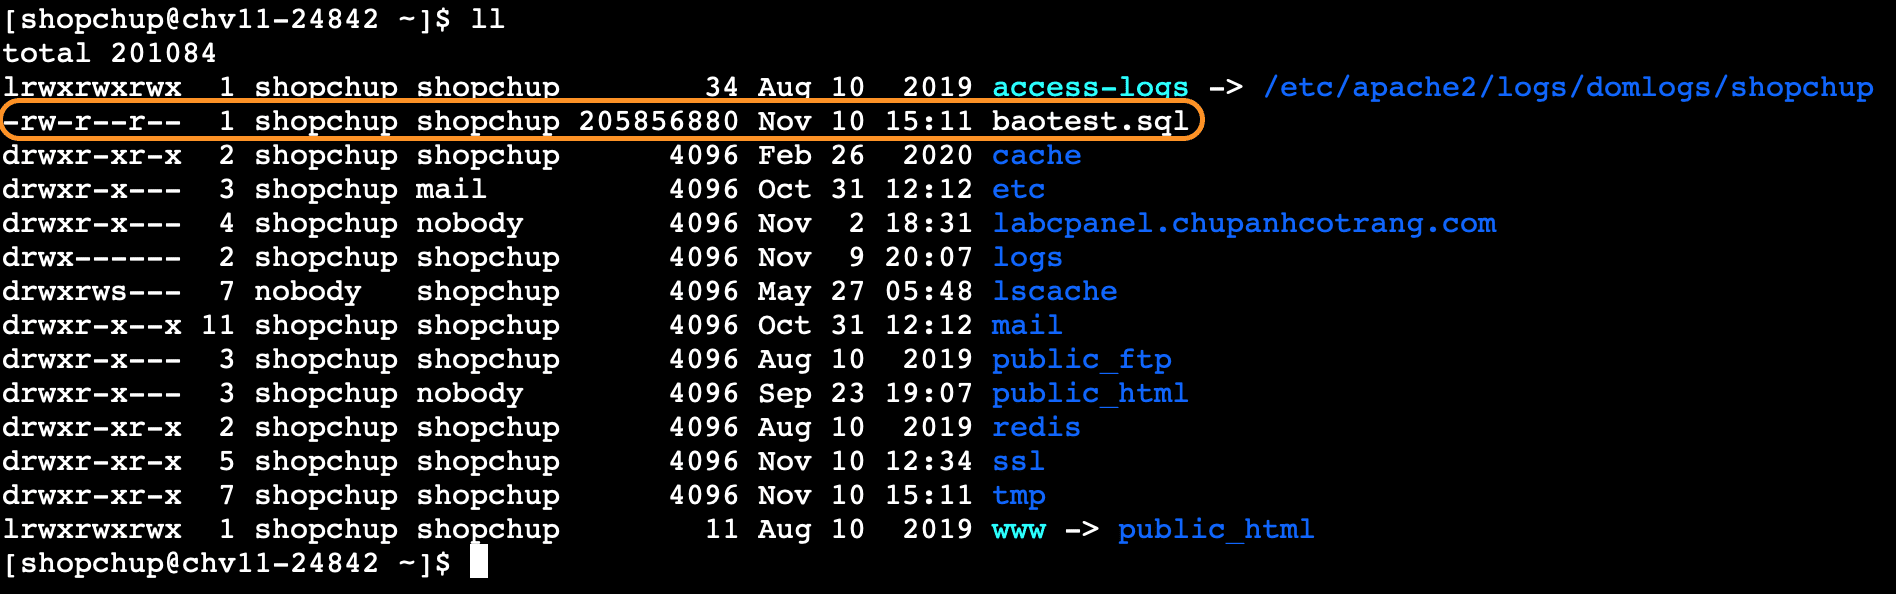
In this window, use the ll command to view all the files in the root directory. Here, I saw the database file I uploaded.
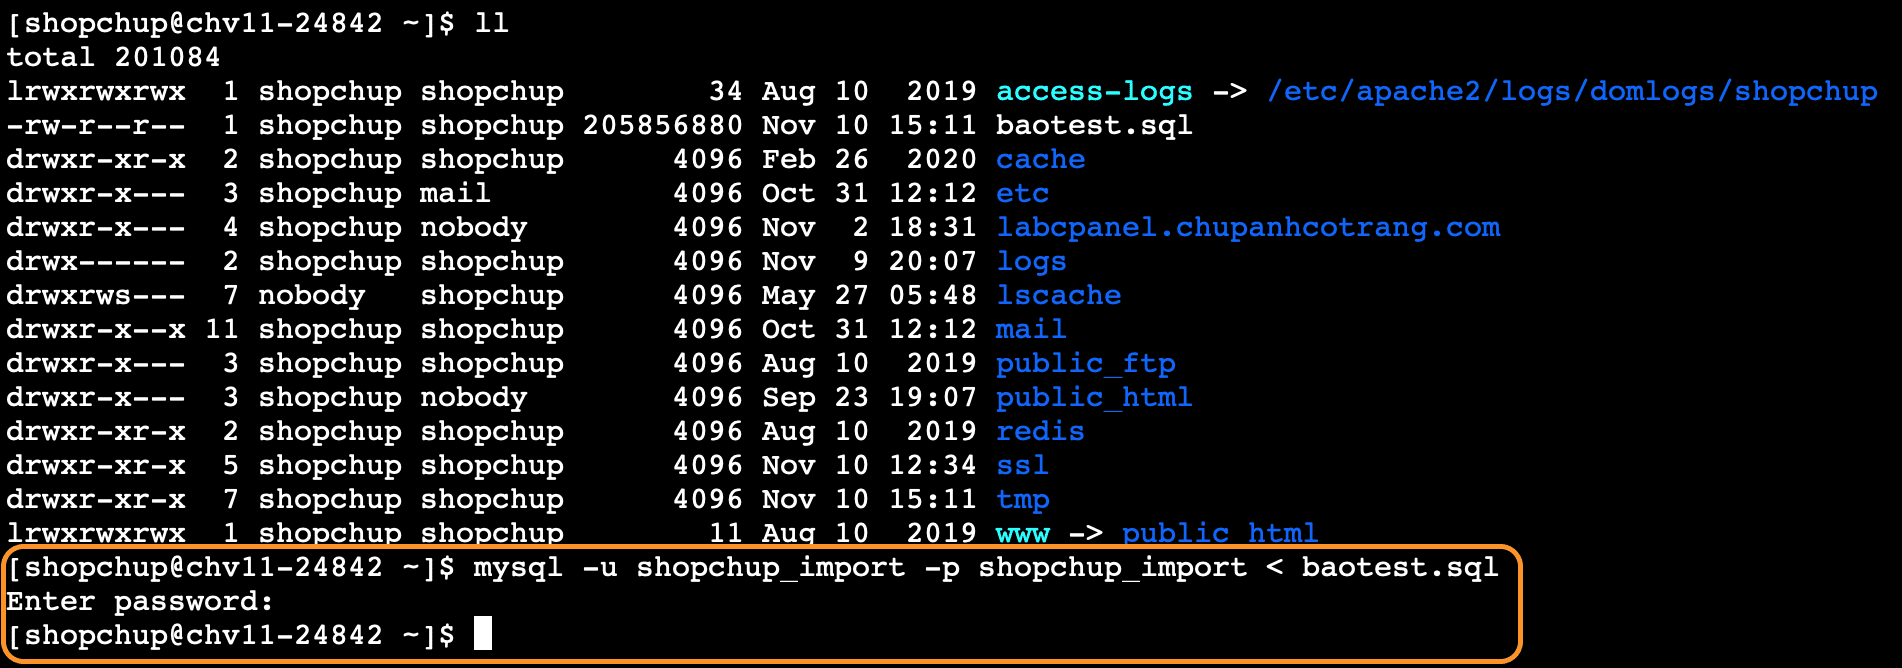
Then I will use the following command to import the database.
mysql -u user_db -p database_db
As in my case, I use the command mysql -u shopchup_import -p shopchup_import < baotest.sql
After entering the system will ask for the User password again.
Please wait a moment for the system to complete the processing.
III. Summary
Through this article, AZDIGI has shown how to import the database using the Terminal command on the cPanel hosting package. This way, you can import databases weighing a few hundred MB to even GB.
Hope this article will be of help to you. Wishing you success!
See more useful cPanel articles at the following link:
If you need support, you can contact our support team in the ways below:
- Hotline 247: 028 888 24768 (Ext 0)
- Ticket/Email: You use the email to register for the service and send it directly to: support@azdigi.com .
About the author

Thạch Phạm
Đồng sáng lập và Giám đốc điều hành của AZDIGI. Có hơn 15 năm kinh nghiệm trong phổ biến kiến thức liên quan đến WordPress tại thachpham.com, phát triển website và phát triển hệ thống.