In this tutorial, AZDIGI will show you how to add time to the backup file name on DirectAdmin.
I. Introduction
By default, when using the Admin Backup/Transfer feature on the DirectAdmin interface with the Admin account, the files after the backup will have the following name:
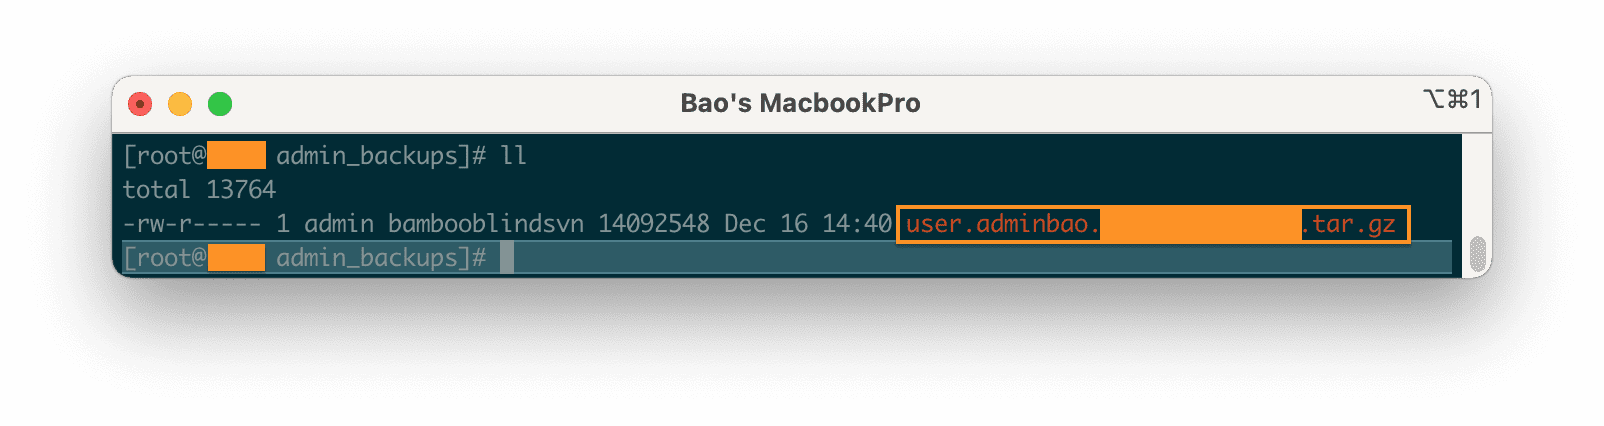
user.reseller.username.tar.gz
In there, the username will correspond to the name of that user and the reseller will be the owner of that user.
For example, below is a User belonging to reseller adminbao that I just created a backup. As you can see, the backup filename doesn’t have a date when you created the backup, and when you continue to backup for this user, this file will be overwritten by the new backup file.
AZDIGI will show you how to add time to the DirectAdmin backup filename to fix this situation. It is convenient to manage and restore from many different backup versions.
II. Add time to backup filenames on DirectAdmin
To add time to the backup filename on DirectAdmin, we follow these 3 steps.
Step 1: SSH into your DirectAdmin system
To add time to the backup filename on DirectAdmin, we first need to SSH or access your VPS/server with root privileges. If you don’t know how to SSH into your VPS/Server, you can refer to the following tutorial:
After successfully SSH, we continue with step 2 to create a script that supports adding time to the backup filename on DirectAdmin.
Step 2: Create a script that adds time to the backup filename on DirectAdmin
To create this script and save it in the correct location, use the following command:
vi /usr/local/directadmin/scripts/custom/user_backup_post.sh
Next, please fill in the content into this file:
#!/bin/sh#set this as needed RESELLER=admin
BACKUP_PATH=`echo $file | cut -d/ -f1,2,3,4` REQUIRED_PATH=/home/$RESELLER/admin_backups
if [ "$BACKUP_PATH" = "$REQUIRED_PATH" ]; then if [ "`echo $file | cut -d. -f4,5`" = "tar.gz" ]; then NEW_FILE=`echo $file | cut -d. -f1,2,3`.`date +%F-%Hh-%Mp`.tar.gz if [ -s "$file" ] && [ ! -e "$NEW_FILE" ]; then mv $file $NEW_FILE fi fi fi exit 0;
Then save and run the following command to assign permissions to the newly created file.
chmod 755 /usr/local/directadmin/scripts/custom/user_backup_post.sh
Now let’s go to step 3 to create a backup for a user and recheck the filename.
Step 3: Backup a User on DirectAdmin
If you want to back up users with the command,
you can refer to the following article:
If you backup users with the DirectAdmin interface, the location you save must is file /home/admin/admin_backups.
Below is the file I just created for a new backup.
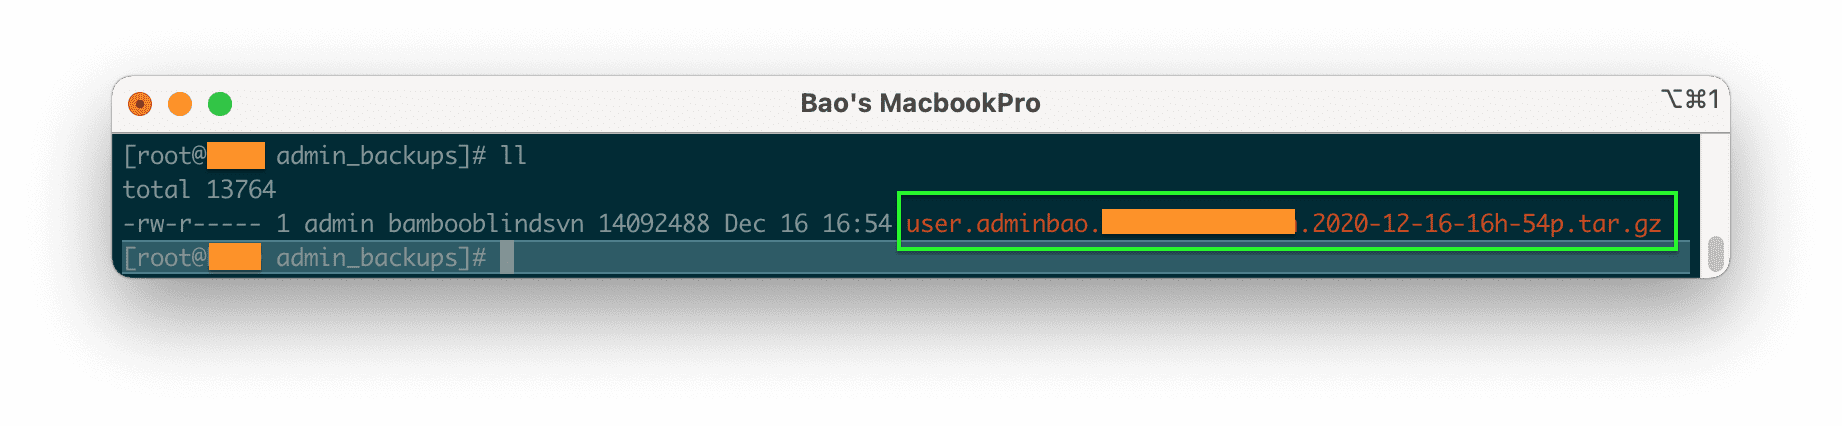
As you can see, the backup filename also shows the date, time, and minutes. You should combine the following articles with being able to back up to Google Drive to make your backups safer.
III. Summary
With just 3 steps, you can add time to the DirectAdmin backup filename, so you can easily restore data from multiple backups at different time points.
Hope this article will be of help to you. Wishing you success!
See more useful articles about DirectAdmin at the following link:
If you need assistance, you can contact support in the ways below:
- Hotline 247: 028 888 24768 (Ext 0)
- Ticket/Email: You use the email to register for the service and send it directly to: support@azdigi.com .
- Website AZDIGI: https://azdigi.com/
About the author

Thạch Phạm
Đồng sáng lập và Giám đốc điều hành của AZDIGI. Có hơn 15 năm kinh nghiệm trong phổ biến kiến thức liên quan đến WordPress tại thachpham.com, phát triển website và phát triển hệ thống.