Nội dung
In this article, AZDIGI will show you how to install WordPress on DirectAdmin in the simplest and easiest way. But there’s certainly no shortage of details.
I. Overview
WordPress is the most popular website source code in the world and currently accounts for 63.5% of worldwide (Updated on September 3, 2020), you can see this by searching the keyword “WordPress market share” on Google.
And DirectAdmin is also a popular control panel behind cPanel, its advantage is that it uses extremely few resources, so it is very compatible with VPS with a modest configuration but wants to run many websites.
Let’s learn the steps to install WordPress on DirectAdmin.
II. How to install WordPress on DirectAdmin
To install WordPress on DirectAdmin, follow these 5 steps.
Step 1: Download the default WordPress install
To download the default WordPress install, access the following path:
After downloading a compressed file, we proceed to access the DirectAdmin interface.
Step 2: Access your DirectAdmin account
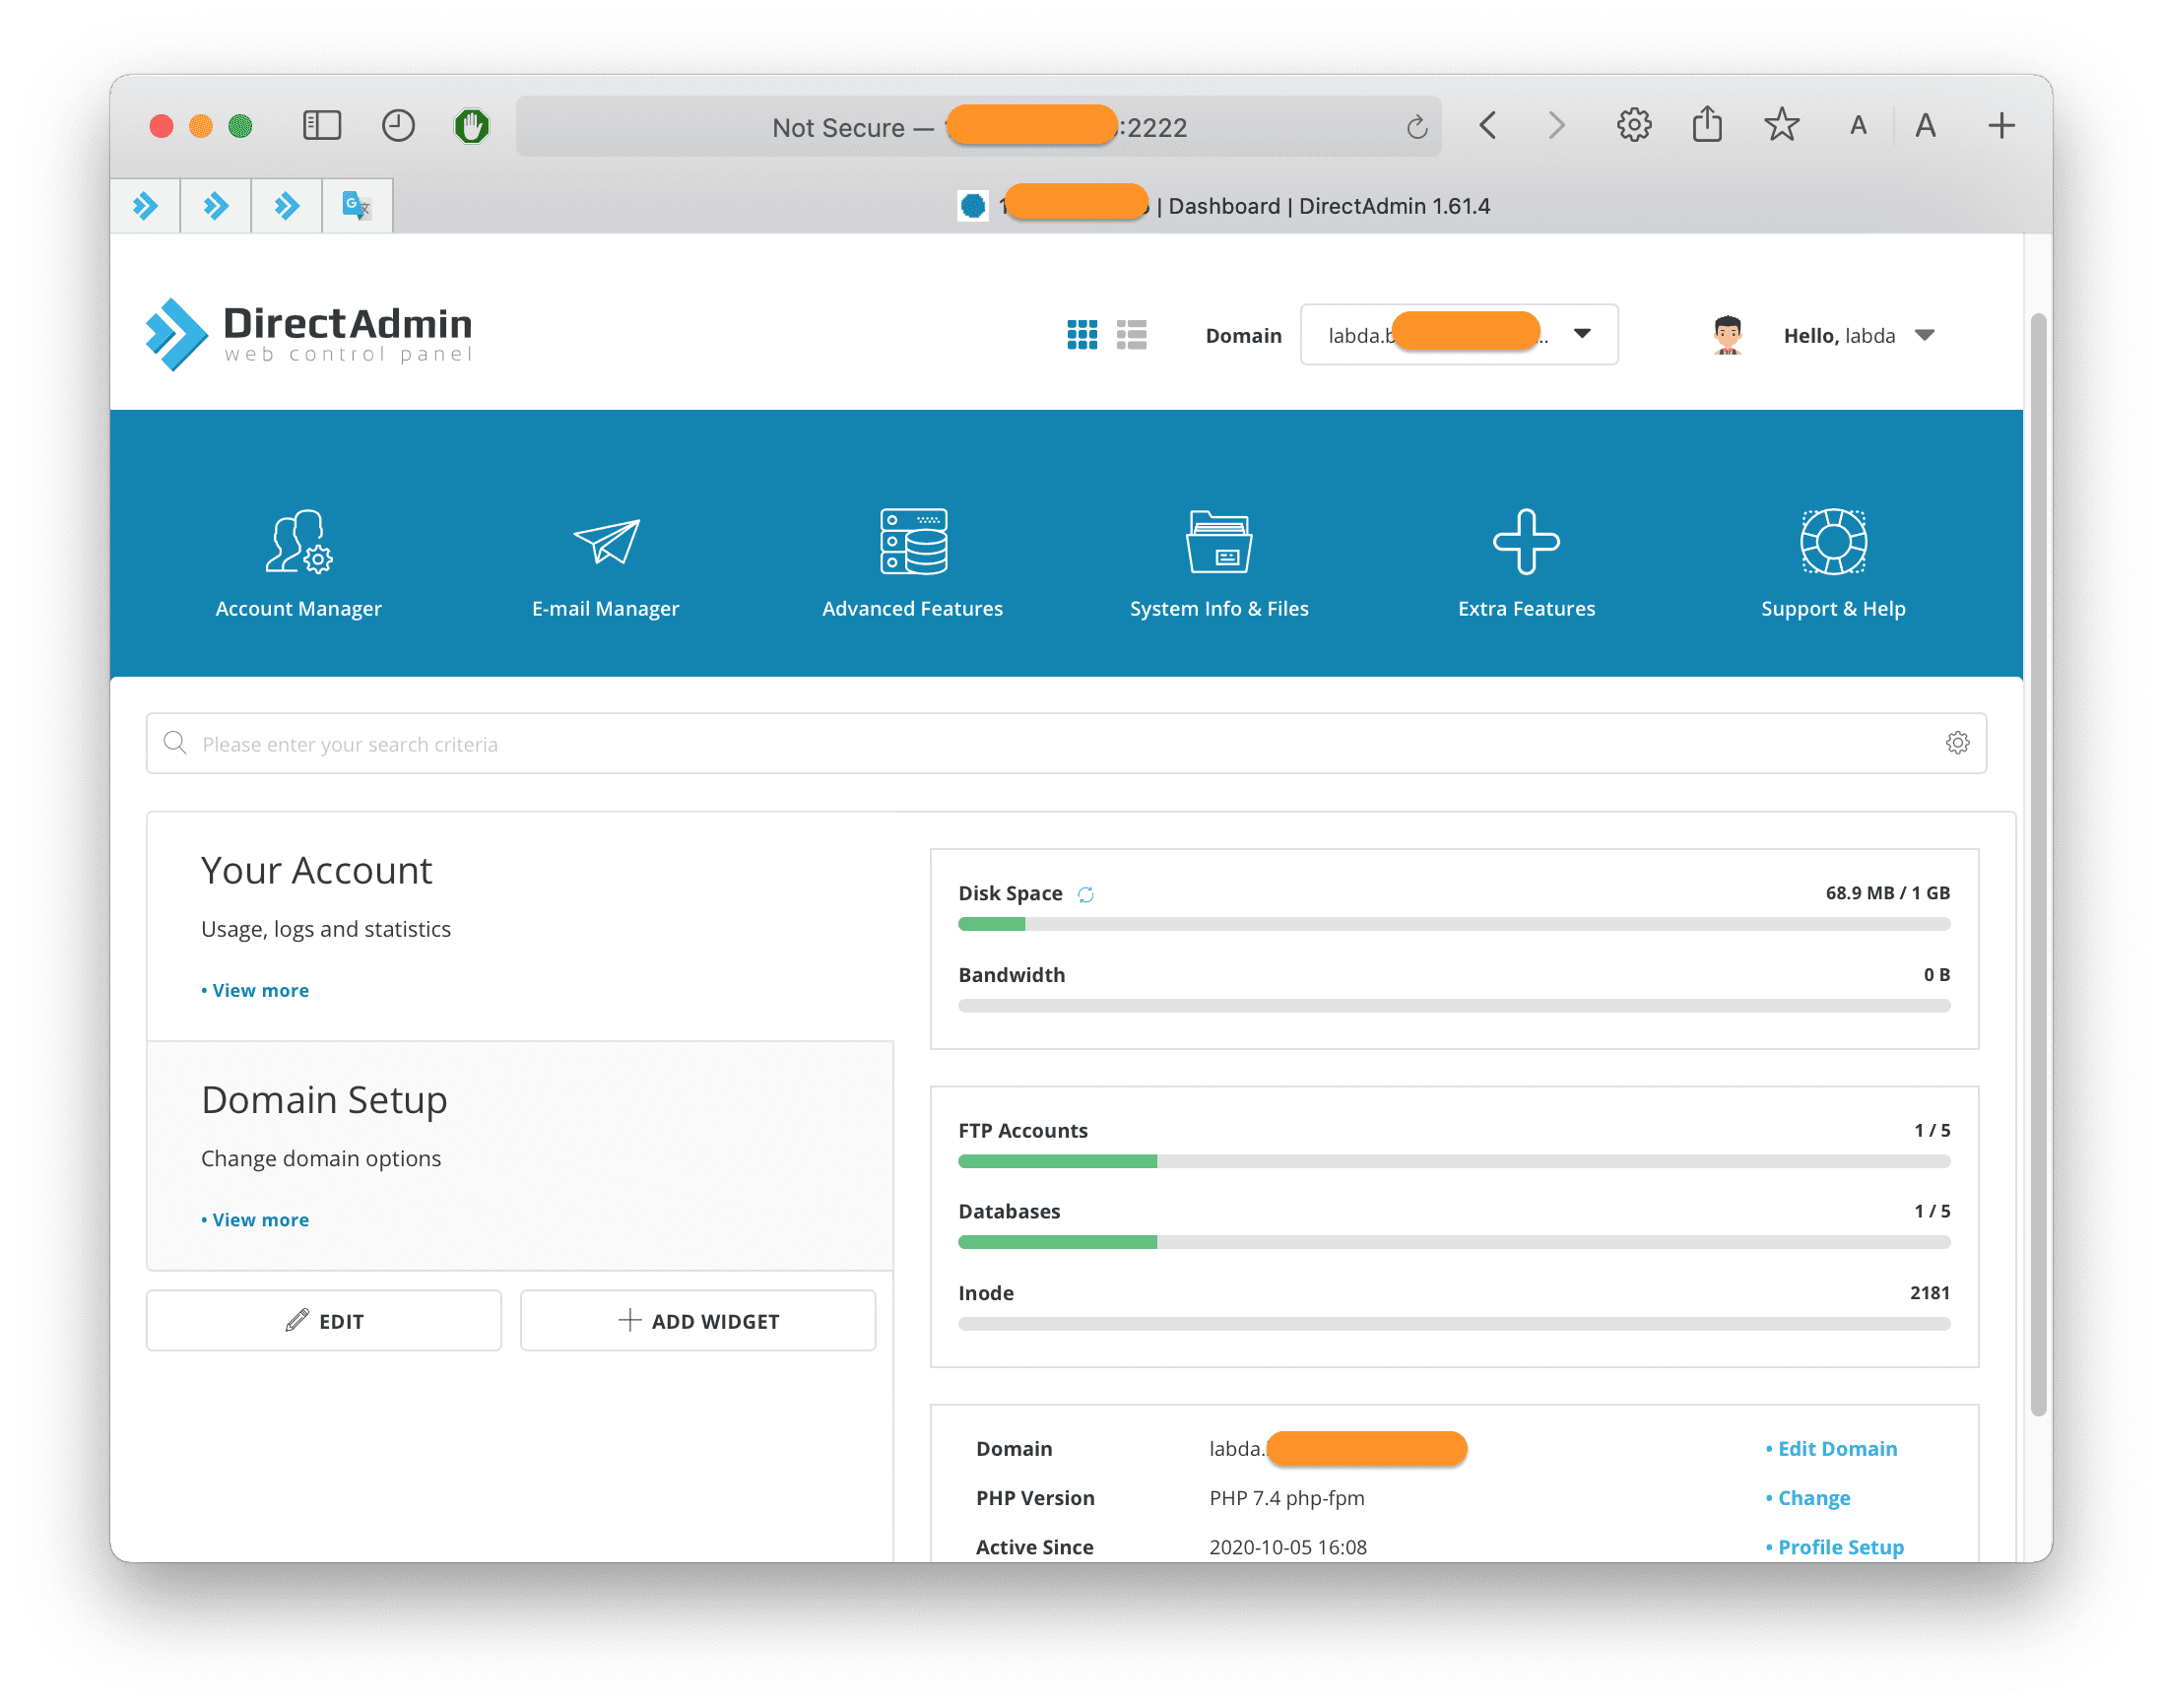
To access your DirectAdmin account, enter the browser address with the information http://IP:2222 and Enter, remember to change the IP to the server IP address or your DirectAdmin hosting IP address. Here is my DirectAdmin interface:
After accessing your DirectAdmin account, we continue with step 2 to perform the upload and decompression of WordPress source code.
Step 2: Upload WordPress source code to DirectAdmin
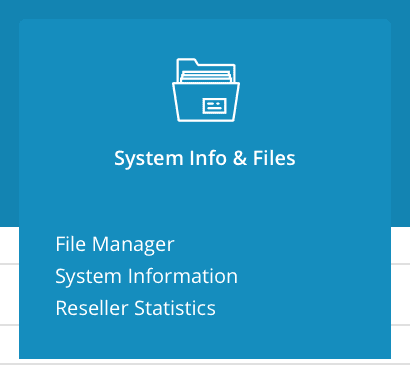
Go to System Info & Files section => select the File Manager feature.
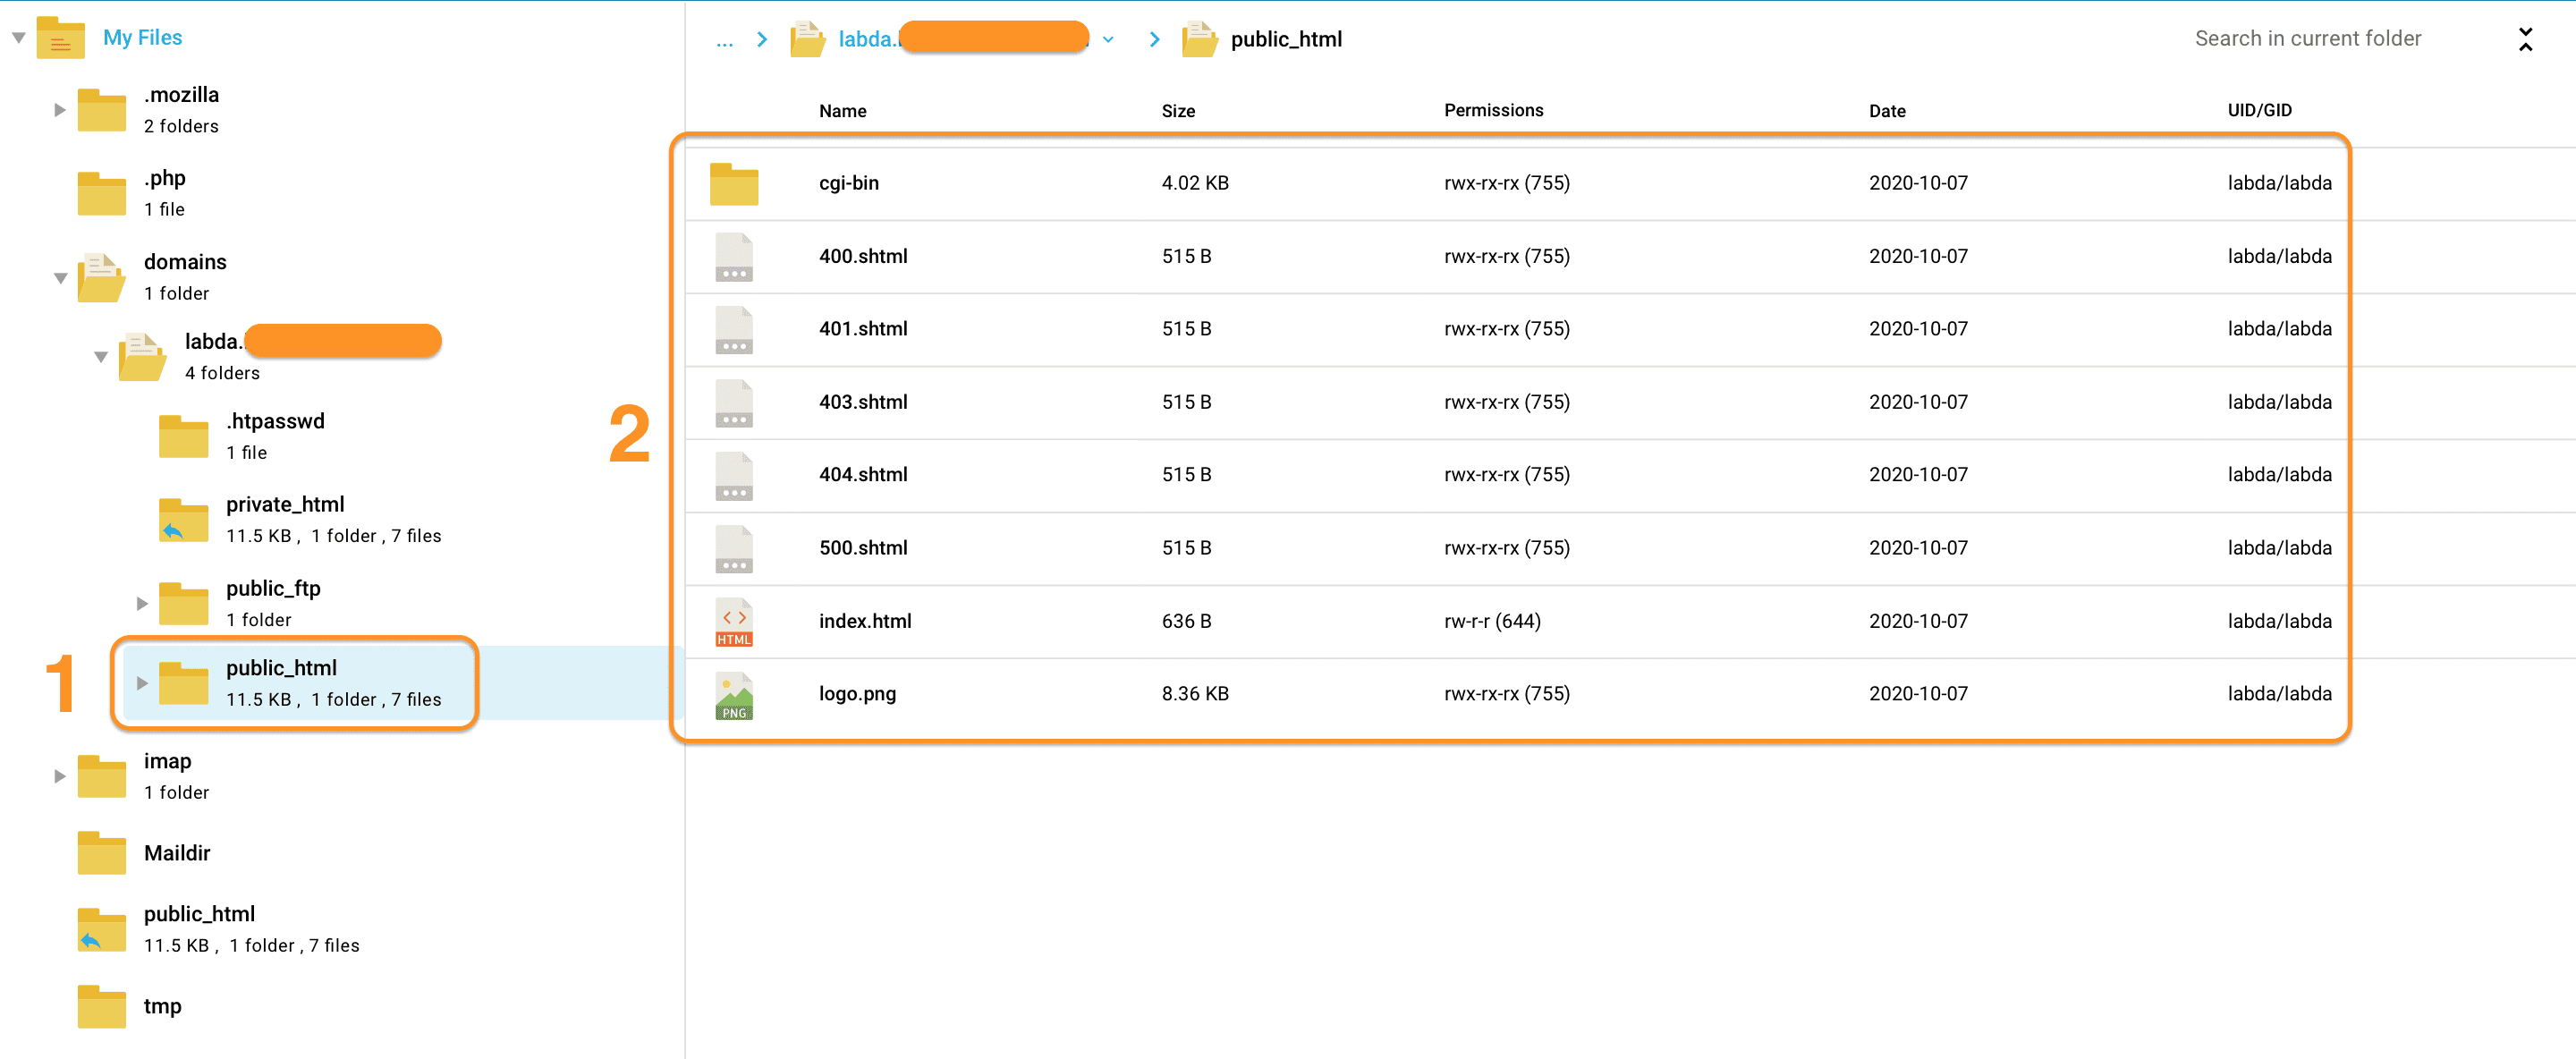
When we enter the File Manager interface, we go to the domains/domaincuaban.com/public_html directory (1), then we will see the default files created by DirectAdmin (2), we delete all the files by selecting all and right-clicking => click Remove.
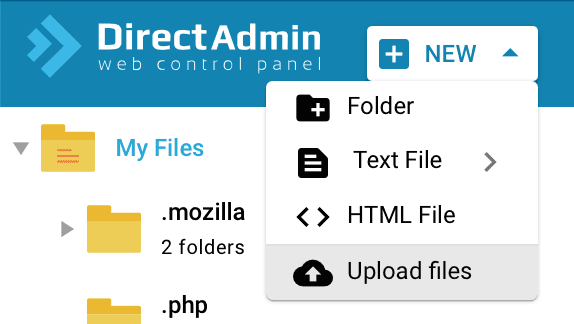
Next, click NEW and select Upload files to upload the downloaded WordPress source file in step 1.
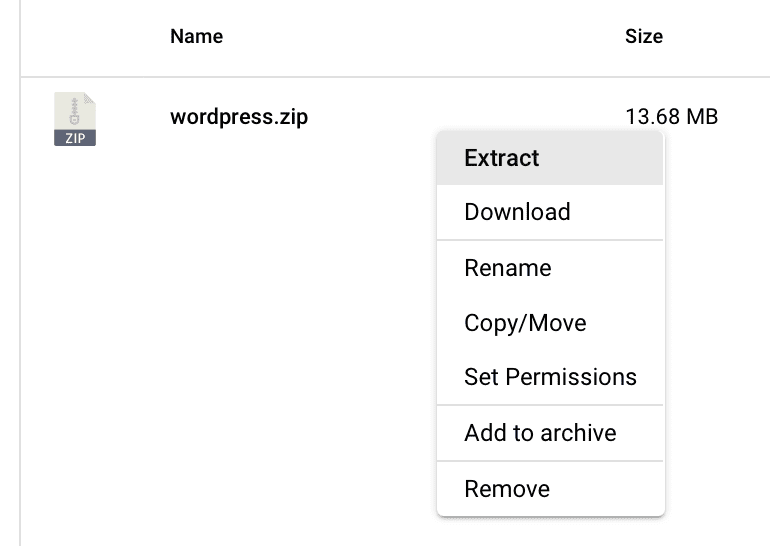
After uploading the WordPress source file, we right-click on the file and select Extract as shown below to extract the source code.
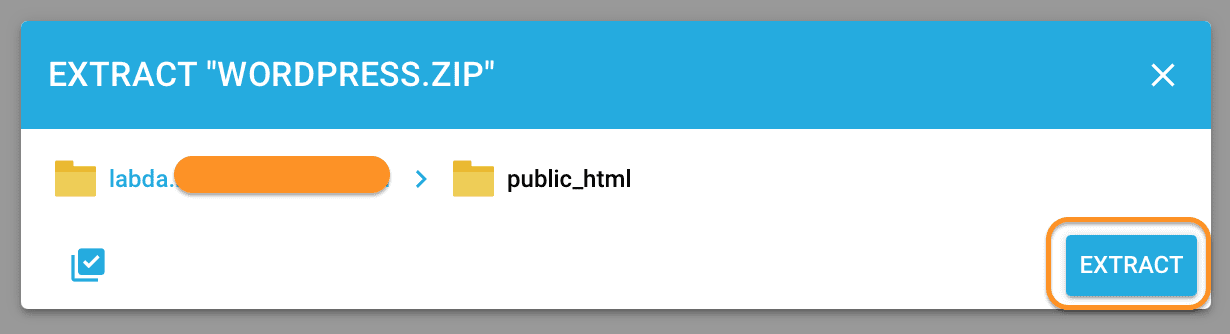
When asked which folder to extract to, leave the default and click EXTRACT.
Then you will see a folder called wordpress appear.
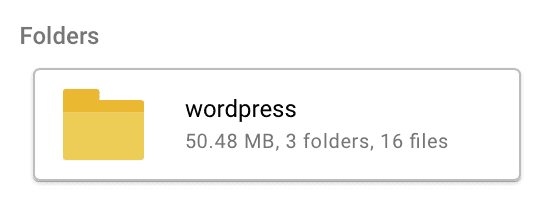
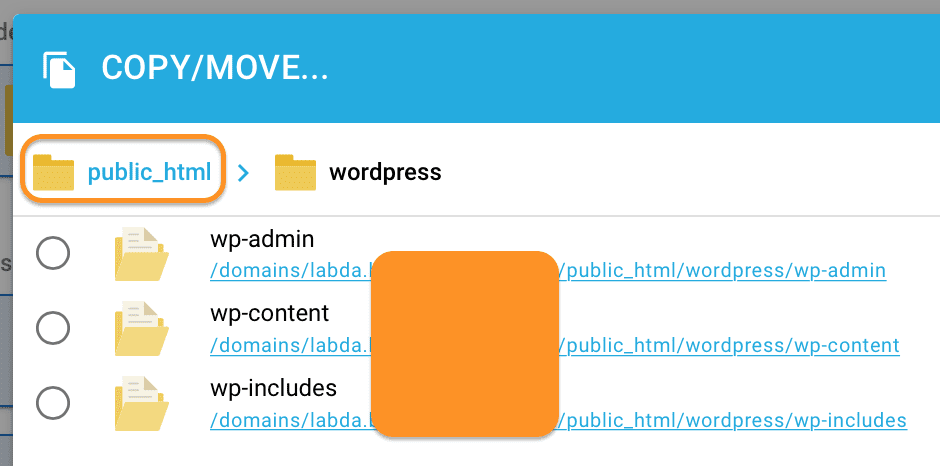
Access this folder, select all the files, right-click, and Copy/Move.
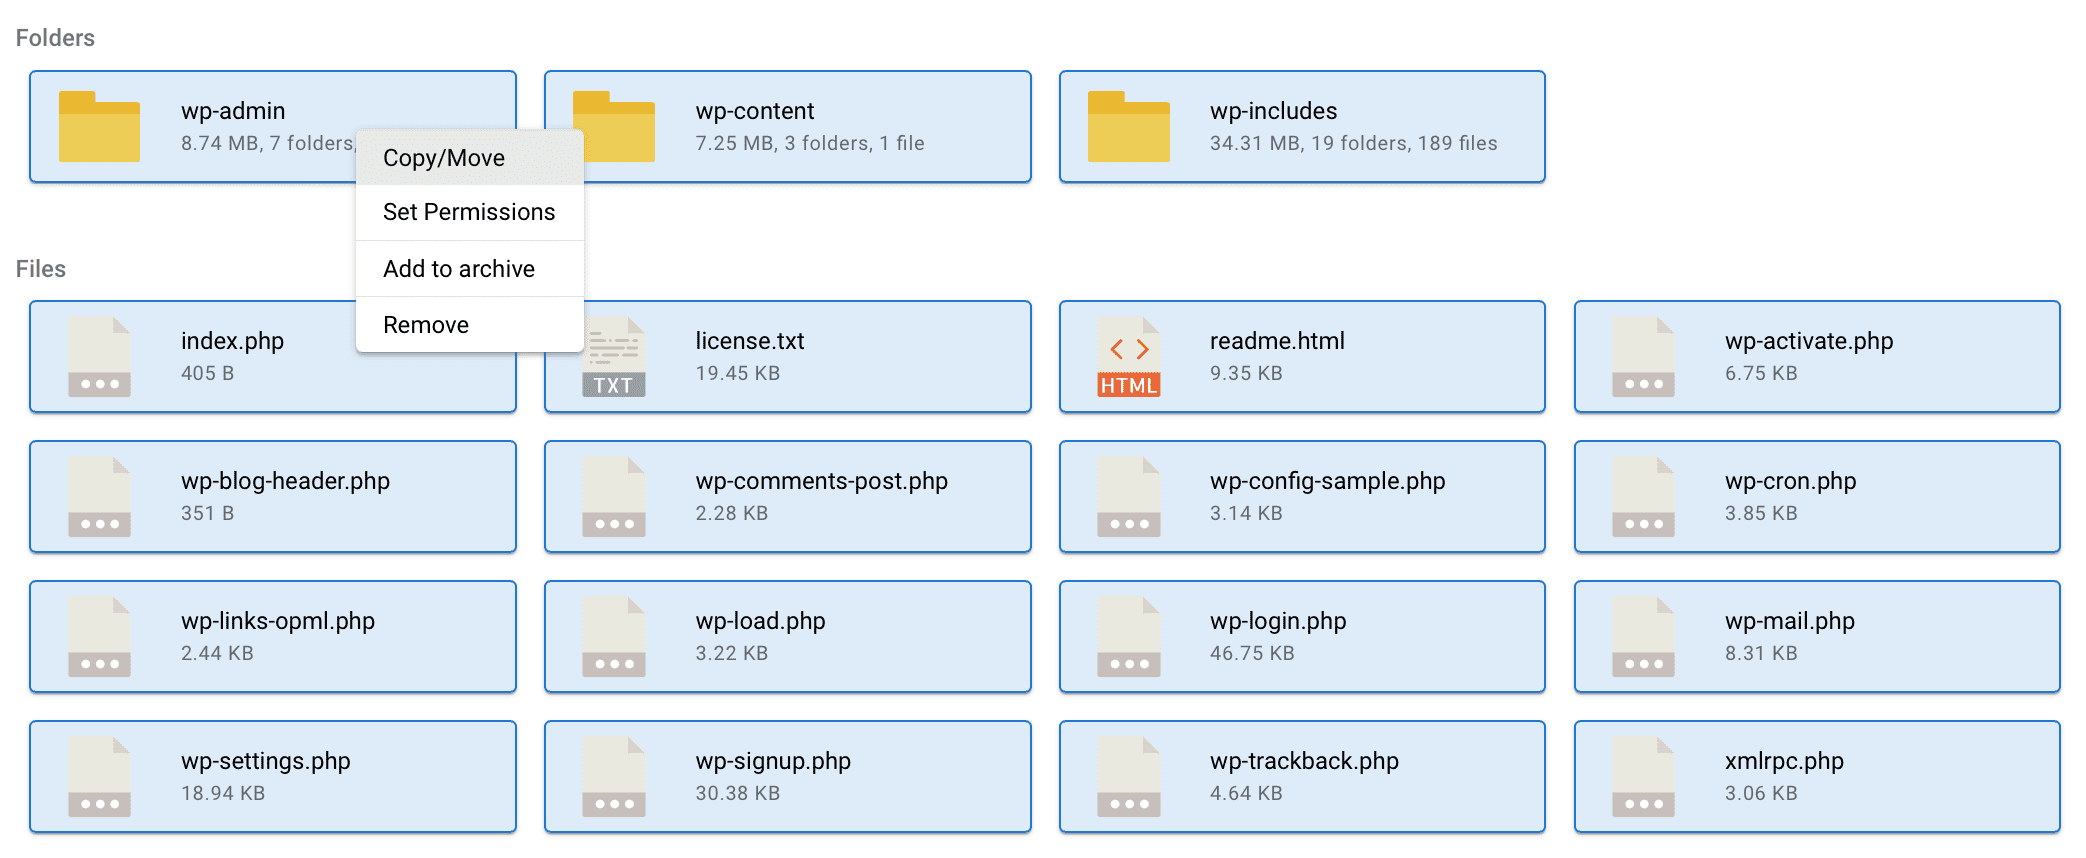
Here we click on the public_html folder and select Move as shown below:
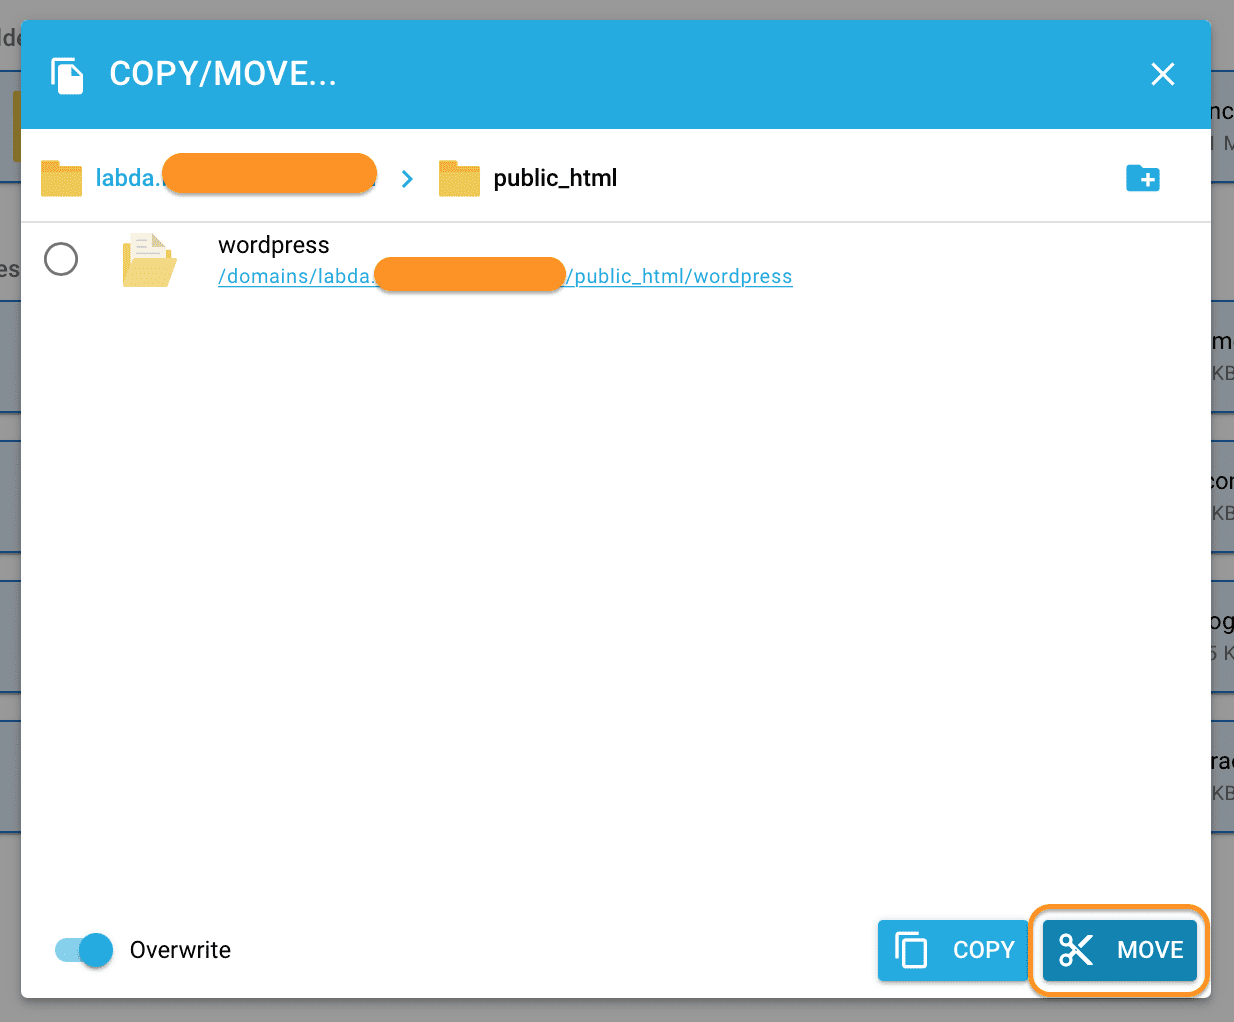
So we have finished uploading the WordPress source code to DirectAdmin, but we need to add a few small steps to complete it.
Step 4: Create a database on DirectAdmin
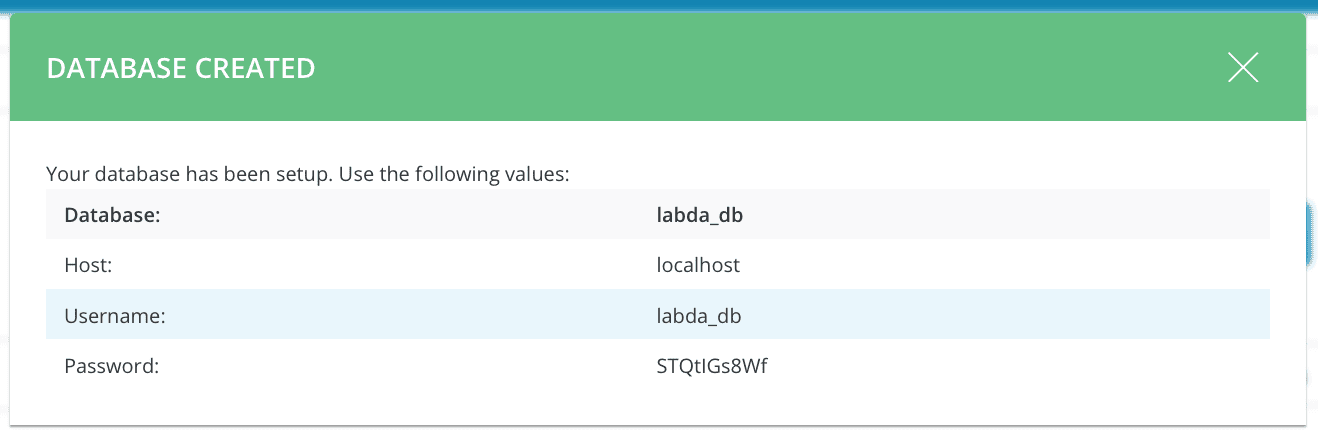
AZDIGI has a detailed tutorial on creating Database, you can refer to the link below, you just need to save all 3 information Database Name, Database User, Database Password.
Below is my information after creating the database:
So we have completed most of the steps, now only the last step to configure WordPress website information is finished.
Step 5: Configure the WordPress website initial information
Now you can visit your domain to start installing your WordPress website information.
Below is my first WordPress image.

Click Done Now to begin. At the next interface, you just need to enter the information Database Name, Database User, Database Password into the Database Name, Database User, Database Password corresponding box.
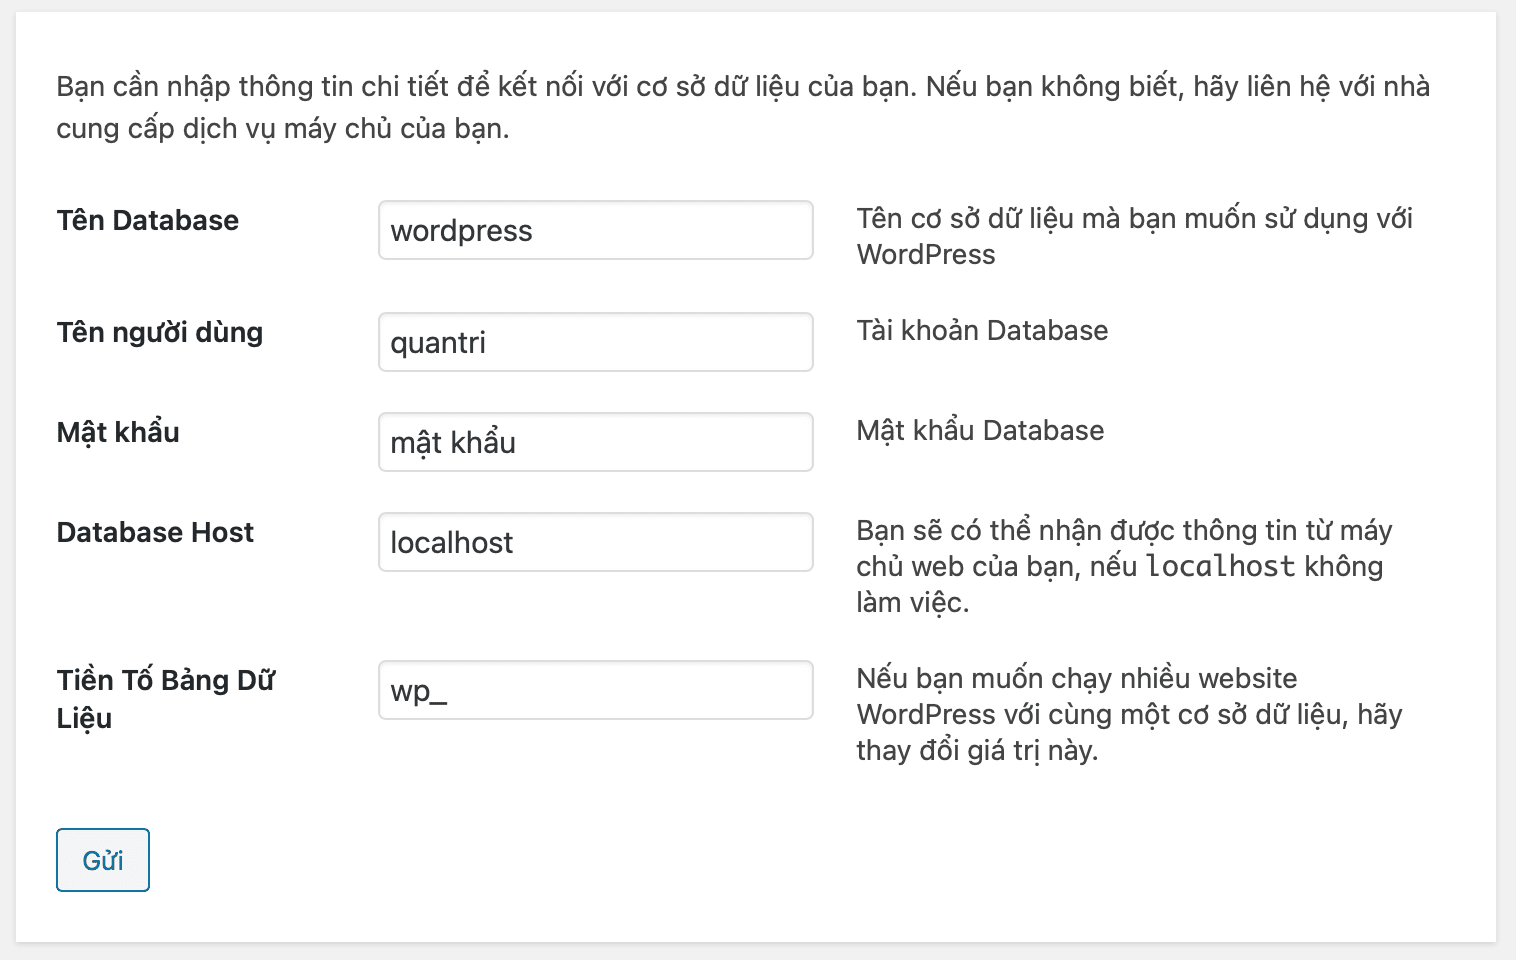
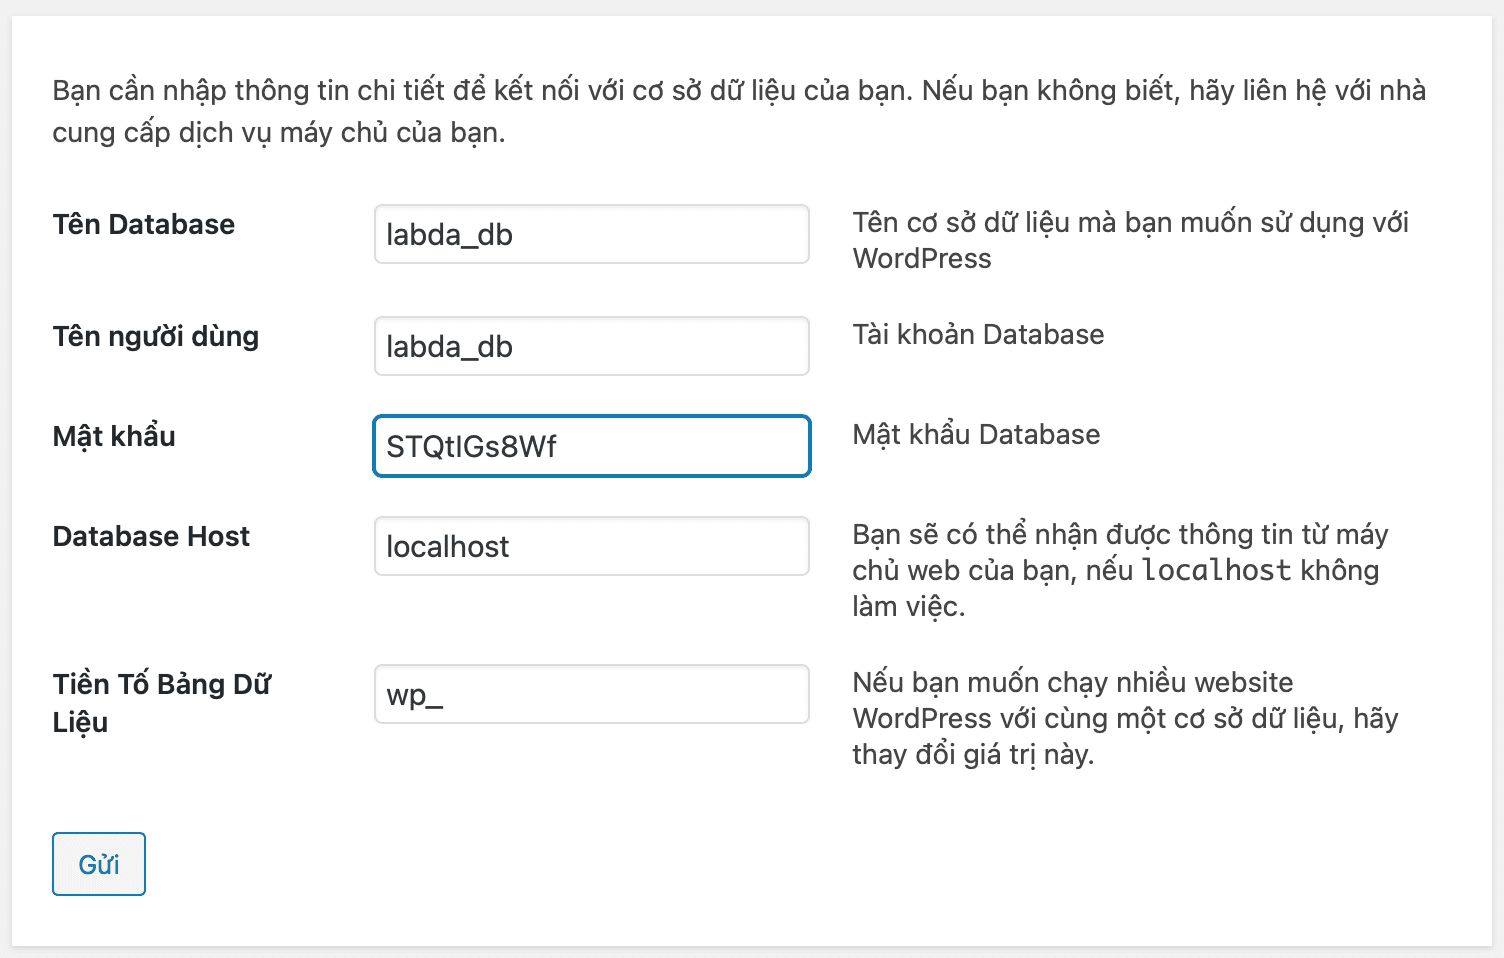
After entering the correct information, click Submit. If everything matches, we will get the message below:
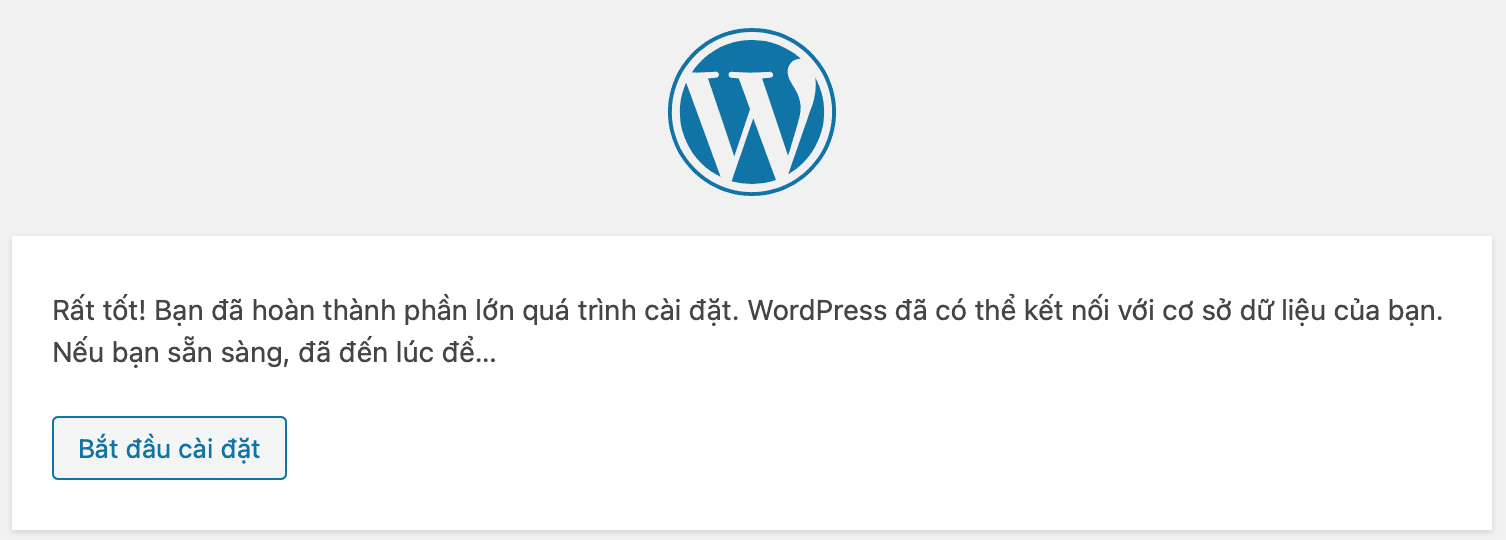
Click Start Installation to configure the website name and the admin account.
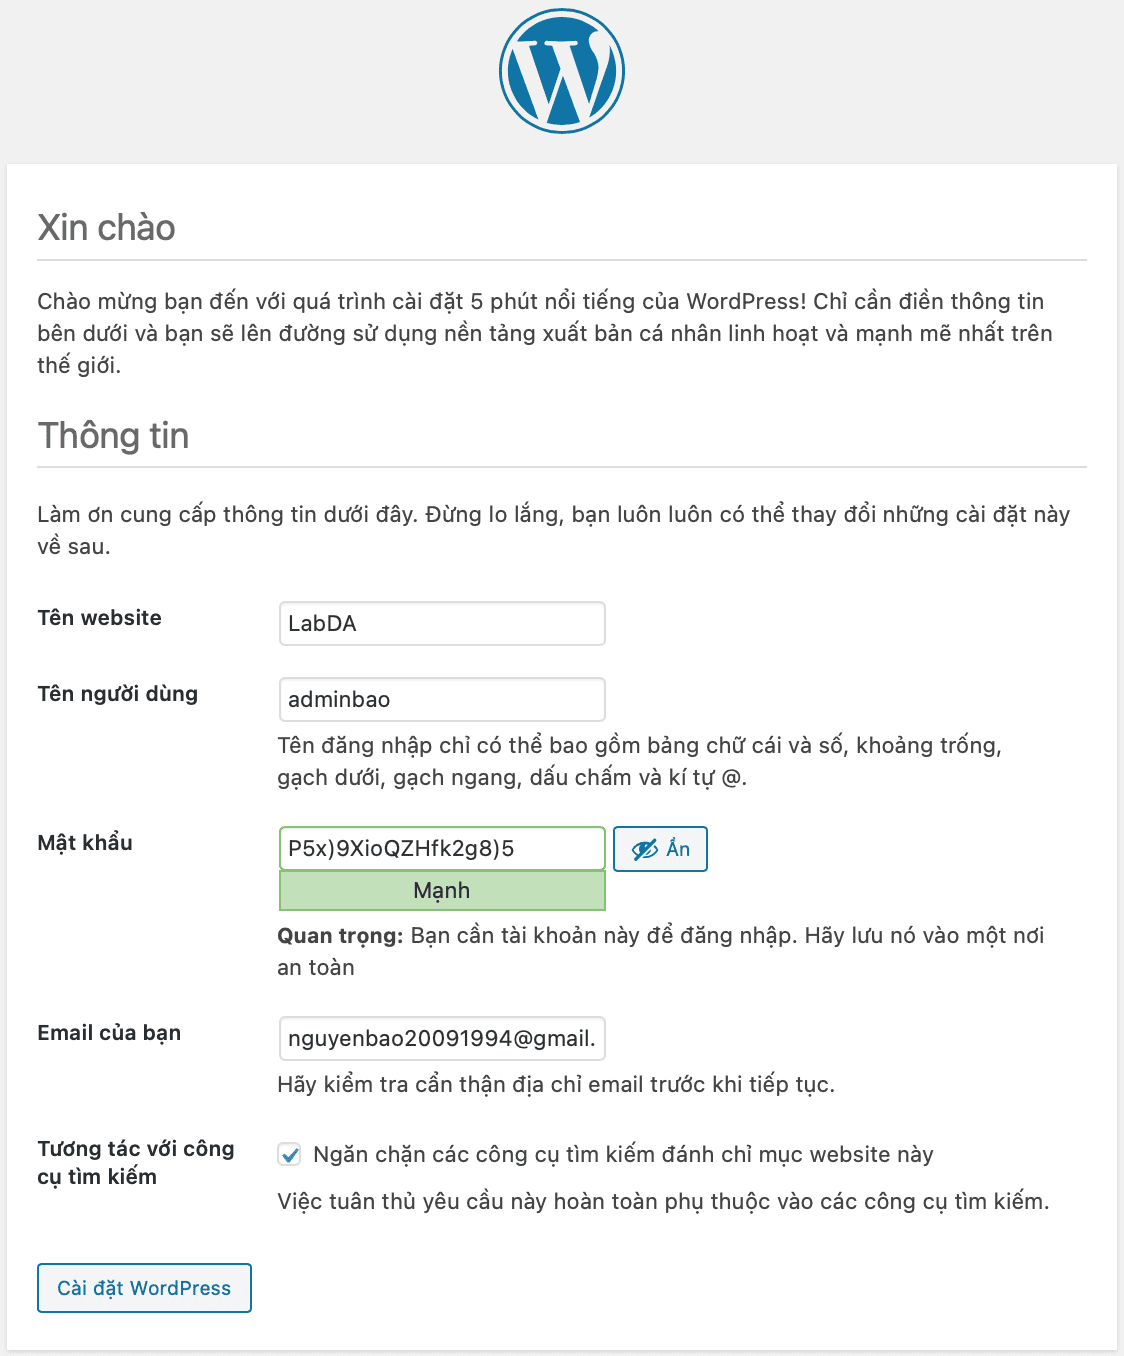
You should not let Username as admin because it will be easy to attack in the form of Brute Force, you should change it to another name and set a complex password. Remember to save this password.
Enter your email so that the important information about the website will be sent to your email, but these emails will fall into spam, so you will need to add the email address wordpress@yourdomain.com to Google contact list to get into your inbox.
As the website is just starting to develop, you should remember to tick the box “Prevent search engines from indexing this website” to avoid Google indexing the content you do not want to publish on Google. But later on, when completing the website, remember to untick it in WordPress settings.
Next, click Install WordPress, is complete.
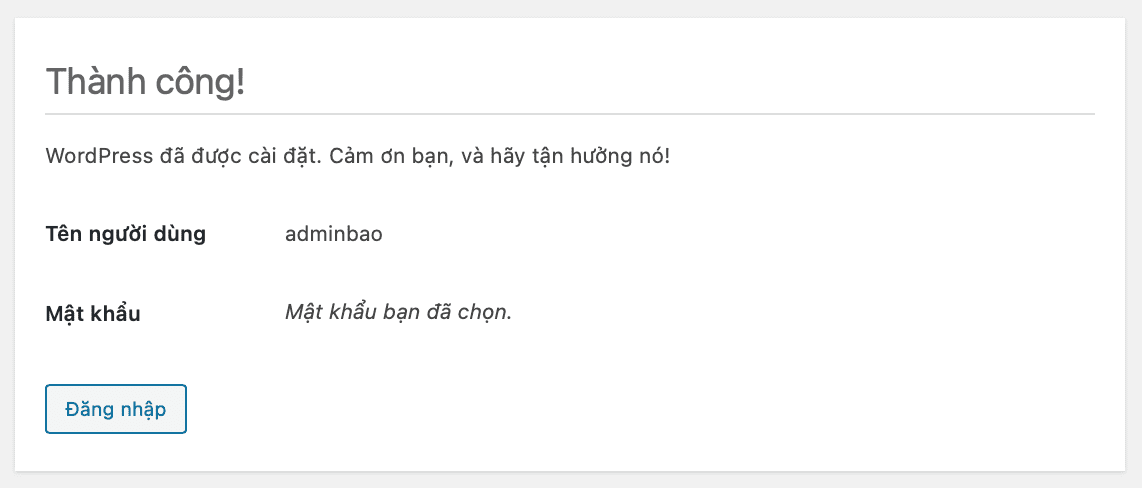
Select Login and re-enter the password you saved earlier to login. Here is my WordPress admin page interface.
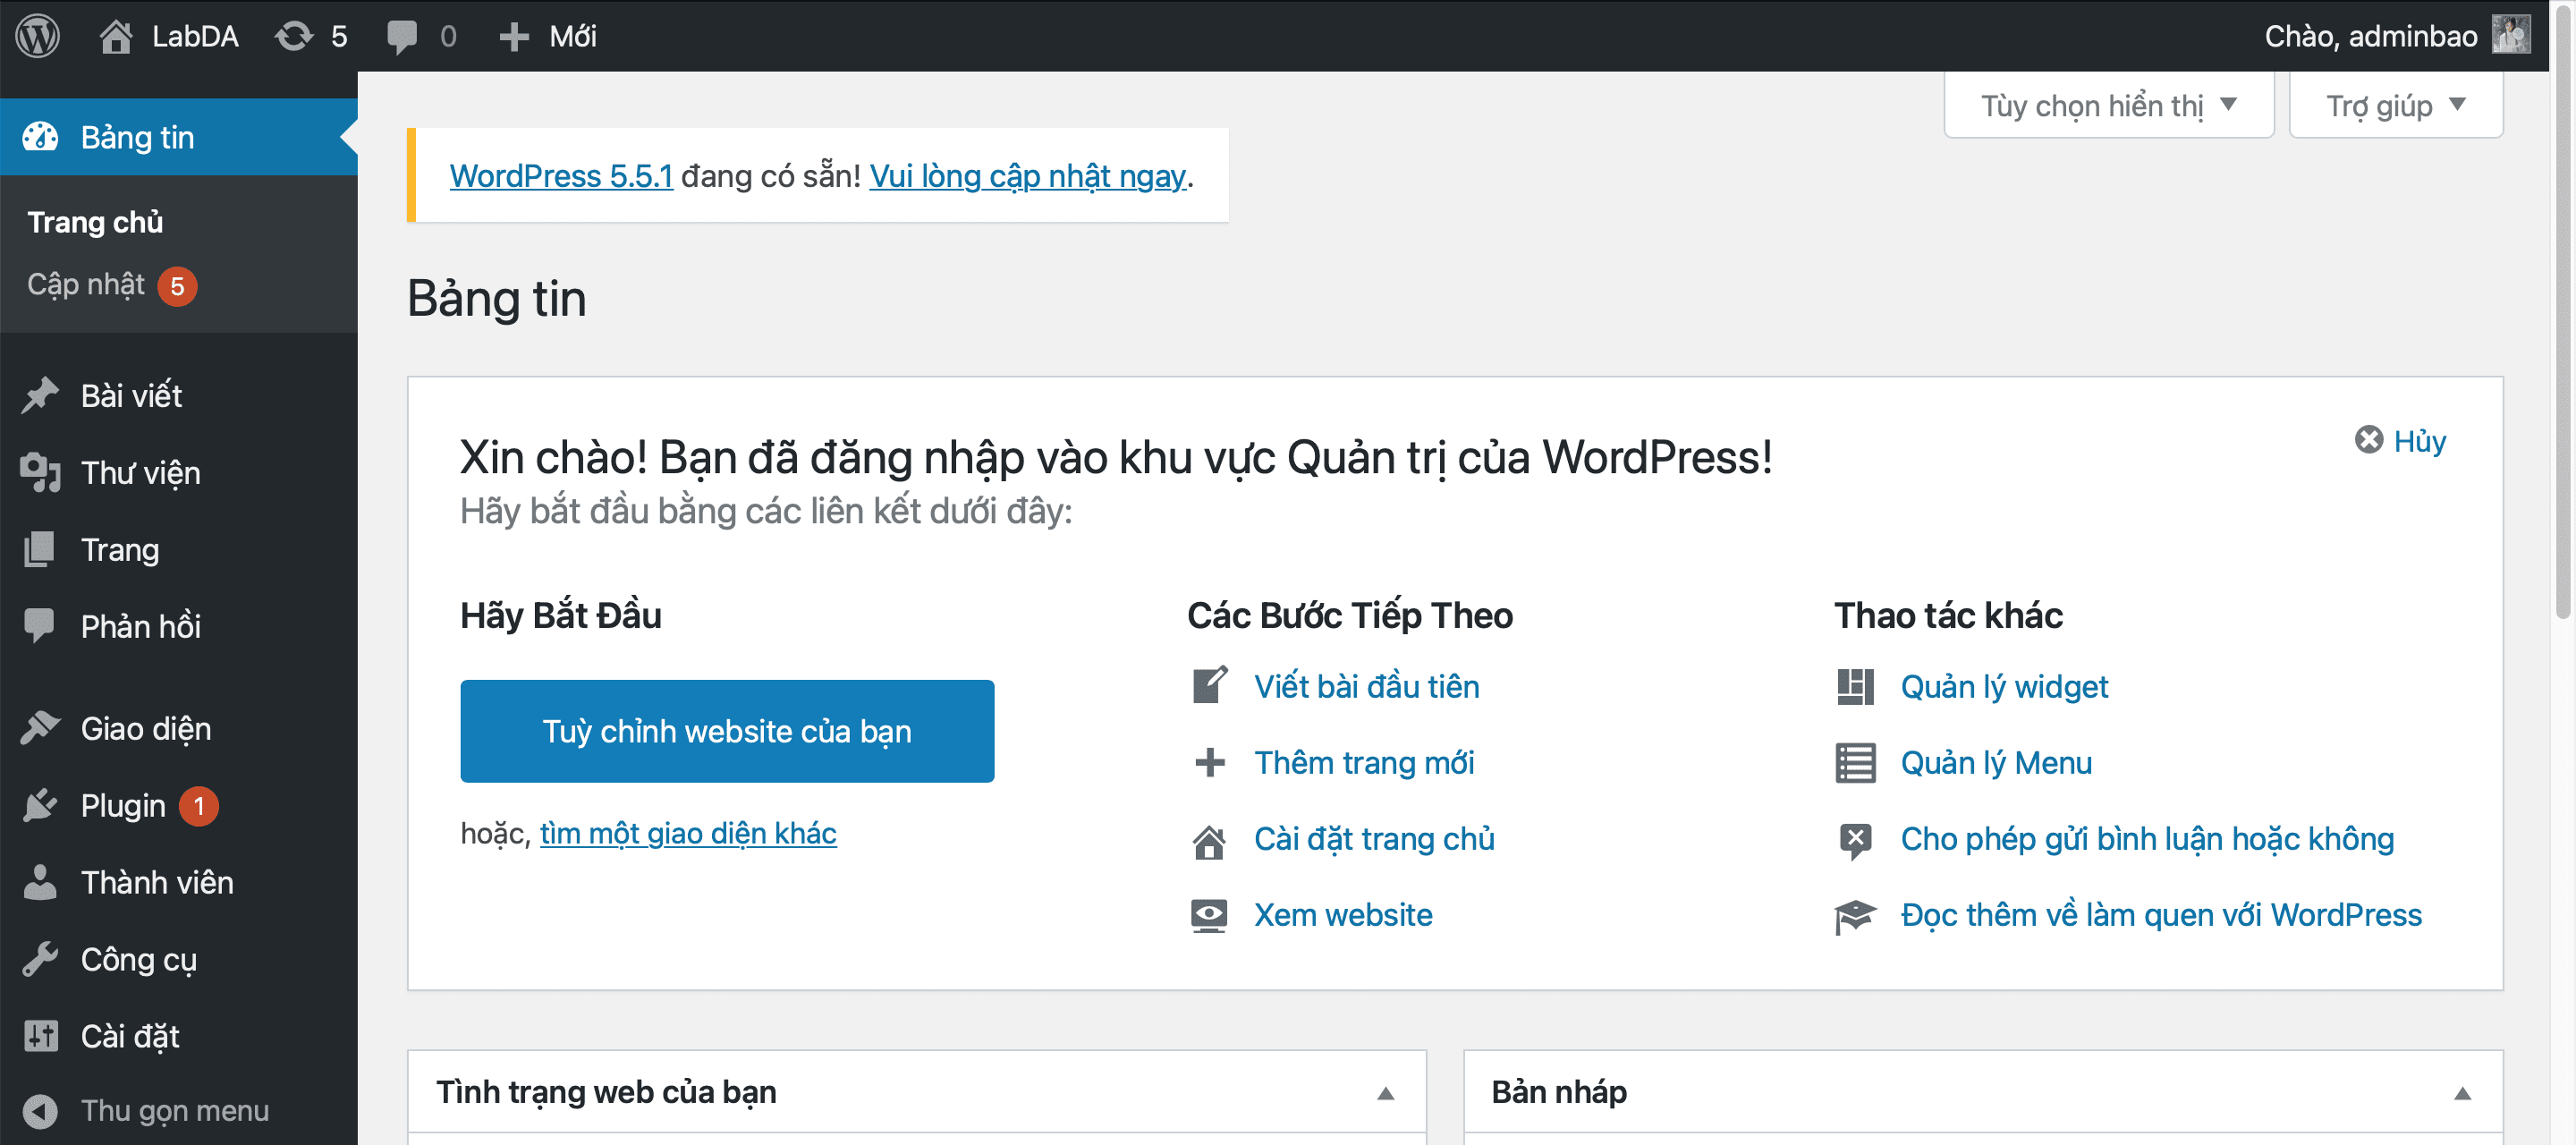
So we have finished installing WordPress on DirectAdmin.
III. Summary
So AZDIGI showed you how to install WordPress on DirectAdmin, as well as the initial configuration steps.
Hope the article is helpful for you. Wishing you success!
See more useful articles about DirectAdmin at the following link:
If you need assistance, you can contact support in the ways below:
- Hotline 247: 028 888 24768 (Ext 0)
- Ticket/Email: You use the email to register for the service and send it directly to: support@azdigi.com