Nội dung
In the previous article, AZDIGI showed you how to install WP-CLI on your server/VPS, so in this article, AZDIGI will guide you on how to use WP-CLI to install a WordPress website with just a few simple commands. Please follow the steps below.
You can refer to how to install WP-CLI on the server/VPS in the tutorial article below:
Implementation guide
Step 1: Access the server/VPS
First, you need to SSH into the VPS with root (refer to the instructions below:
Step 2: Create a database
Note: During the operation, you need to replace the following information with your information. .
- db_azdigi2020: Your Database Information
- user_azdigi2020: Your User Information
- azdigi@2020: Your password
After successfully SSH to the VPS, execute the following commands:
- MySQL Login
mysql -u root -p
- Create a database
create database db_azdigi2020;
- Create and set permissions for the user
create user 'user_azdigi2020'@'localhost' identified by 'azdigi@2020';
- Set all permissions for the user
grant all on db_azdigi2020.* to user_azdigi2020@localhost;
- Exit Database creator
exit
That’s it done.
[root@sv106 ~]# mysql -u root -p
Enter password:
Welcome to the MySQL monitor.  Commands end with ; or \g.
Your MySQL connection id is 15
Server version: 5.7.30 MySQL Community Server (GPL)

Copyright (c) 2000, 2020, Oracle and/or its affiliates. All rights reserved.

Oracle is a registered trademark of Oracle Corporation and/or its
affiliates. Other names may be trademarks of their respective
owners.

Type 'help;' or '\h' for help. Type '\c' to clear the current input statement.

mysql> create database db_azdigi2020;
Query OK, 1 row affected (0.00 sec)

mysql> create user 'user_azdigi2020'@'localhost' identified by 'azdigi@2020';
Query OK, 0 rows affected (0.00 sec)

mysql> grant all on db_azdigi2020.* to user_azdigi2020@localhost;
Query OK, 0 rows affected (0.00 sec)

mysql> exit
If using DirectAdmin / Cpanel, you can refer to how to create Database directly on the interface according to the instructions below without using commands:
Step 3: Download WordPress
You go to the folder containing the website source code to install, I will install it for the website azdigi.cf and the path is /home/azdigi/domains/azdigi.cf/public_html.
Download WordPress using WP-CLI with the command:
wp core download
With the above command, by default, WP-CLI will download the latest version available on the WordPress homepage, if you want to download a specific version, you add that version option as follows: wp core download –version=5.4.2
[root@sv106 public_html]# wp core download --allow-root
Downloading WordPress 5.5.1 (en_US)...
Using cached file '/root/.wp-cli/cache/core/wordpress-5.5.1-en_US.tar.gz'...
Success: WordPress downloaded.
[root@sv106 public_html]#
After the download is complete, you can use ll or ls command to check if the WordPress source already exists.
[root@sv106 public_html]# ll
total 204
-rw-r--r--.  1 root root   405 Sep  9 10:28 index.php
-rw-r--r--.  1 root root 19915 Sep  9 10:28 license.txt
-rw-r--r--.  1 root root  7278 Sep  9 10:28 readme.html
-rw-r--r--.  1 root root  7101 Sep  9 10:28 wp-activate.php
drwxr-xr-x.  9 root root  4096 Sep  9 10:28 wp-admin
-rw-r--r--.  1 root root   351 Sep  9 10:28 wp-blog-header.php
-rw-r--r--.  1 root root  2332 Sep  9 10:28 wp-comments-post.php
-rw-r--r--.  1 root root  2913 Sep  9 10:28 wp-config-sample.php
drwxr-xr-x.  4 root root    52 Sep  9 10:28 wp-content
-rw-r--r--.  1 root root  3940 Sep  9 10:28 wp-cron.php
drwxr-xr-x. 24 root root  8192 Sep  9 10:28 wp-includes
-rw-r--r--.  1 root root  2496 Sep  9 10:28 wp-links-opml.php
-rw-r--r--.  1 root root  3300 Sep  9 10:28 wp-load.php
-rw-r--r--.  1 root root 48761 Sep  9 10:28 wp-login.php
-rw-r--r--.  1 root root  8509 Sep  9 10:28 wp-mail.php
-rw-r--r--.  1 root root 20181 Sep  9 10:28 wp-settings.php
-rw-r--r--.  1 root root 31159 Sep  9 10:28 wp-signup.php
-rw-r--r--.  1 root root  4755 Sep  9 10:28 wp-trackback.php
-rw-r--r--.  1 root root  3236 Sep  9 10:28 xmlrpc.php
[root@sv106 public_html]#
If it shows up, you have successfully downloaded WordPress.
Step 4: Create the wp-config.php file to connect the database with the WordPress source code
You follow the command (note: fill in your correct information corresponding to database you have noted in Step 2)
wp core config --dbname='db_azdigi2020' --dbuser='user_azdigi2020' --dbpass='azdigi@2020' --allow-root
If successful, it will show as below:
root@sv106 public_html]#  wp core config --dbname='db_azdigi2020' --dbuser='user_azdigi2020' --dbpass='azdigi@2020' --allow-root
Success: Generated 'wp-config.php' file.
Step 5: Set up a website
Note:
- –url: Website URL address.
- –title: Website name.
- –admin_user: User login.
- –admin_password: Login password.
- –admin_email : Website admin email.
To set up a website, use the command:
wp core install --url='https://azdigi.cf' --title='AZDIGI Corporation' --admin_user='admin' --admin_password='azdigi@2020' --admin_email='admin@azdigi.cf'
If it shows up, you have successfully set up your website:
[root@sv106 public_html]# wp core install --url='https://azdigi.cf' --title='AZDIGI Corporation' --admin_user='admin' --admin_password='azdigi@2020' --admin_email='admin@azdigi.cf'  --allow-root
Success: WordPress installed successfully.
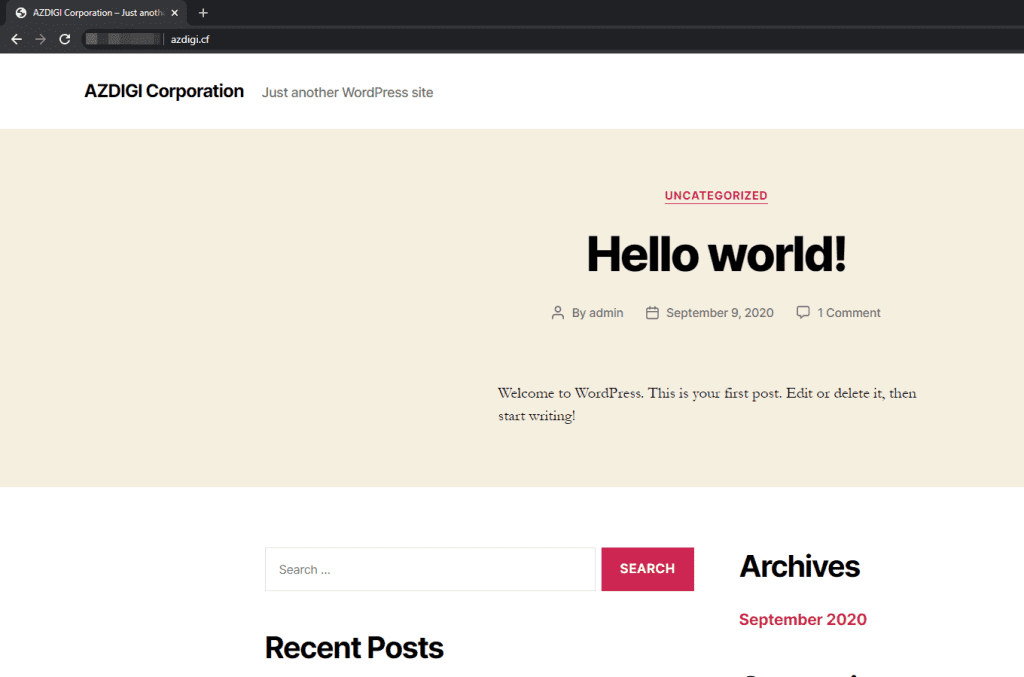
So that has completed the steps to install the WordPress website, now you can access check your website. As shown below, I have successfully installed the WordPress website.
Summary
So in this article, AZDIGI has shown you how to install a WordPress website via WP-CLI with just a few simple commands, installing WordPress via WP-CLI will save you a lot of time compared to installing WordPress traditional. Moreover, once you get used to using WP-CLI, you can work on any command-line window because using WP-CLI on the command-line window is the same. So if you found this helpful article, please share it widely.
Wishing you success!
If you need assistance, you can contact support in the ways below:
- Hotline 247: 028 888 24768 (Ext 0)
- Ticket/Email: You use the email to register for the service and send it directly to: support@azdigi.com