Nội dung
In this article, AZDIGI will show you the simplest way to install Litespeed on DirectAdmin.
I. What is Litespeed?
Litespeed is a high-performance web server software that works on Linux similar to Apache and fully supports Apache’s features. However, Litespeed is not completely free like Apache, and most hosting systems today use Litespeed as a web server because of its outstanding performance compared to Apache as well as the features it brings.
Here is a chart comparing the power between Litespeed (blue), Nginx (green) and Apache (red):
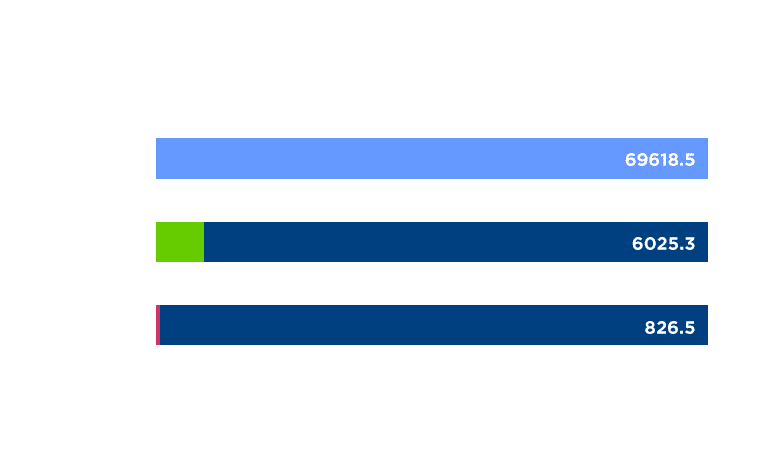
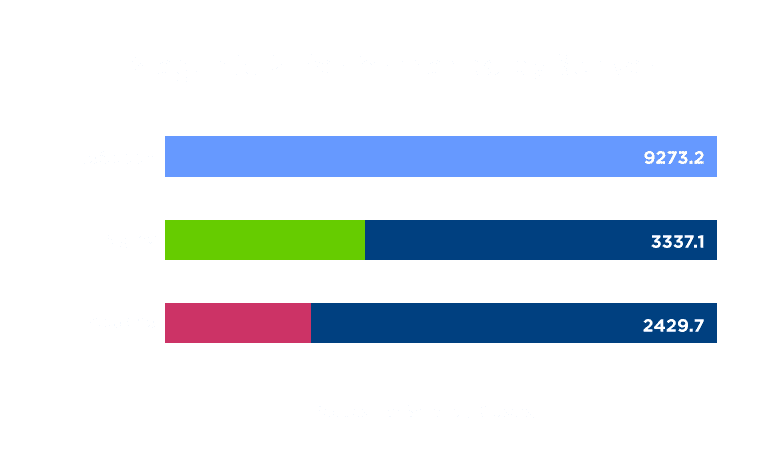
II. Install Litespeed on DirectAdmin
To install Litespeed on DirectAdmin, follow these 3 steps.
Step 1: SSH into your DirectAdmin system
To install Litespeed on DirectAdmin, we first need to SSH or access your VPS/server with root privileges. If you don’t know how to SSH into your VPS/Server, you can refer to the following tutorial:
After successfully SSH, we continue with step 2 to check the version of CustomBuild in use.
Step 2: Check the Custombuild version
First, check if your VPS/Server is using CustomBuild 2.0 version. To check the version of CustomBuild you are using, please check out the following short tutorial:
In case your CustomBuild version is lower than 2.0 then you need to upgrade CustomBuild 1.x to 2.0 , you can check out the following tutorial:
After having CustomBuild 2.0, we continue to step 3 to perform Litespeed installation commands on DirectAdmin.
Step 3: Commands to install Litespeed on DirectAdmin
To install Litespeed on DirectAdmin, execute the following commands: Explanation of the commands:
cd /usr/local/directadmin/custombuild
./build update
./build set webserver litespeed
./build set php1_mode lsphp
./build set php2_mode lsphp
./build set php3_mode lsphp
./build set php4_mode lsphp
./build set mod_ruid2 no
./build litespeed
./build php n
Explanation of the above commands:
- Command 1: Move to the
custombuildfolder. - Command 2: Update
custombuild script. - Command 3: Switch
webservertoLitespeed. - Command 4: Change the
php1_modetolsphp. - Command 5: Change the
php2_modetolsphp. - Command 6: Change the
php3_modetolsphp. - Command 7: Change the
php4_modetolsphp. - Command 8: Disable
mod_ruid2becauseLitespeedis not compatible. - Command 9: Install
Litespeed. - Command 10: Reinstall
PHPversions under the new configuration.
Some images during the installation process:
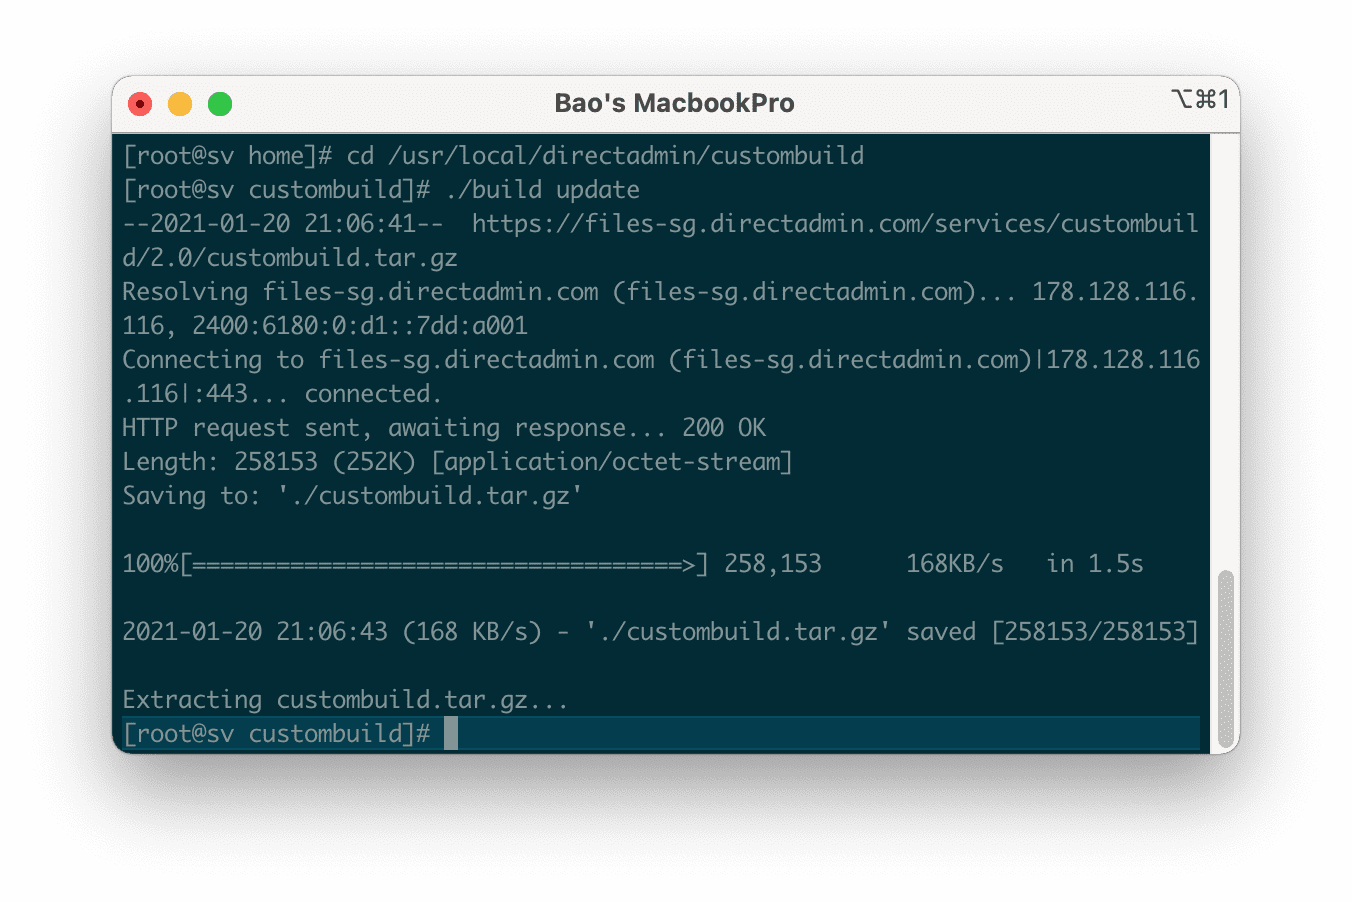
custombuild folder and update custombuild script.
webserver to Litespeed. previously using Apache.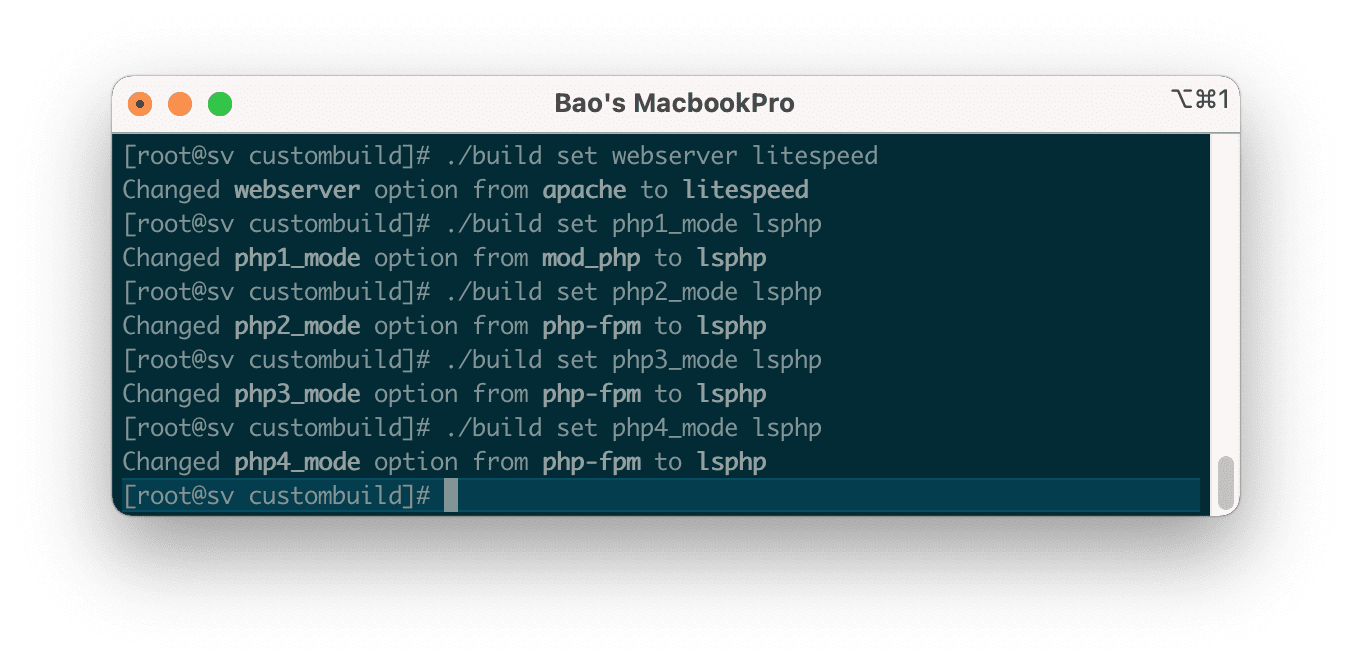
phpX_mode to lsphp. to match with the Litespeed webserver.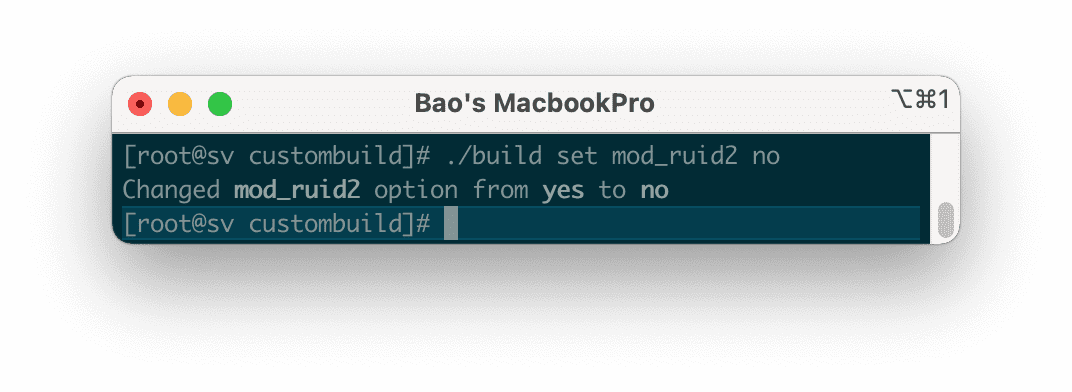
mod_ruid2 because Litespeed is not compatible with it.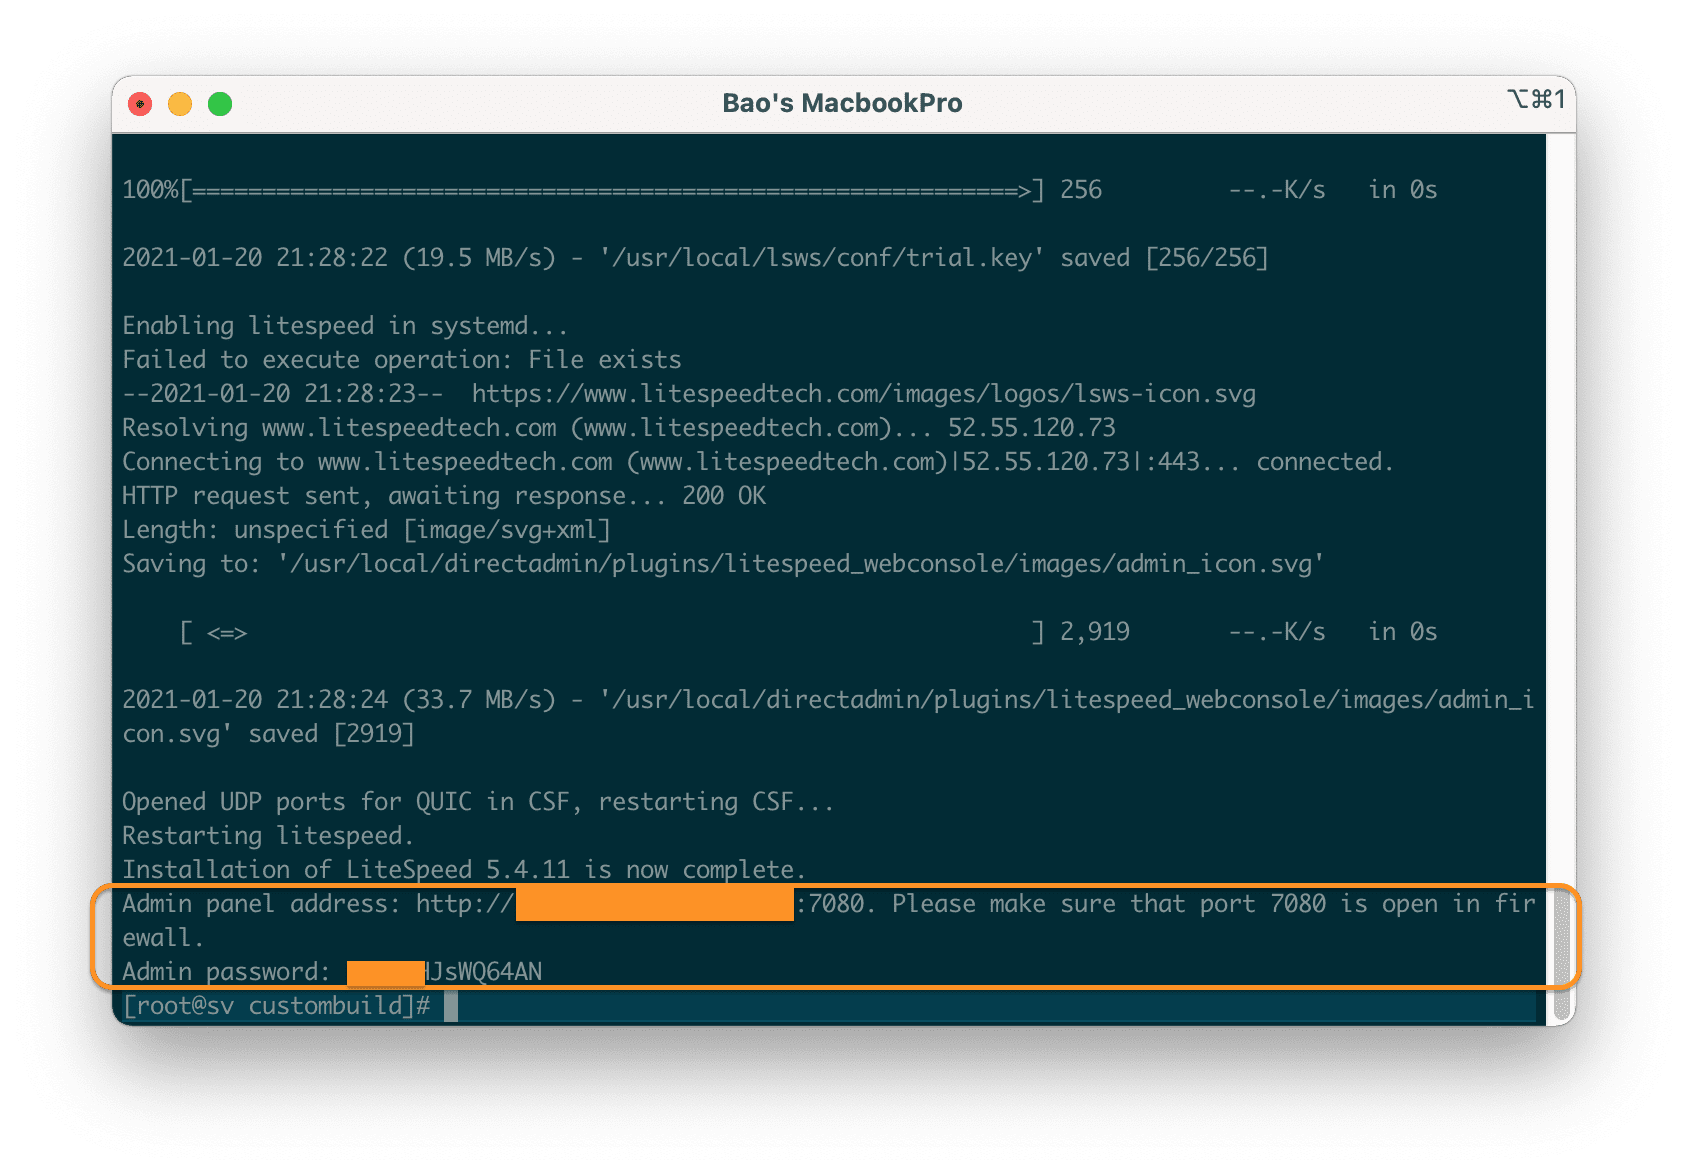
Litespeed. After the installation is complete, you will receive login information to Litespeed Webadmin Console, the username will be admin. However, you need to open port 7080 to be able to access it.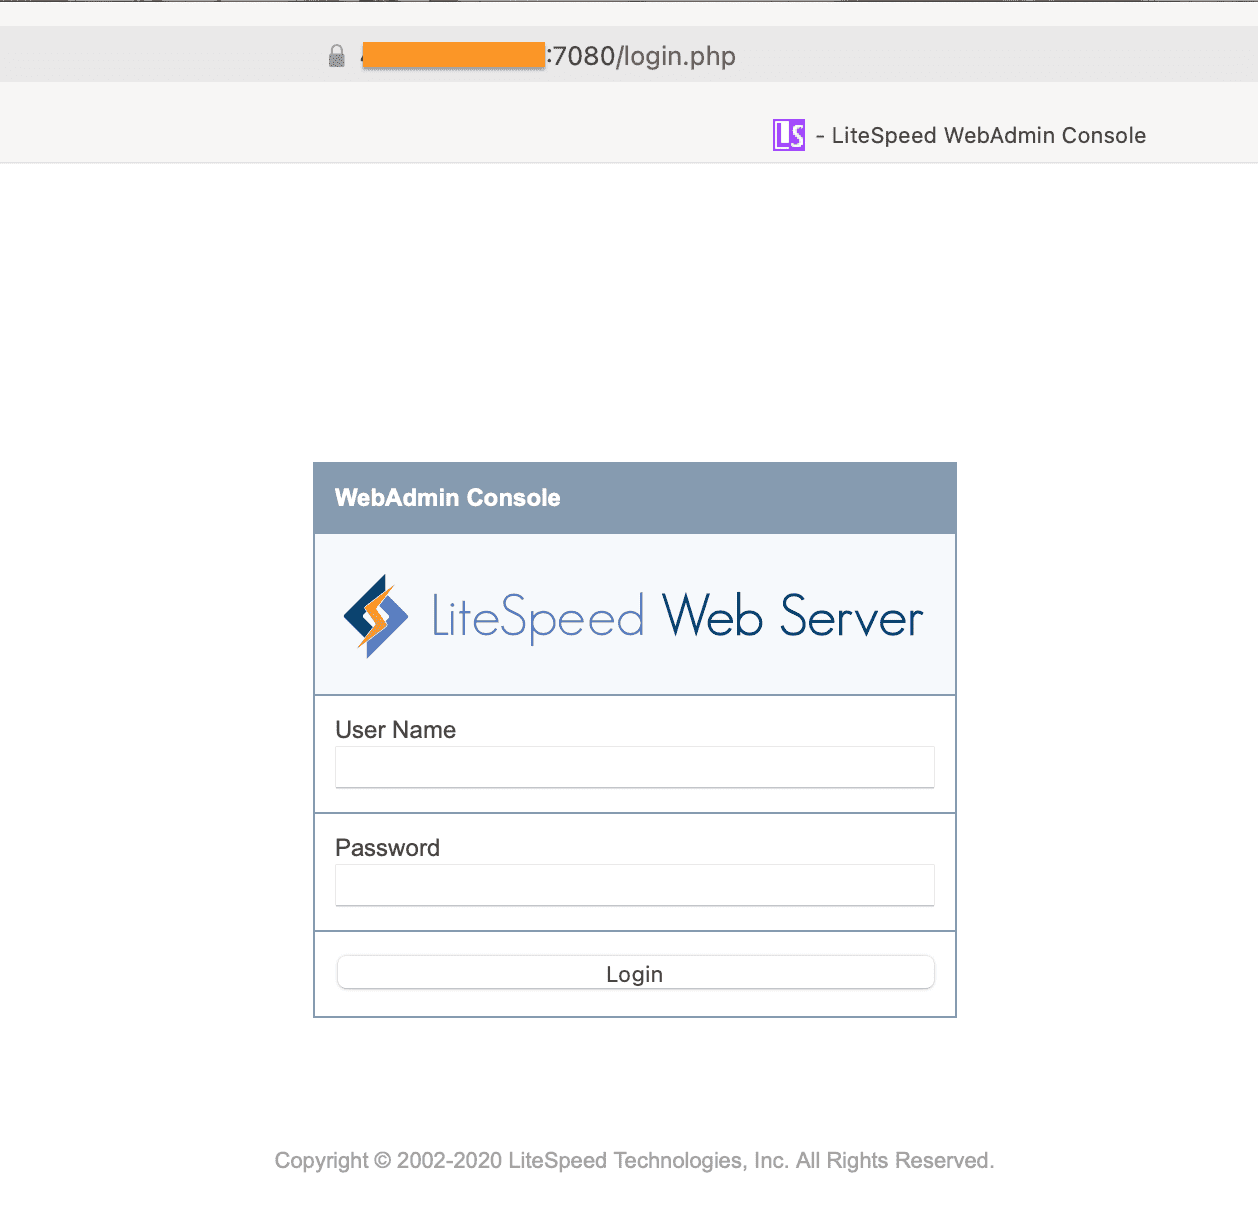
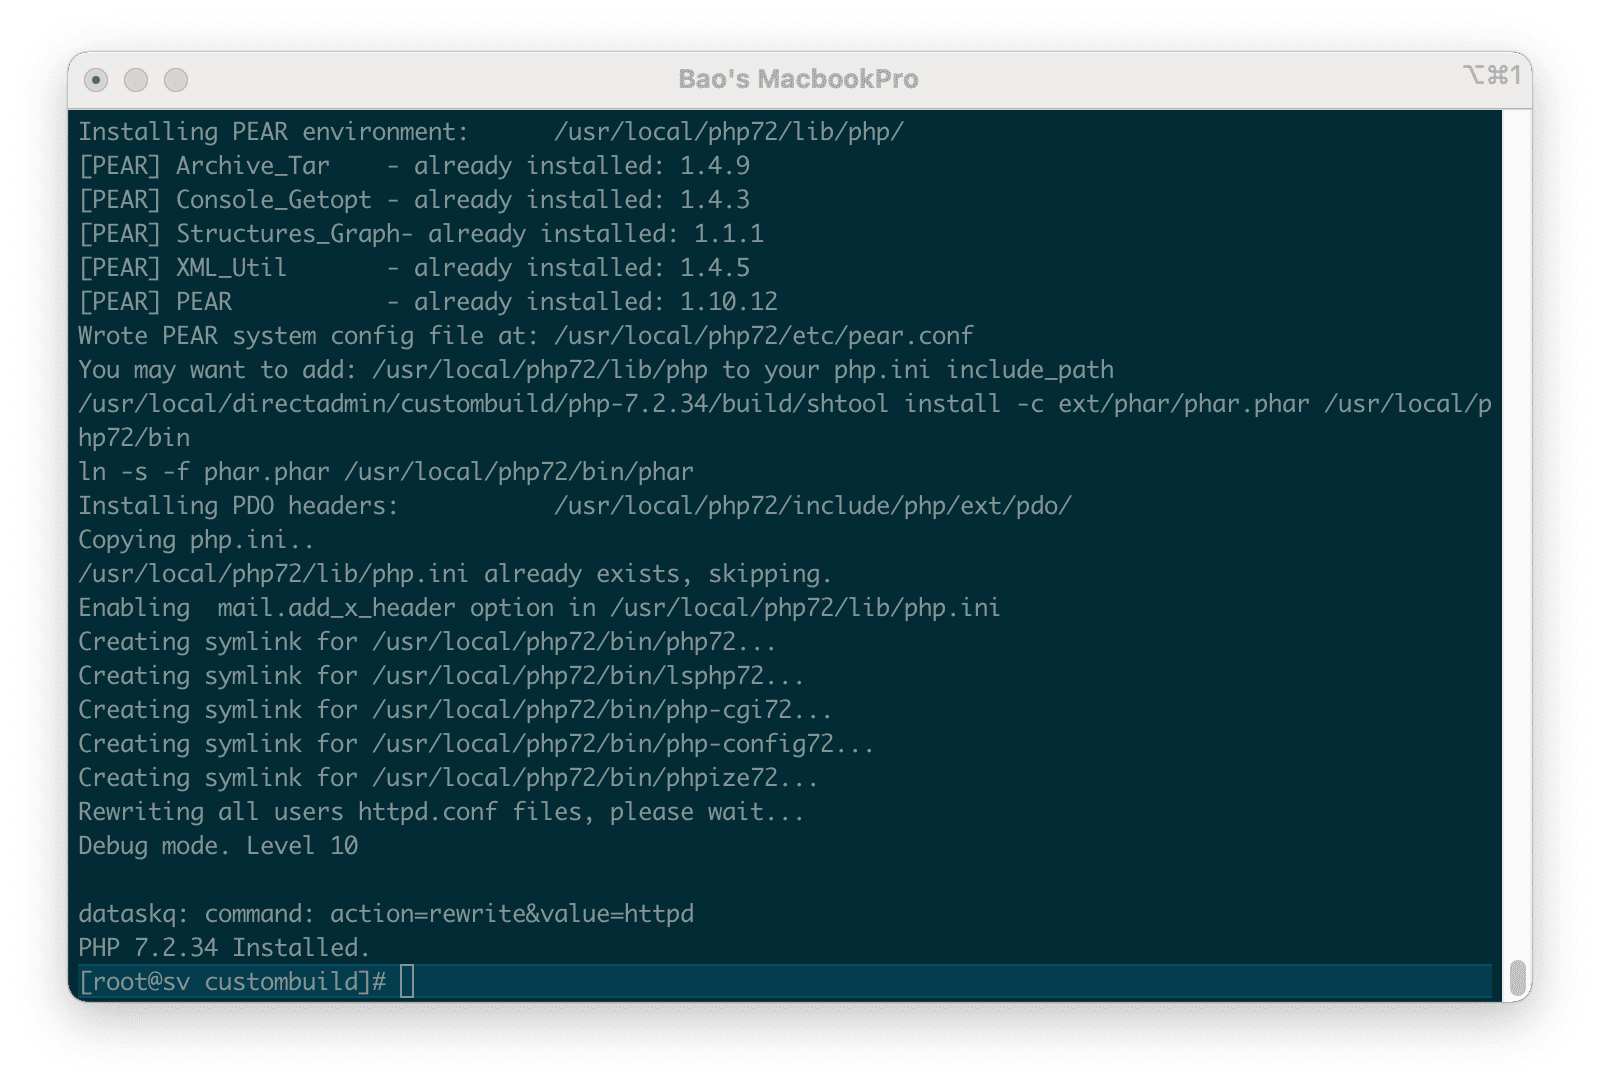
PHP versions under the new configuration.Depending on the amount of PHP you are using, the process of reinstalling PHP versions will take different installation times. Using only 1 PHP version will be faster than 4 versions.
At this point, the installation of Litespeed on our DirectAdmin has been completed. However, so far we have only used the 15-day trial version. If you already have a License Key, use the following command to update your License:
./build set litespeed_serialno XXXX-YYYY-ZZZZ
./build litespeed
Replace XXXX-YYYY-ZZZZ as your License Key.
III. Summary
So AZDIGI has completed the steps to install LiteSpeed on DirectAdmin. Although Litespeed has been installed, to optimize the performance of Litespeed, you can learn more in the next article.
Hope this article will be of help to you. Wishing you success!
See more useful articles about DirectAdmin at the following link:
If you need assistance, you can contact support in the ways below:
- Hotline 247: 028 888 24768 (Ext 0)
- Ticket/Email: You use the email to register for the service and send it directly to: support@azdigi.com .

