Nội dung
In the process of using the website, if you want to transfer your website from one hosting to another, there are many ways for you to choose from, such as using the available tools of the Control Panel or transferring by the command in Linux… And there is a simpler way that amateurs can still do that to use a plugin to support the transfer. Please follow the instructions below.
I will use the All-in-One WP Migration plugin to transfer the data. There is also Duplicator – WordPress Migration Plugin which is also a good option.
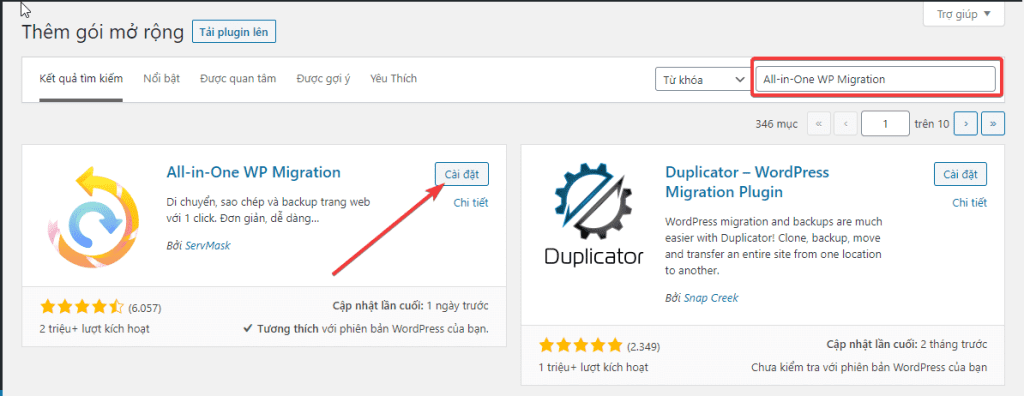
Install All in One WP Migration plugin
You search for the plugin with the keyword “All in One WP Migration” on the plugin library to proceed with the installation. Or you can download it from the link below.
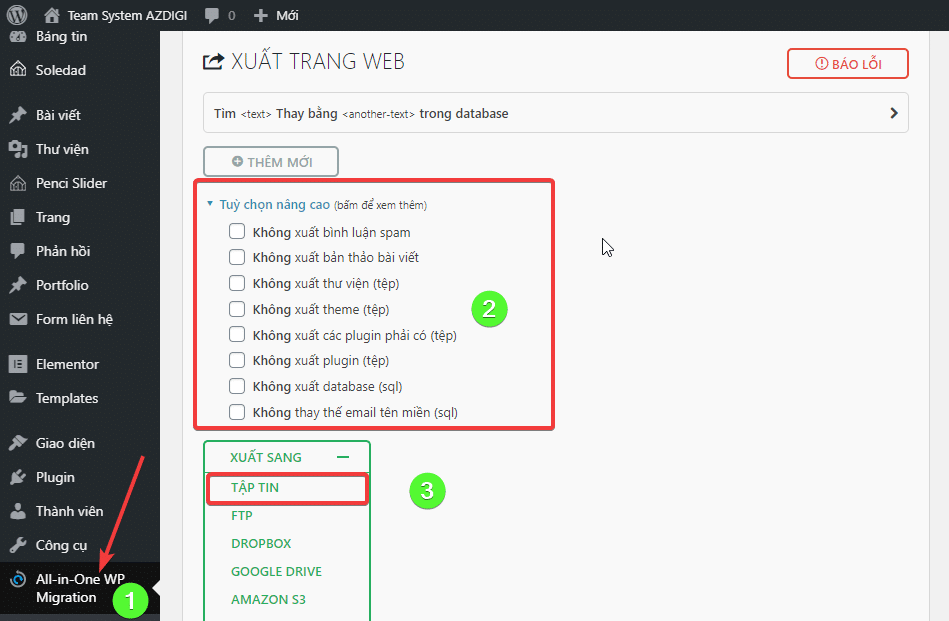
Export the backup file
Click All-in-One WP Migration => Export => Select or deselect custom components => FILE
Note: If your file is too large, you can customize it and remove unnecessary attachments to output a lighter file.
After clicking export, the process of checking and exporting the file will begin.

Depending on the file size will determine the fast or slow export time. Once completed, you will receive a message as below, click Close to download the file.
And the file will have the format *.wpress

Step 3: Enter data into the new website
This step is very important; to enter the data, I recommend installing a completely new WordPress website and only installing the All in one Migration plugin.
You click All in one Migration on the newly installed website => Import => File => Select the file you exported in step 2.
Note: If you receive a warning that Your file has exceeded the maximum upload size for this site: 128 MB How to: Increase the maximum upload file size or Unlimited, please follow the steps below to increase the file upload limit.
The file import process begins

Click Continue.

You wait a few minutes for the system to execute and you will receive a success message as shown below:

Once done, you can visit the newly installed website again to see if the website data recovery process has been completed.