Nội dung
Installing Laravel on Ubuntu 22.04 with 4 simple steps.
Introduction
Laravel is a free, open-source PHP framework built to support software and application development, following the MVC (Model-View-Controller) architecture. Laravel is the most popular and extremely powerful PHP framework.
In this tutorial, AZDIGI will show you how to set up Laravel on Ubuntu 22.04 server with LAMP.
Implementation Guide
Step 1: Update the system
Before going into the installation, you should update the system according to the command:
sudo apt update -y && apt upgrade -y
Step 2: Install PHP & PHP extensions
In this section, we will install PHP and the necessary PHP extensions to run the Laravel Framework.
sudo apt-get install php libapache2-mod-php php-dev php-zip php-curl php-pear php-mbstring php-mysql php-gd php-xml curl -y
Then check if PHP has been installed successfully.
php -vOutput:
PHP 8.1.2 (cli) (built: Apr 7 2022 17:46:26) (NTS)
Copyright (c) The PHP Group
Zend Engine v4.1.2, Copyright (c) Zend Technologies
with Zend OPcache v8.1.2, Copyright (c), by Zend TechnologiesStep 3: Install the Apache webserver
- To install the Apache web server, run the command:
sudo apt install apache2
- Enable and start with the system
sudo systemctl start apache2
sudo systemctl enable apache2
Step 4: Create the database for Laravel Application
Because in this tutorial we use LAMP, I recommend using MariaDB as the database system. However, you can choose other databases because Laravel supports many different database systems such as SQLite, MySQL, Postgres and SQL Server. Now we will go into the installation:
- Install MariaDB
sudo apt install mariadb-server -y
sudo mysql_secure_installation
To know how to set up MariaDB, you can see more instructions here. (Mariadb installation section)
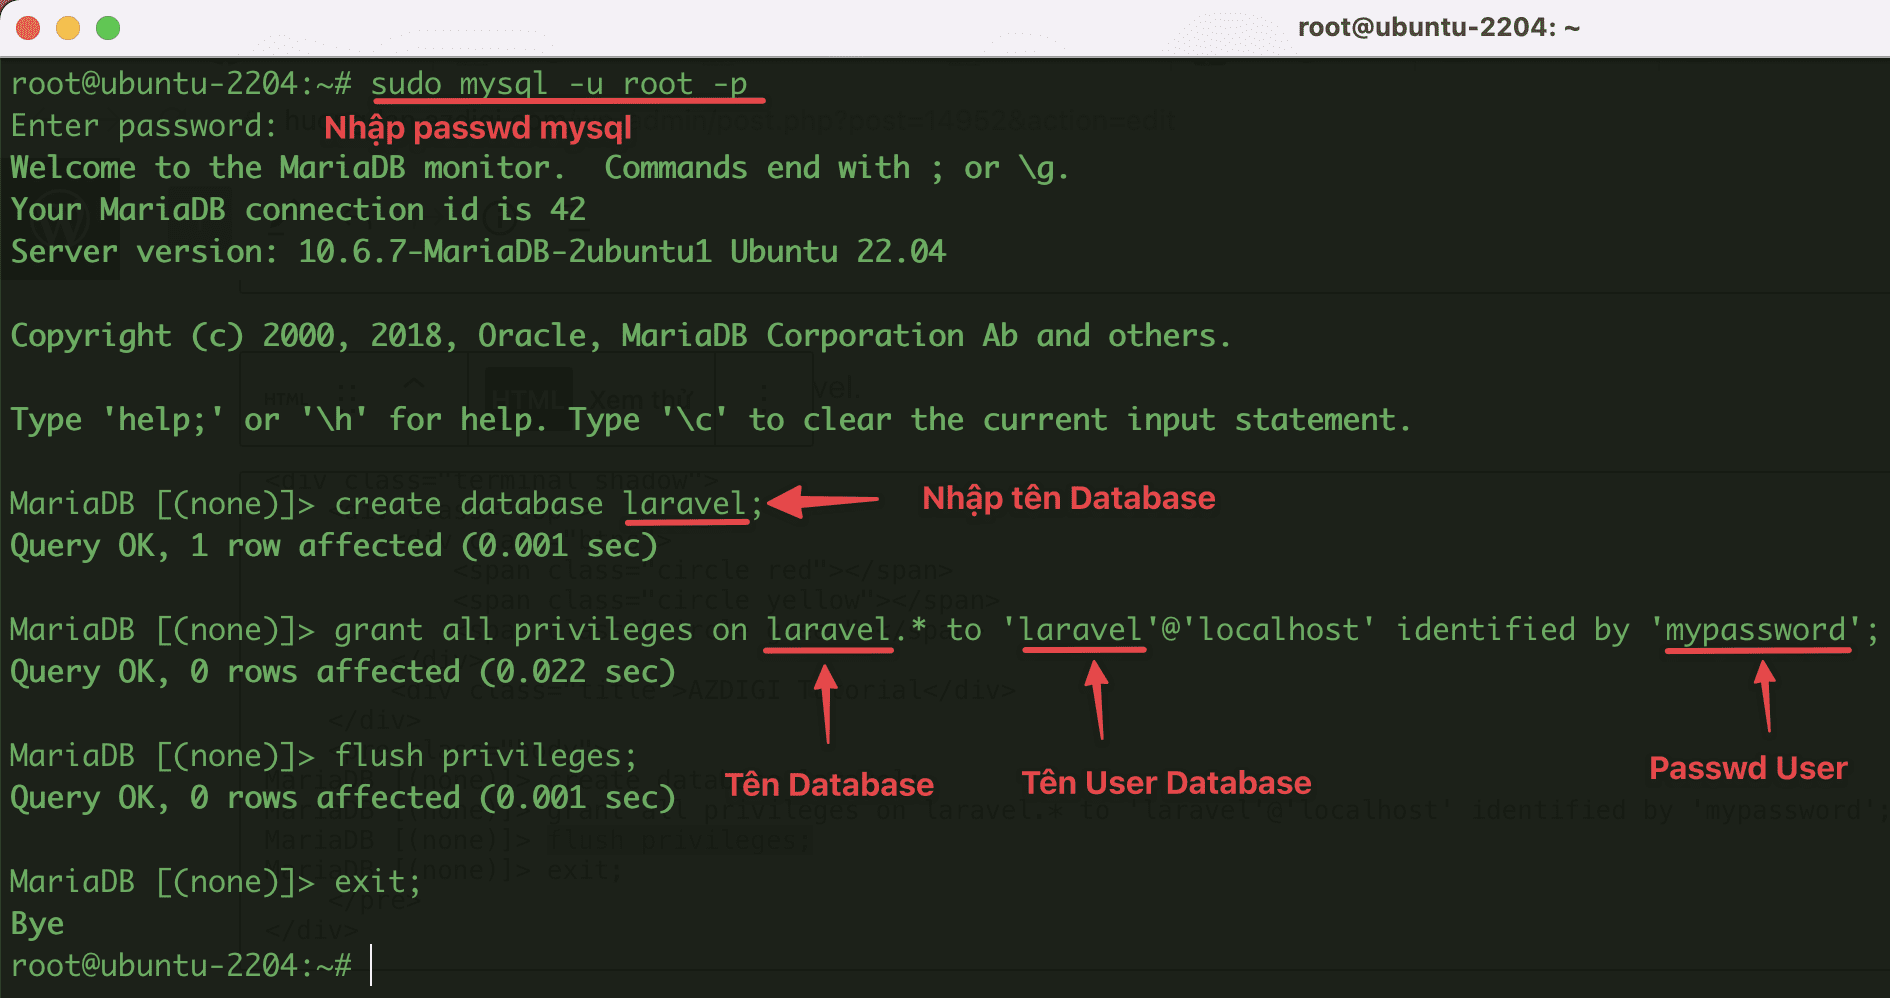
- Login to the MariaDB server
sudo mysql -u root -p
- Create the database for the Laravel application.
MariaDB [(none)]> create database laravel;
MariaDB [(none)]> grant all privileges on laravel.* to 'laravel'@'localhost' identified by 'mypassword';
MariaDB [(none)]> flush privileges;
MariaDB [(none)]> exit;
Step 5: Install Composer
Composer is a PHP package manager that provides a standard format for managing PHP software dependencies and required libraries.
- Install Composer
curl -sS https://getcomposer.org/installer | php
sudo mv composer.phar /usr/local/bin/composer
sudo chmod +x /usr/local/bin/composer
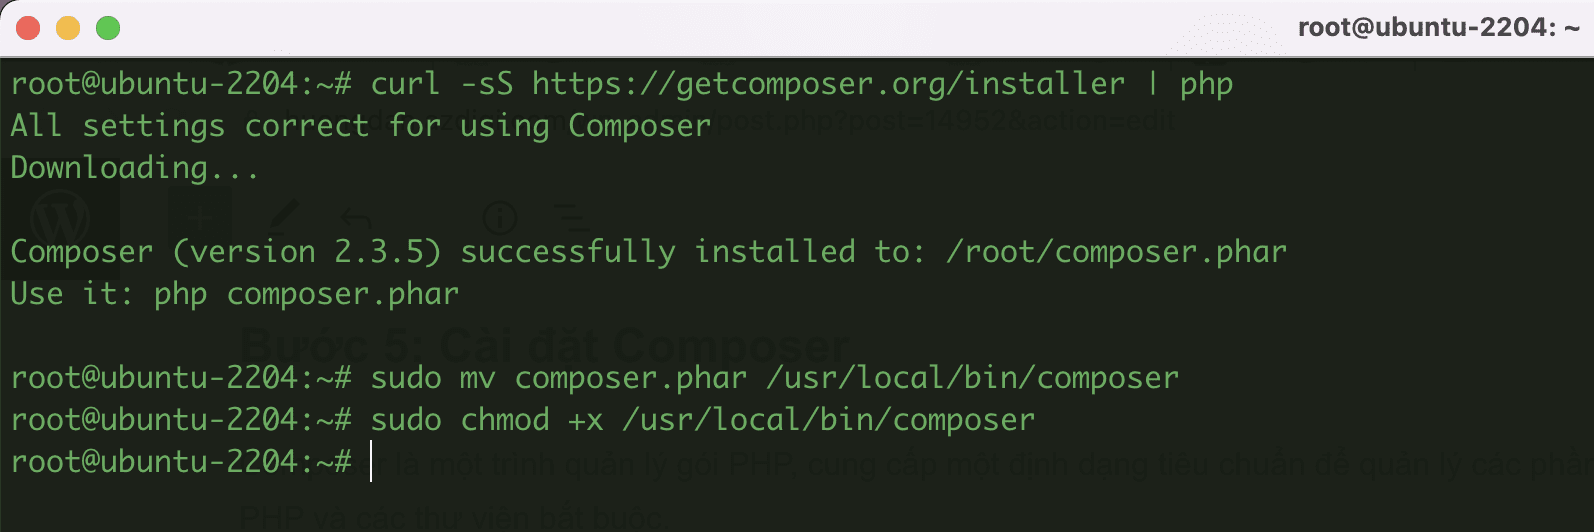
Then check if Composer has been installed successfully.
composer --versionOutput:
Composer version 2.3.5 2022-04-13 16:43:00Step 6: Install Laravel Framework
- First, you need to create a folder to save the project:
sudo mkdir /var/www/laravel
- Move to the newly created folder.
cd /var/www/laravel
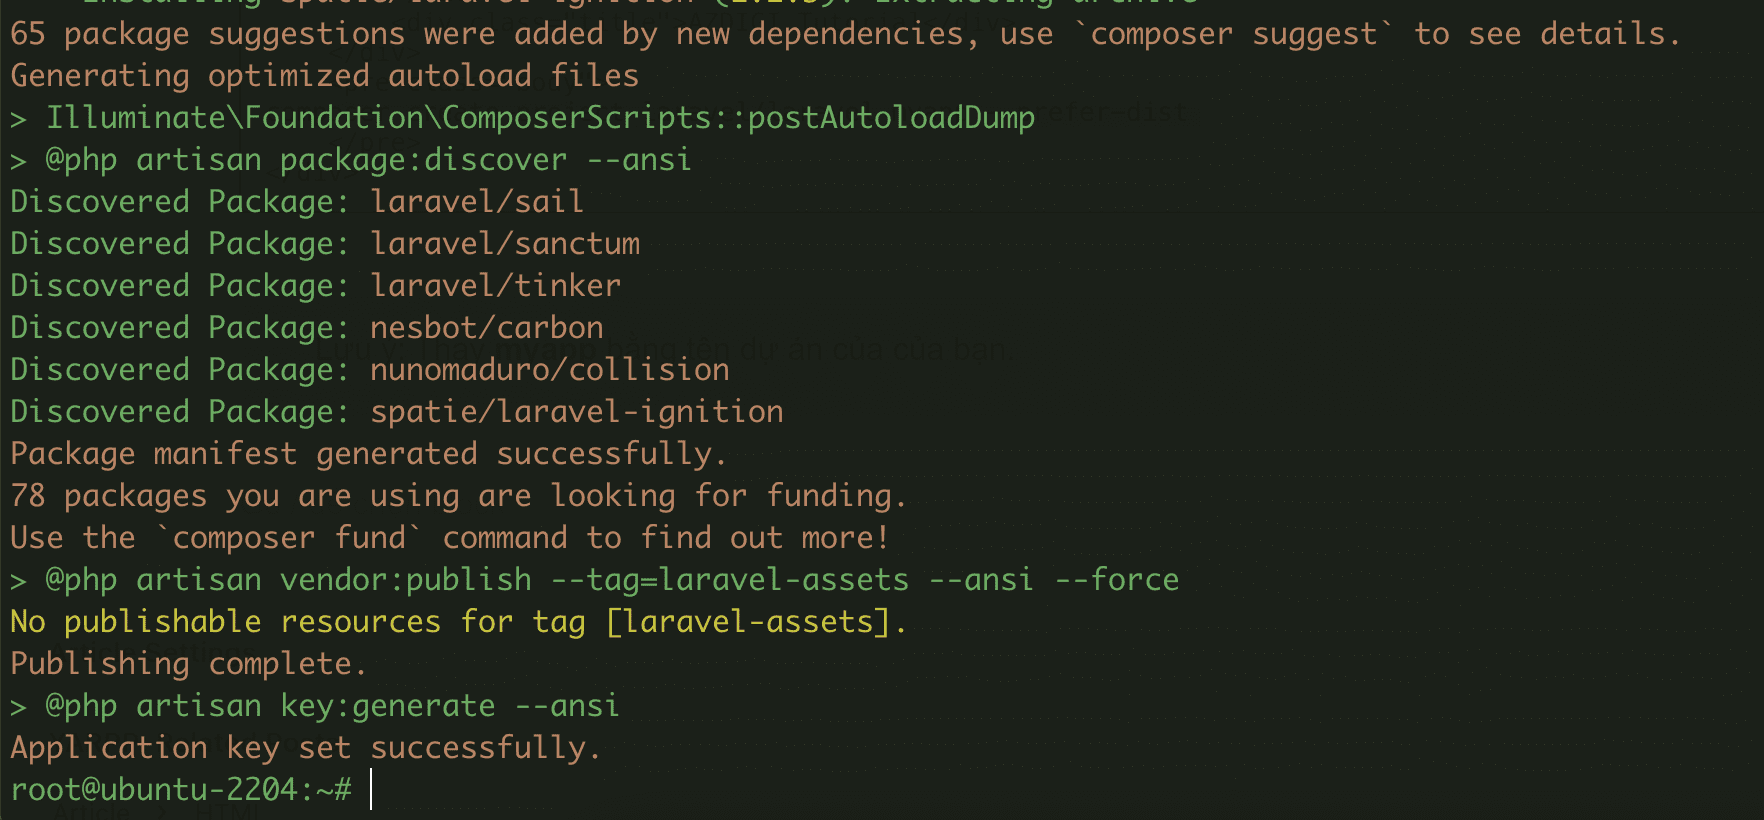
- With Composer installed, we can now install Laravel as follows:
composer create-project laravel/laravel myapp --prefer-dist
Note: Replace myapp with your project name.
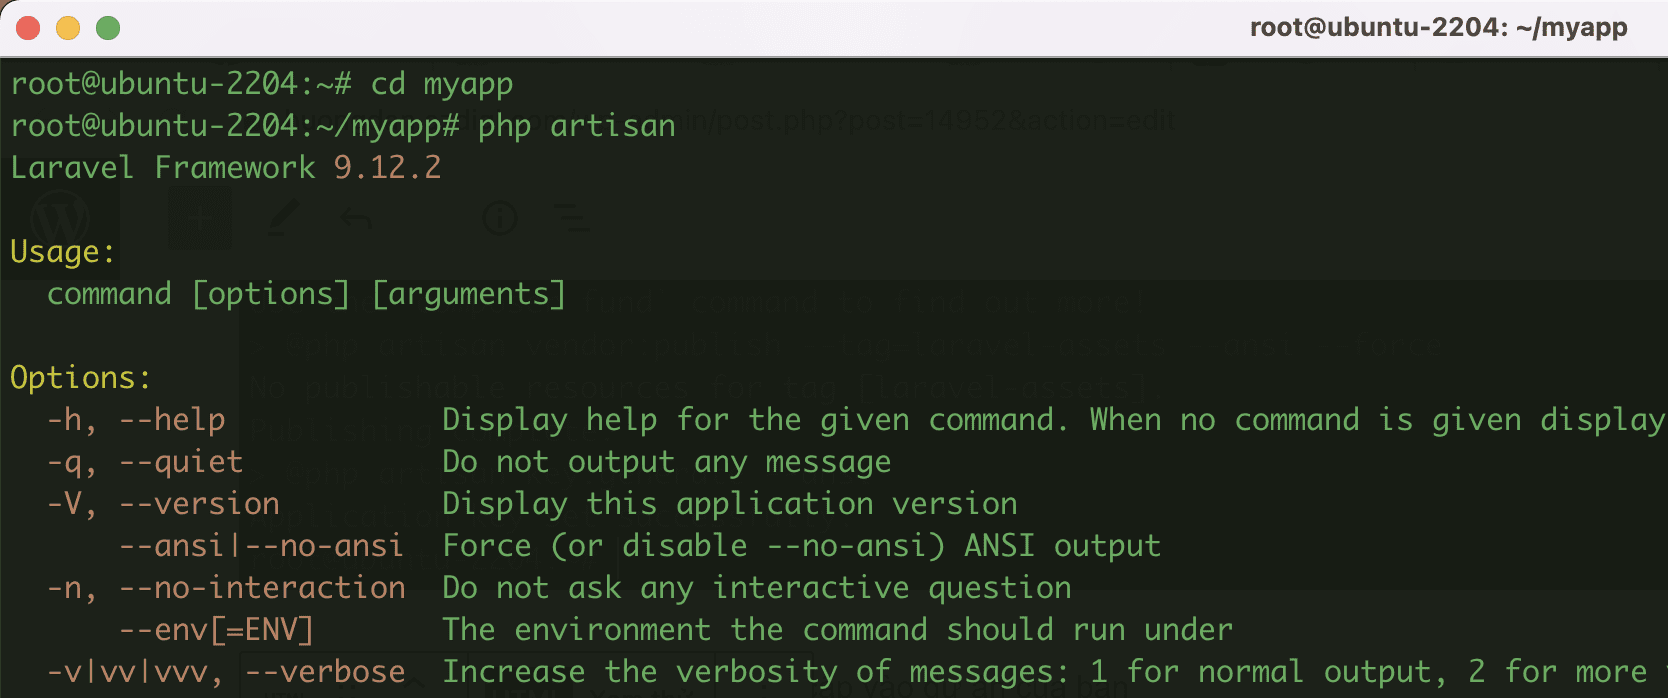
- Check the Laravel version, go to your project.
cd myapp
php artisan
- Assign project directory permissions to www-data (Apache user).
sudo chown -R www-data:www-data /var/www/laravel
sudo find /var/www/laravel/ -type d -exec chmod 755 {} \;
sudo find /var/www/laravel/ -type f -exec chmod 644 {} \;
Step 7: Create Virtual Host for Laravel Application
- Create a virtual host with the command:
nano /etc/apache2/sites-available/laravel.conf
Add the following content to the file you just created:
<VirtualHost *:80>
     ServerAdmin admin@azdigi.space
     DocumentRoot /var/www/laravel/myapp/public
     ServerName laravel.azdigi.space


     ErrorLog ${APACHE_LOG_DIR}/error.log
     CustomLog ${APACHE_LOG_DIR}/access.log combined

     <Directory /var/www/laravel/>
        Options +FollowSymlinks
        AllowOverride All
        Require all granted
     </Directory>

</VirtualHost>
Note: Replace azdigi.space with your domain name.
- Activate the newly created virtual host
sudo a2ensite laravel.conf
systemctl reload apache2
- Enable mod_rewrite Apache
sudo a2enmod rewrite
systemctl reload apache2
- Restart Apache
sudo systemctl restart apache2
Step 8: Access the Laravel application
After completing the Laravel application installation, you will access your application with the name set up in step 7. Before that, I named the application laravel.azdigi.space, and below is my result:
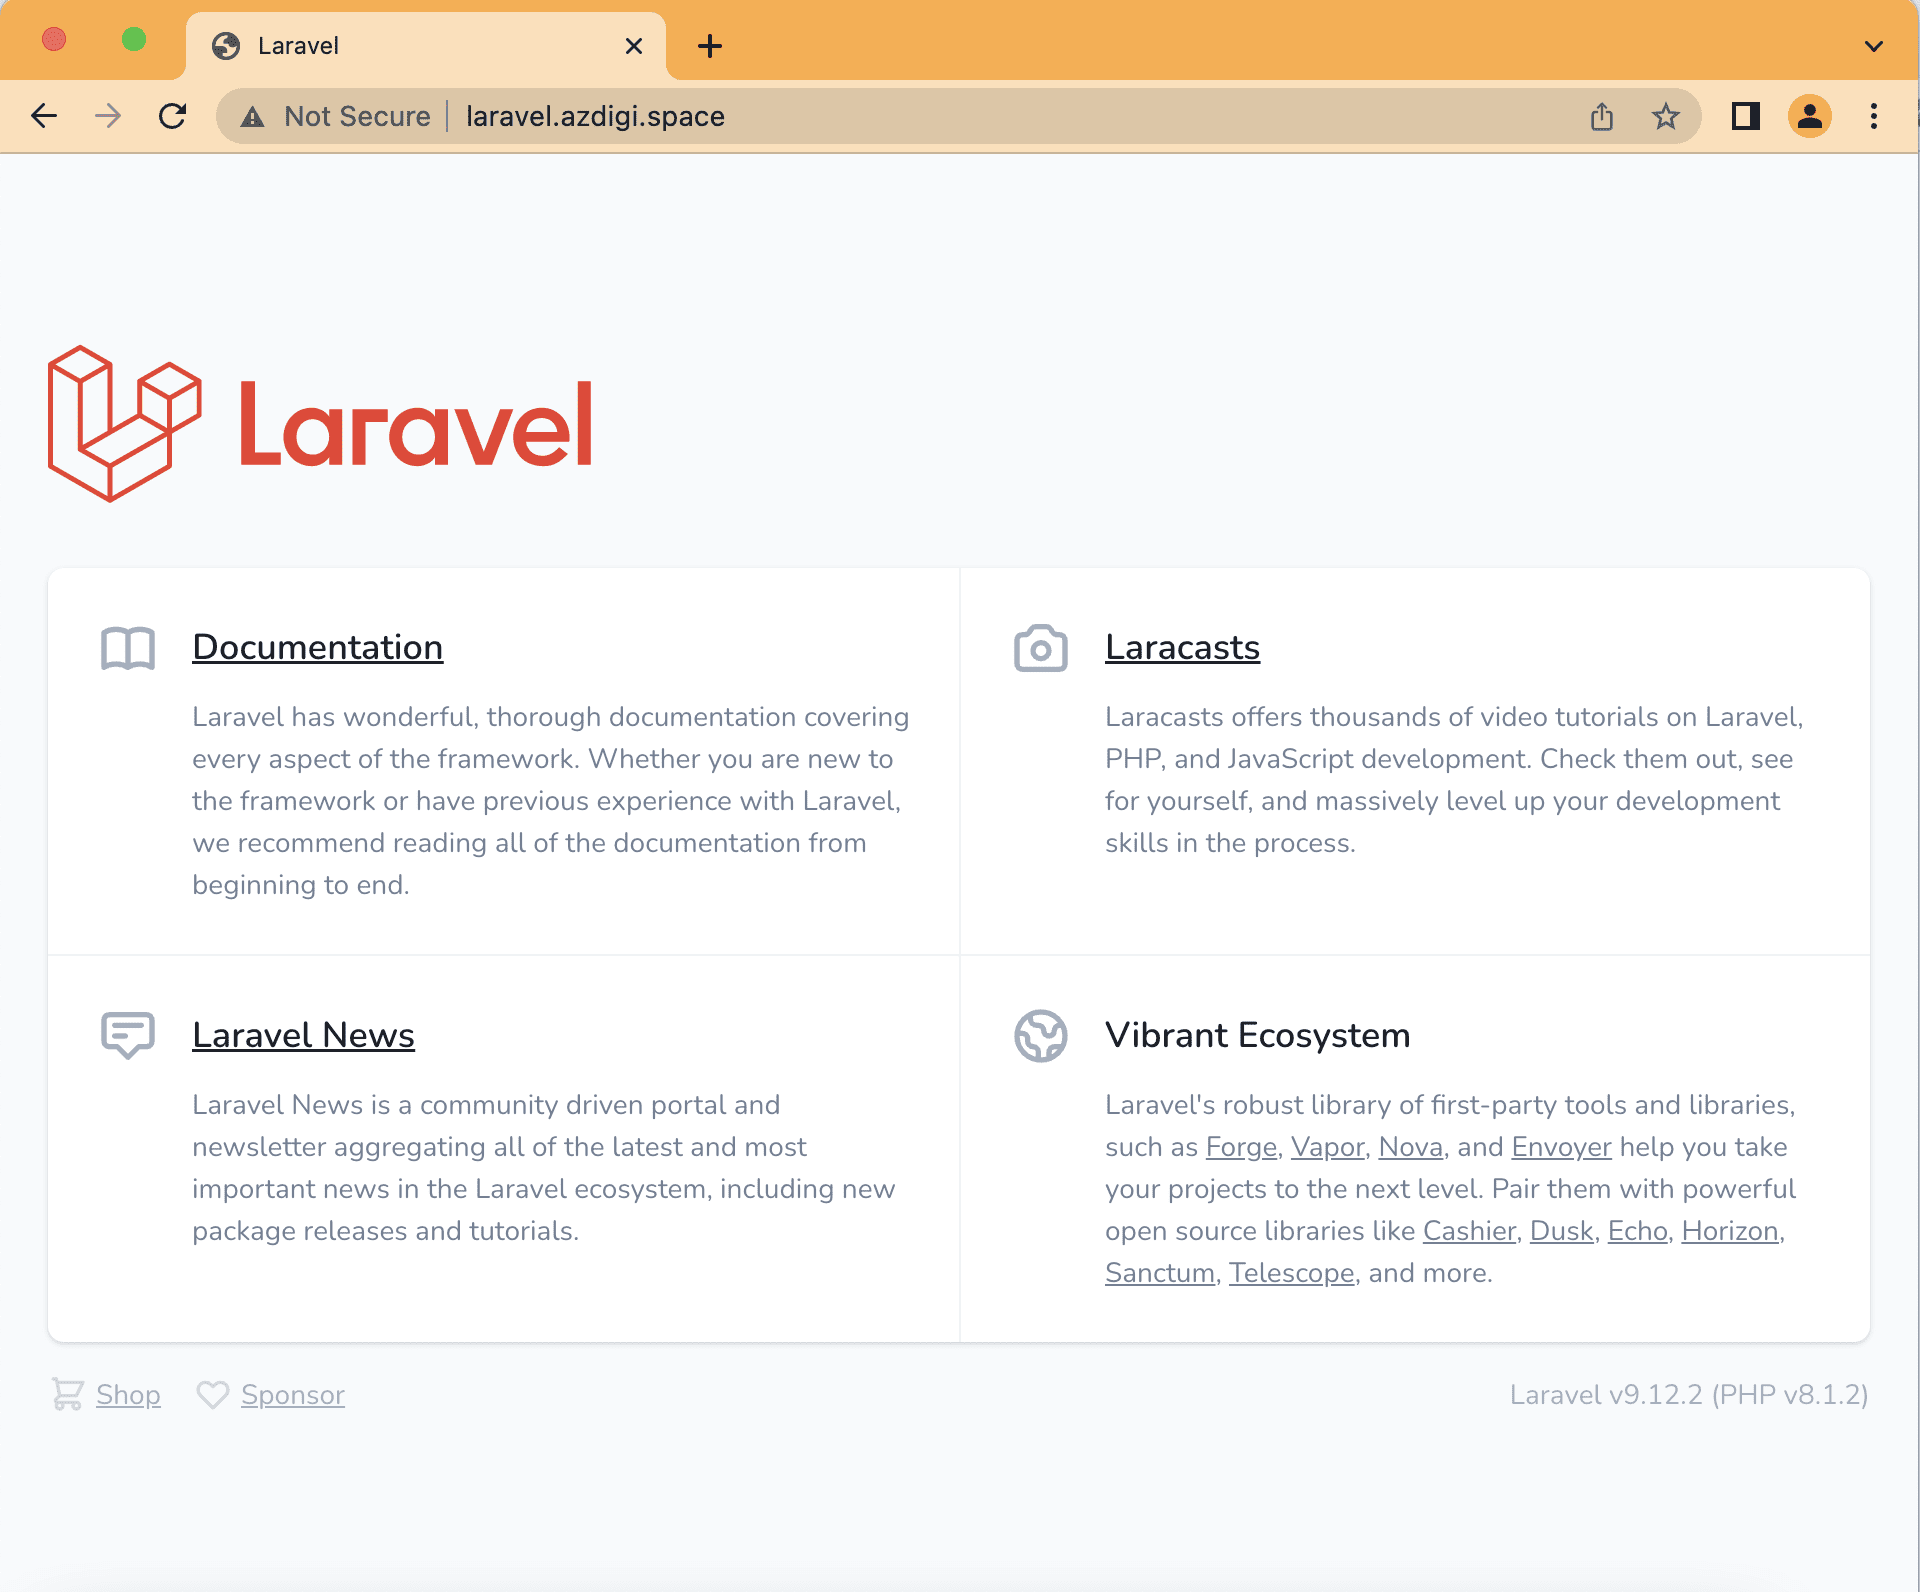
So AZDIGI has completed the installation and configuration steps of Laravel on Ubuntu 22.04. Hopefully, this article will be helpful to you. Wishing you success!
You can refer to other instructions at the link below:
If you need support, you can contact support in the ways below:
- Hotline 247: 028 888 24768 (Ext 0)
- Ticket/Email: You use the email to register for the service and send it directly to: support@azdigi.com .

