Nội dung
In today’s article, AZDIGI will show you how to install Load Monitor into DirectAdmin to monitor the load level of your VPS/Server. From there, it is easy to recognize when the system is overloaded and needs to be checked.
I. Overview of Load Monitor on DirectAdmin
Load Monitor is an extension with DirectAdmin integration developed by Alex S Grebenschikov of the Poralix group, which helps monitor the load level of the DirectAdmin system right on the DirectAdmin Admin interface.
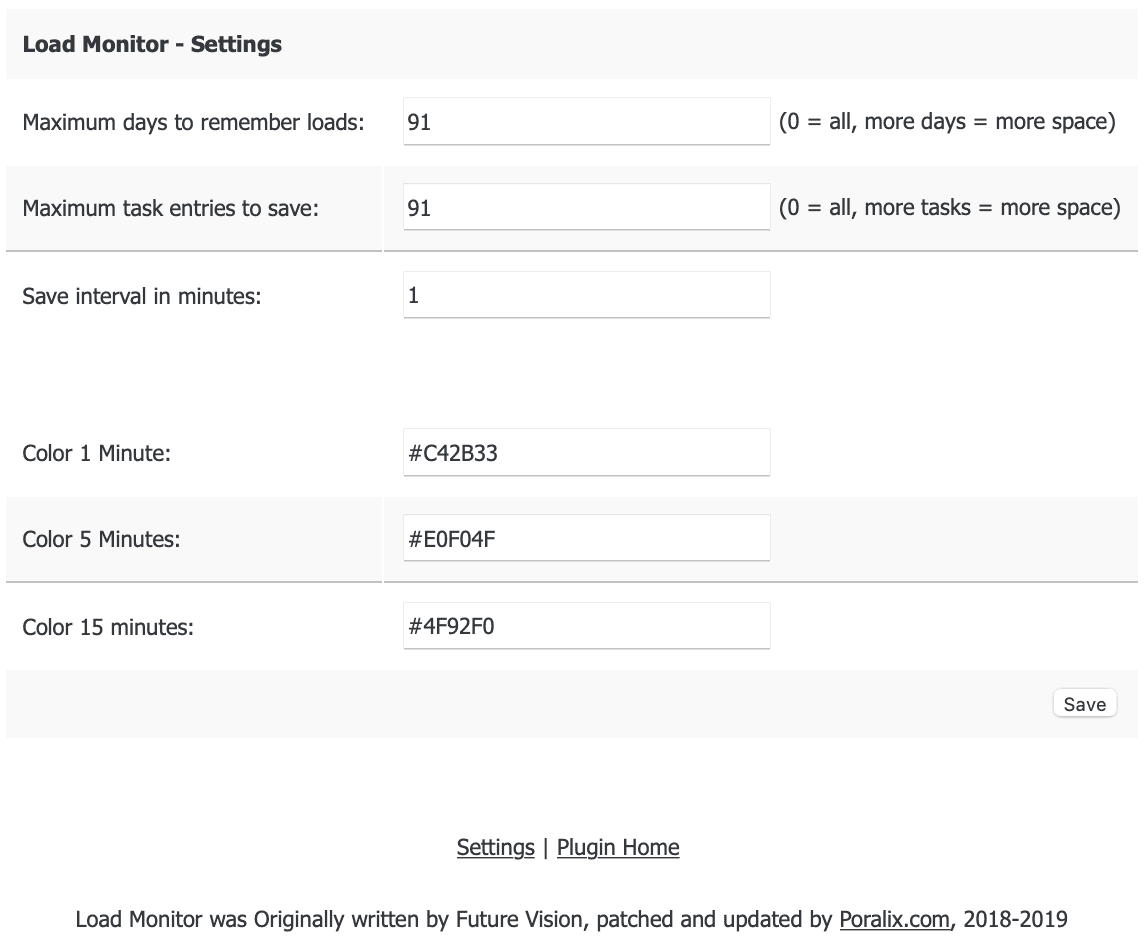
By default, Load Monitor will store logs for 91 days. However, you can completely adjust it lower or higher depending on your needs, but the longer the log storage, the more space it will take up.
Note: By default, Load Monitor will use the timestamp at php_timezone= of /usr/local/directadmin/custombuild/options.conf. So in this article, AZDIGI will show you how to install Load Monitor as well as change the timezone.
II. Install Load Monitor into DirectAdmin
To install Load Monitor into DirectAdmin, we follow these 3 steps:
Step 1: SSH into your DirectAdmin system
To install Load Monitor into DirectAdmin, we first need to SSH or access your VPS/server with root privileges. If you don’t know how to SSH into your VPS/Server, you can refer to the following tutorial:
After successful SSH, we continue with step 2 to change the php_timezone parameter in the DirectAdmin configuration.
Step 2: Change the php_timezone parameter in DirectAdmin configuration
Depending on the area you live in, choose the correct timezone, I’m living in the Ho Chi Minh City area in Asia, so the timezone will be Asia/Ho_Chi_Minh. If you are in a different region, please find the exact timezone at the list in the following link:
First, we need to check which timezone DirectAdmin is configured with the following command:
cat /usr/local/directadmin/custombuild/options.conf | grep php_timezone
Here is my result.

To change the time zone, we execute the following commands:
cd /usr/local/directadmin/custombuild/
./build set php_timezone Asia/Ho_Chi_Minh
Remember to change Asia/Ho_Chi_Minh to your regional timezone .

We continue with step 3 to perform the Load Monitor installation commands into DirectAdmin.
Step 3: Execute the Load Monitor installation commands into DirectAdmin
The commands to install Load Monitor into DirectAdmin are very simple, you just need to run the following 6 commands:
cd /usr/local/directadmin/plugins/
yum install git -y
git clone https://github.com/poralix/load_monitor.git
cd load_monitor/scripts/
./install.sh
systemctl restart directadmin
Explanation of the above commands:
- Command 1: Move to the
/usr/local/directadmin/plugins/folder. - Command 2: Install
gitsoftware to use with command 3. - Command 3: Use
gitto copy theload_monitorsource code from github.com to the server. - Command 4: Move to the
load_monitor/scripts// directory. - Command 5: Run the installation file
install.sh. - Command 6: Restart DirectAdmin after installing Load Monitor successfully.
Here is an image of the process of executing the above commands:

So we have successfully installed Load Monitor into DirectAdmin.
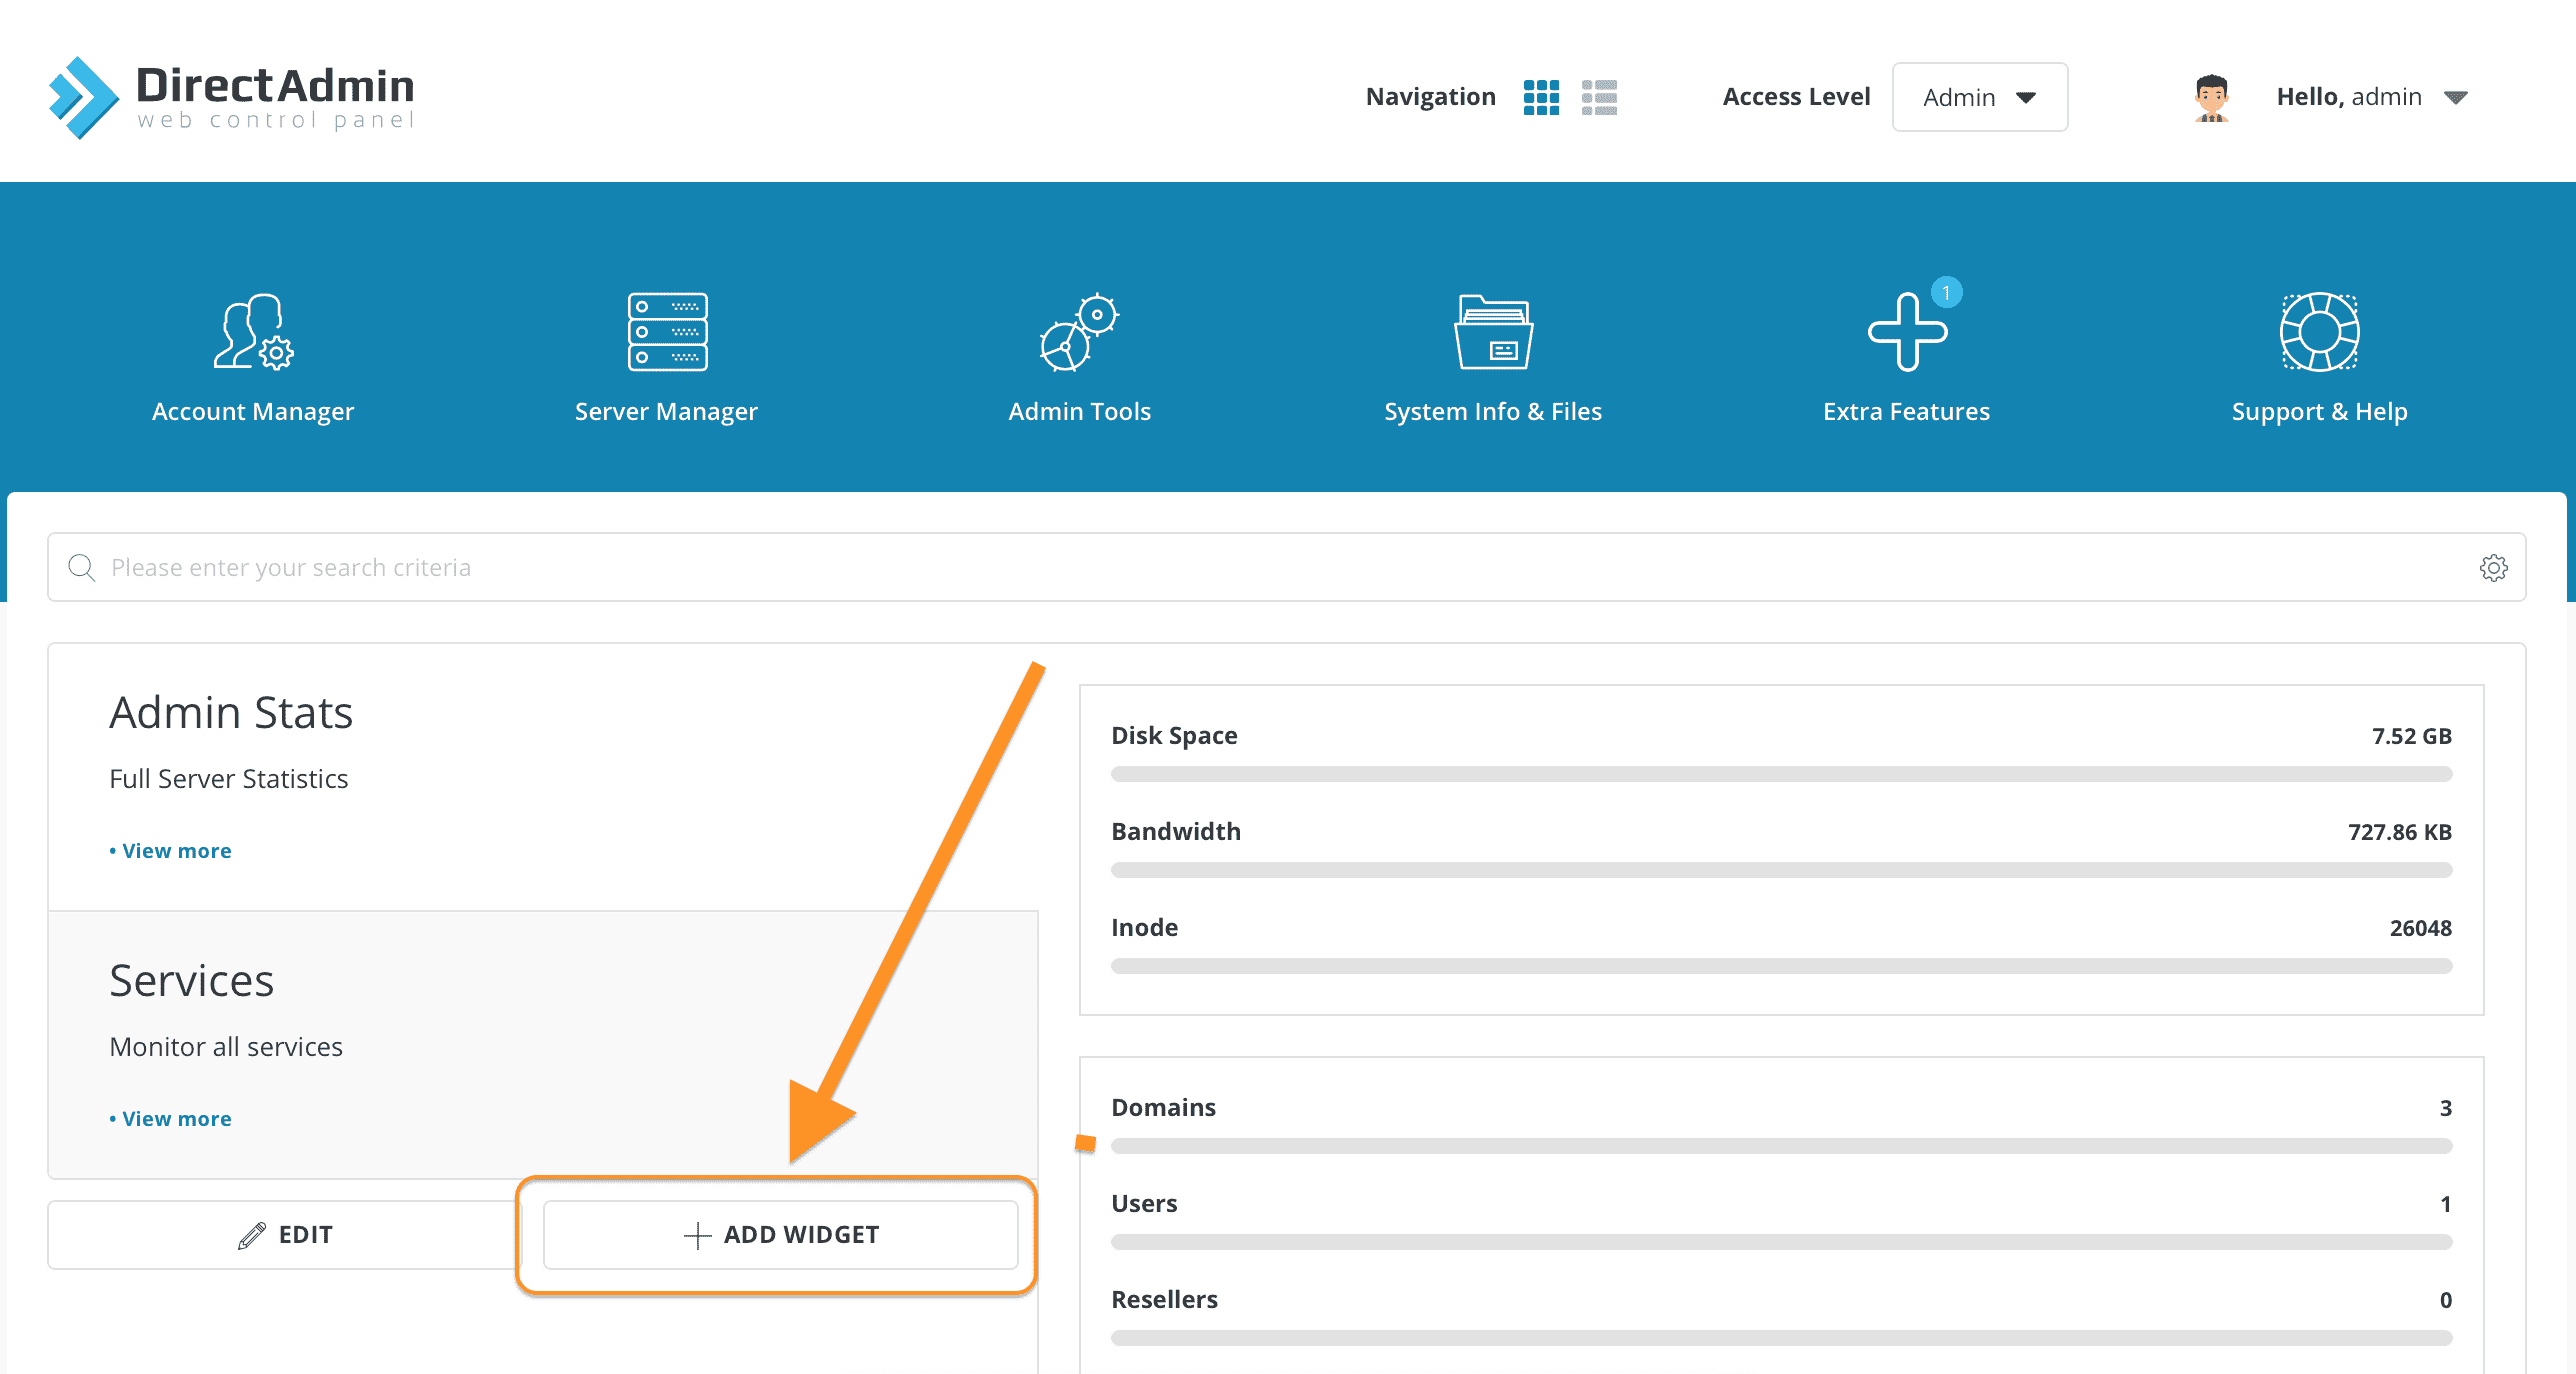
Next, let’s access the DirectAdmin interface and add this widget to the Admin page for easy monitoring.


Because I just installed Load Monitor, my chart is a bit less informative, if I leave it for a day, the information will be more.
If you want to fine-tune the chart color, log time, and review history…, select View more of this widget.


III. Summary
Hopefully, through this article, you have understood how to Load Monitor into DirectAdmin.
Hope this article will be of help to you. Wishing you success!

