Nội dung
Overview
What is Magento?
Magento is an open-source application for building e-commerce websites. Magento uses PHP language and is based on the Zend Framework platform. There are currently 2 Magento tables: Community Edition (CE), a free version, and Enterprise Edition (EE), which is paid.
History
Magento started as an Italian company, Varien.
2007: Developed by Roy Rubin and Yoav Kutner. The first version was released in August 2007
2008: Named Bento. The first community version was introduced in June 2008.
2009: Magento has a substantial increase in the number of users. The paid version was released in April 2009
2011: eBay invests in purchasing Magento, with the goal of developing Magento Enterprise (the professional version of Magento that integrates the most powerful features for “huge” websites of large sales stores) and Magento Go (the Magento version has a monthly payment fee, mainly including Hosting service for user’s website)
2015: Magento officially stopped providing Magento Go service
2017: Hillhouse Investment Fund invests 250 million USD in Magento
2018: Adobe acquires Magento for $1.68 billion, Adobe has sought to diversify its digital media products, making it one of the largest software companies in the world, and this acquisition of Magento could be Aiming to go deep into the e-commerce industry
Why should you use Magento?
Magento can be applied to many different customers and most of them are businesses. In Vietnam, medium to large companies mostly uses this platform. The main reason is that Magento is essentially open-source, so it is easy to integrate with other systems. This is a significant advantage because businesses can integrate CRM, Accounting, Payment Gateways and ERP systems.
The outstanding features of Magento:
- Product management: multiple images, product review options, favorites, inventory.
- Categories: easily search and select products based on available categories.
- Inventory management: know the number of products imported, exported and in stock.
- Customer information: account status, customer address, transaction history, shopping cart…
- Customer service: expands many features, has a form to contact customers, a comprehensive customer follow-up system, provides mailing services to customers.
- Order Management
- Payment: many forms of payment such as credit cards, PayPal. Support for other payment modules such as CyberSource, ePay, eWAY…
- Multi-language and multi-currency support
- Search technology: fast, easy to use, supports searching on Google SiteMap.
- Many tools to support Marketing: coupons, promotions
- Reviews, reports: integration with Google Analytics helps users view many types of reports. From there, adjust the policy accordingly.
In this article, AZDIGI will guide you to install the free Magento website with Softaculous, follow the installation steps below.
Steps to install Magento with Softaculous
Before installing, you need to make sure that Extension Soap is active on the website, if you do not have this Extension, you will receive a warning when you install it as shown below:
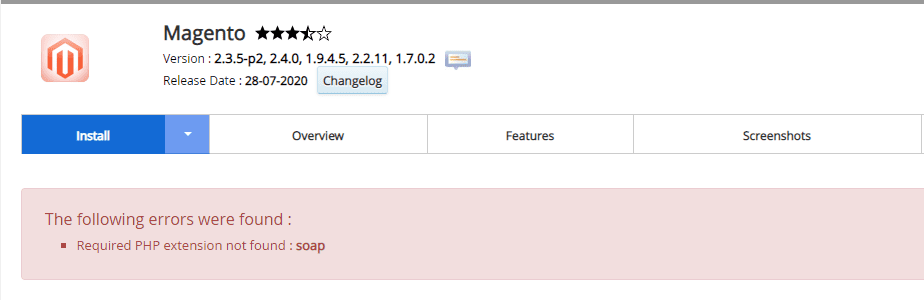
You can enable this Extension by selecting Select PHP Version => Extensions => tick Soap

When you have finished enabling Soap, continue with the steps below:
Step 1: Access Softaculous
First, log in to cPanel => SOFTWARE section => Softaculous Apps Installer.

Step 2: Install Magento
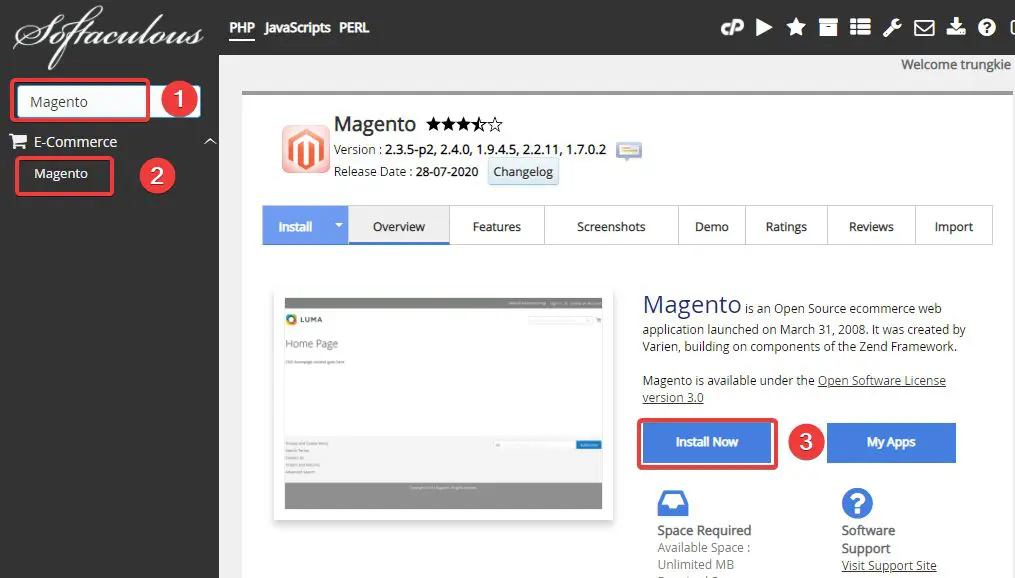
At the Softaculous interface, search “Magento” in the search box (1) => Magento (2) => click Install Now (3) to install.
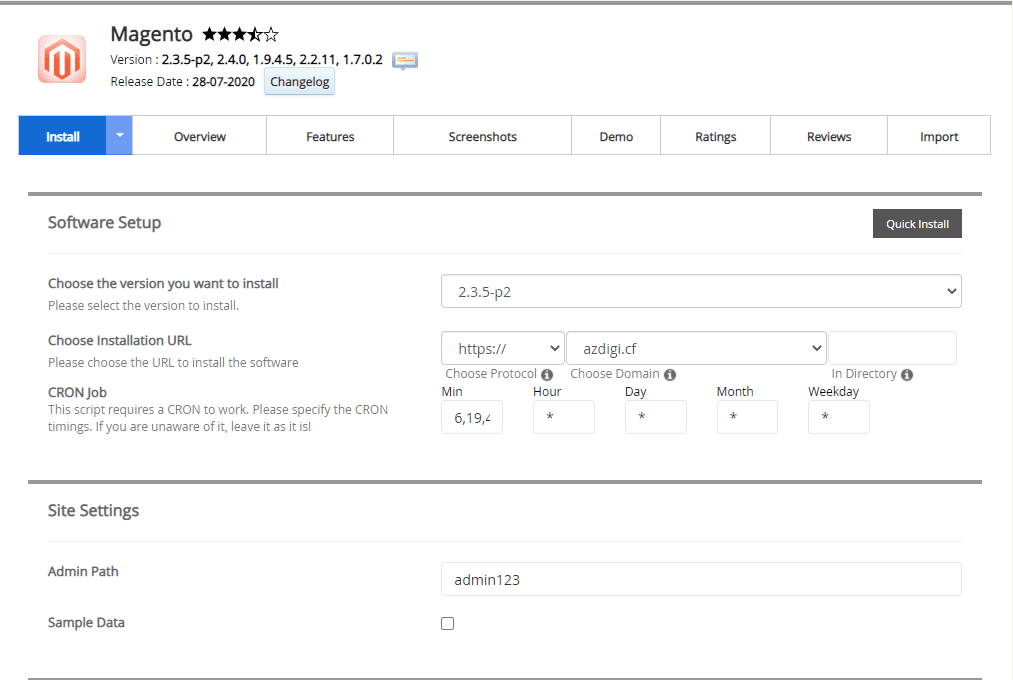
At the next interface, you need to fill in the following information:
In there:
- Choose the version you want to install: You choose the version of Magento you want to install
- Choose Installation URL
- Choose Protocol: Choose https if the site has SSL installed or vice versa choose http if SSL is not installed
- Choose Domain: Select the Domain to install
- in Directory: Leave this field blank
- CRON Job: you can set up automatic Crons, if you don’t need them, you should leave them the default.
- Admin Path: you set the path to access the website admin page
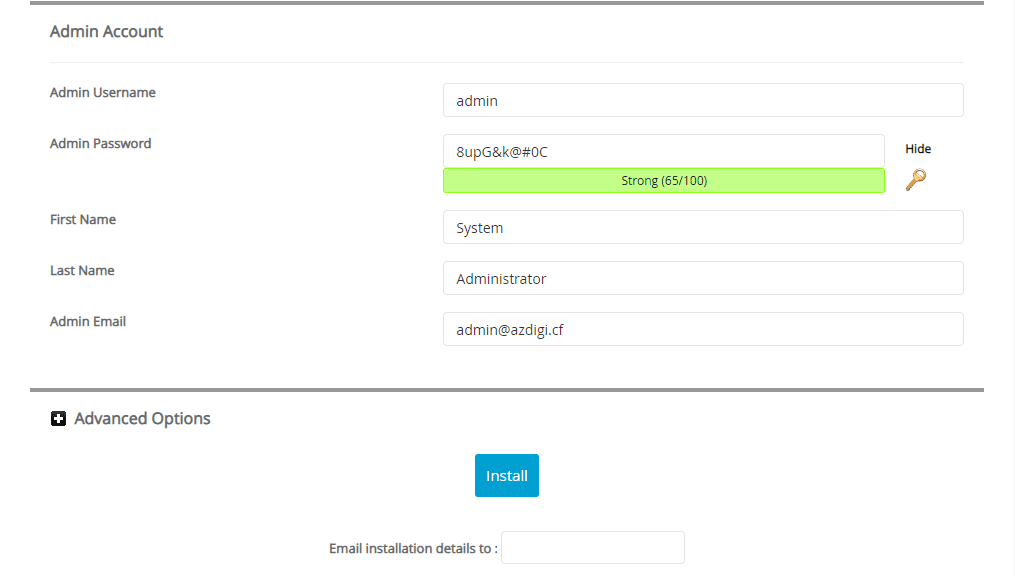
- Admin Username: Website admin user
- Admin Password: Website admin password
- First Name: User’s name
- Last Name: User’s last name
- Admin Email: Website admin email
After filling in all the information, click Install to proceed with the installation.
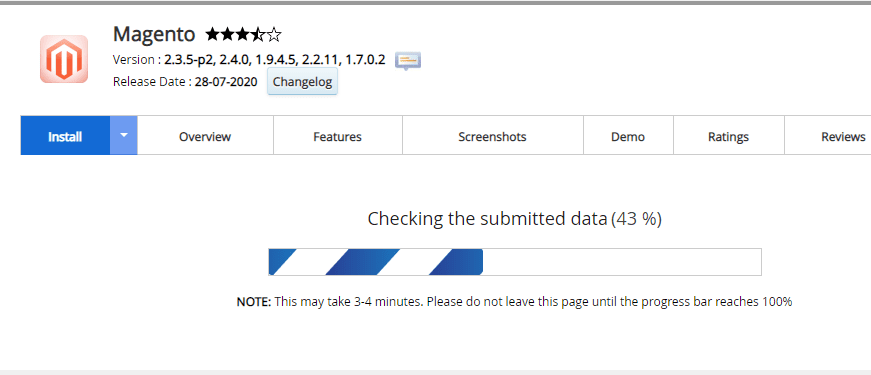
After the installation is complete, you will get the admin page information as shown below:
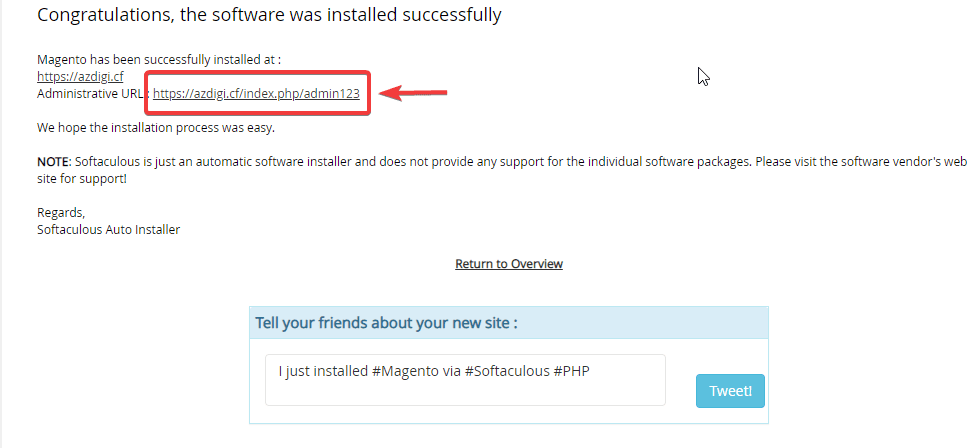
Step 3: Check the website and log in to the website administrator
After the installation is complete, the website will have an interface:
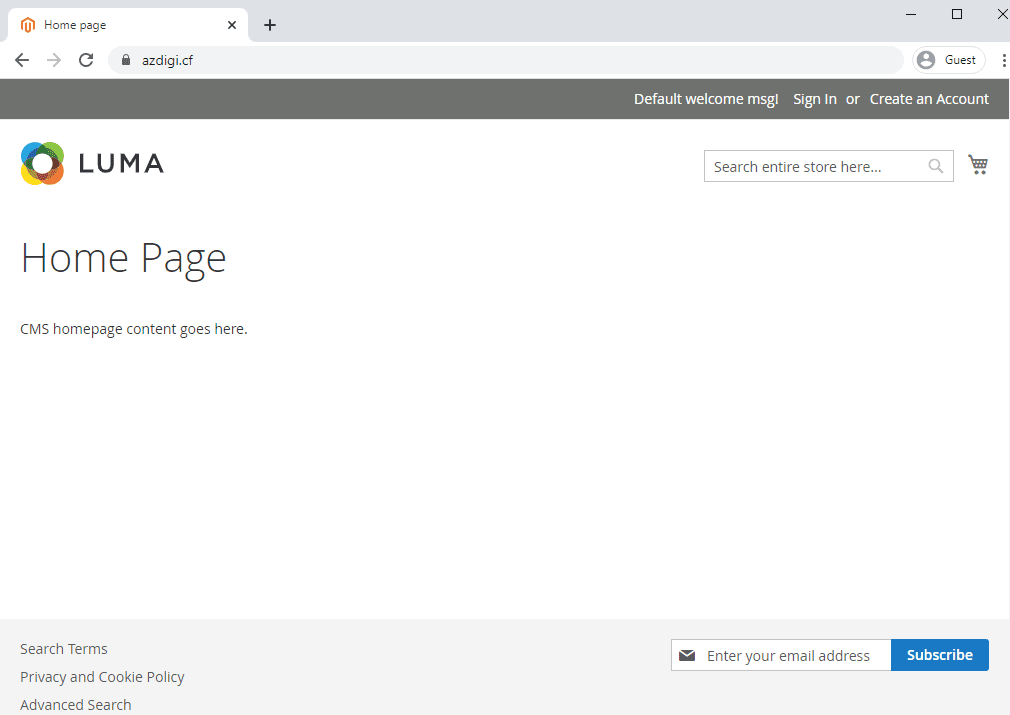
To access the admin page, you access the path: http://yourdomain.com/admin123 (admin123 is Magento’s default, you enter the same path as in Step 2: Admin Path).
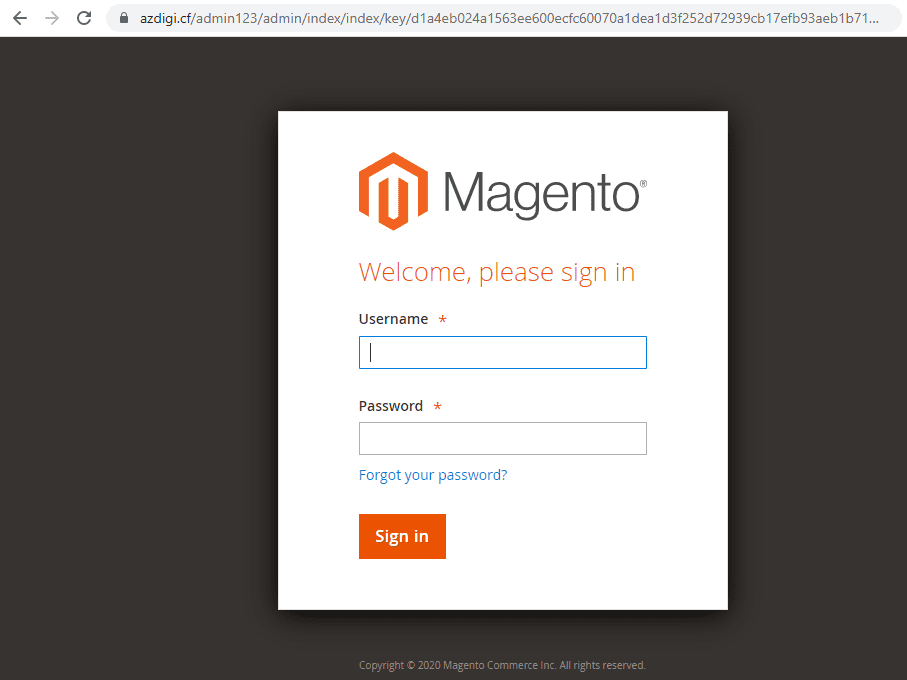
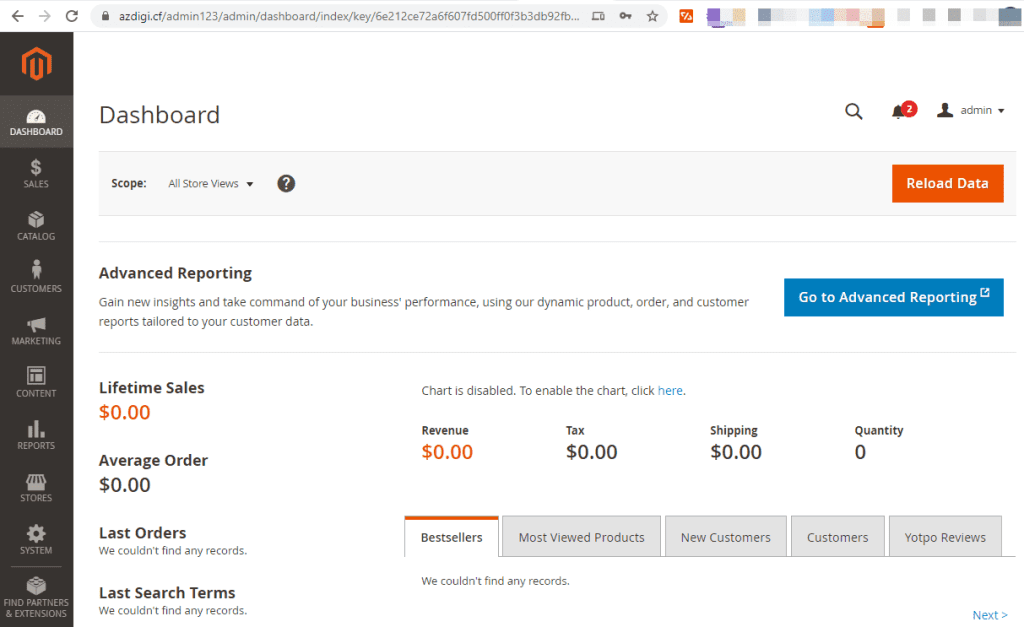
You use the Admin information created in step 2 to login, successful login will display the admin interface as follows:
How to remove the Magento website installed on Softaculous
Step 1: Access Softaculous
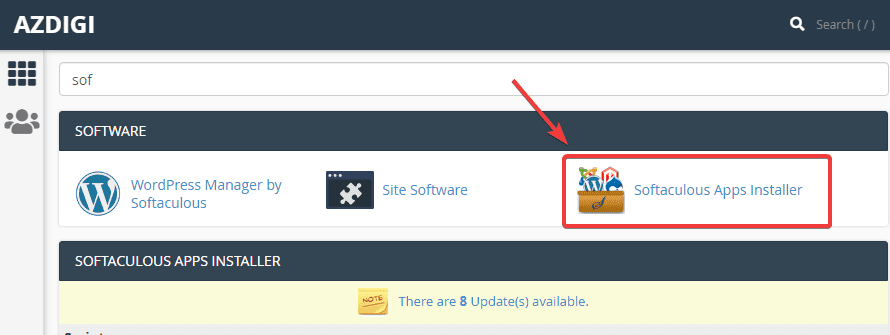
First, log in to cPanel => SOFTWARE section => Softaculous Apps Installer.
Step 2: Remove the website
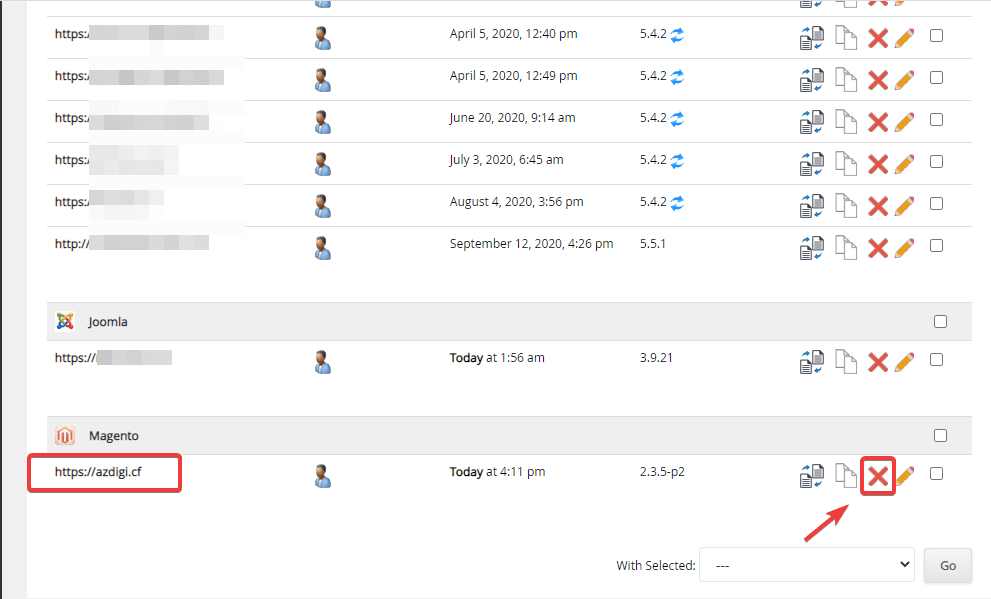
At the Softaculous interface, you will see the websites that have been installed through Softaculous, you find the website to be removed and click the corresponding X, as shown below:
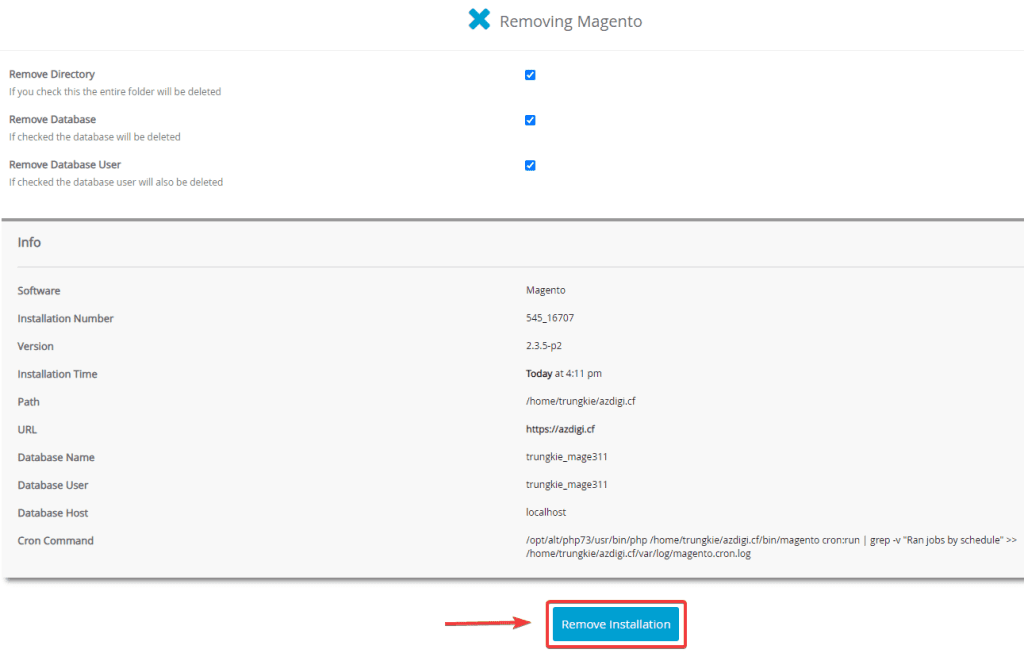
In the next window, select Remove Installation.
Once the removal is complete, you will receive the following message:
Summary
Thus, AZDIGI has shown you installing Magento source code on a complete website through the Softaculous tool on cPanel. In the next articles, AZDIGI will guide you more specifically on how to use the Magento website. If you find the article helpful, please share it widely.
Wishing you success!
If you need assistance, you can contact support in the ways below:
- Hotline 247: 028 888 24768 (Ext 0)
- Ticket/Email: You use the email to register for the service and send it directly to: support@azdigi.com