

Nội dung
As you know, data is essential for personal or business websites. Your website lost can be rebuilt, but the data inside it, once lost, is very difficult to restore without backup. The system at AZDIGI always supports periodic backups to keep customers’ data safe. However, AZDIGI encourages customers to proactively backup according to their time frame.
In the cPanel hosting packages that AZDIGI is providing, there is an application called Softaculous, this is an application that helps users install website software. Besides, this application is also equipped with a data backup feature. In this article, AZDIGI will share with you to backup data to Google Drive through Softaculous,
please follow along.
To backup data to Google Drive through Softaculous, follow the steps below:
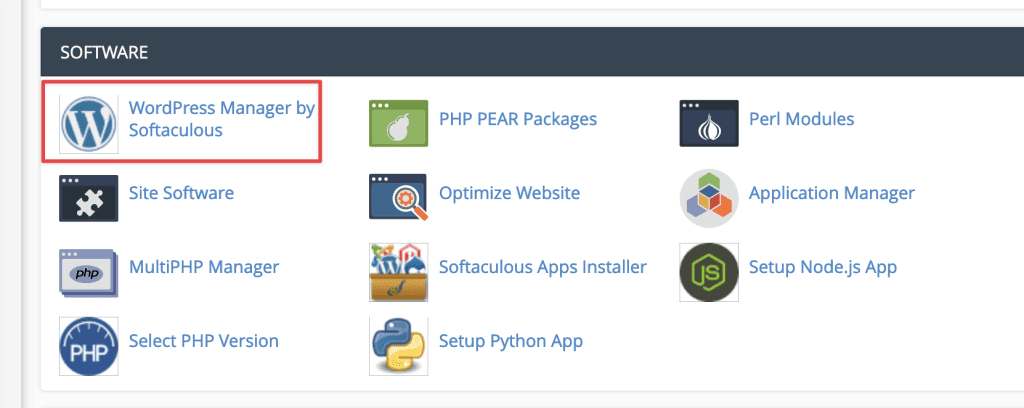
Step 1: Access to Softaculous
Login to cPanel => WordPress Manager by Softaculous in the SOFTWARE section.
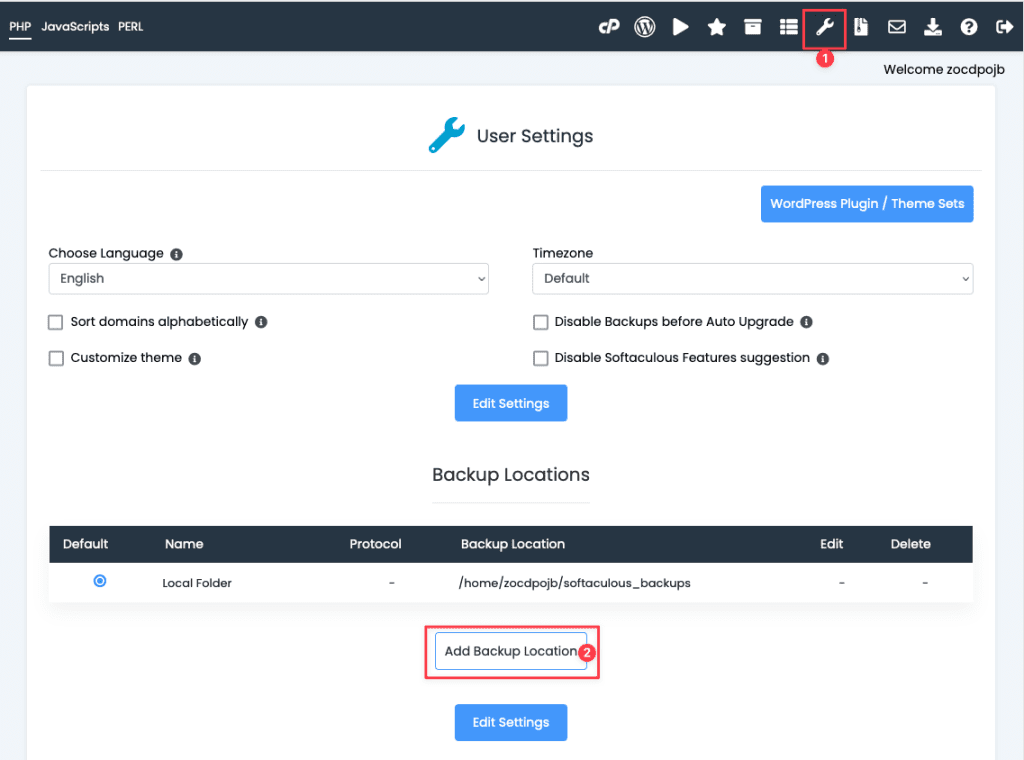
Step 2: Add a new backup
After accessing Softaculous, click on 🛠 icon => Add Backup Location.
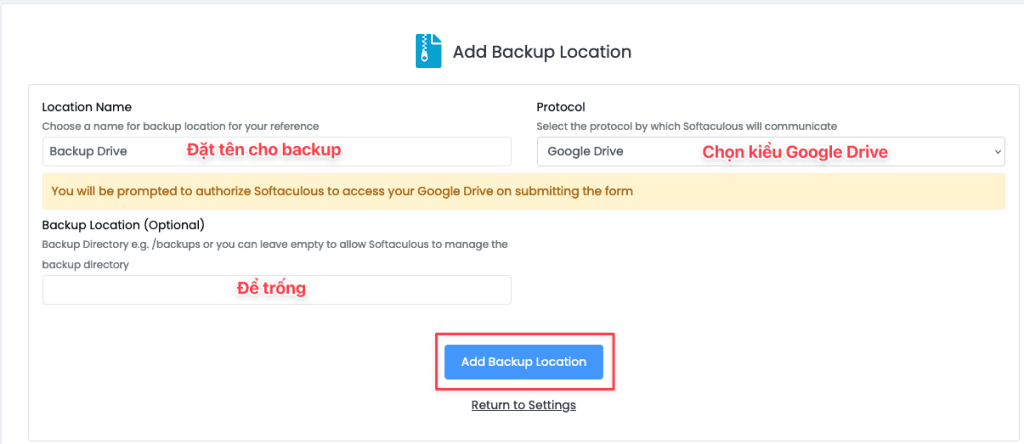
At Add Backup Location, you choose as follows
- Location Name: Name the new backup
- Protocol: Choose where to store the backup file (here, I choose Google Drive)
- Backup Location (Optional): Leave it blank
=> click Add Backup Location
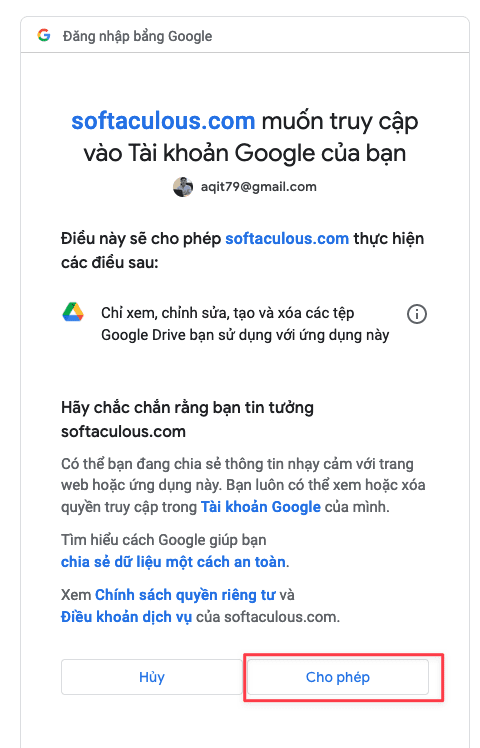
After clicking on Add Backup Location, you will be redirected to a Google login page, and select the account you want to backup.
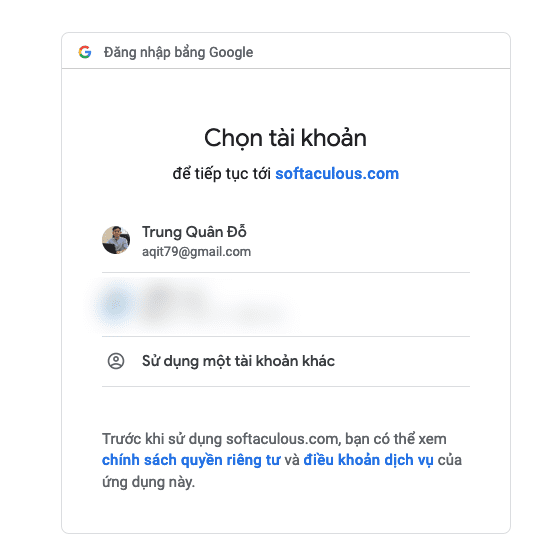
Next, click Allow to assign permissions to the app with Google Drive.
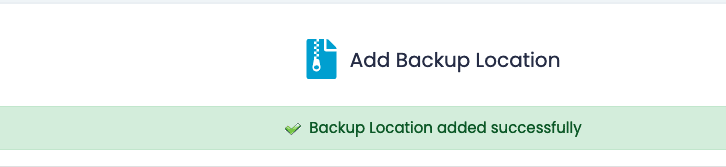
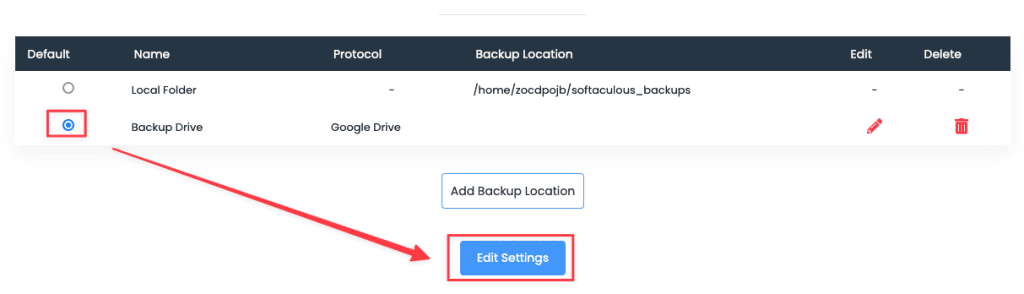
Once done, you will see the backup you just created. Click on the backup you just created and select Edit Settings to set it as default.
Step 3: Backup website
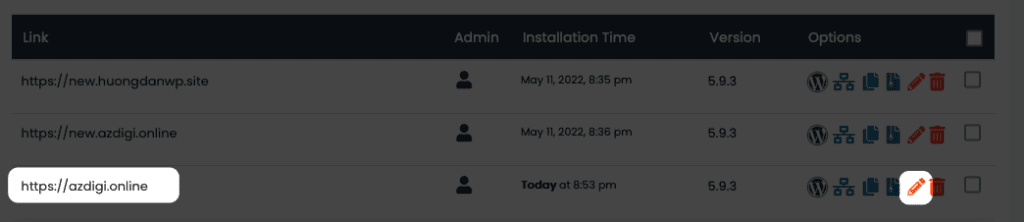
Backup has been completed, now you choose a website that allows backup to Google Drive, select the ✏️ icon corresponding to the website to be backed up.
Next, choose the following to choose the backup and the data to be backed up:
- Backup Location: Select the backup name created in Step 2
- Use above selected files/folders for Backup: Select Yes
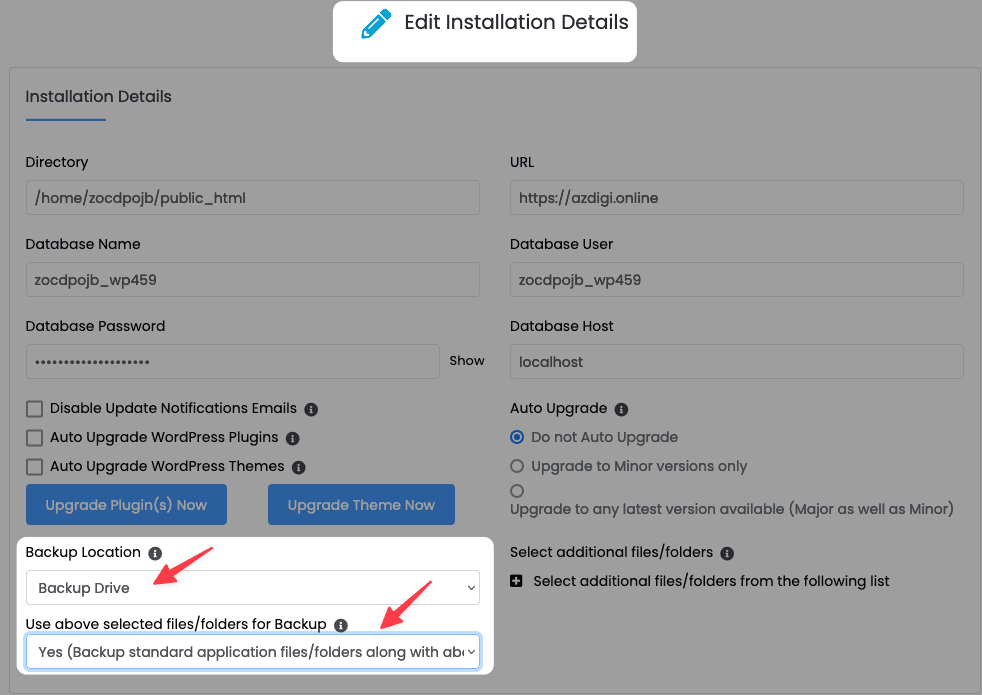
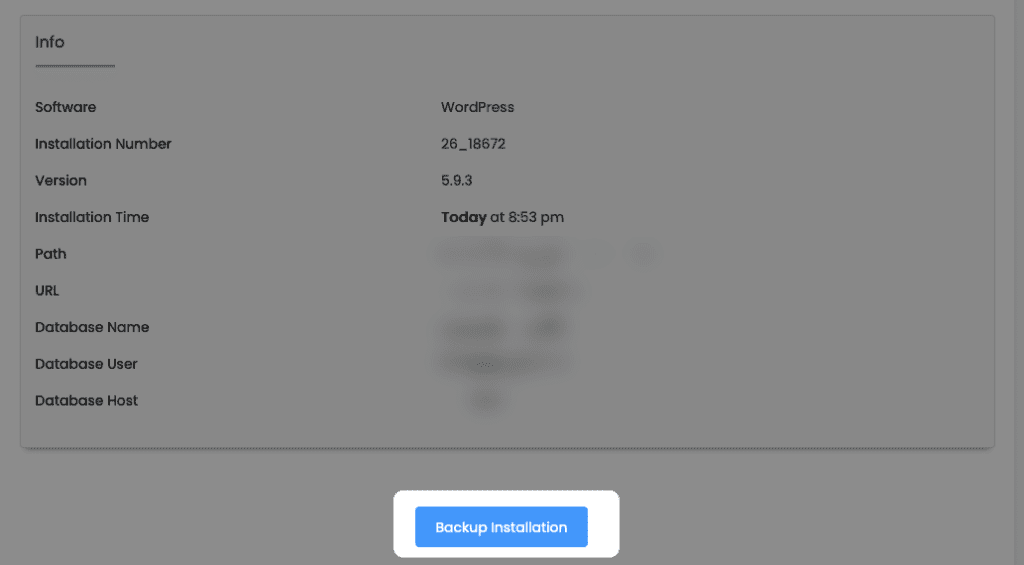
Then, backup by clicking Backup Installation
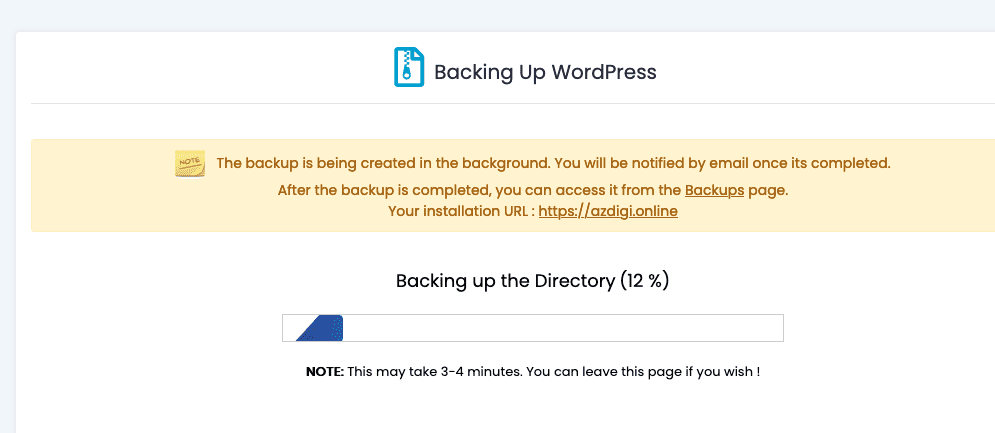
The backup process is being done and pushed to Google Drive, the completion time will depend on the size of your data.
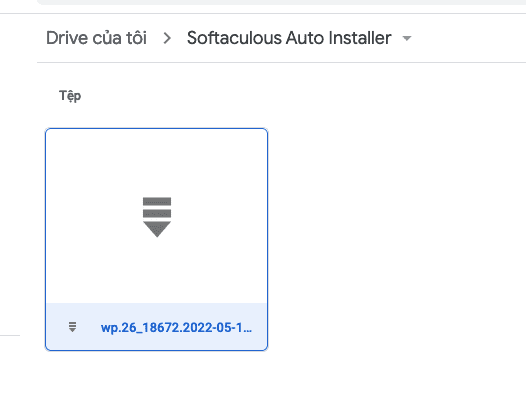
After the backup is complete, open Drive with the email account you set up initially, you will see a folder called Softaculous Auto Installer with the backup file in it.
Step 4: Restore the website
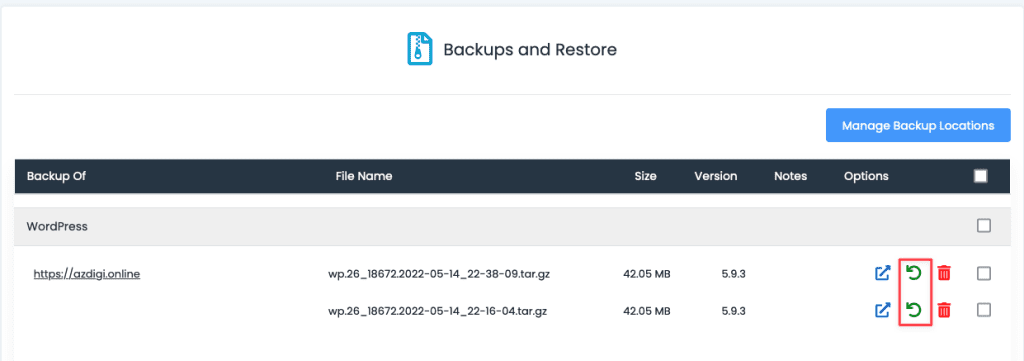
If you want to restore the website from the backed-up files, go to the Backup section in Softaculous of the website to see the files have been backed up. To restore, click on the reverse arrow as below
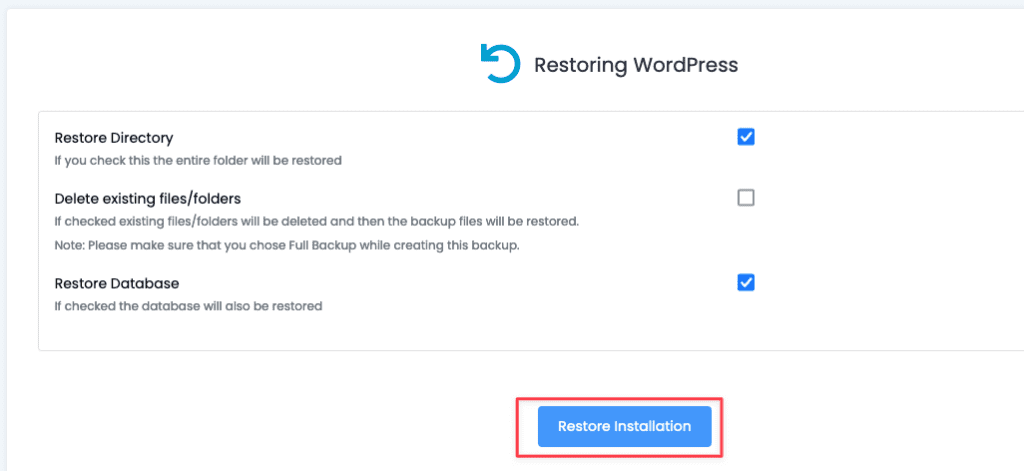
Then, select the data to Restore => click Restore Installation
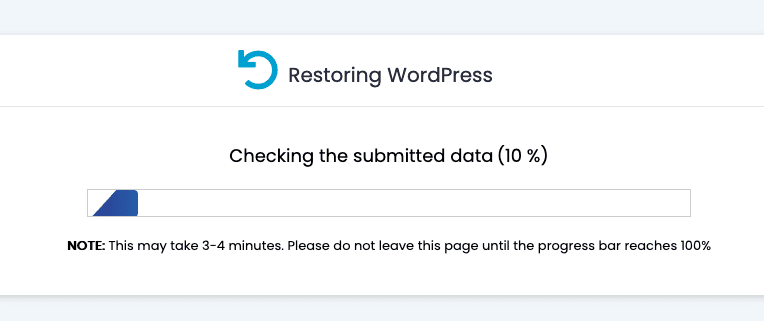
The Restore process is being started.
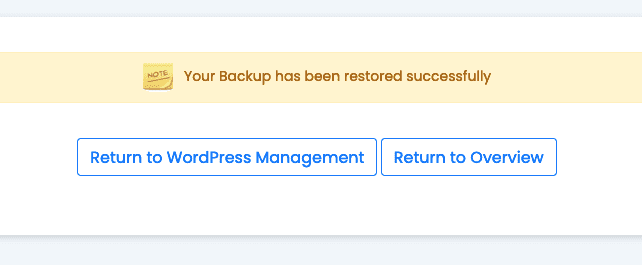
After the Restore is complete, you will receive the following message:
Hopefully, the article Backing up data to Google Drive via Softaculous will help you be proactive in backing up, thereby keeping your data ready and safe.
Wishing you success!
If you need support, you can contact support in the ways below:
- Hotline 247: 028 888 24768 (Ext 0)
- Ticket/Email: You use the email to register for the service and send it directly to: support@azdigi.com .
- Click on the AZDIGI website to refer to the best Hosting/VPS service in Vietnam.
