

Nội dung
How to use WP CLI to Export/Import Posts? Many people use WordPress to move website content from one website to another (For example, web A and B). You use the built-in Export tool of WordPress to export a *.xml file (Extensible Markup Language), but when you bring this *.xml file in Web B when you import it, you only have content and no images attached.
So to solve this problem, AZDIGI will guide you to use a WP CLI tool to export and import files in today’s article. Before starting, let’s have a quick look at the features and characteristics of this file format.
XML file characteristics
- XML is used for structured data.
- Visually, the XML file is quite similar to HTML.
- Although it is text, XML is not meant to be read.
- XML is usually very long.
- XML is considered the bridge that brings HTML to XHTML and is the foundation for RDF and Web coding.
- XML is a module.
- XML is royalty-free, platform-independent and very well supported.
Advantages of XML
The most significant advantage of XML is its independence. This is also understandable because XML describes data in text, so most software or regular programs can read this file format.
XML can read and parse data sources quite easily, which is used mainly to exchange data between different programs and systems. XML is used for Remote Procedure Calls for web services.
Disadvantages of XML
The error rate when using XML for data transmission ranges from 5 to 7%. This number is not too high, but in fact, users still need to consider it before using it to exchange information.
Why do I use WP CLI instead of the built-in Import tool in WordPress? Because not every hosting server is powerful enough for you to import, especially when your number of posts is too much, up to a few hundred, a few thousand, when you import in the interface, it will take a lot of time if the server does not enough response will show a warning like (request time out, 503.. these are basic HTTP error codes)
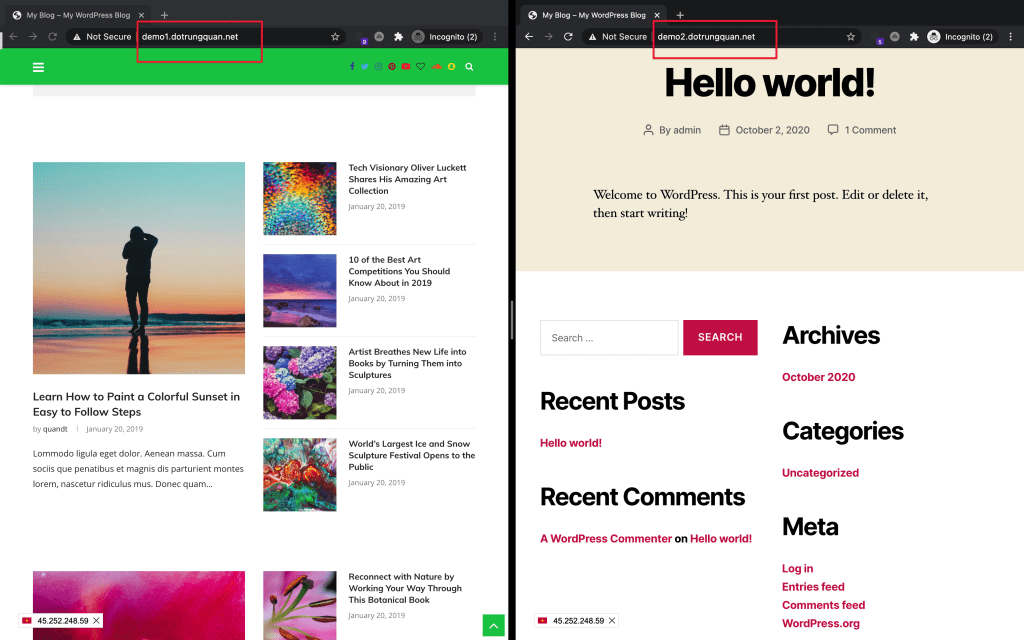
Below is the website I will do as an example:
- Web 1: demo1 (Web interface, complete post have images)
- Web 2: demo2 (default WordPress)
Implementation guide
I will export the content and images of web demo1 to web demo2. You need to note that web A works to Web B gets the image.
Step 1: Use CLI to export files
First, you need to determine which directory your website is located in, go to the Domain section to determine the hosting directory.
- web demo1.dotrungquan.net has the path to save the source code is demo1.dotrungquan.net
- web demo2.dotrungquan.net has the path to save the source code is demo2.dotrungquan.net

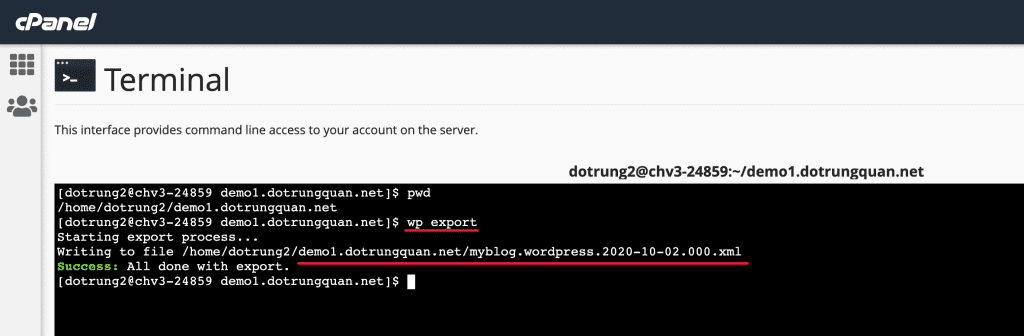
Once you have determined the path to save the source code, you access cPanel => go to the Terminal, this is the command interface manipulated via the command line, you move into the directory with the cd command.
cd demo1.dotrungquan.net
wp export
Command annotation:
- cd demo1.dotrungquan.net (move into the folder named demo1.dotrungquan.net)
- wp export (export WordPress files)
When done, you will receive a completion message with an XML file.
Step 2: Use CLI to import files
First, download the *.xml file and upload it to web B. Once the upload is complete, install 2 plugins: WordPress Importer (support import) and Automatic Upload Images (support getting images)
If you install the Plugin manually, refer to the following instructions:
Since I’m doing it on the command line, I will install and activate it with the following command:
wp plugin install wordpress-importer --activate
wp plugin install auto-upload-images --activate
After installation/activation is complete, import the uploaded *.xml file with the following command:
Note: Replace file-name.xml with the filename you exported earlier.
cd demo2.dotrungquan.net
wp import file-name.xml --authors=create
Command annotation:
- cd demo2.dotrungquan.net (move into the folder demo2.dotrungquan.net)
- wp import file-name.xml –authors=create (syntax to import file with option authors=create will automatically create user according to file)
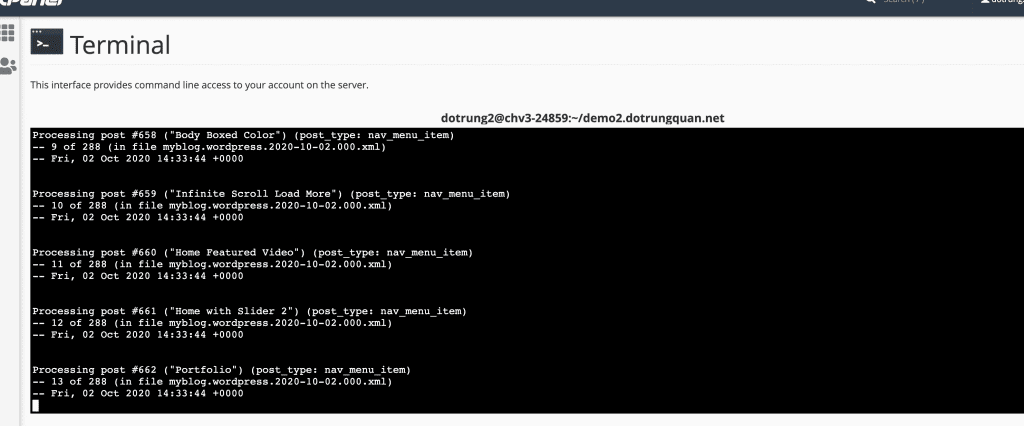
Depending on the number of posts to determine the execution time. As shown below, I’m importing 13/228 posts. After the import is complete, please visit web B to check.

Here is my result: Thus, AZDIGI has completed the steps to Export/Import Posts with CLI and still keeps the content and images. If the article was helpful, please share it widely. Wish you success!
- Hotline 247: 028 888 24768 (Ext 0)
- Ticket/Email: You can use your email to register for the service and send it directly to: support@azdigi.com
- Click on the AZDIGI website to refer to the best hosting/VPS service in Vietnam.
